Detailed Free Motion Embroidery
Tips and tricks to create detailed embroidery using your sewing machine!
For the General Embroidery Tutorial click here :)
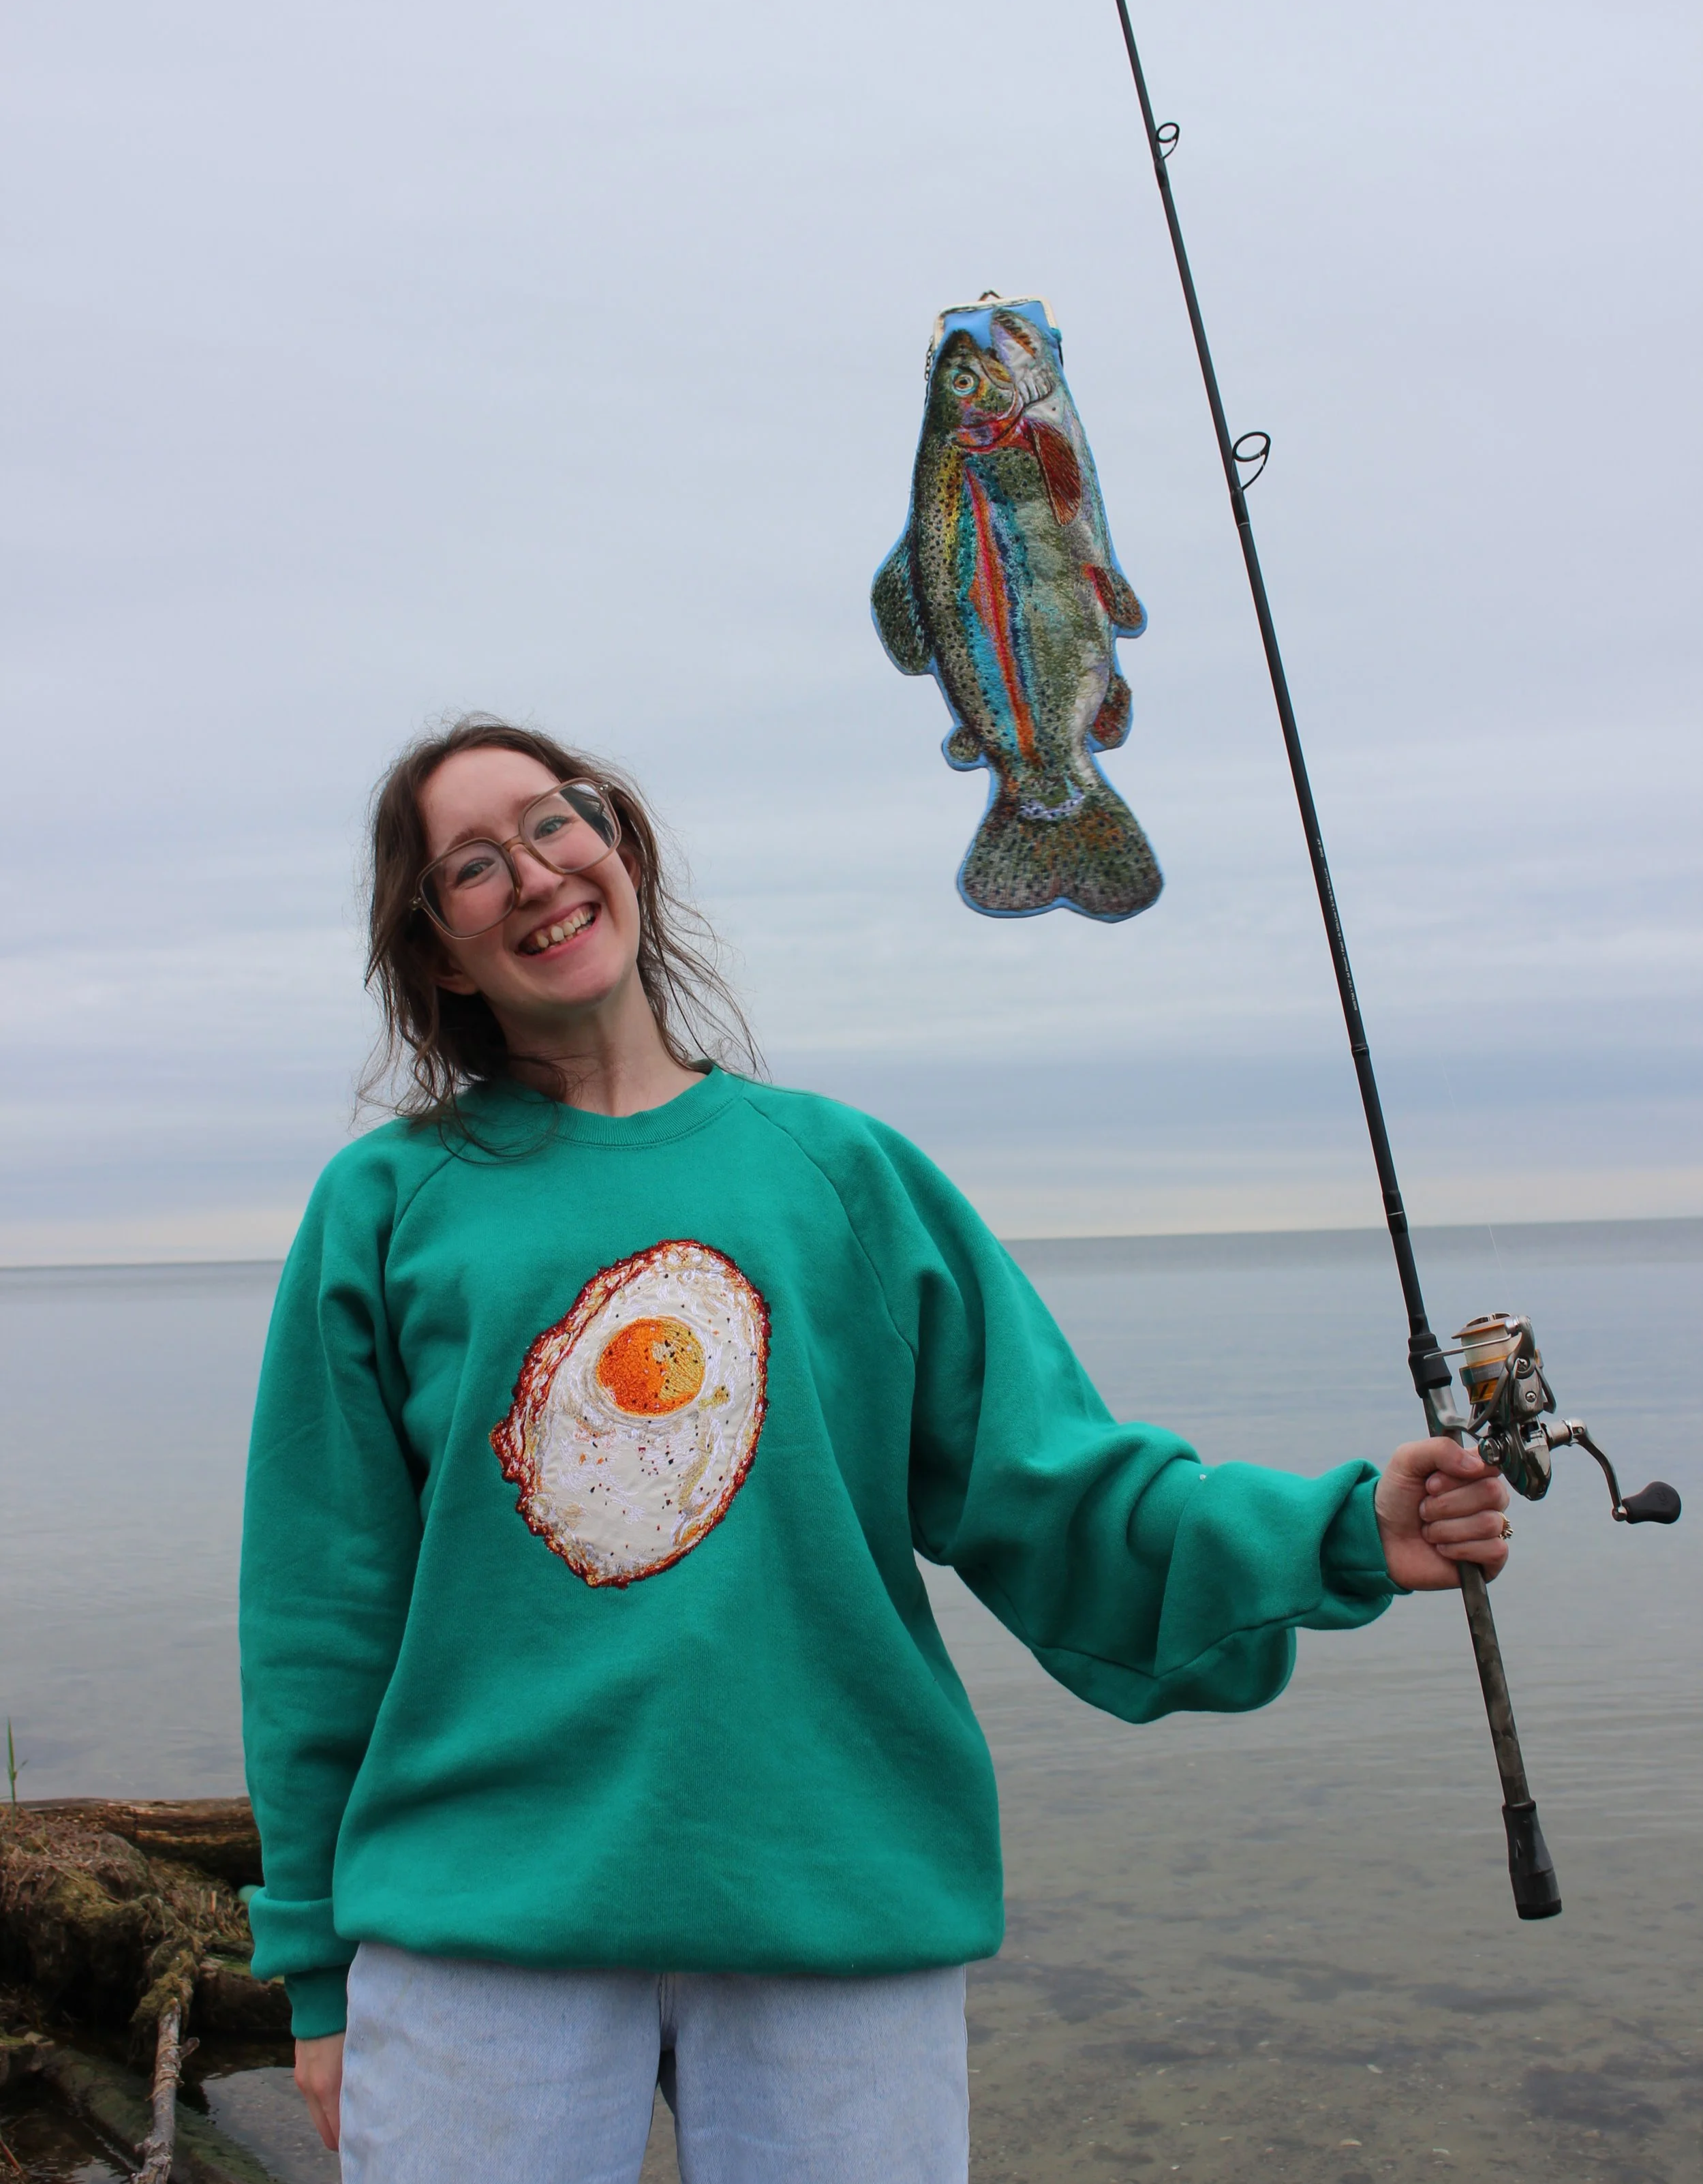
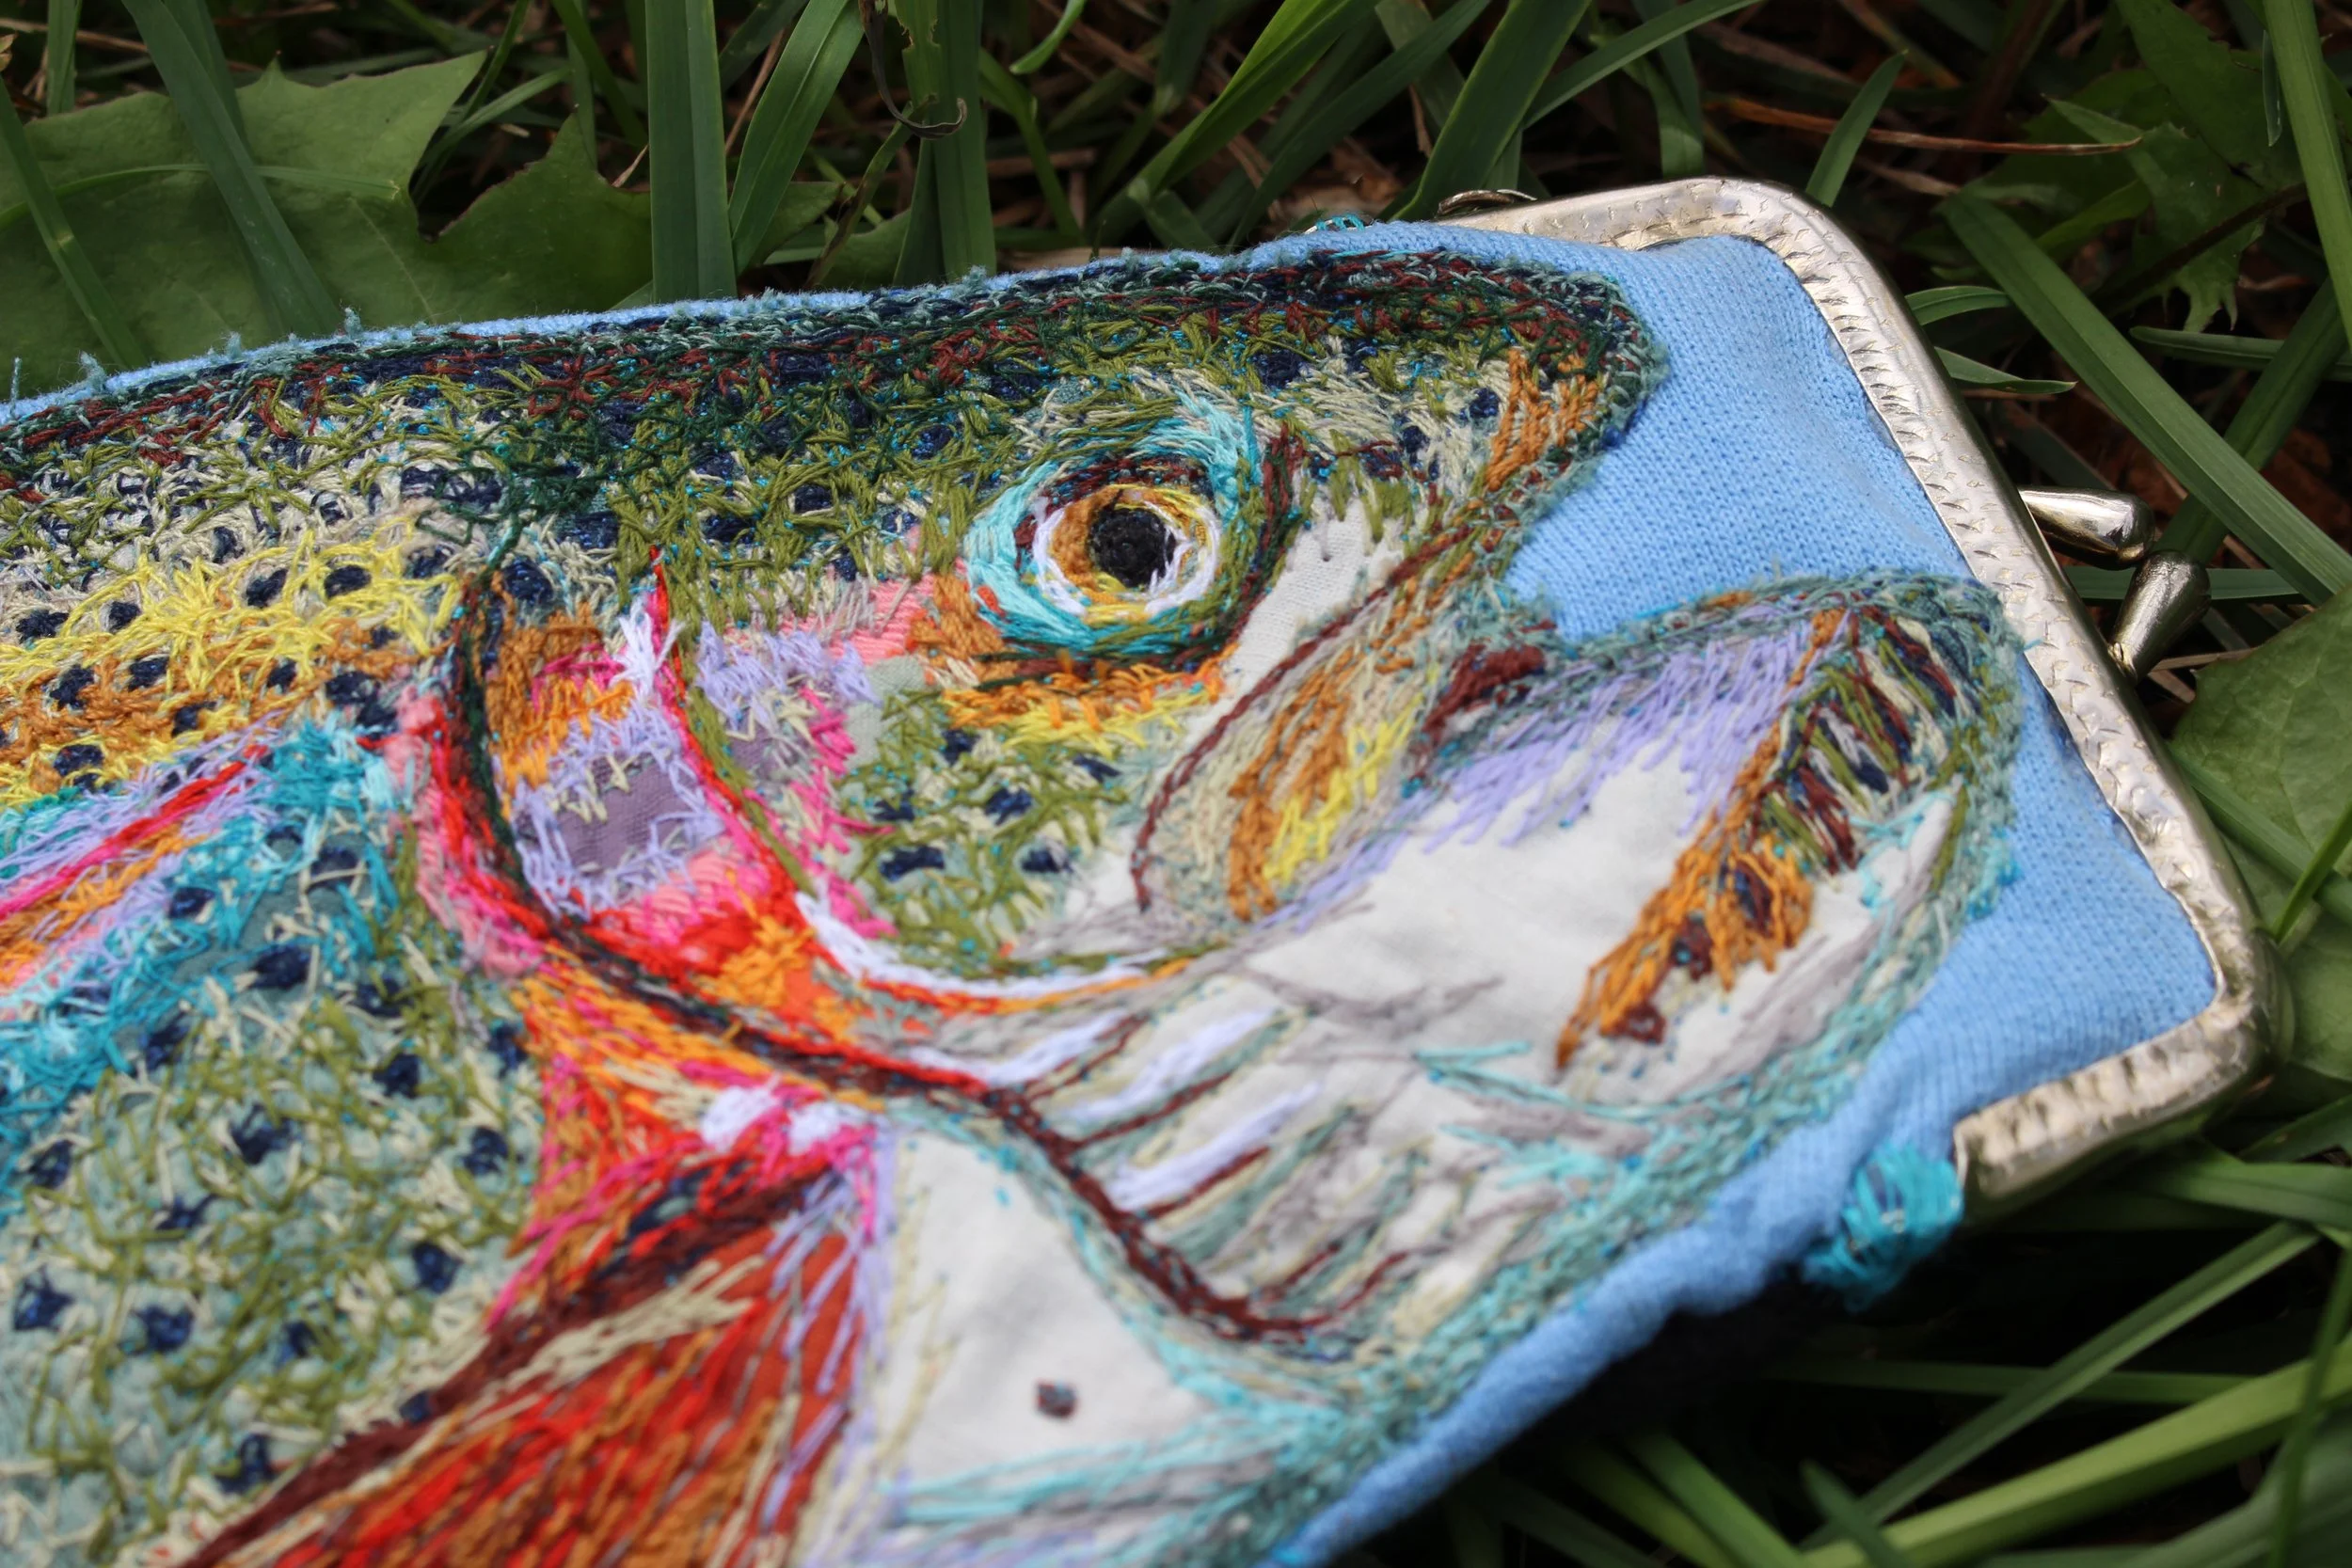
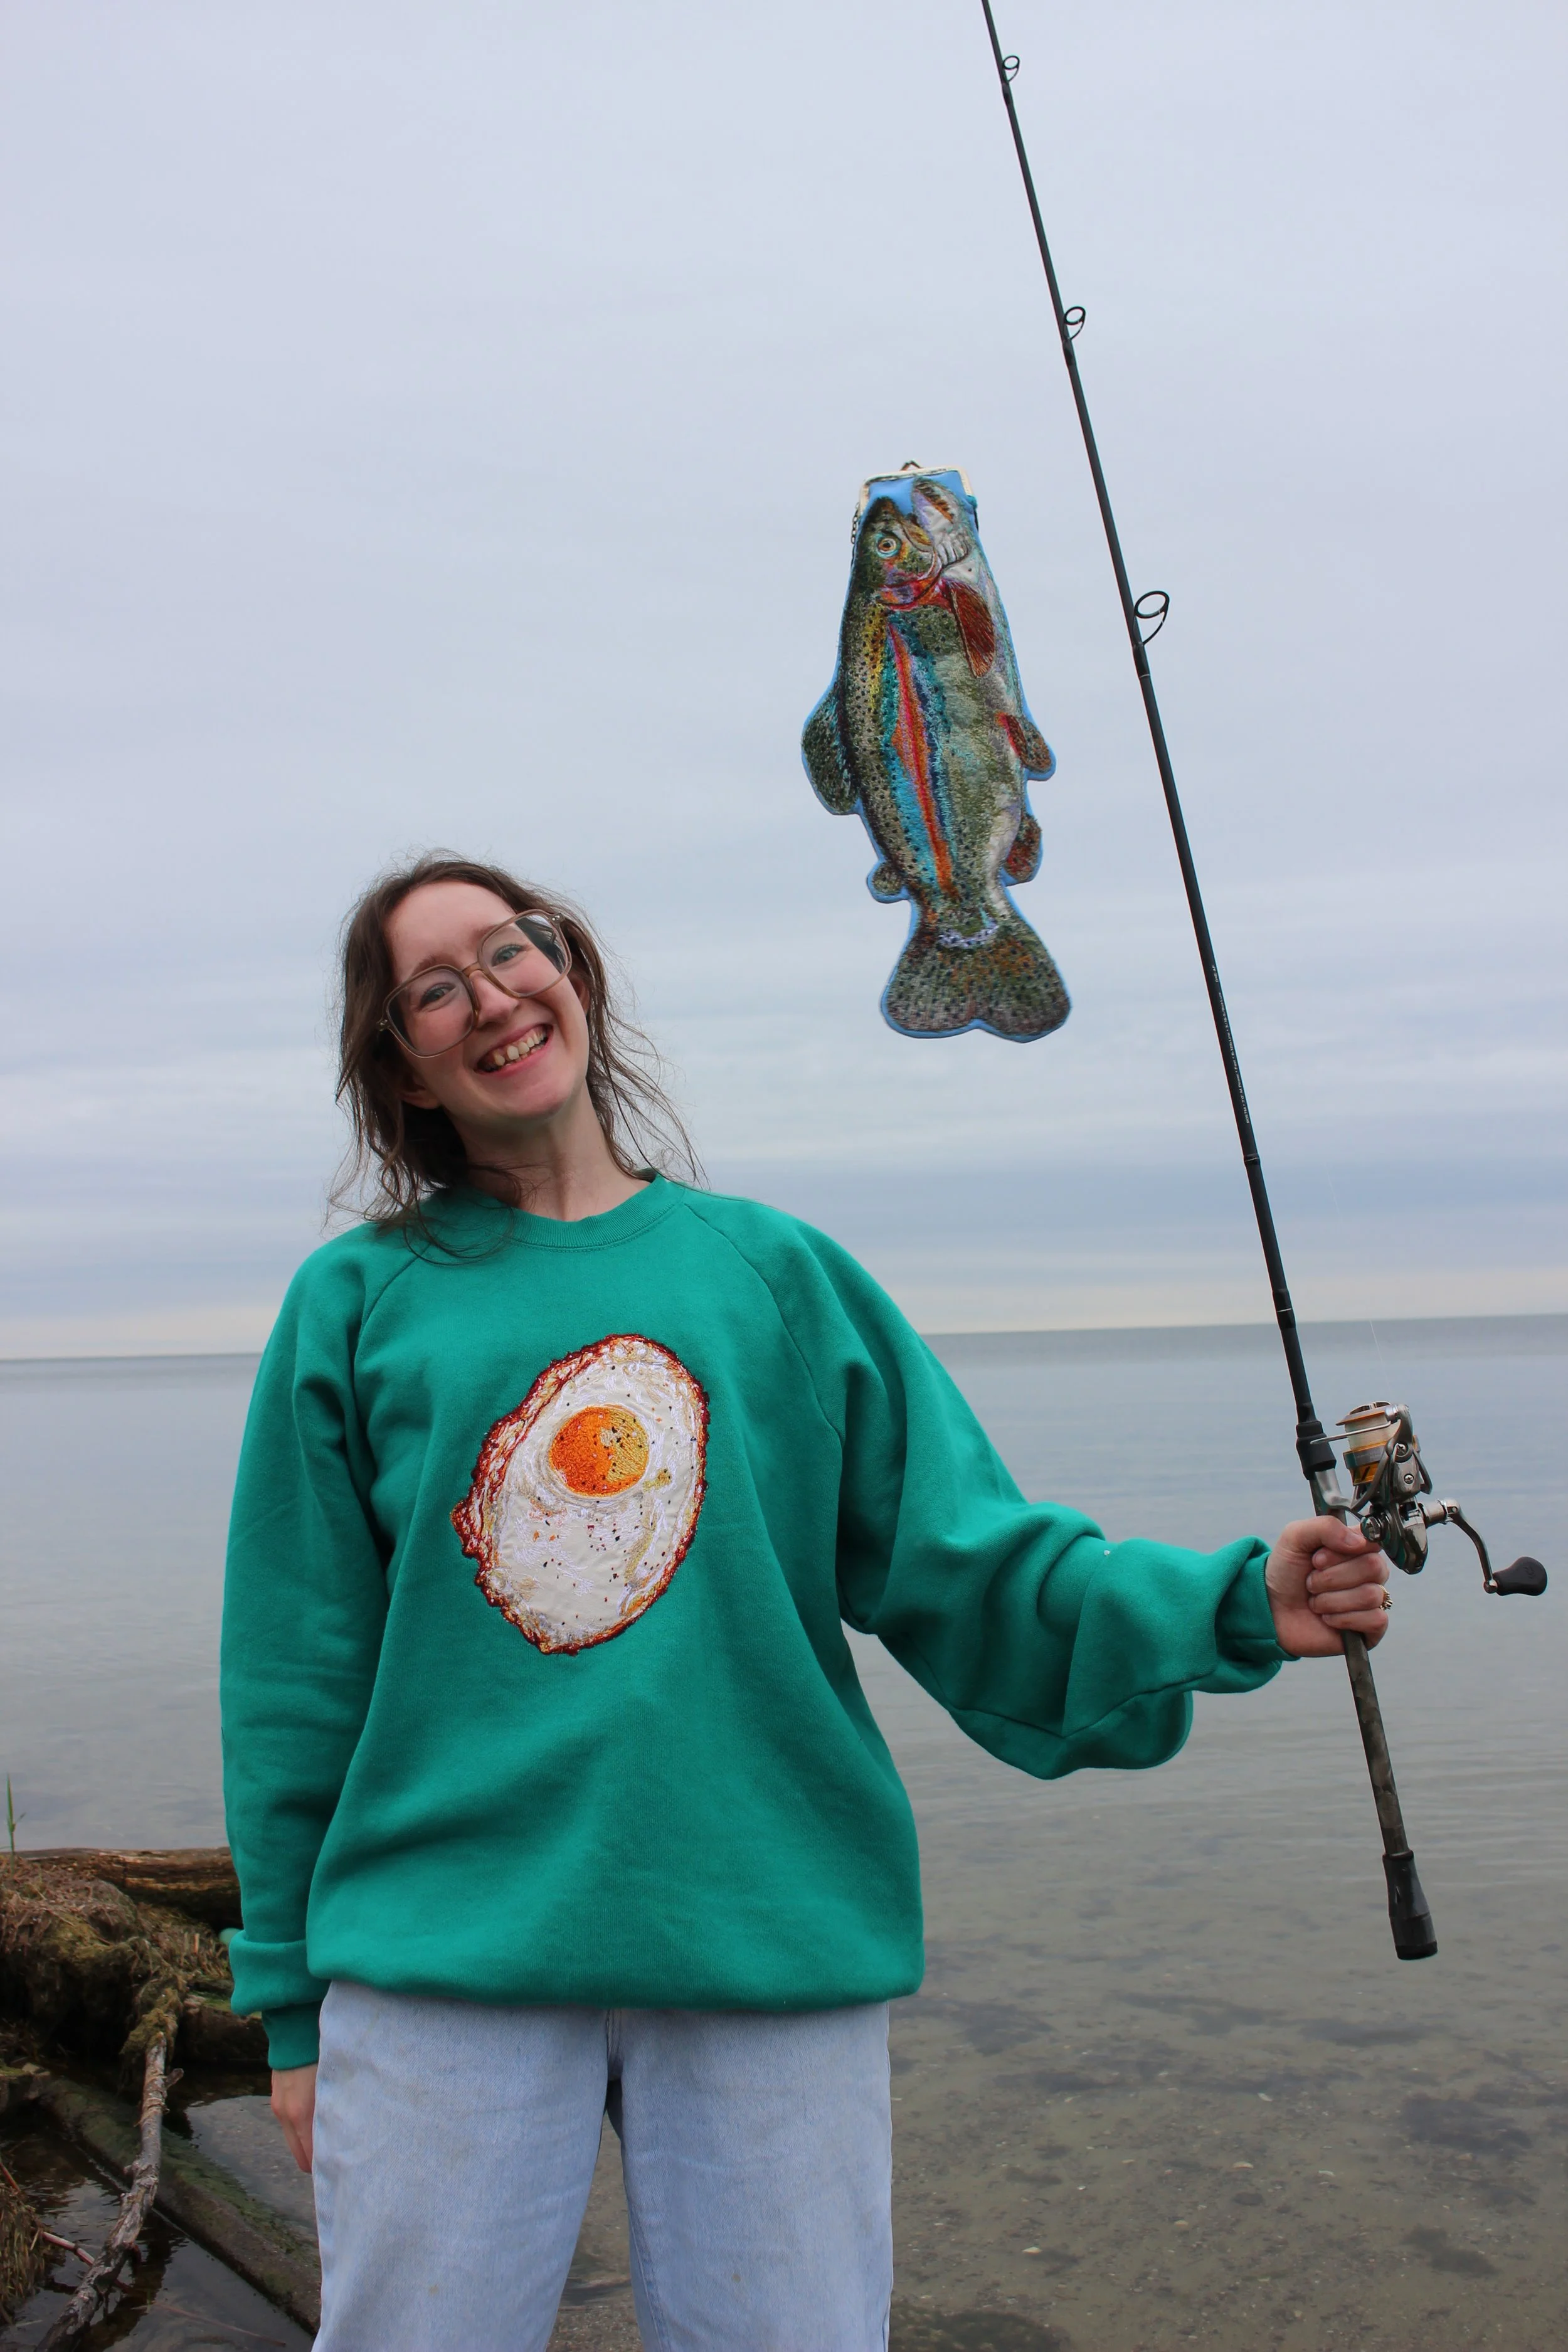
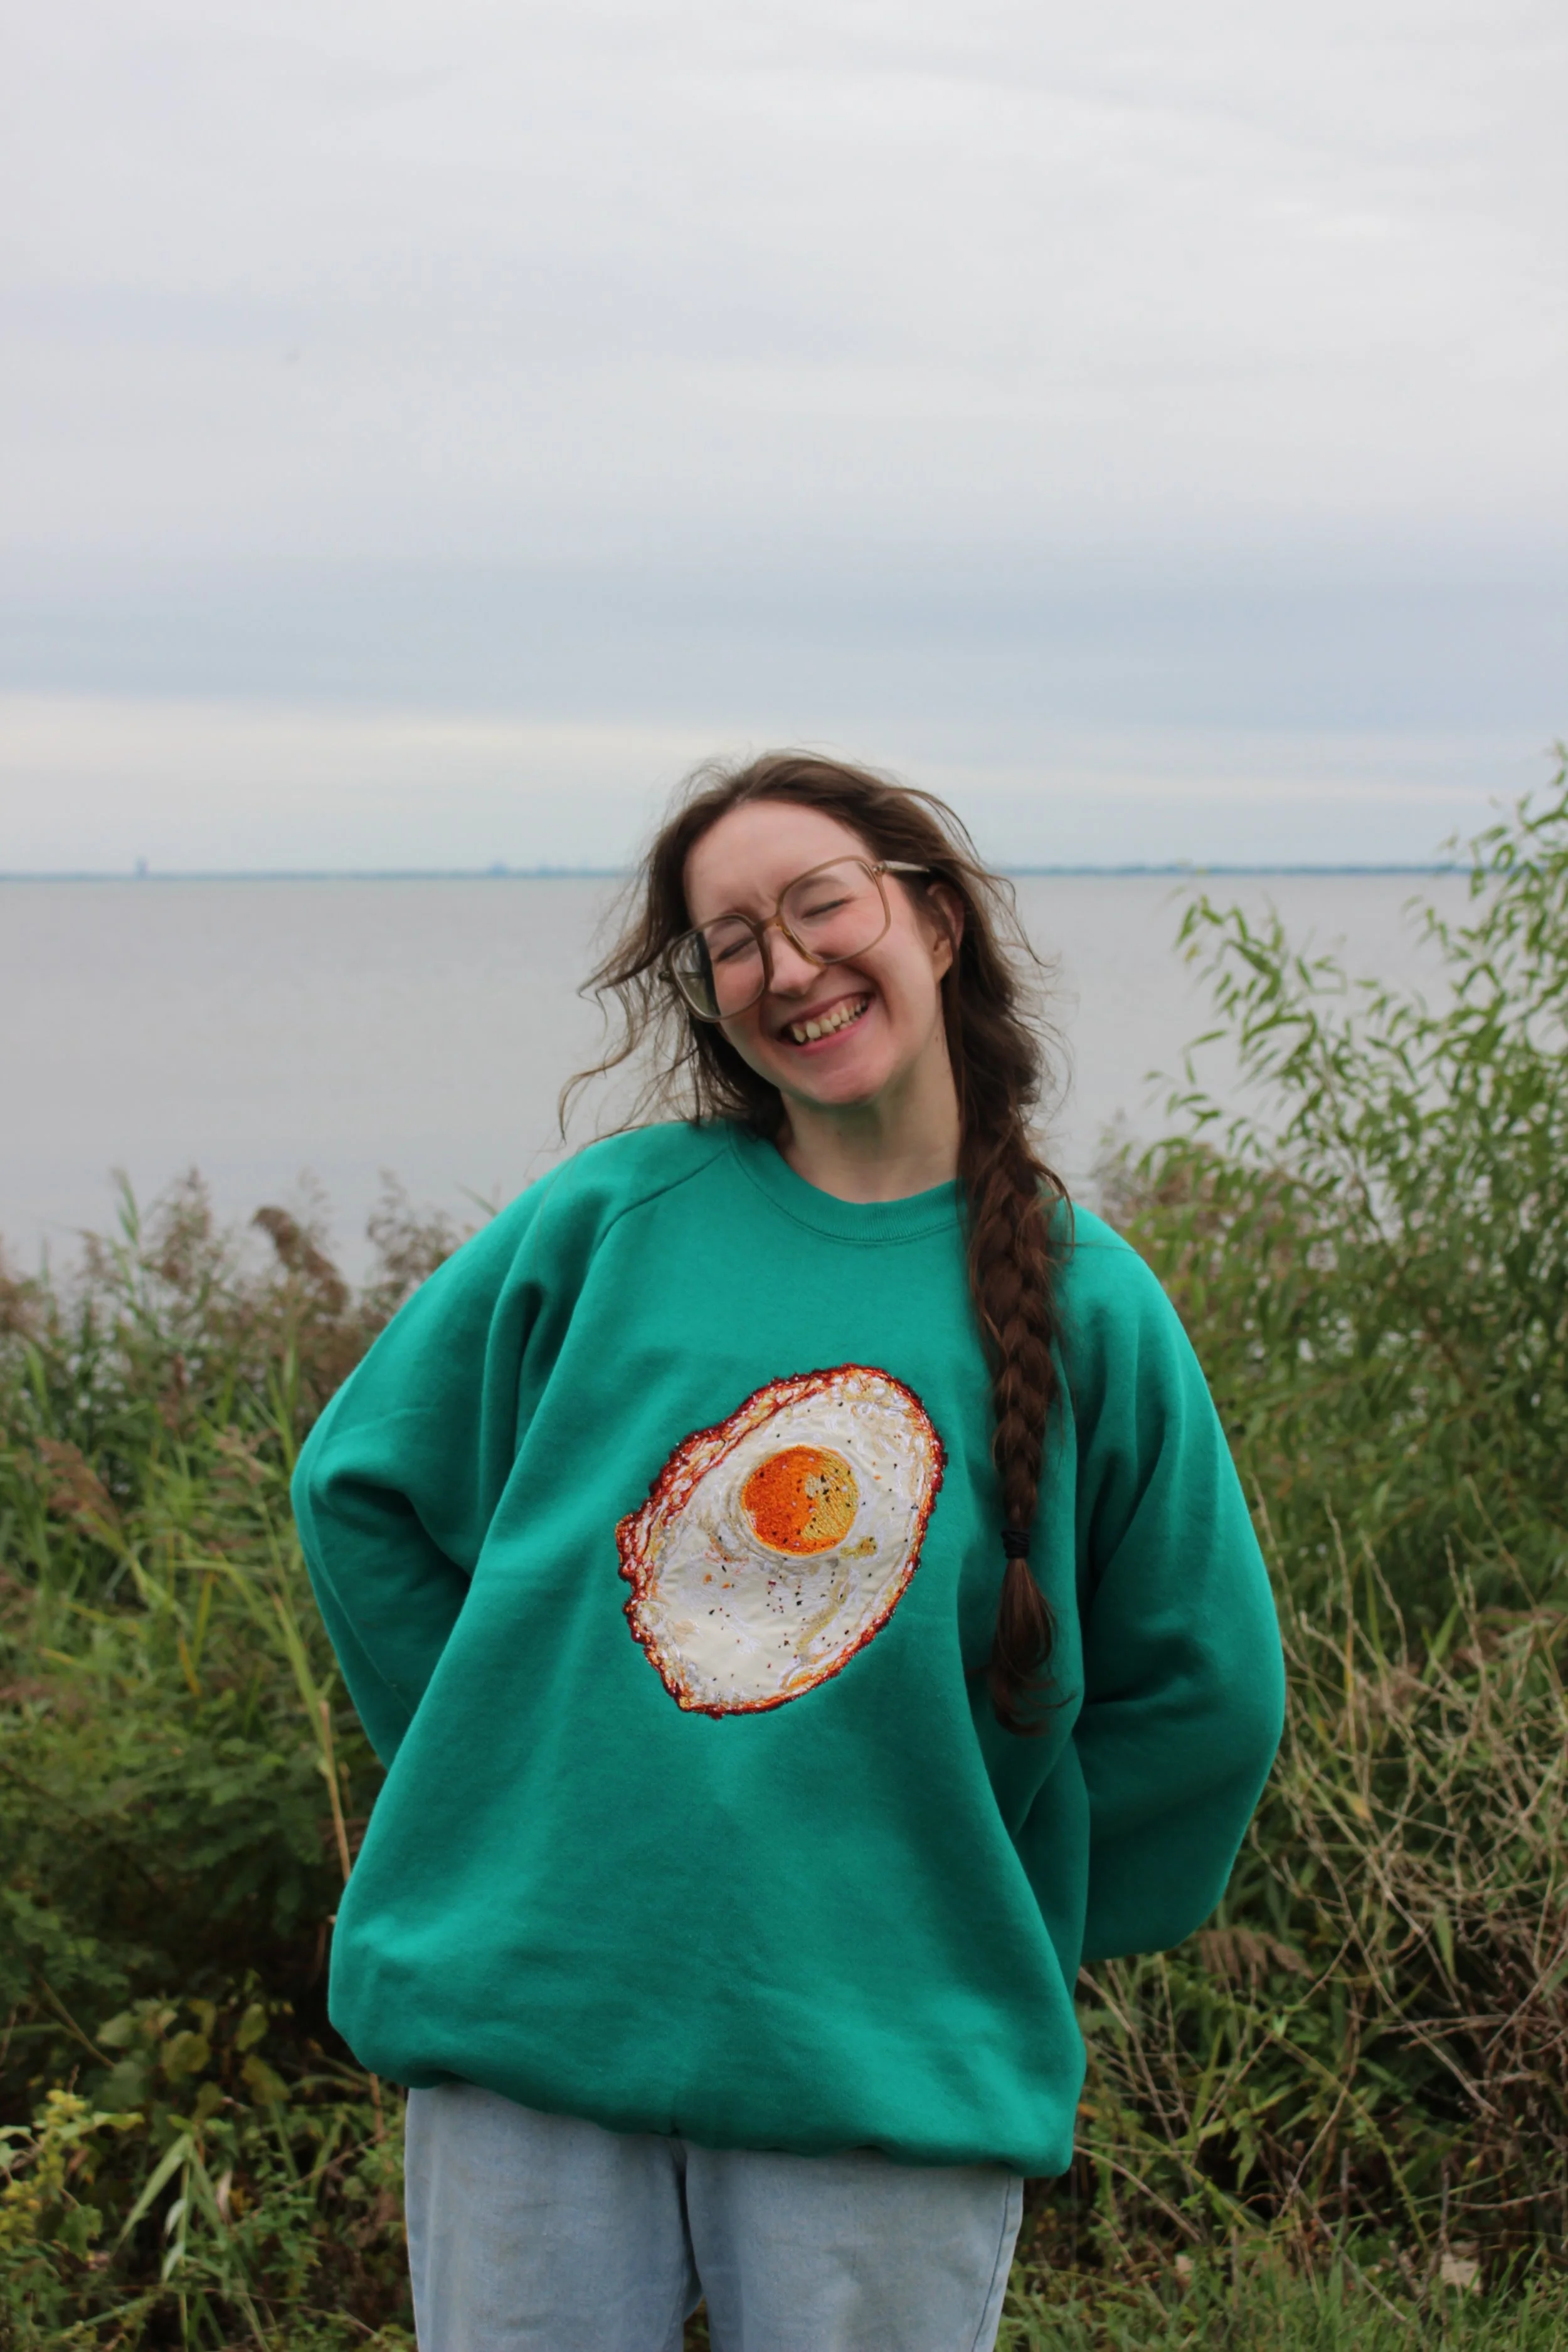
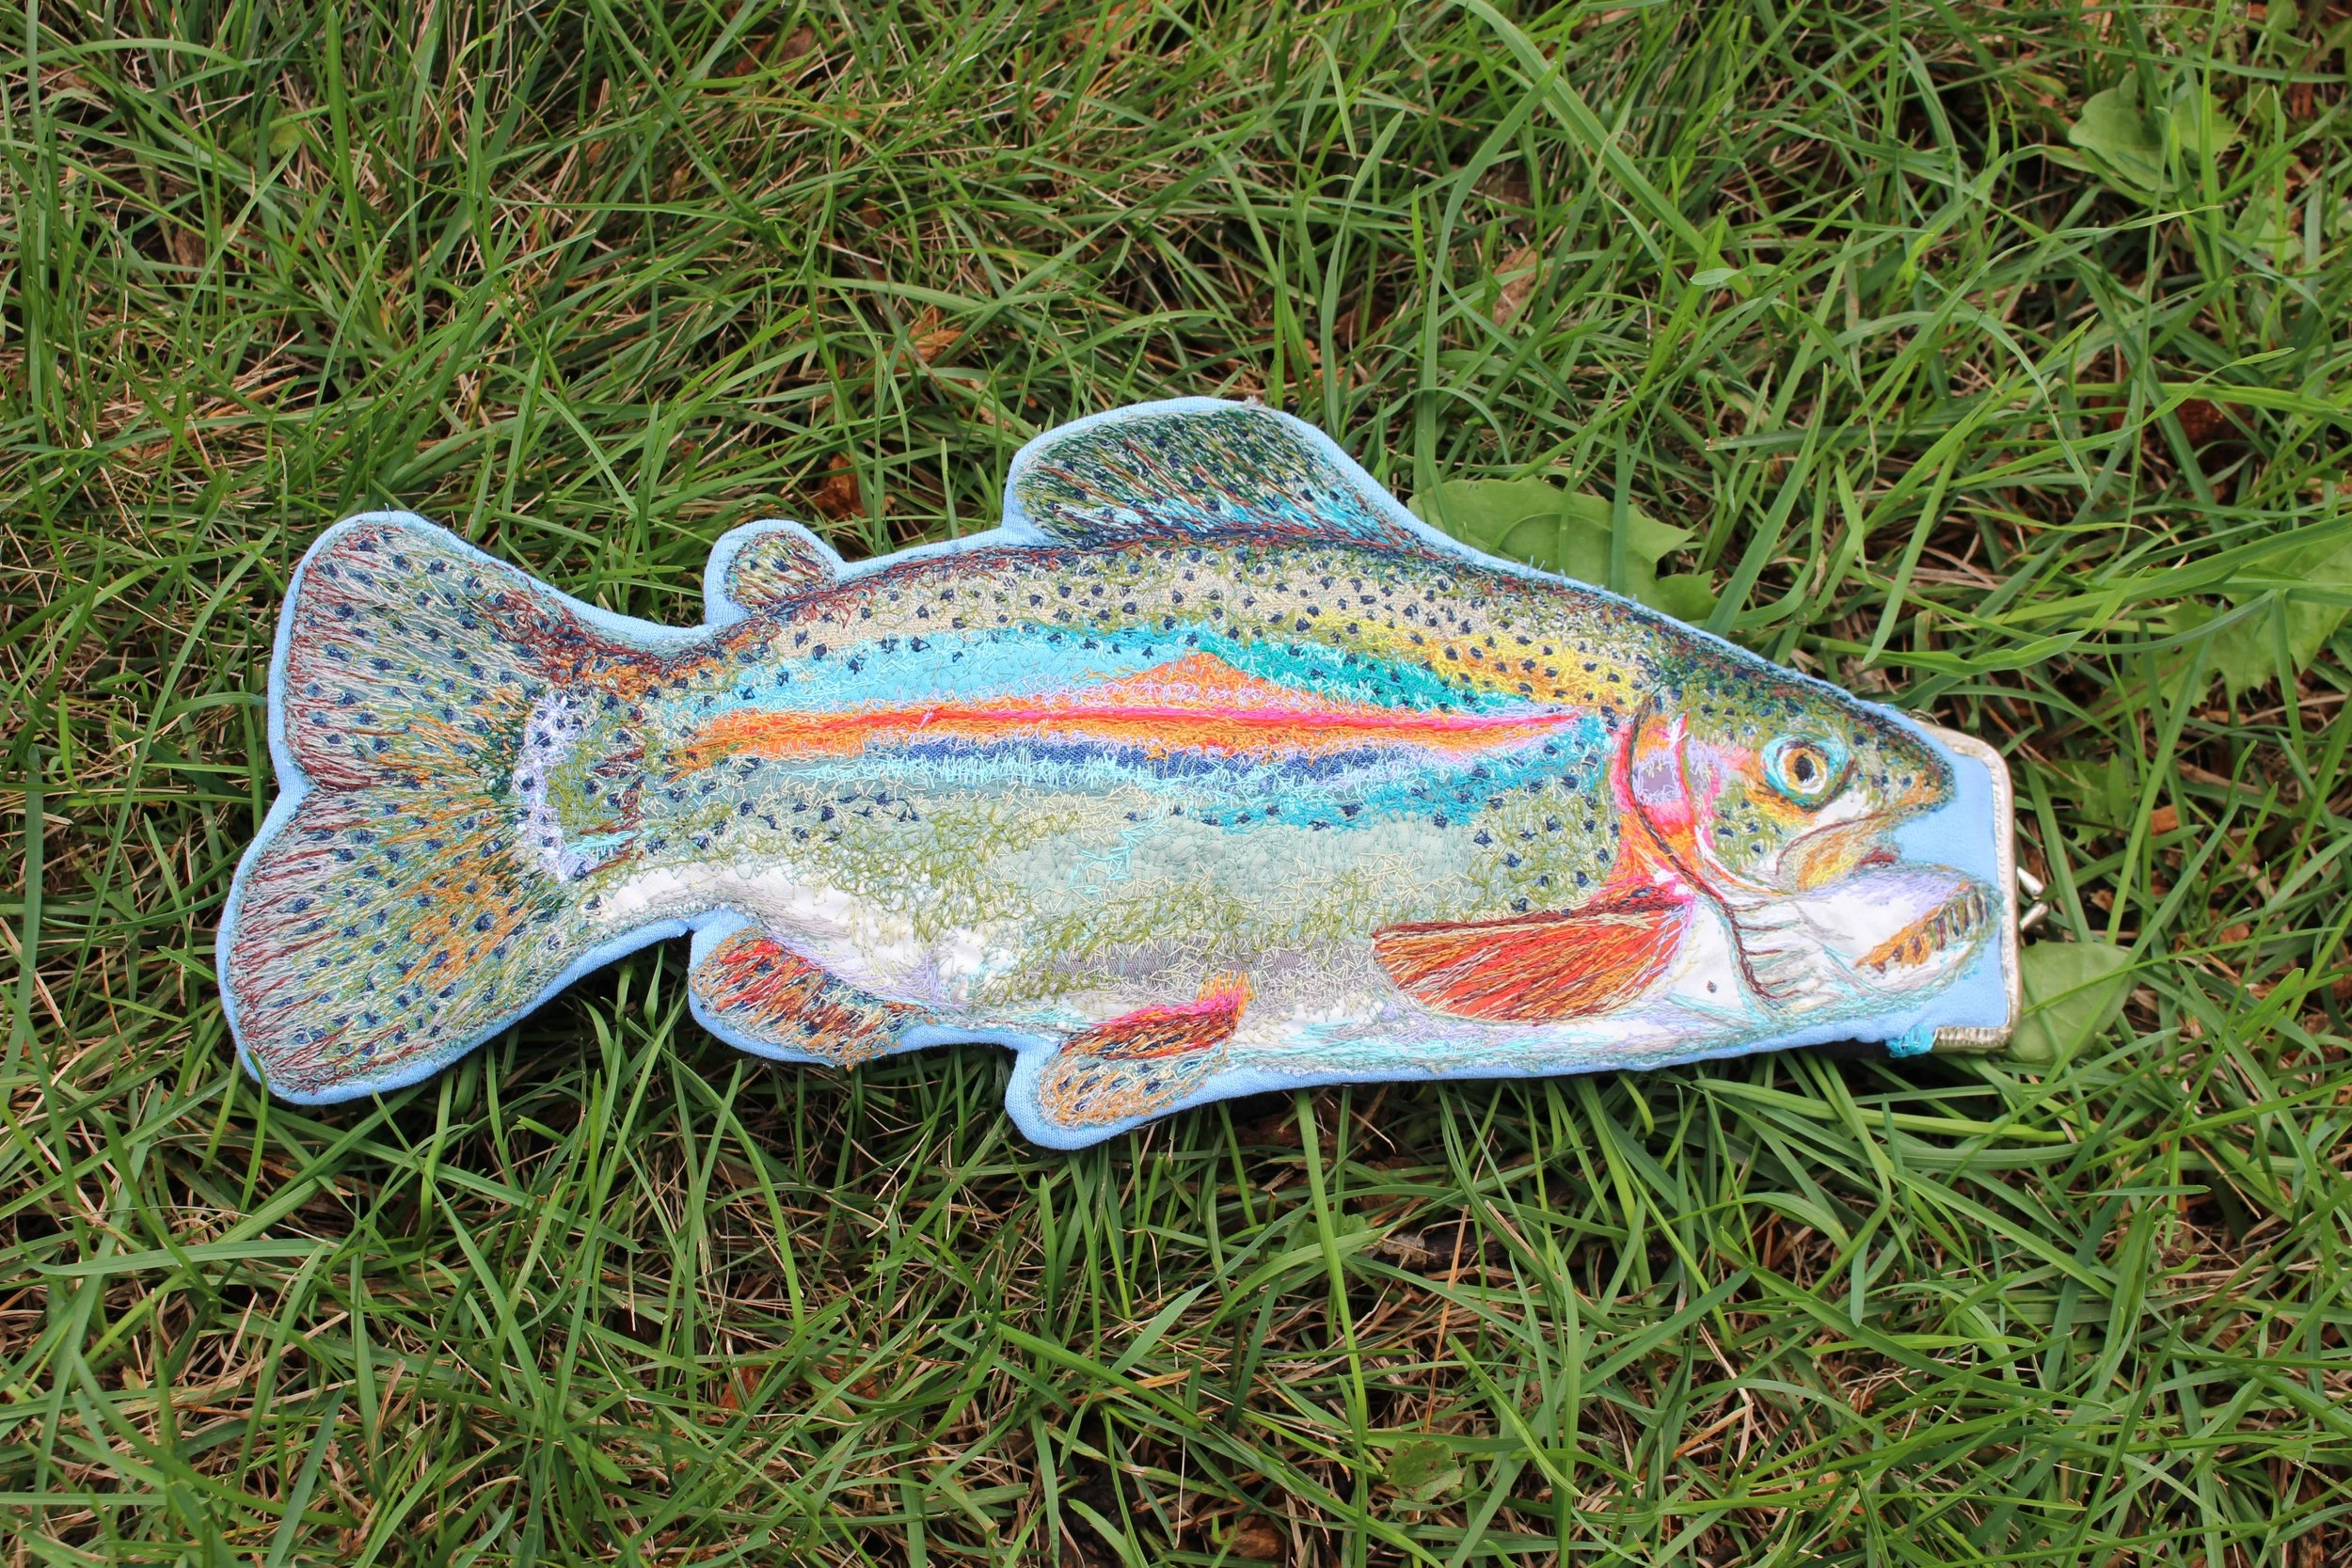
Image: Brittany Posing with Embroidered Rainbow Trout handing on a fishing pole, wearing an embroidered Fried Egg Sweatshirt.
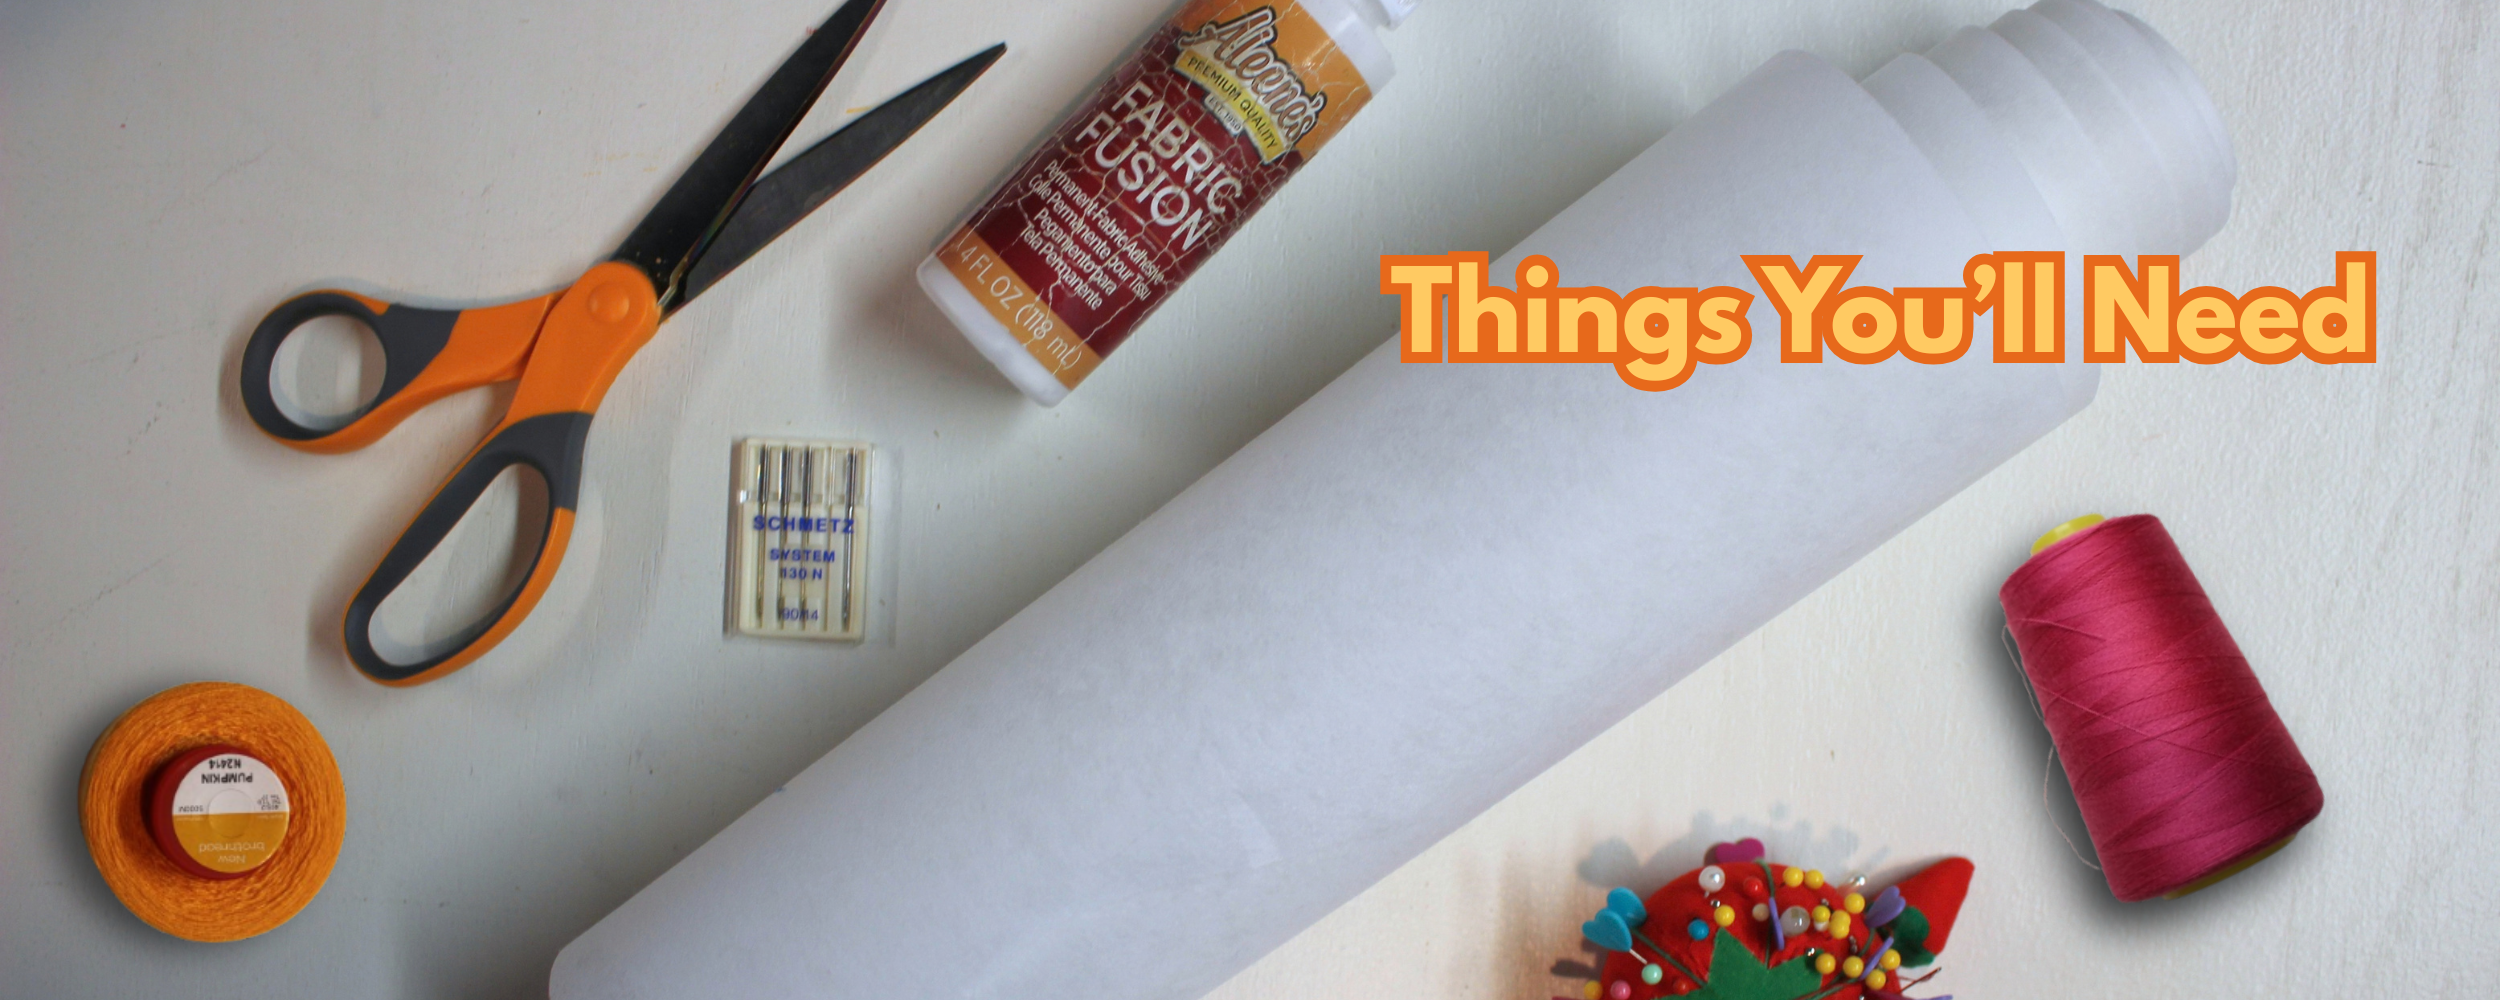
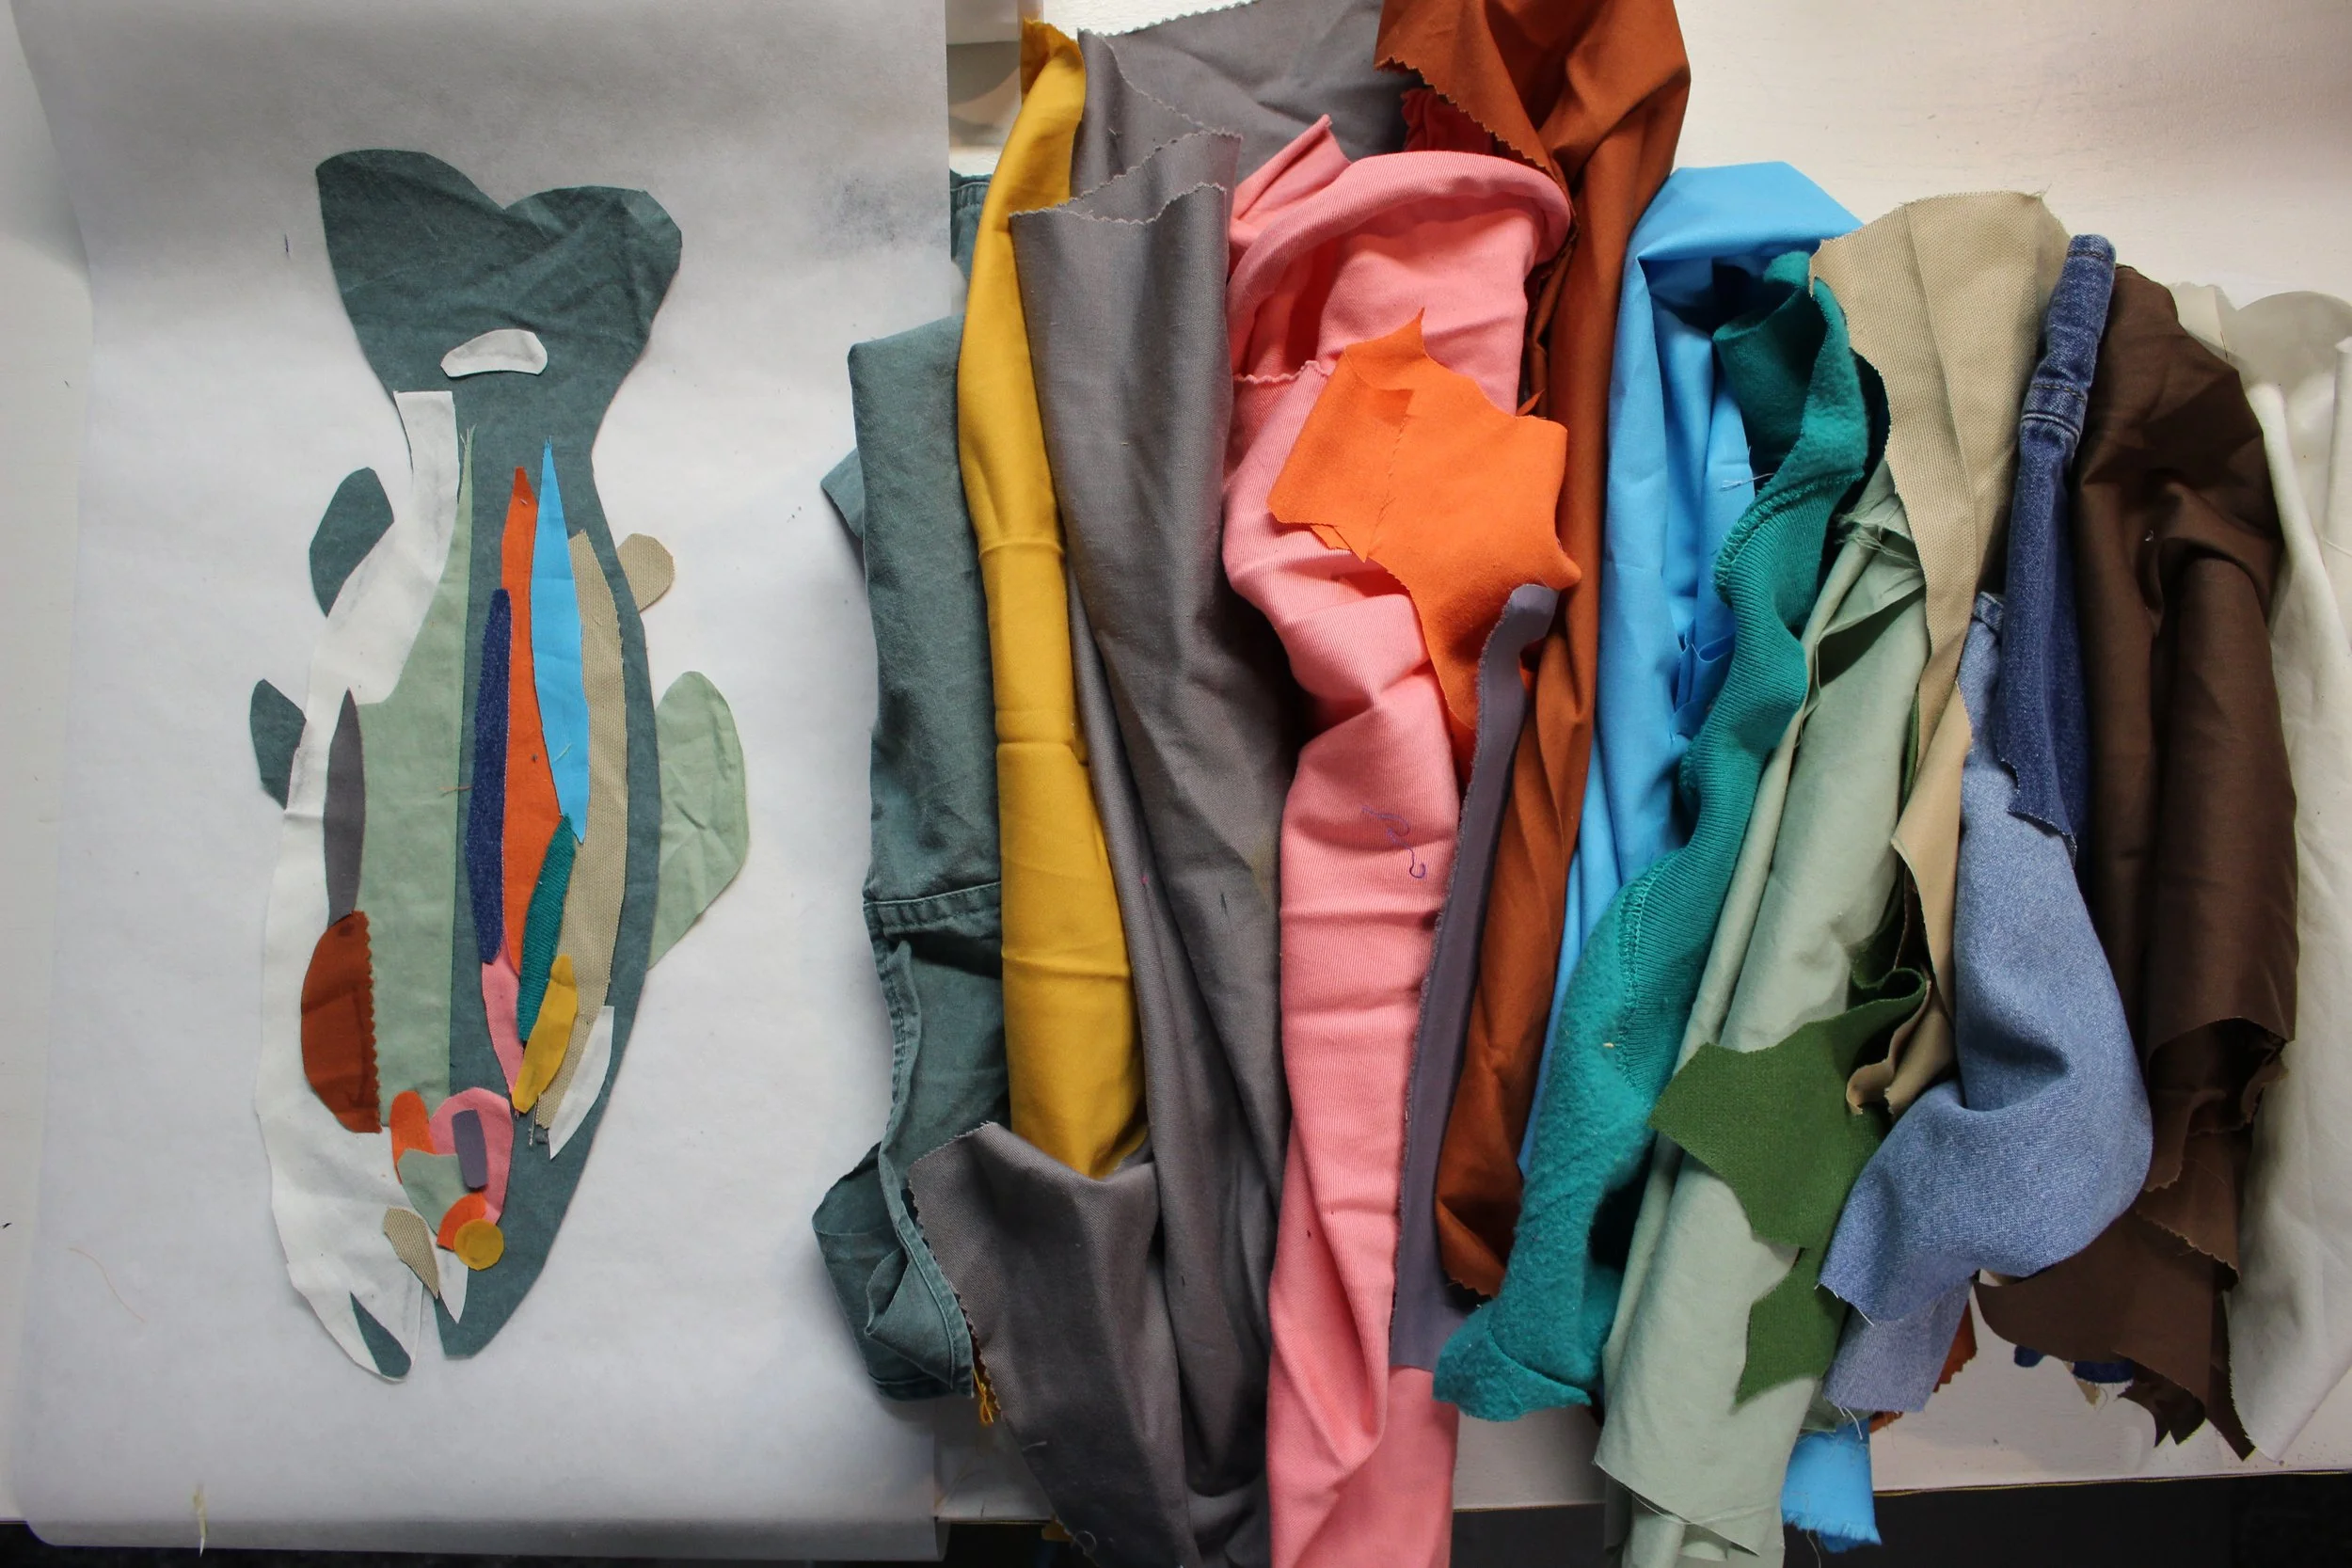
Image: Various items you’ll need for this project.
You’ll Need
Thread -Lots of thread. As many colors as you can, and need for your project.
Thick Sewing Machine Needle- I typically use the ones labeled “Denim”. 90/14
Scissors- Use fabric scissors for fabric, and regular scissors for stabilizers.
Pins- To secure to the garment once finished.
Fabric Glue- I use Aieens or Mod podge Fabric Glue. Washable and Permanent.
Medium Weight Tear-Away Stabilizer- A stiff surface to build and sew your patch onto.
Fabric Scraps- Non-stretchy, thin fabric is best. Cotton is my go to for this project.
Sewing Machine- A regular sewing machine that is able to lower or cover the feed dogs. Keep in mind, these detailed embroideries can be a lot of work on machine motors. I recommend doing it with a durable enough machine. My 70s all metal montomery ward is a BEAST, meanwhile I’ve had 2 singer Heavy Duties poop out on me from this.
Free Motion Presser Foot- I prefer the open toe style, read below to see the options.
What Machine Do I Need?
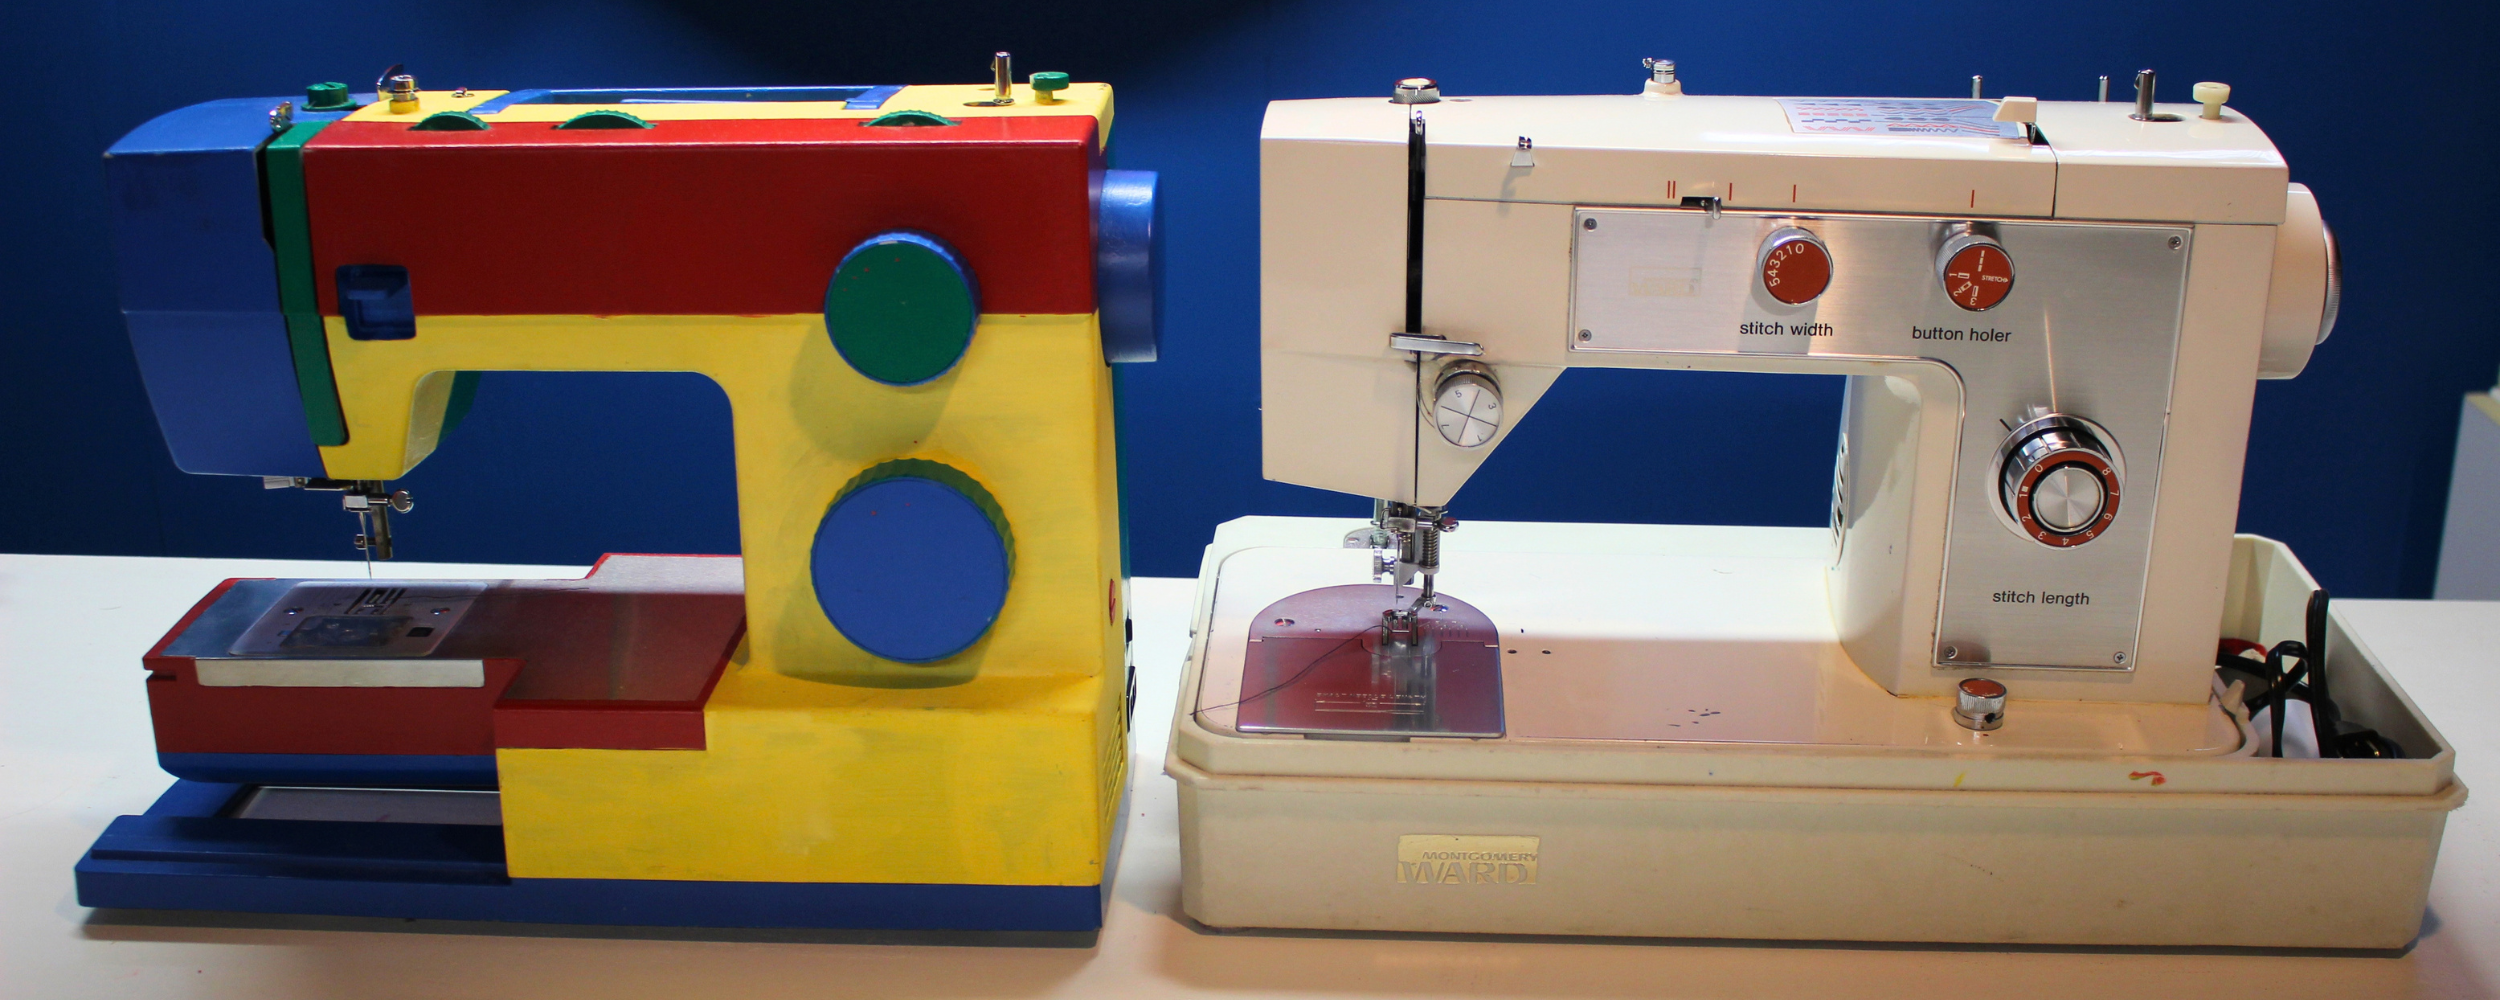
Image: 2 Different Sewing Machines. Left: Modern Singer Heavy Duty. Right: 1970s Montomgery Ward
Most sewing machines should be capable of free-motion.
However, this specific style of embroidery can be very intense, and can burn out motors. I’ve lost a couple Singer Heavy Duties because of this.
My favorite is a 1970s all metal sewing machine, I thrifted for 20 bucks. It’s a BEAST. I know not everyone is able to thrift a machine and risk it not working, but I am personally so glad I took the chance.
Free Motion Presser Foot
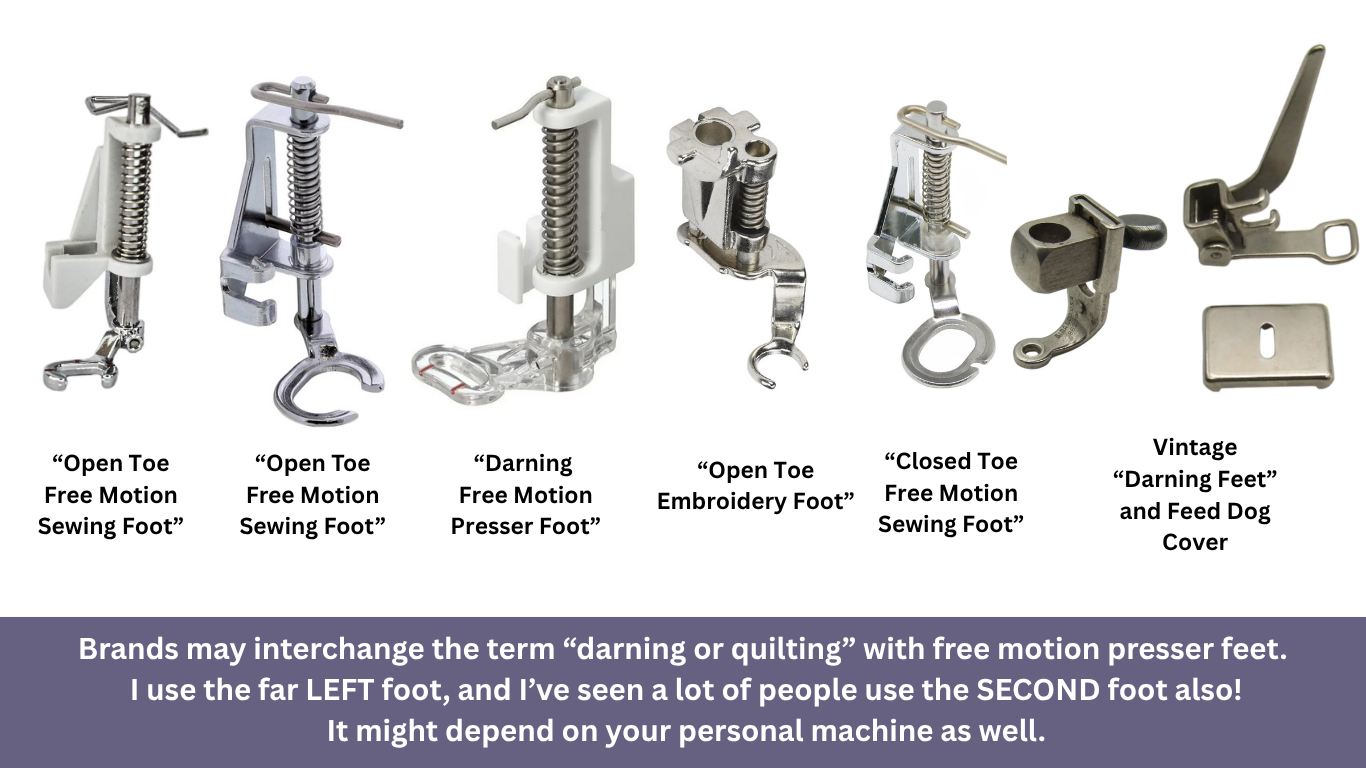
Free Motion Presser Foot
Sometimes referred to as a “Darning Foot” or “Quilting Foot”. (But other times those refer to a different foot entirely.)
*They allow you to sew in any direction, which is vital for free motion!
I typically use the LEFT foot in the image, for my sewing. I also own the SECOND one, and have seen others use it. I like the smaller foot better.
”Do I even need a foot?”
You might be thinking, “Why do I need a foot at all, can’t I just free motion sew with no feet?”
The free motion foot presses down on the fabric to allow it to stay still, and not pull up when the needle leaves the fabric. Then it lifts up completely when the needle is up, to move in any direction. This prevents shifting and skipped stitches.
It also gives you a visual guide as to where the needle will hit down, saving your fingers from getting stabbed.
Most modern/regular machines would need a “low shank” foot, versus industrial machines need a “high shank” foot.
Low Shank Machines: AKA your standard home machine.
High Shank Machines: AKA the industrial ones.
I have been able to interchange my current free-motion foot on every single one of my Low-Shank machines. (Singer HD, 70s Montgomery Ward, Brother, and Husqvarna.) I use a cheap off brand one, nothing fancy.
Putting the Foot on
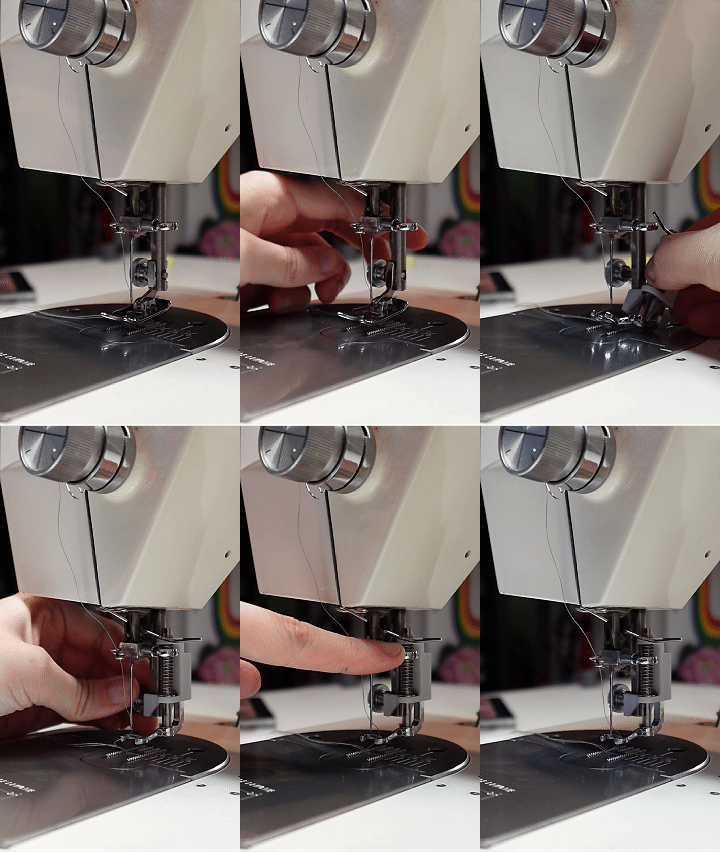
Unscrew and remove the original foot.
Put the foot on, making sure the metal horizontal bar (on the sewing machine arm) is underneath the perpendicular metal bar (on the foot).
Once the lever is put down, to begin sewing,
the bar should push up the foot, causing it hover when the needle is up, and press down with the needle.
If you are having difficulties freely moving the fabric when you sew, it might be inserted wrong.
Lower or Cover the Feed Dogs
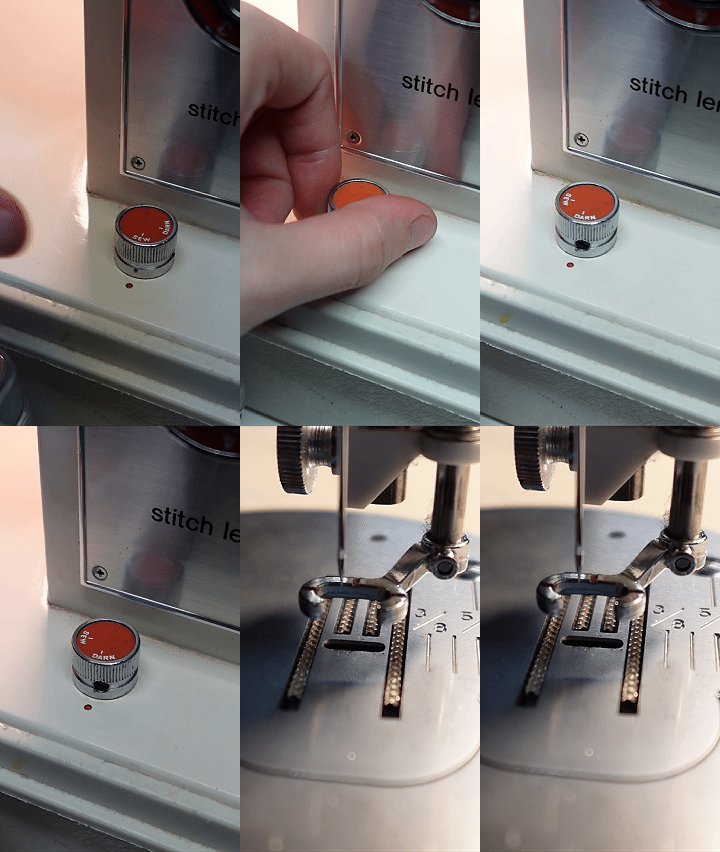
To Free Motion Embroider, You need to lower or cover the “Feed Dogs”
These are the grippy things that “pull” the fabric forward.
Depending on your machine:
1. Lever or knob to lower them. (On the front, back, etc.)
2. Plate to cover them.
Not all machines are capaple of this.
Stabilizer
There really is only one type of stabilizer I recommend for this project.
“Tear Away Stabilizer” serves as a durable base to build and sew your patch onto.
They are available in light weight, medium weight, and heavy weight.
I typically just use medium, but heavier weight can be really good for really intensive embroidery that may cause warping to the base.
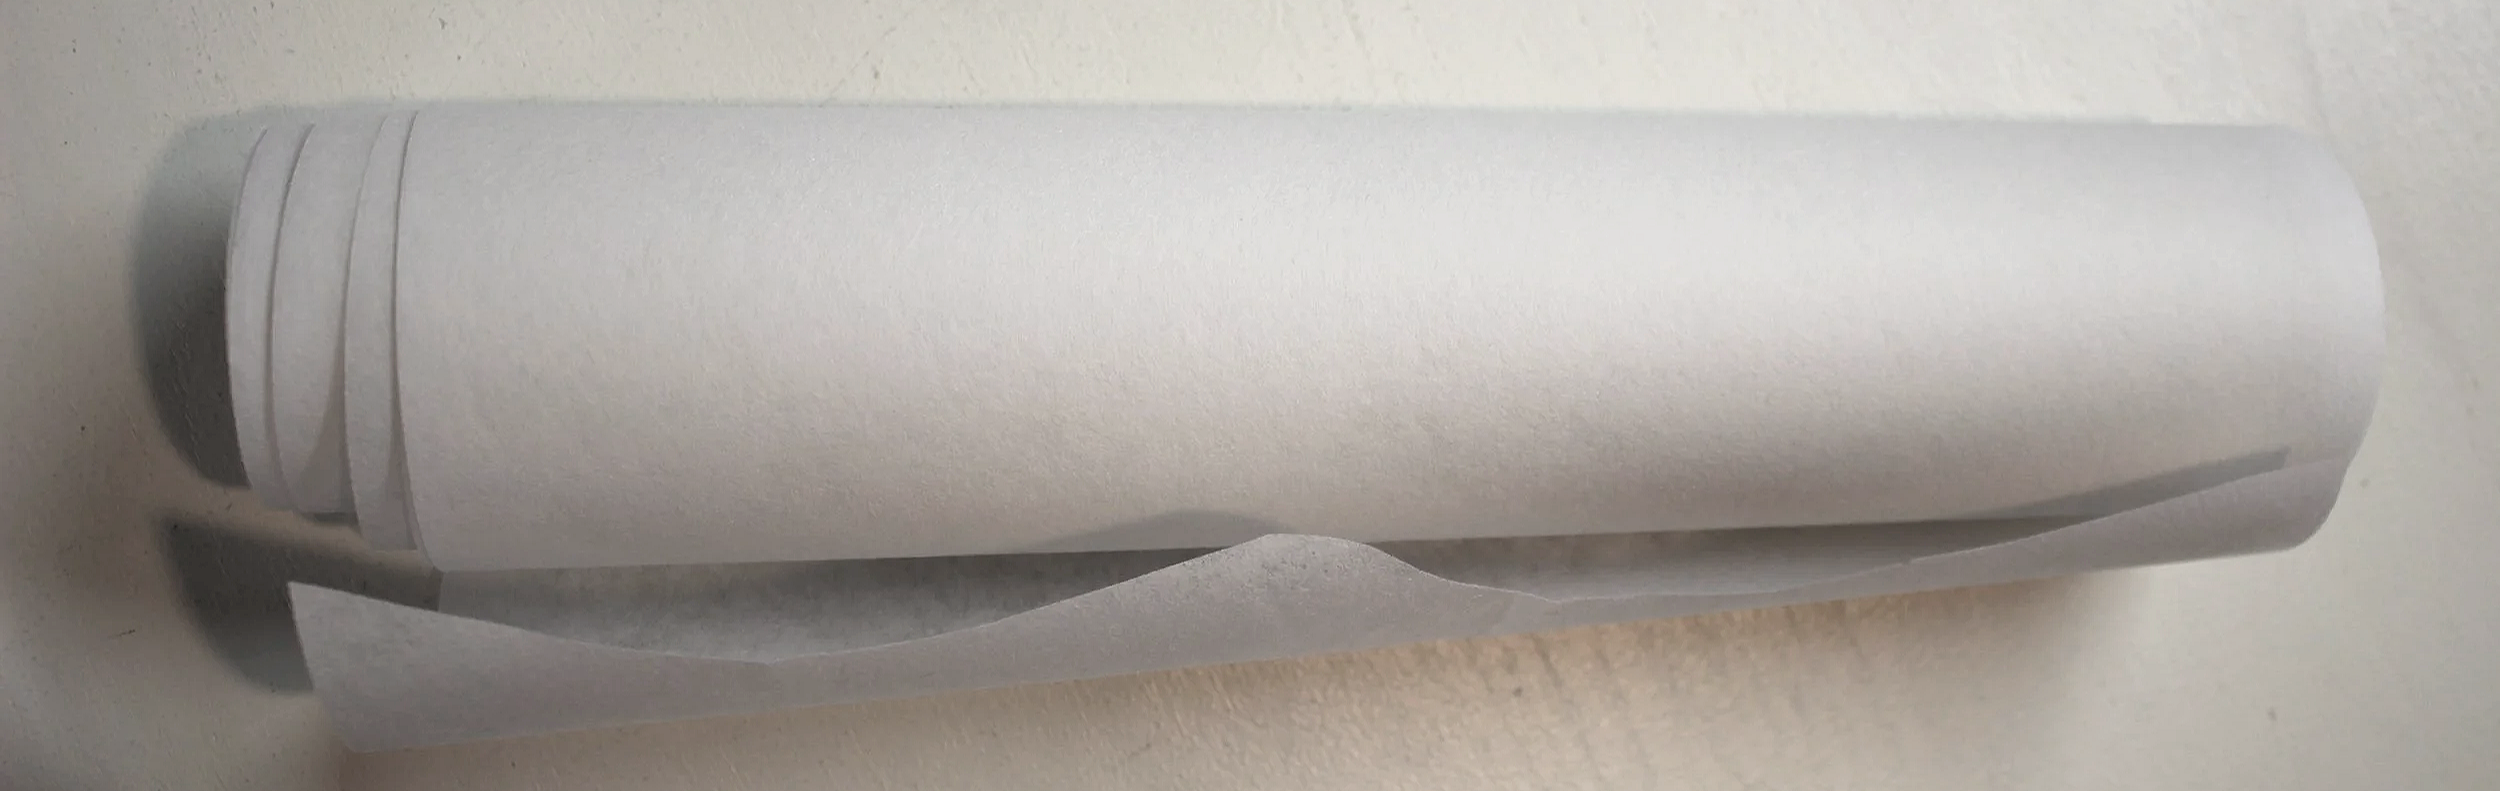
Image: Roll of medium weight tear away stabilizer.
Choose a Reference Image
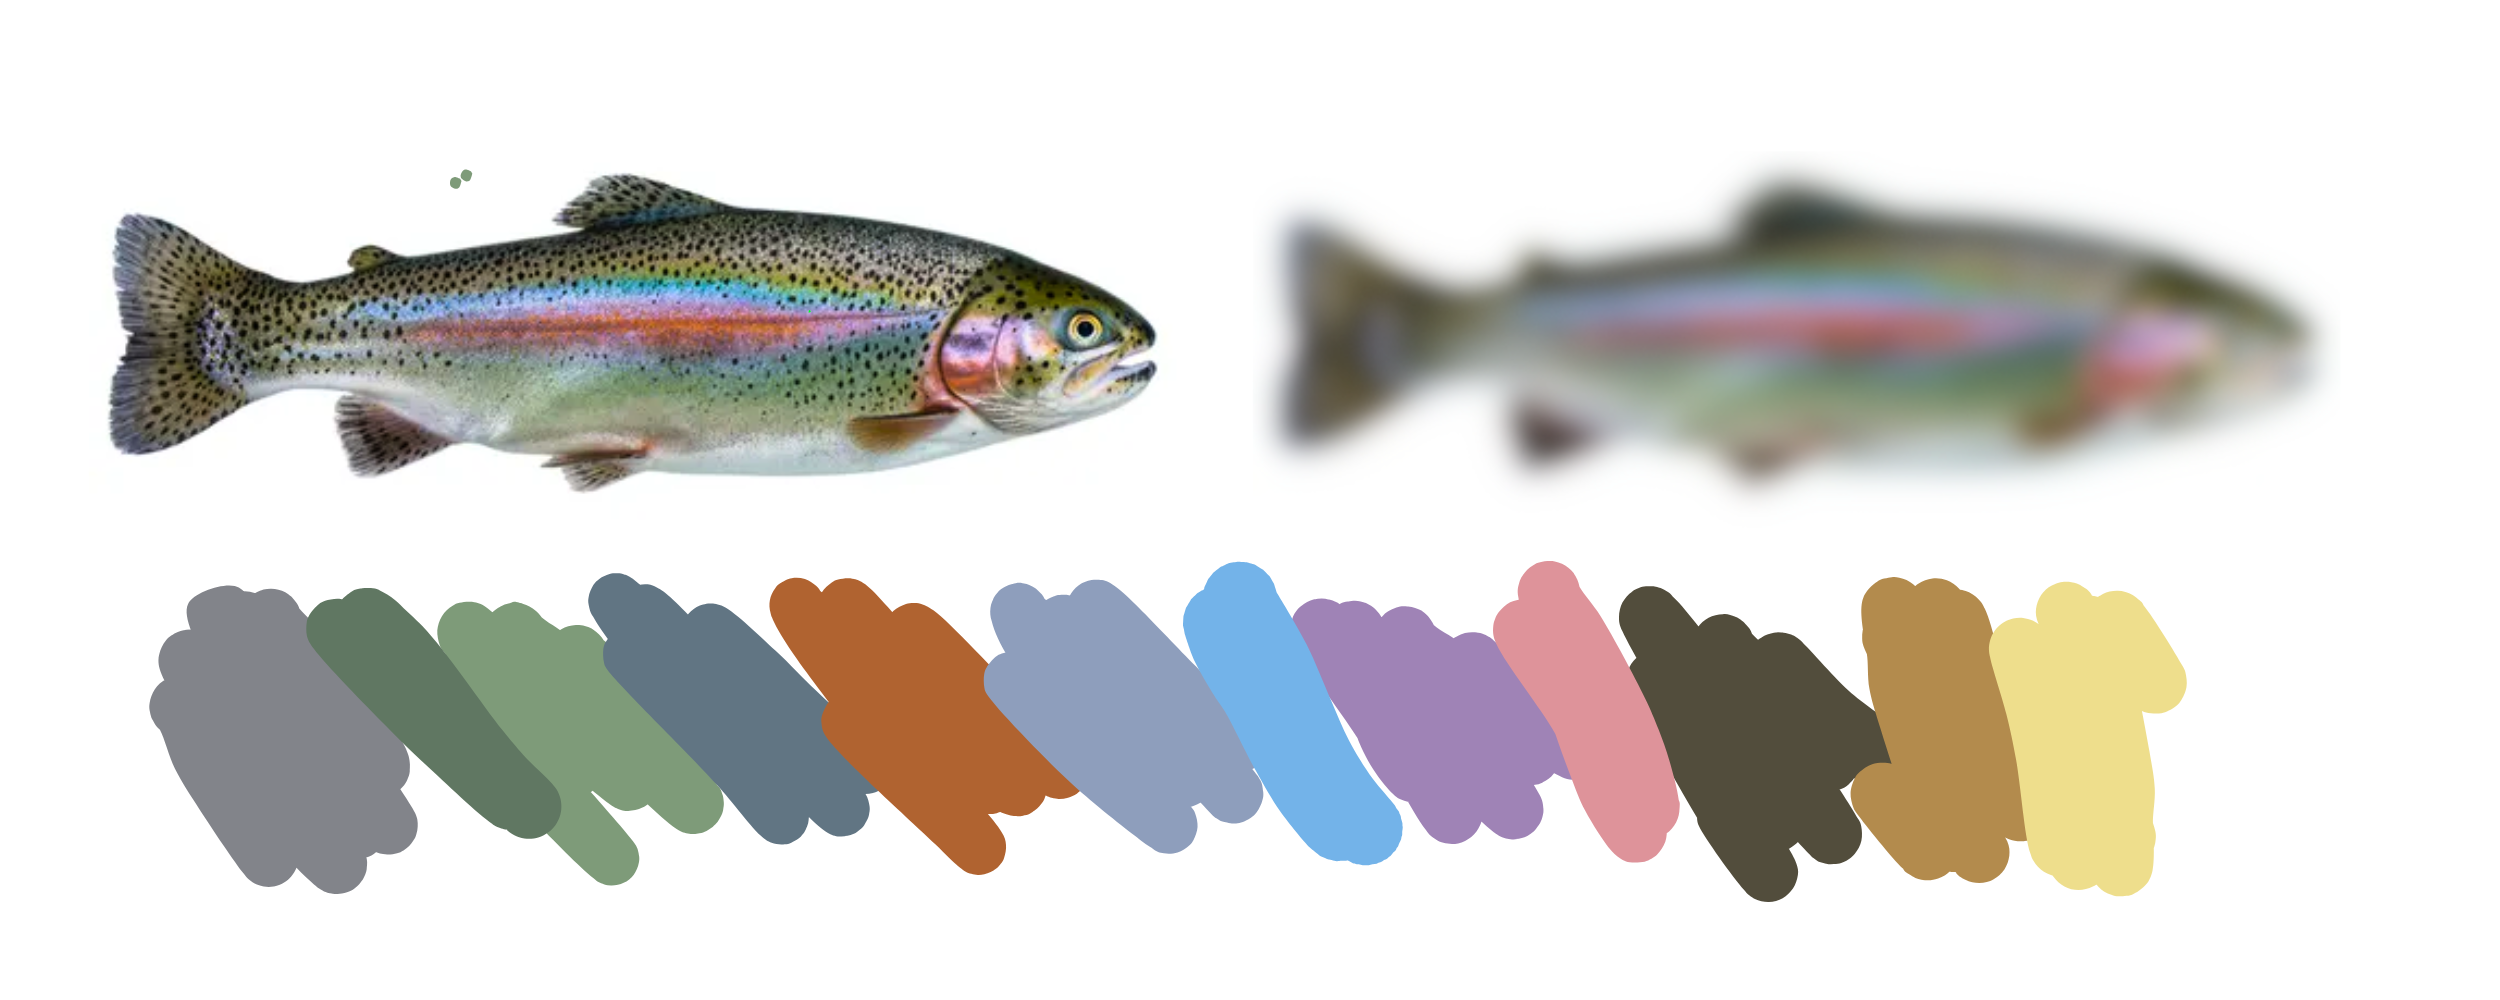
Try blurring the image to help see the general shape and colors needed.
Use an eyedropper tool to see each individual color.
Gather your Fabric Scraps
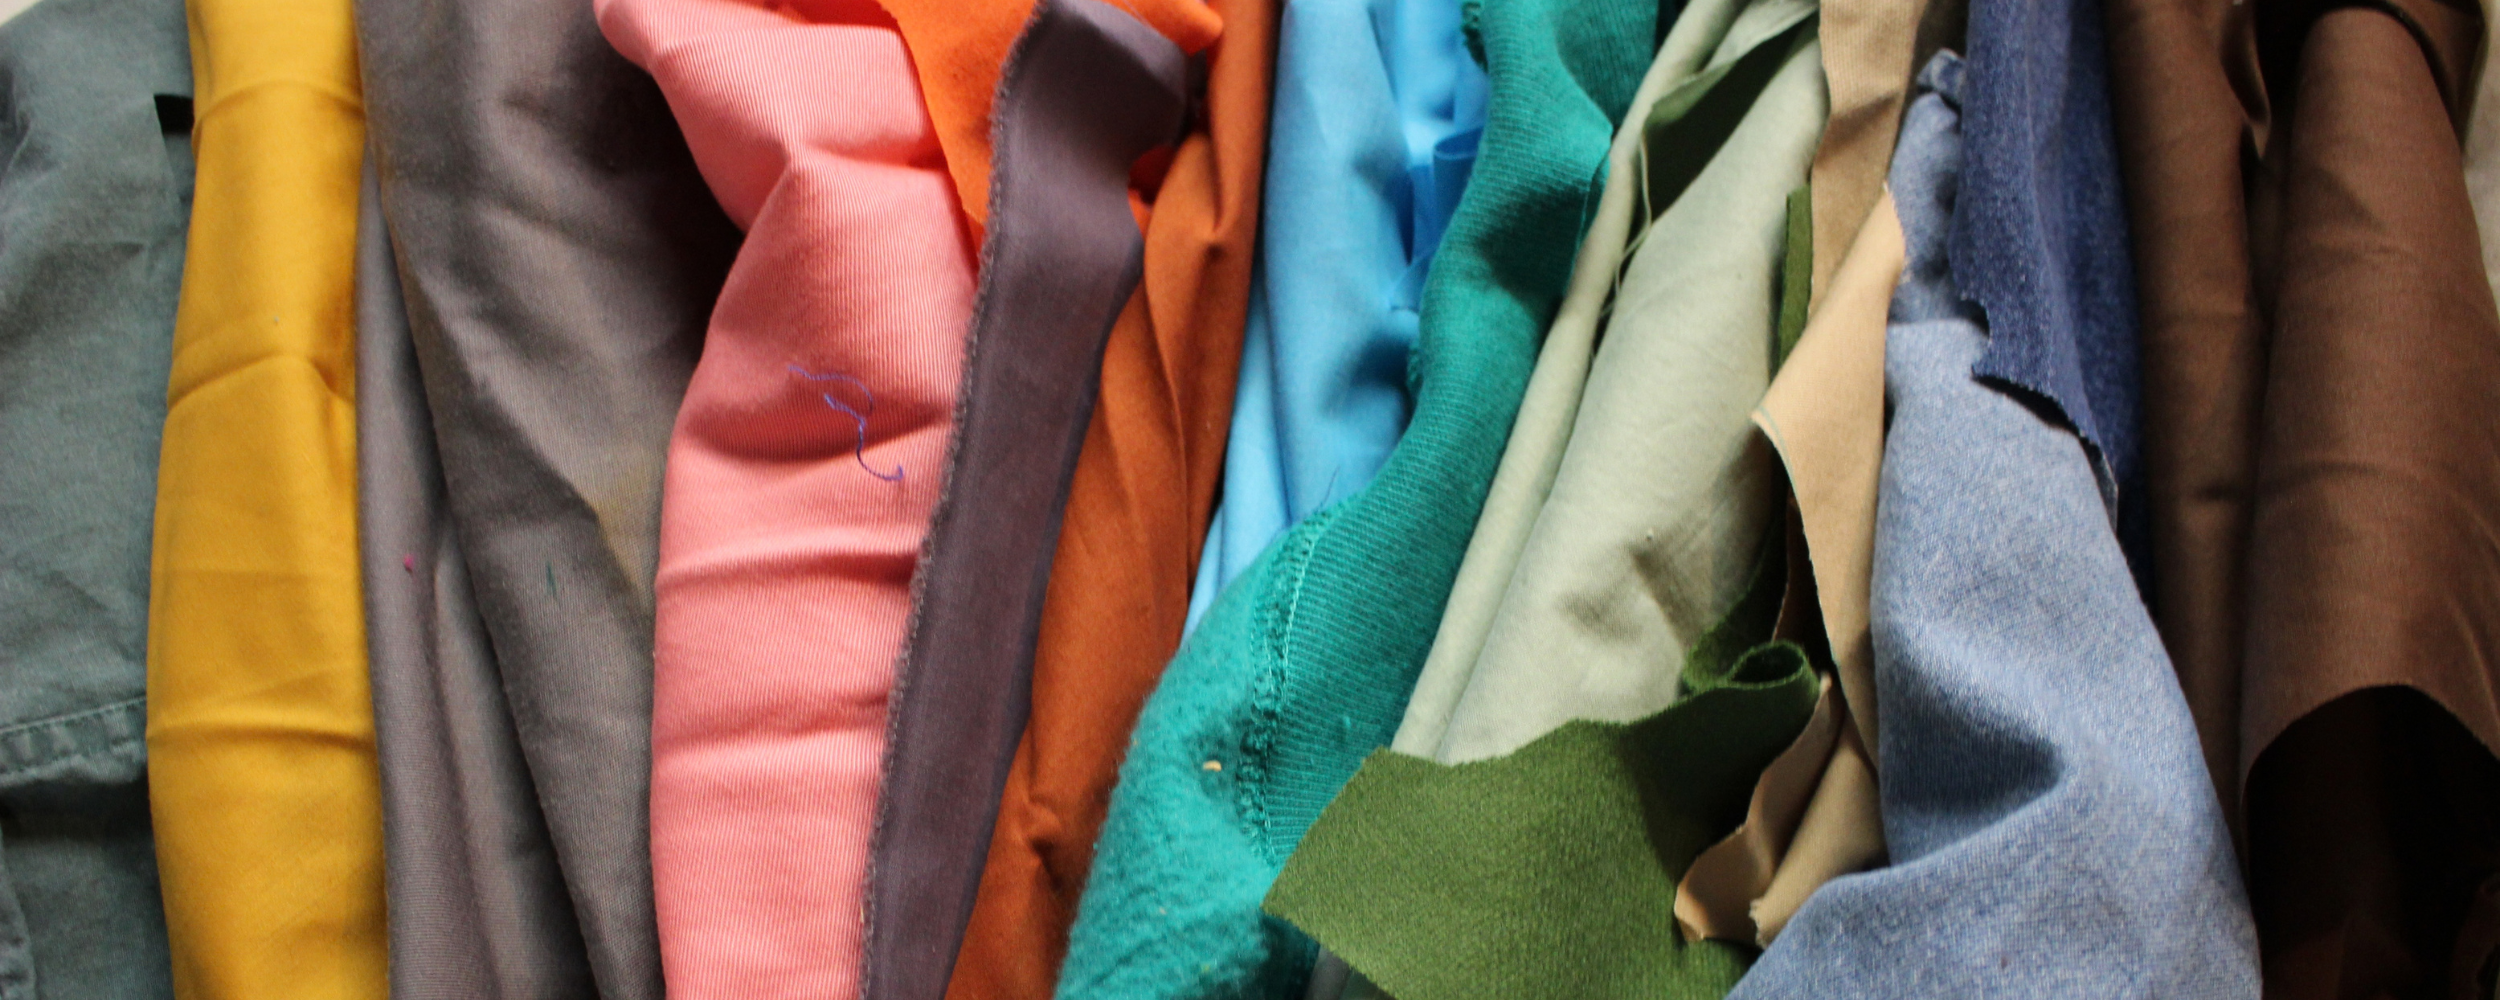
Using the reference image, select various fabrics that match. It doesn’t have to be exact, but the more detailed you are in this step = the less you need to make up for it with embroidery. (This helps reduce bulk)
I recommend thin non-stretchy fabrics like cotton. I sometimes use small amounts of felt or sweatshirt fleece if needed, but try to limit this.
Cut + Arrange Fabric
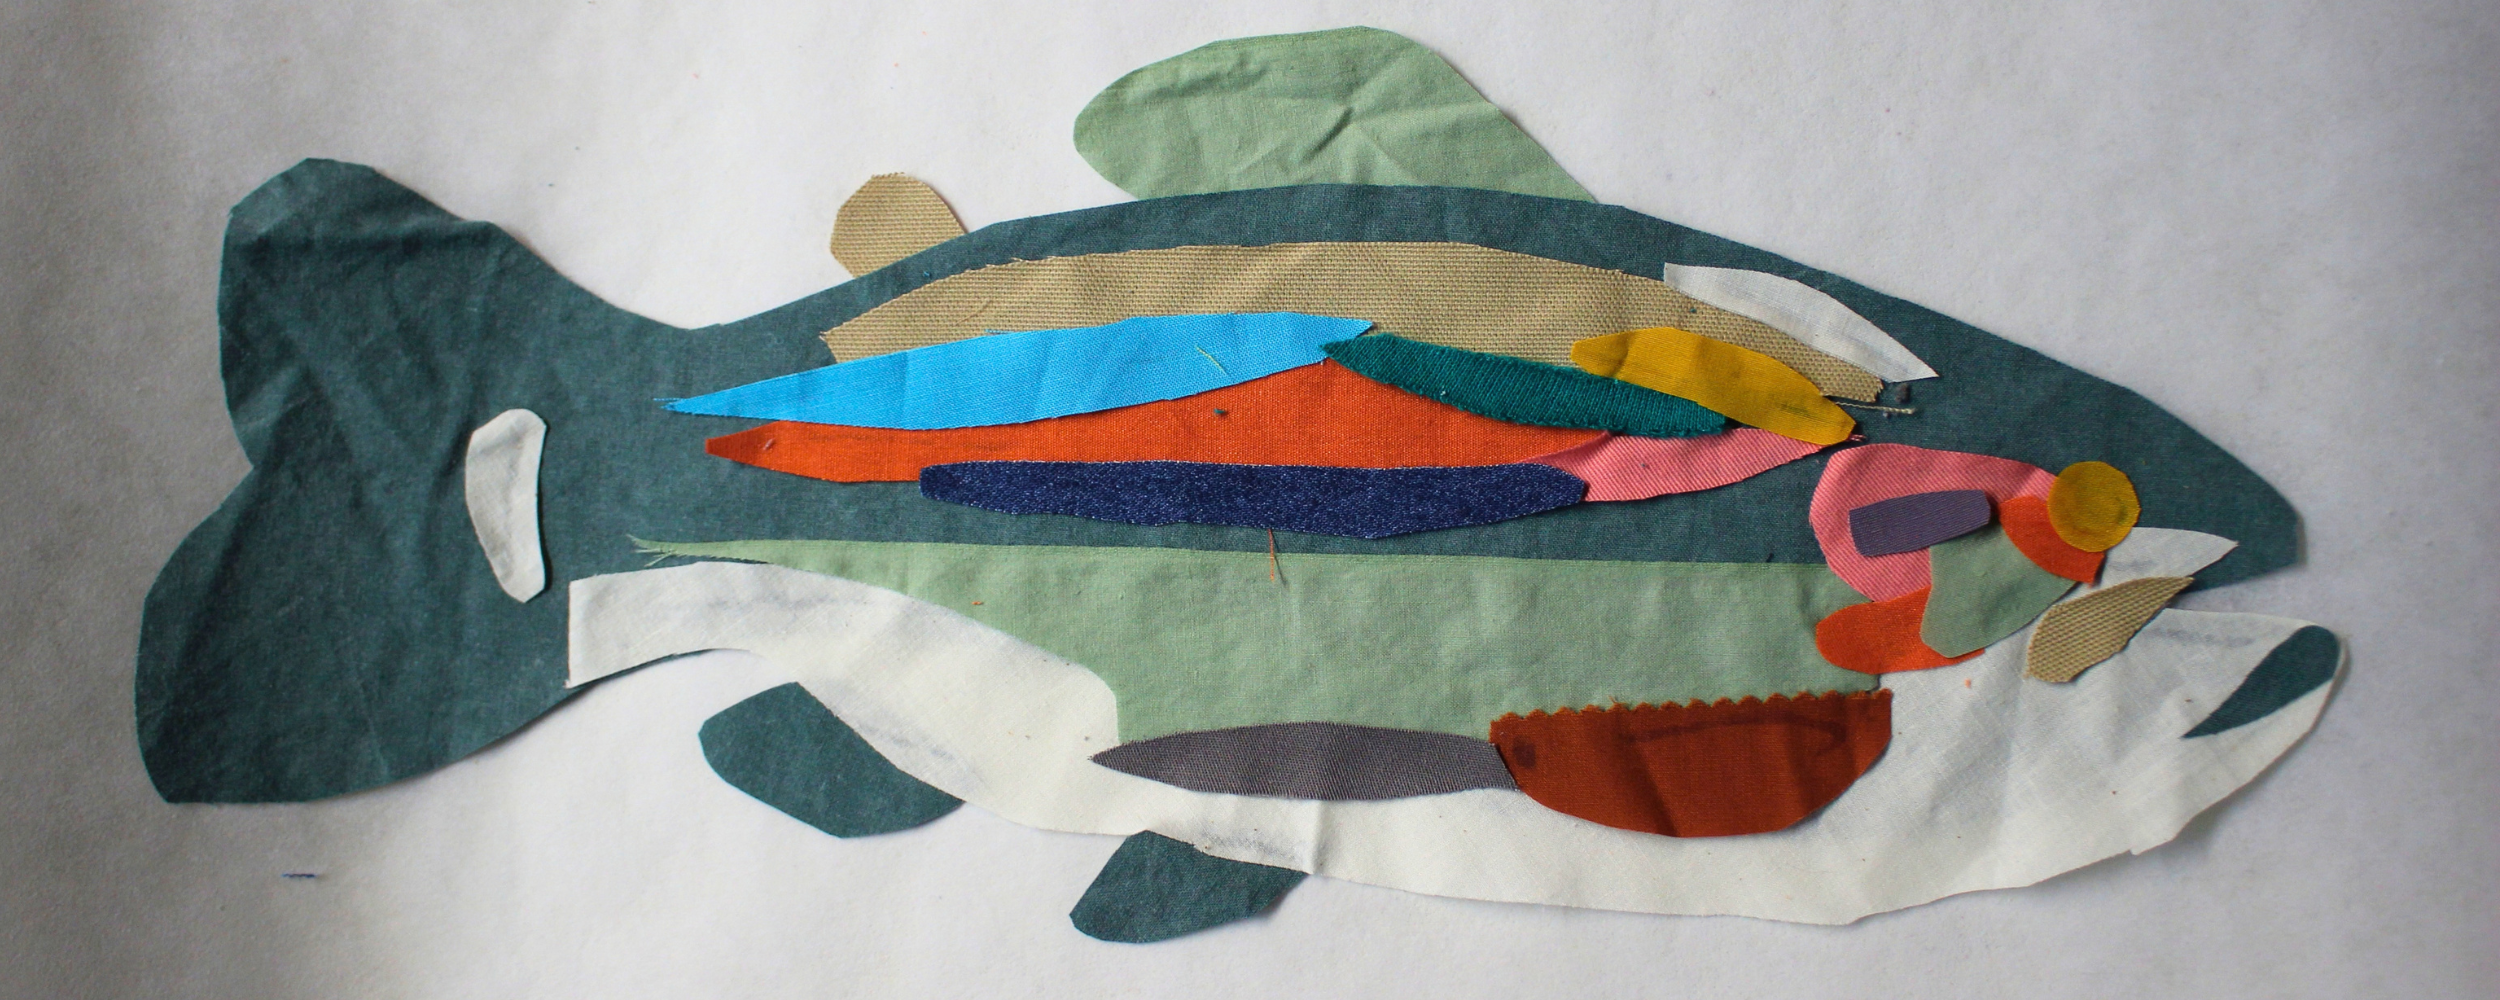
Image: Fabric scraps cut into the shape of the Rainbow Trout
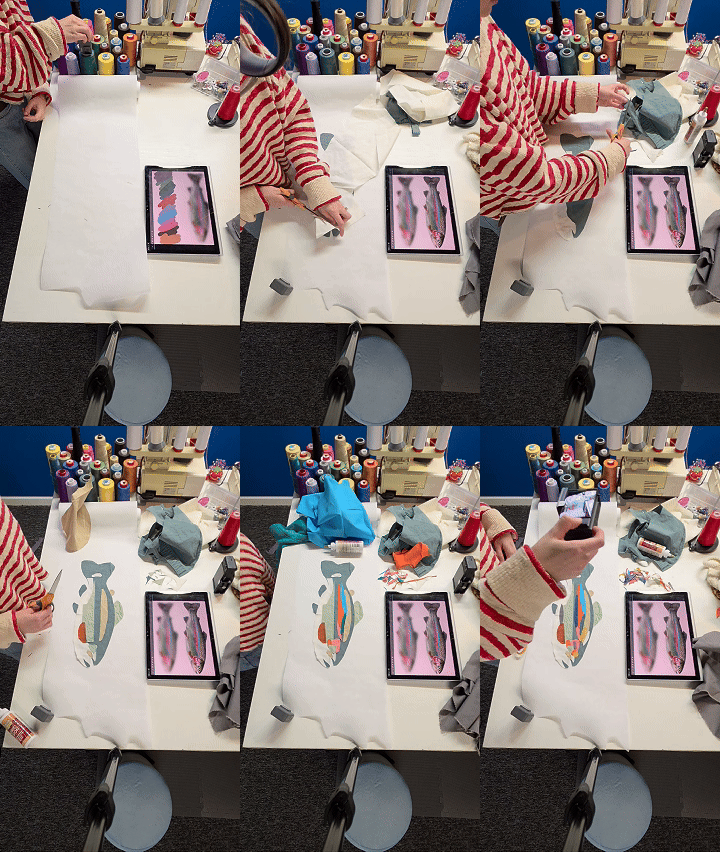
This is one of the hardest parts, because it just doesn’t look good right now.
Trust me, it’ll be fine!
Focus on each color and shape as a part; don’t look at the whole image and get flustered.
Use a VERY small amount of fabric glue to keep everything in place. You can glue directly to the stabilizer.
Do not sew until this glue is dry.
Do not layer too much fabric in one place, or it’ll be bulky.
Gather Your Thread
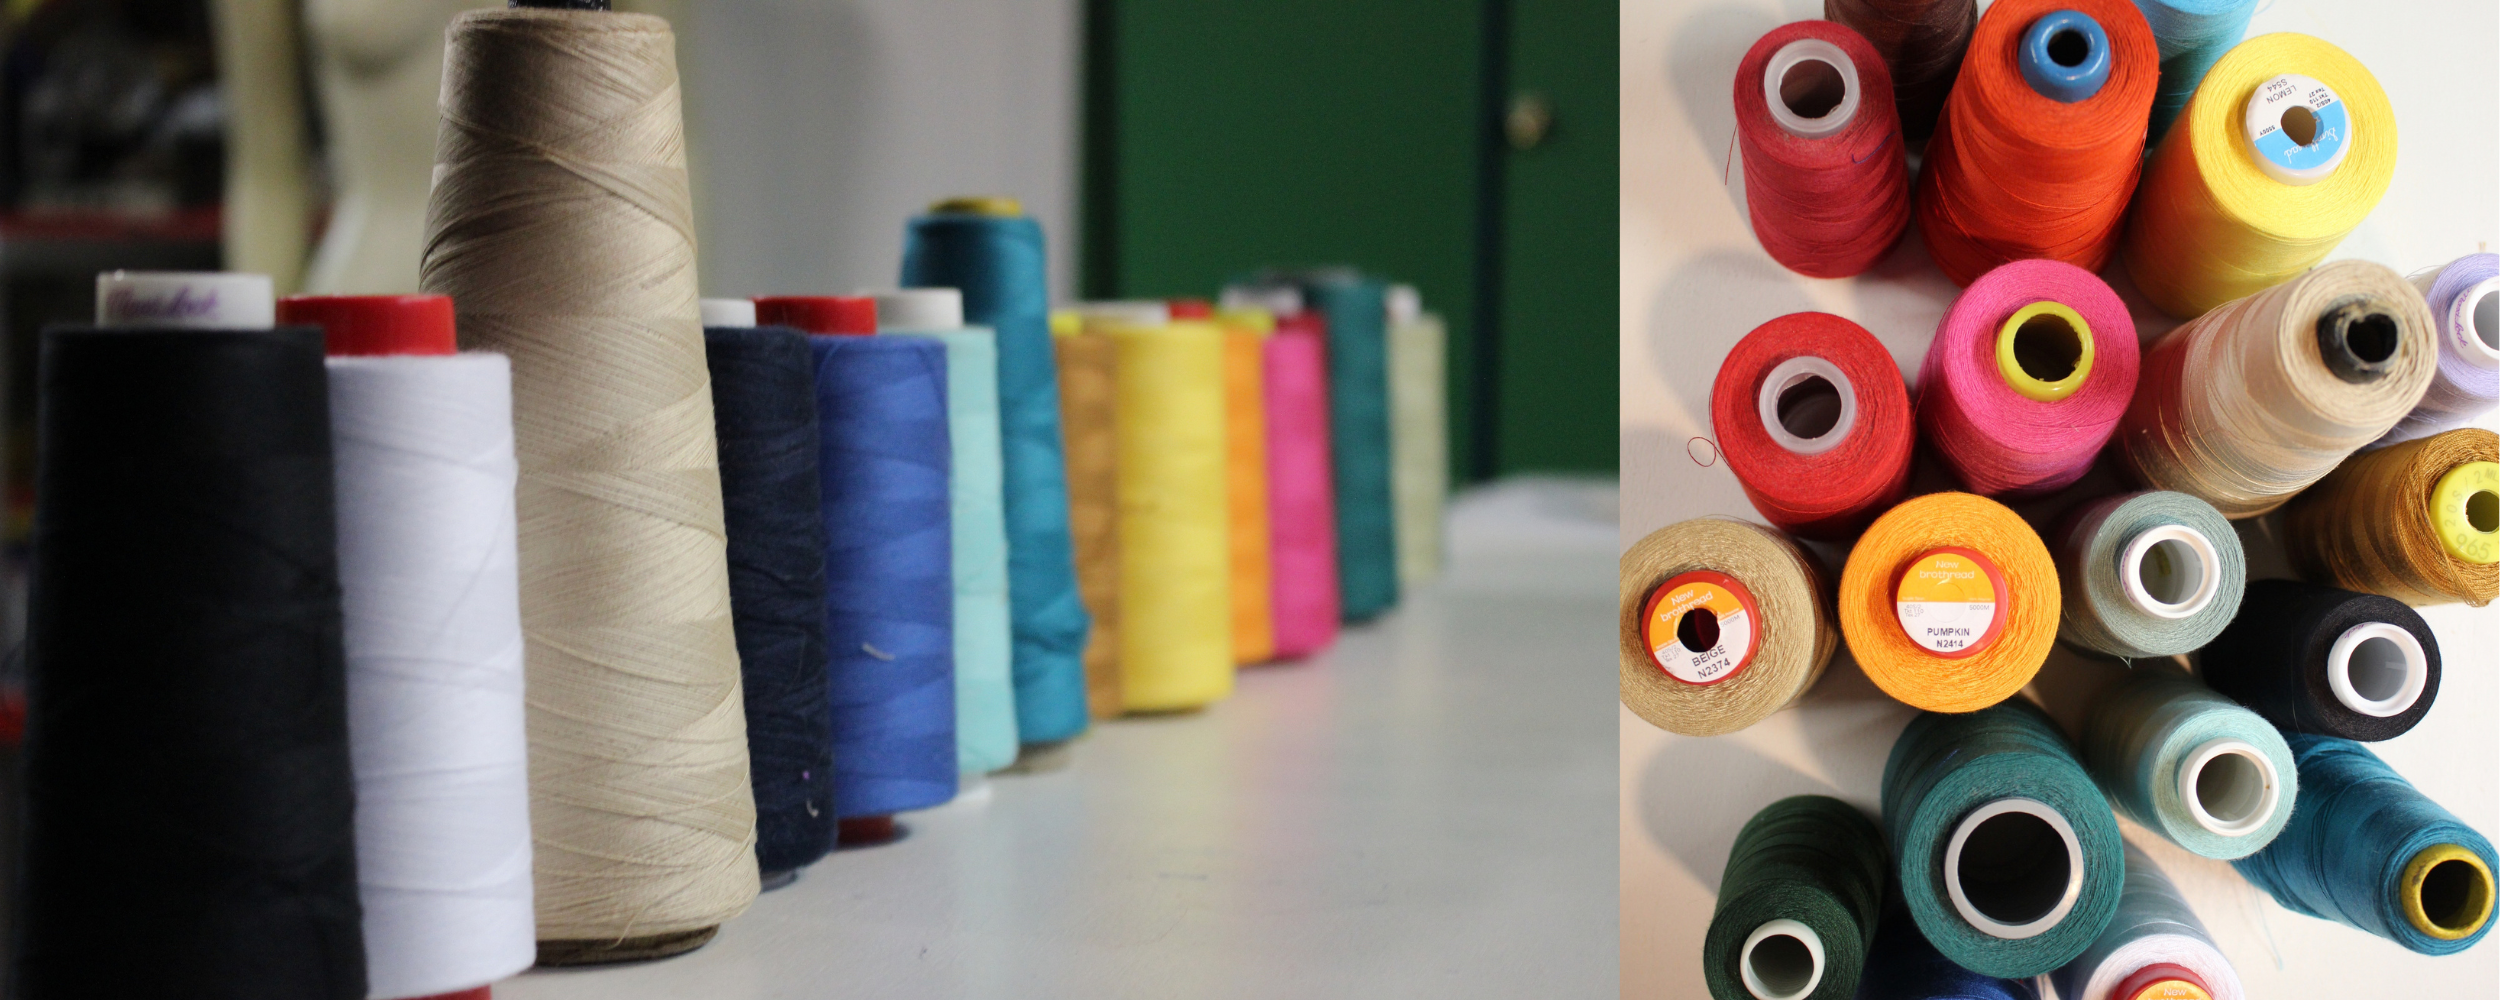
The following colors (above) are what I used for the Rainbow Trout!
This is just like gathering fabric.
Focus on every single color you can see. The more colors you use, the better it’ll look!
I use regular sewing thread, or overlocker thread typically. Keep in mind, overlocker thread is made to be thinner, which can break easier, and may require less tension. Use at your own risk.
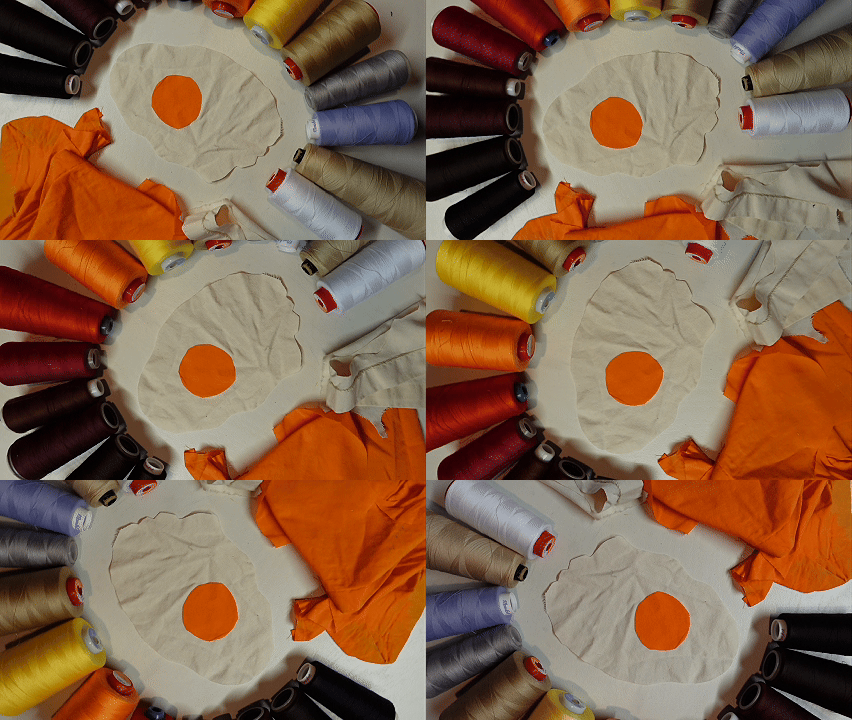
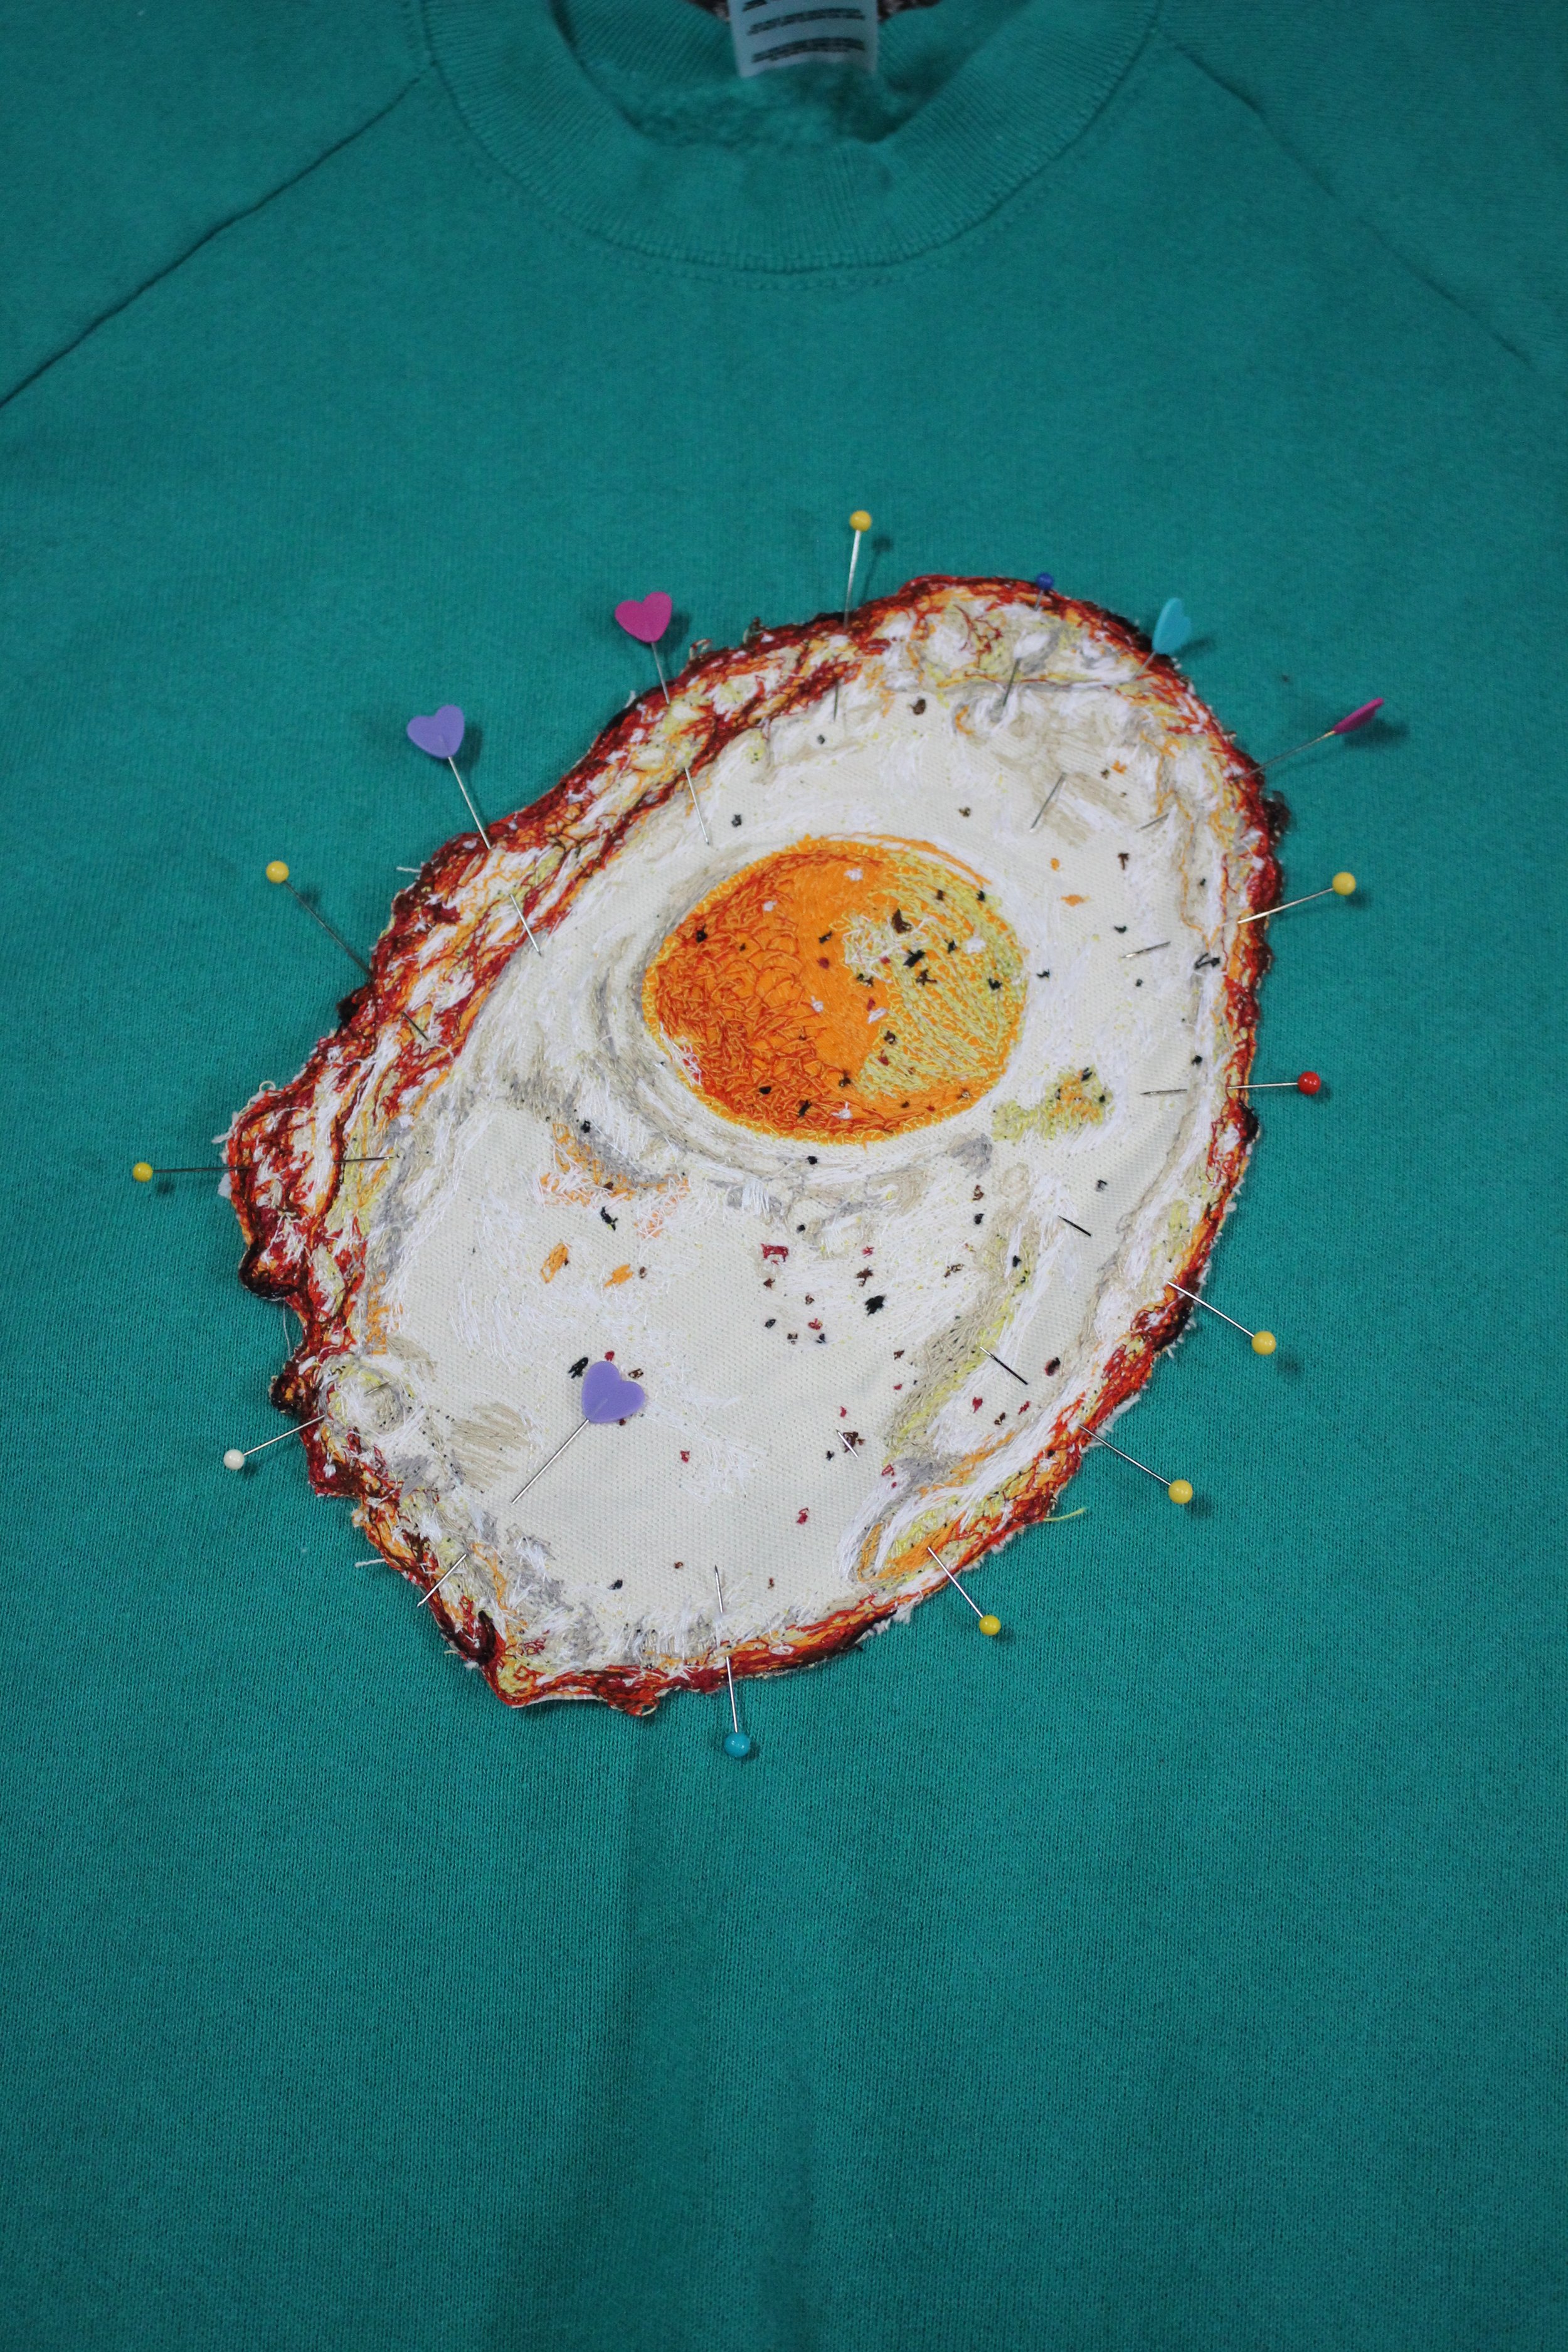
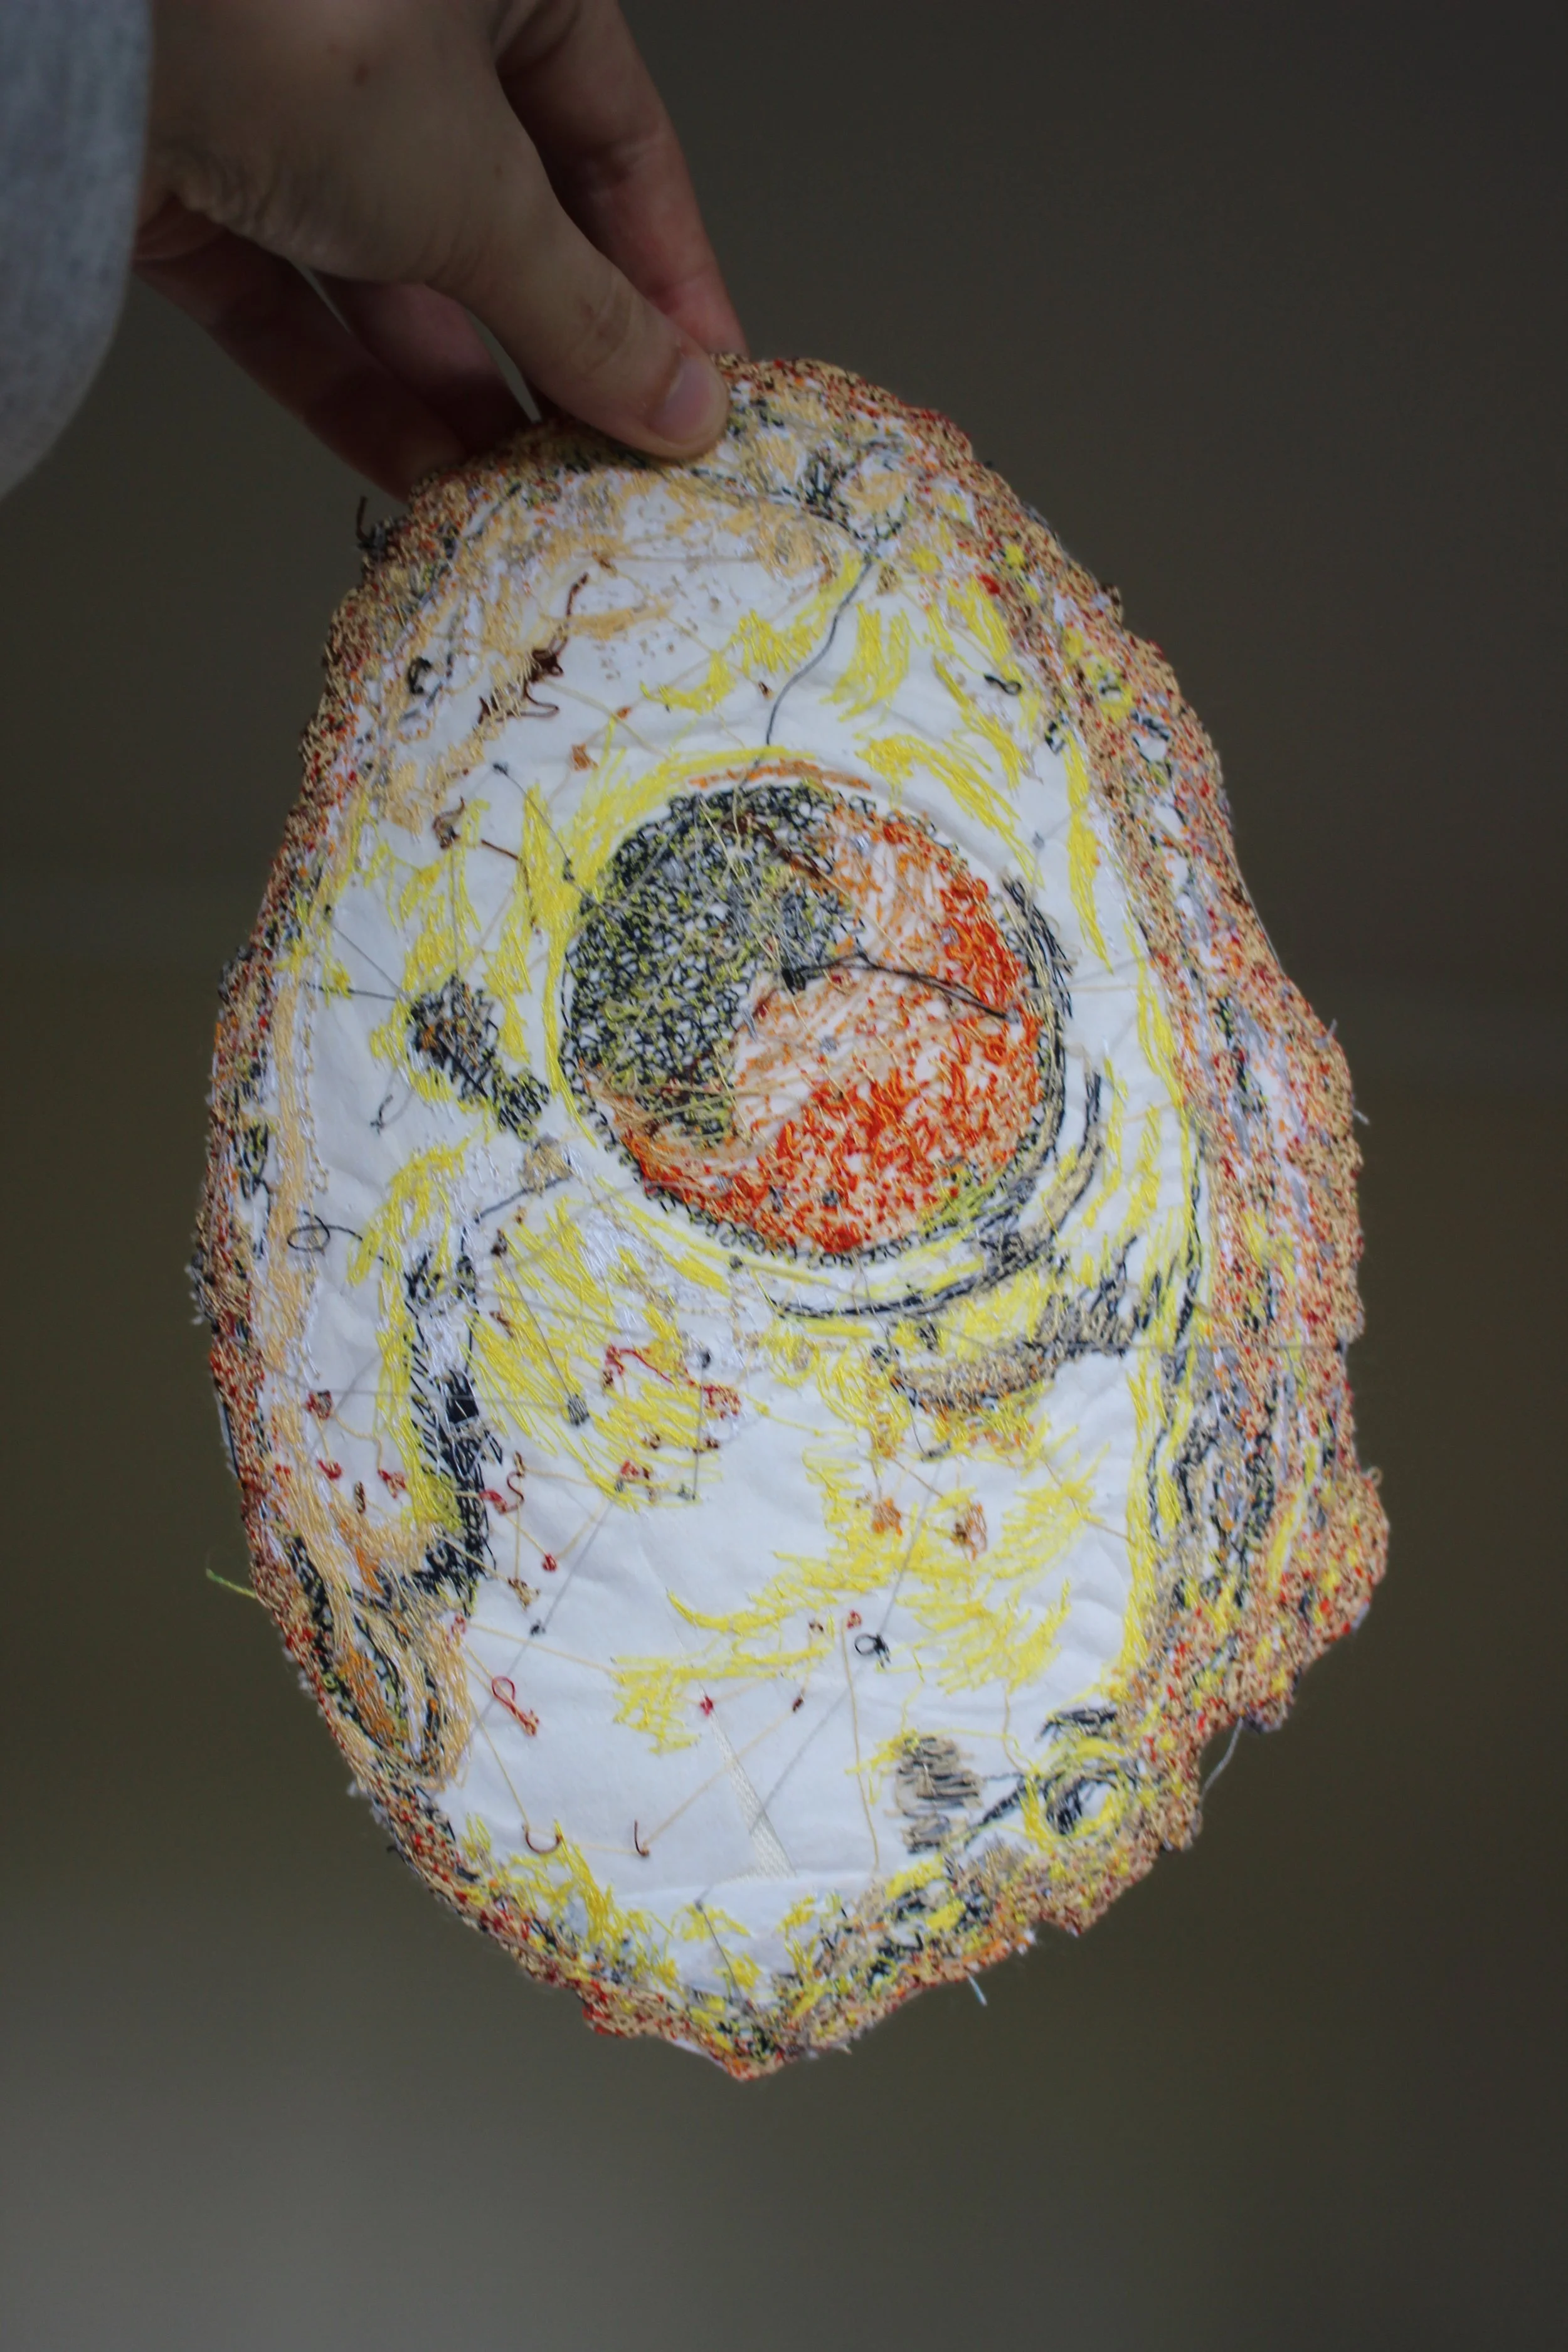
Thread colors used for the Fried Egg.
Sew with a Midtone First.
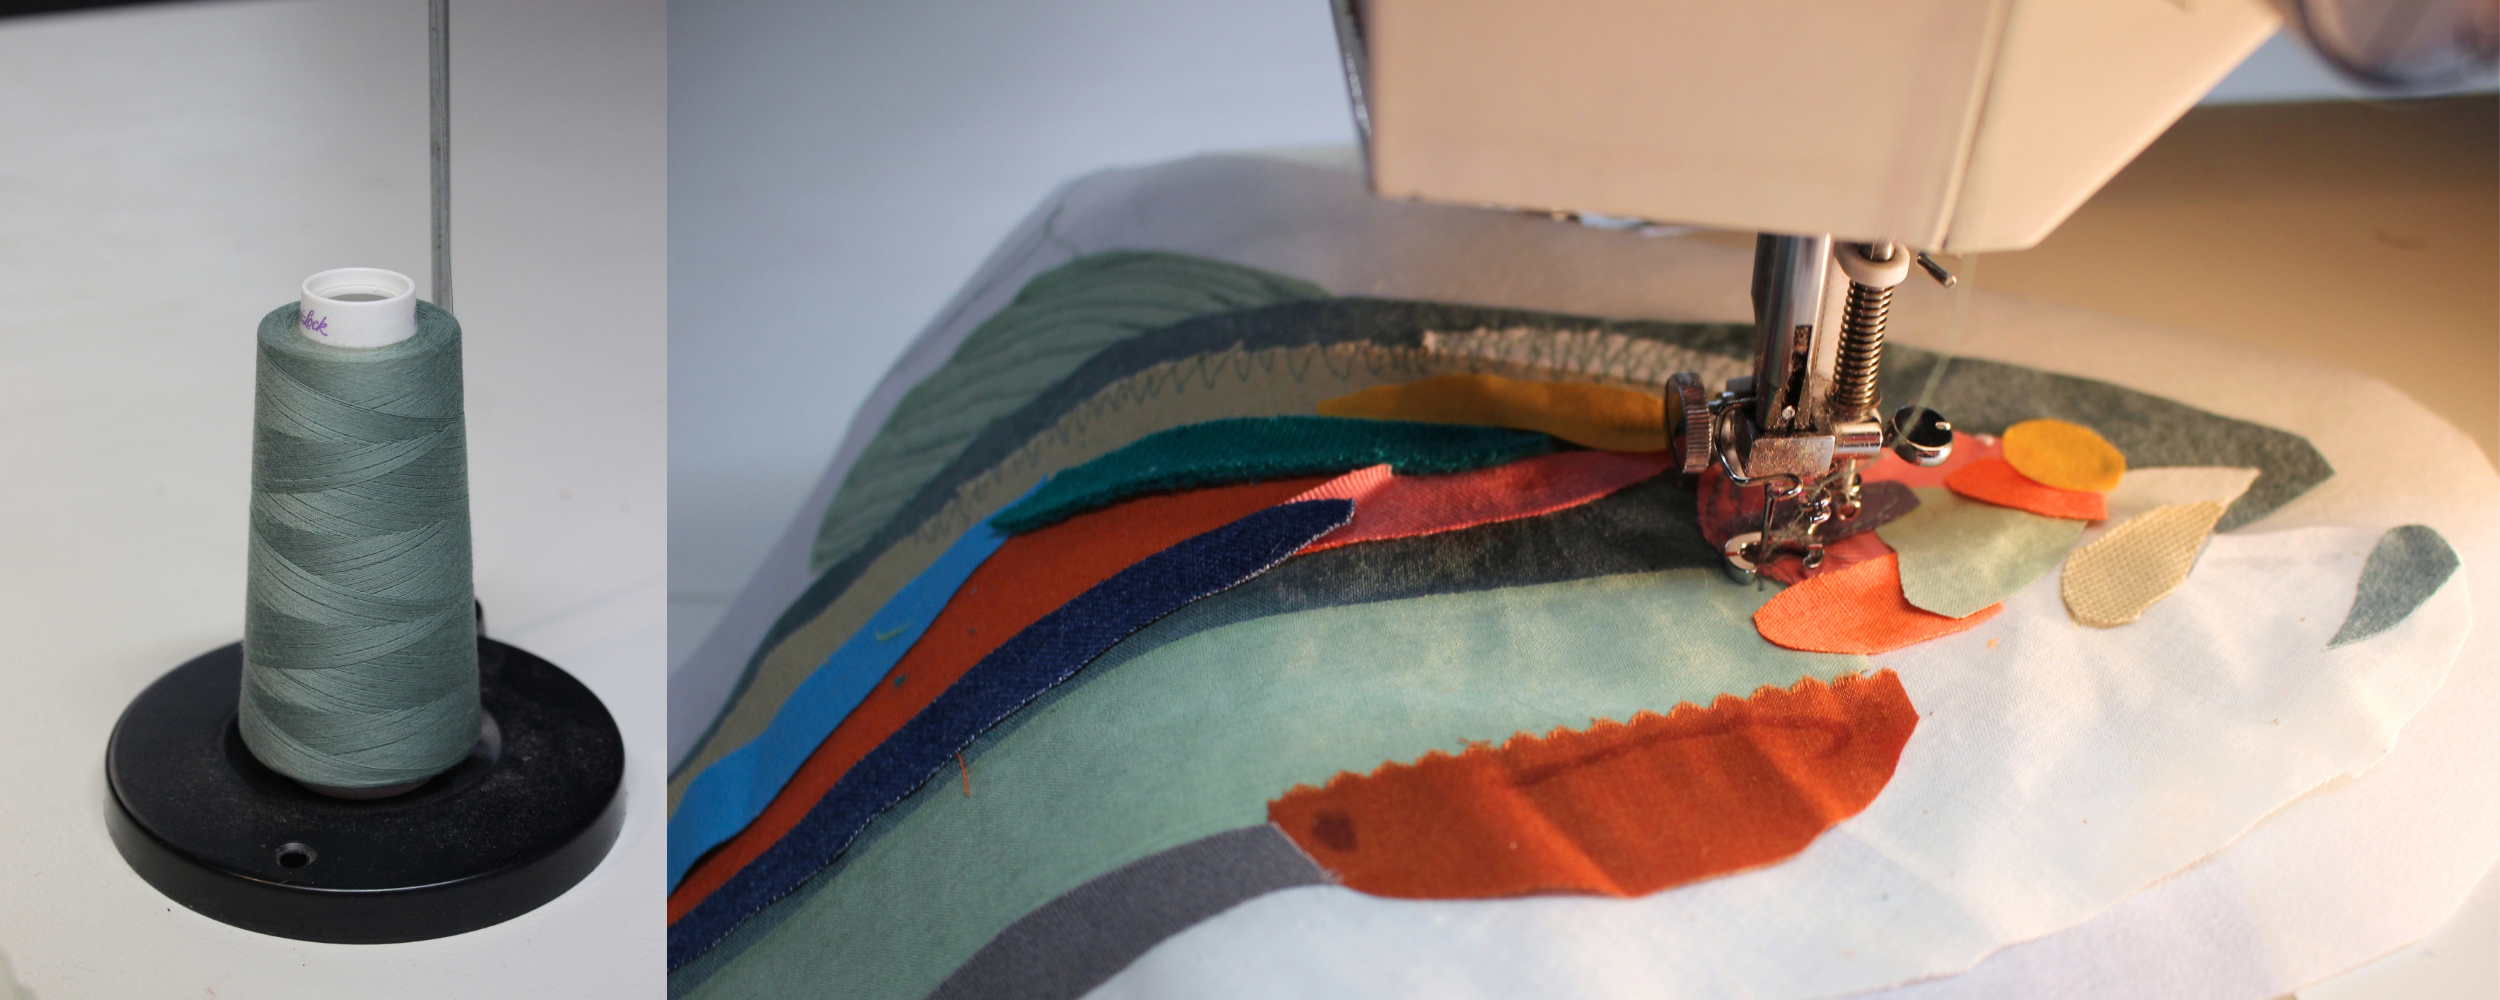
Sew with a midtone, like sage green on this trout.
Start with a general midtone. The color that is prevalent throughout the image.
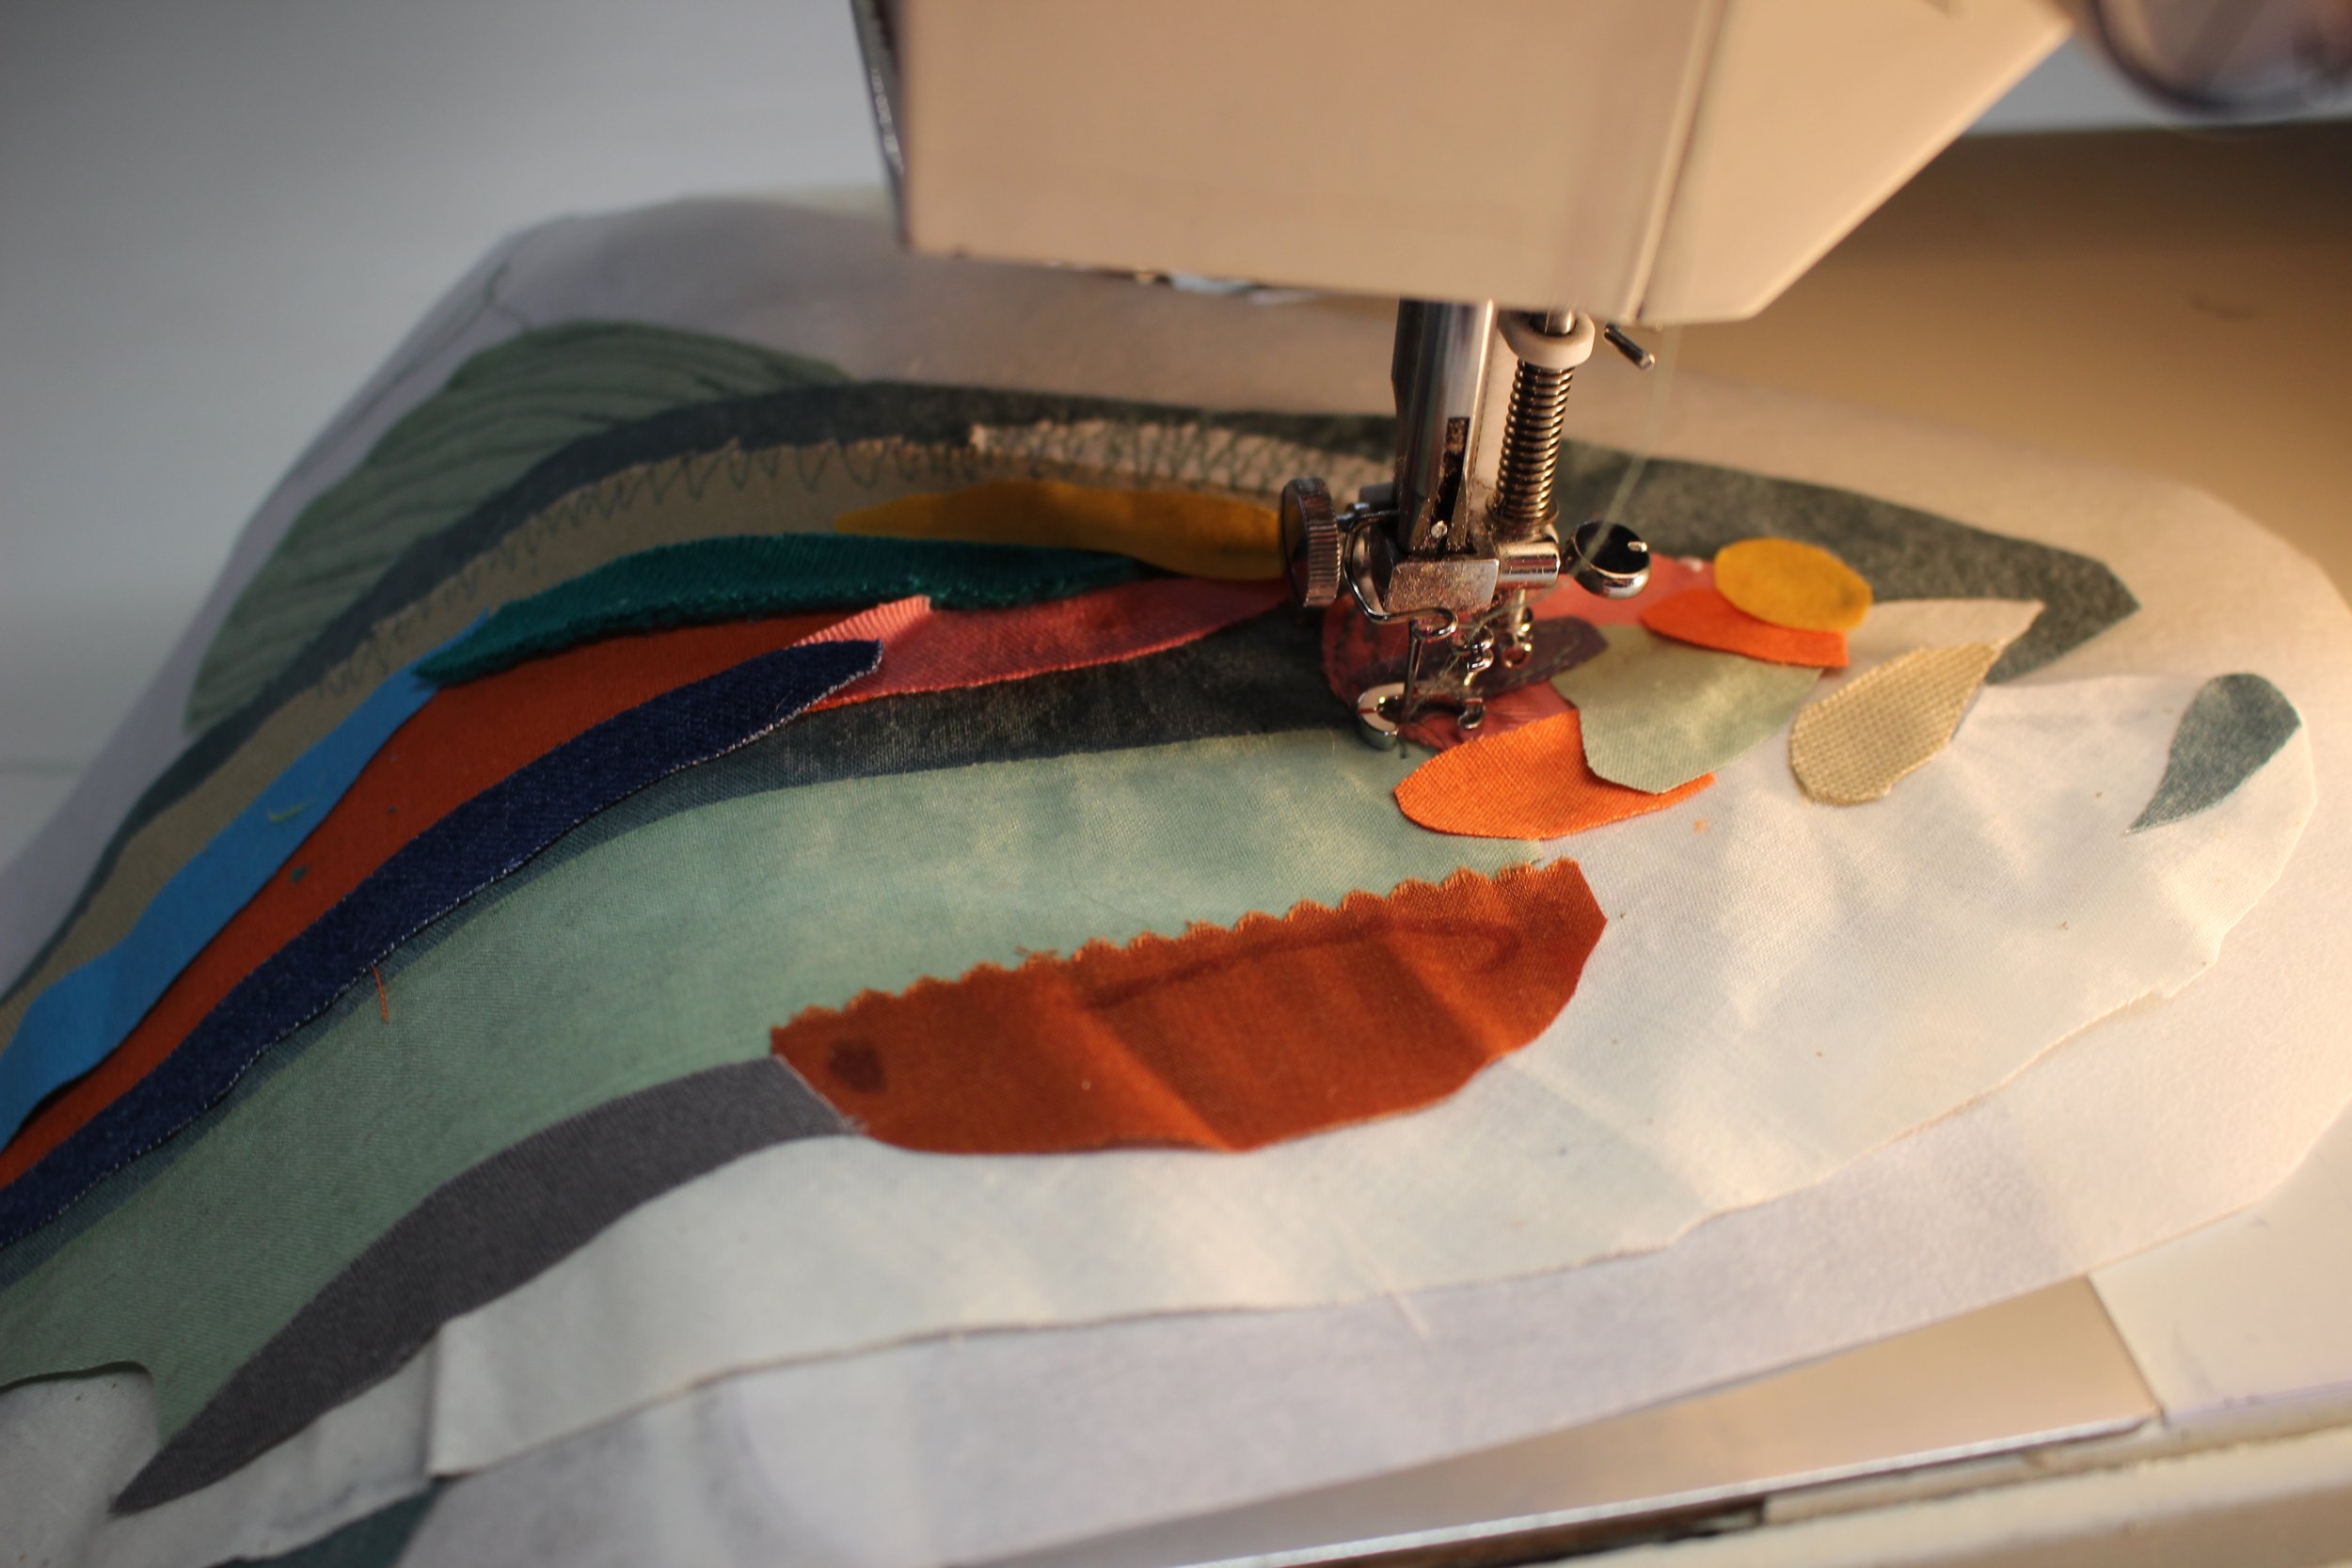
This is the perfect time to sew down all the pieces of fabric, and get a general idea of the shape and direction to sew.
What Direction do you Sew?
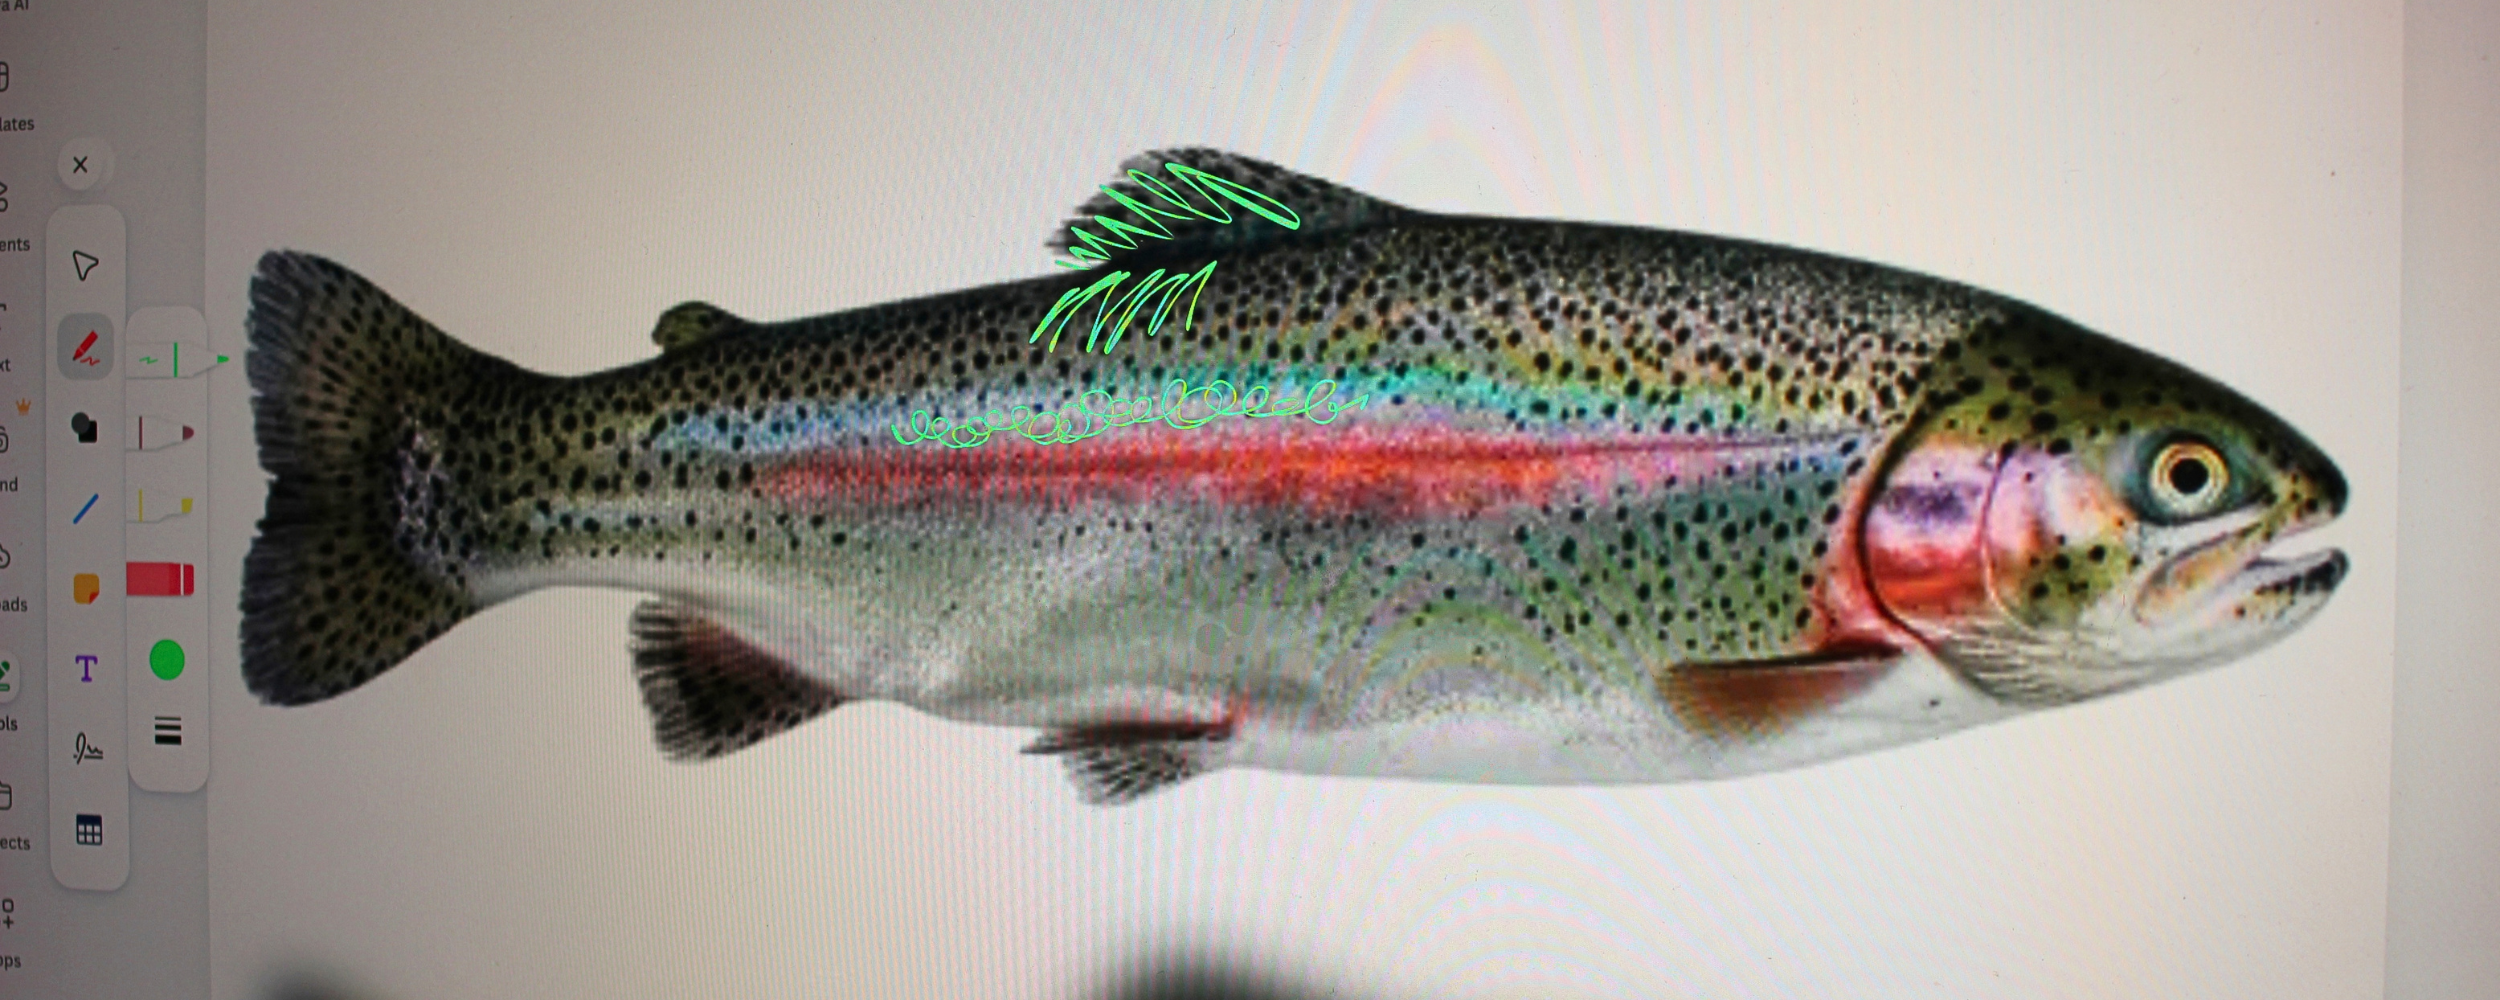
Image: Rainbow trout reference, with various example of direction. (Green lines)
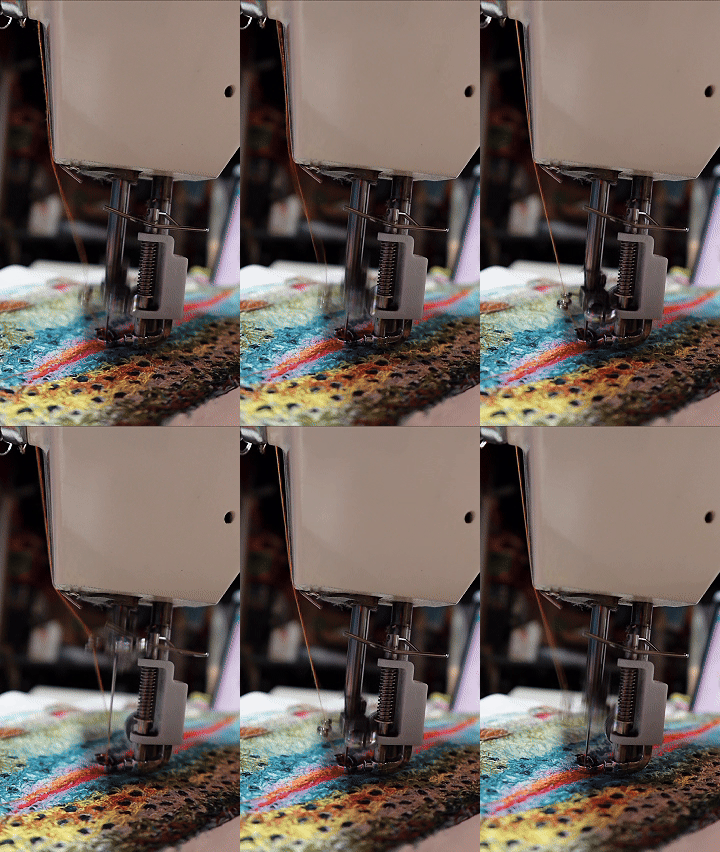
Move the needle (aka the fabric) in the direction that best suits each part of the image.
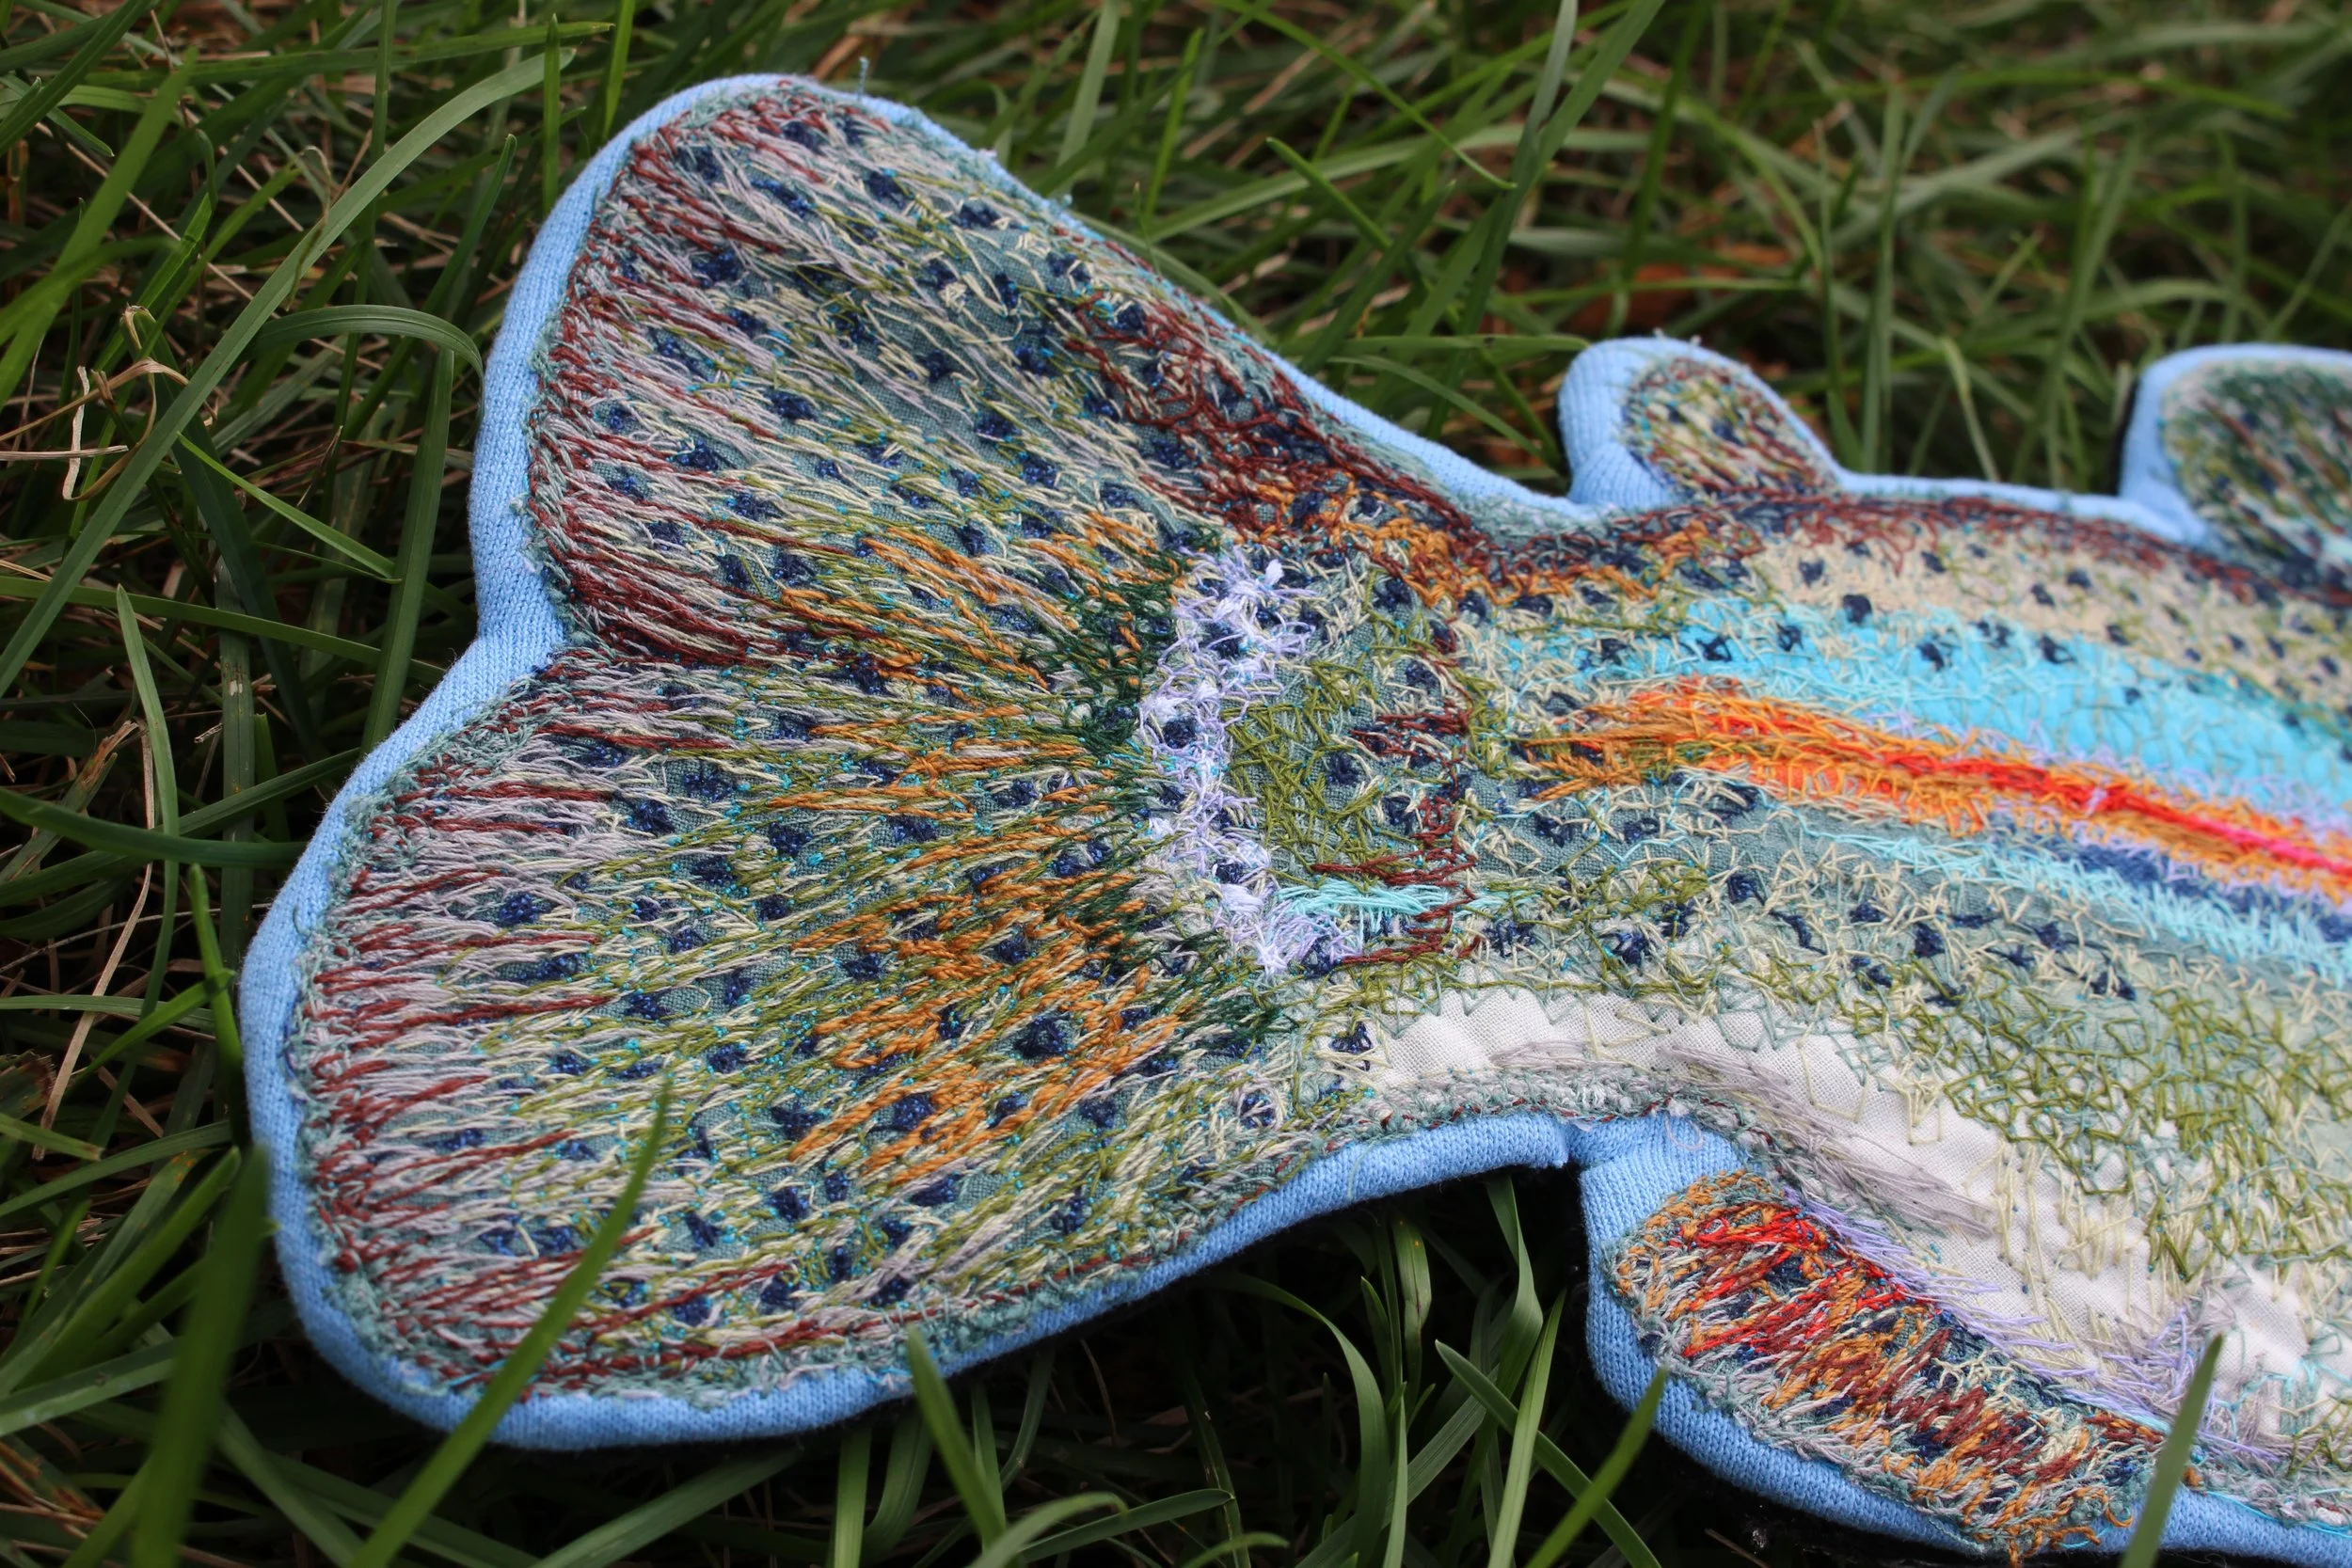
For example, the fins on the fish go in a diagonal line, while the colors in the middle of the body would translate best as a circlular motion.
This is entirely up to your preference and style.
The direction of the thread helps convey the shape and dimension of the image.
It can also be used to blend colors, create defining shadows, you name it.
Your needle and thread is like a pen and ink.
Keep in mind, the more thread you sew in a particular area, the bulkier it gets.
This can cause needle breakage, and puffy-ness/warping to the patch.
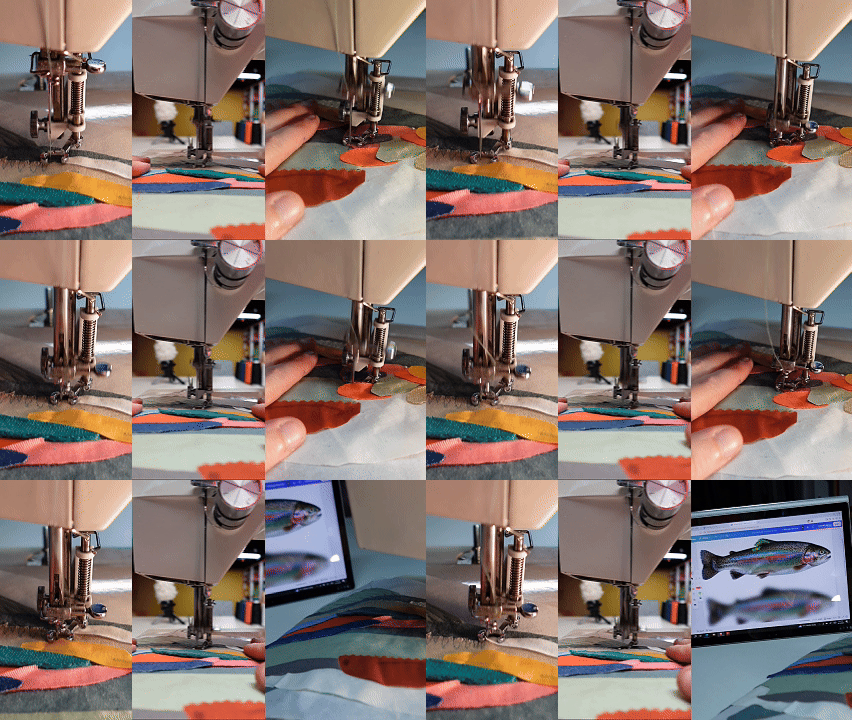
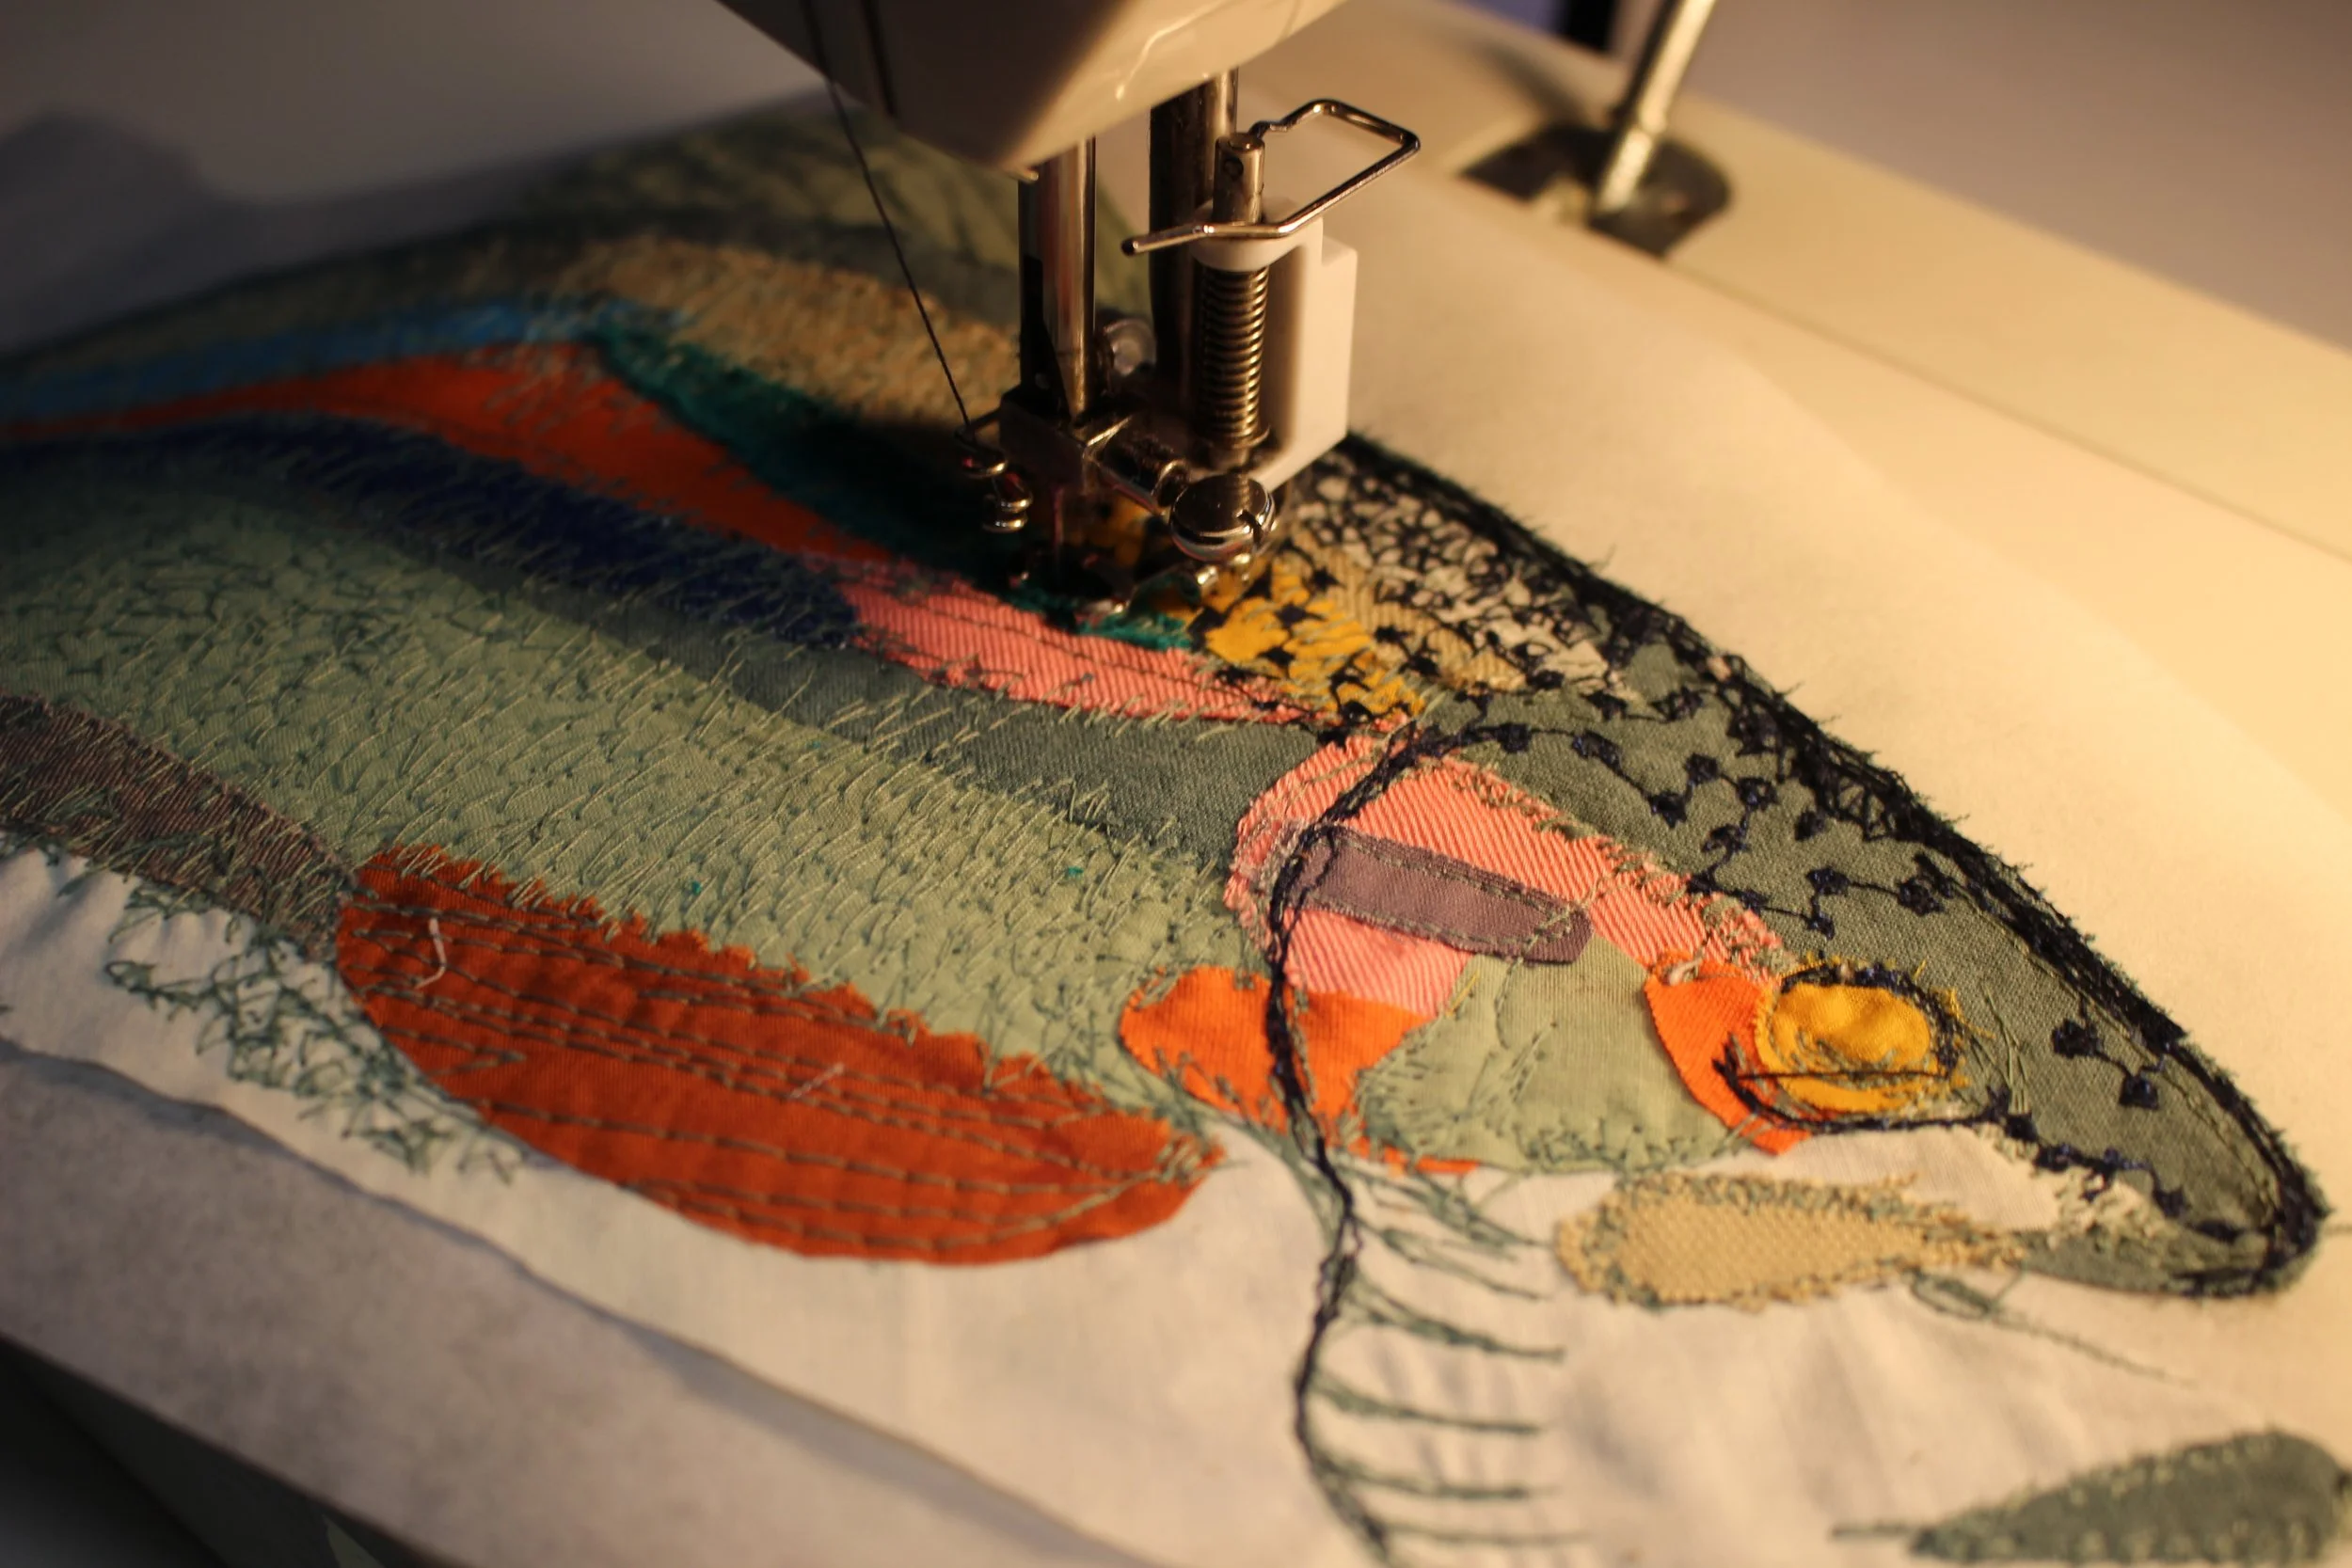
Image: Sewing various sections.
First Thread Complete.
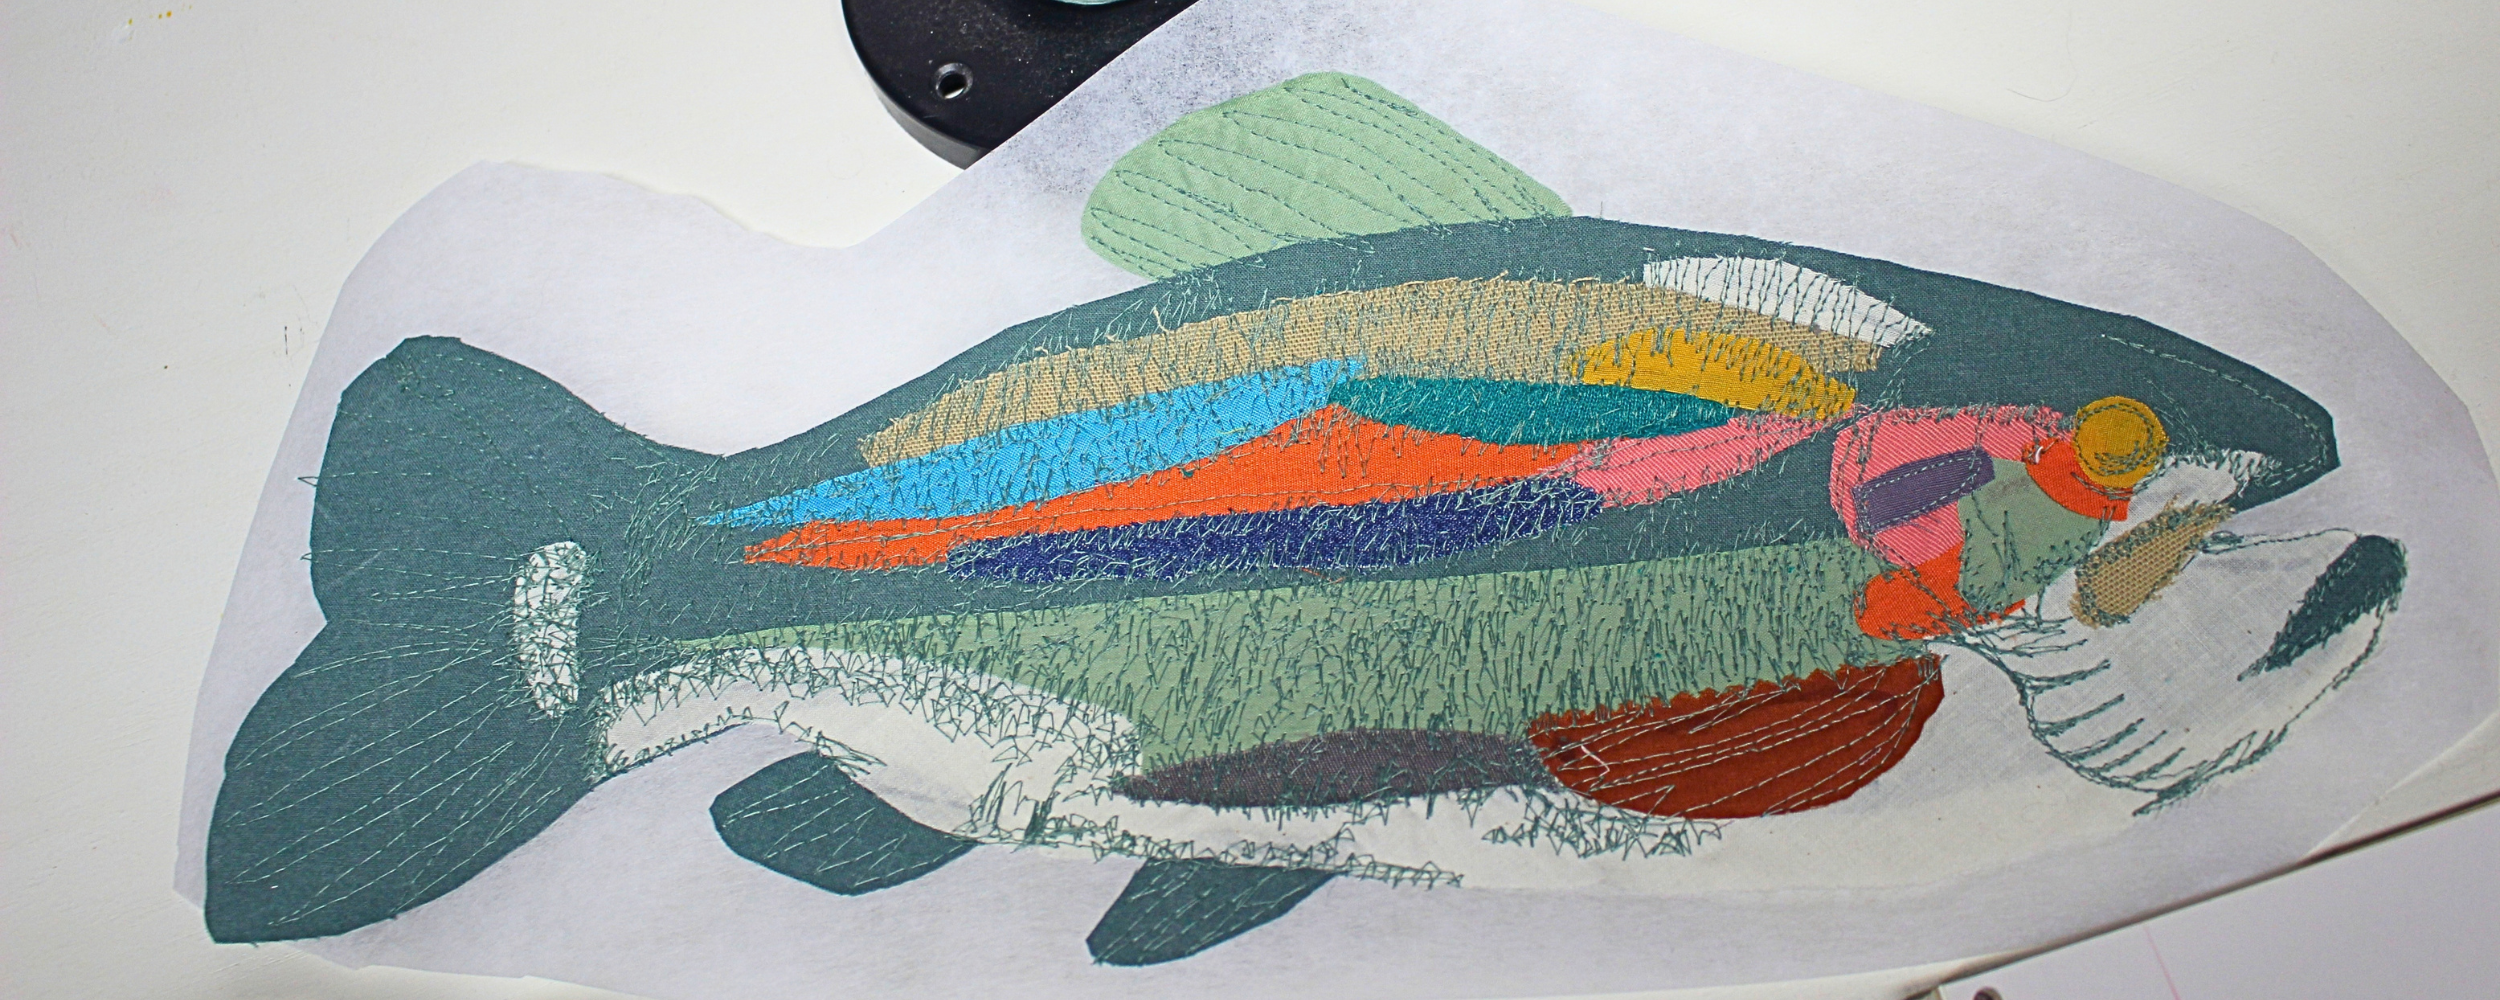
Image: First thread color (sage green) complete.
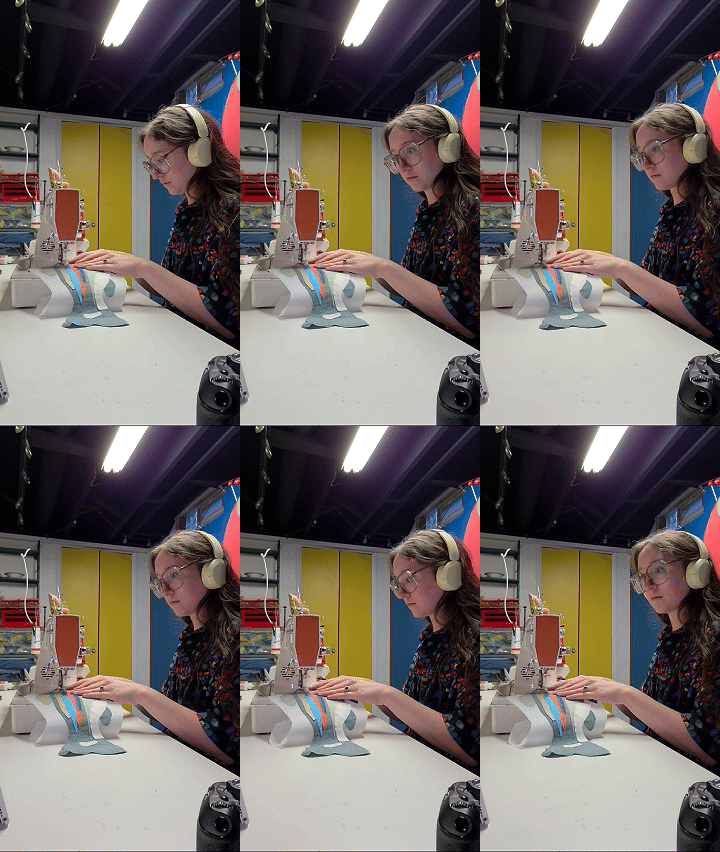
I like to continuously sew,
I rarely ever take my foot off the pedal during a project like this, except to change colors.
Of course this takes practice, but it helps to just sew what feels right, rather than think about every single stitch.
Adding the Spots
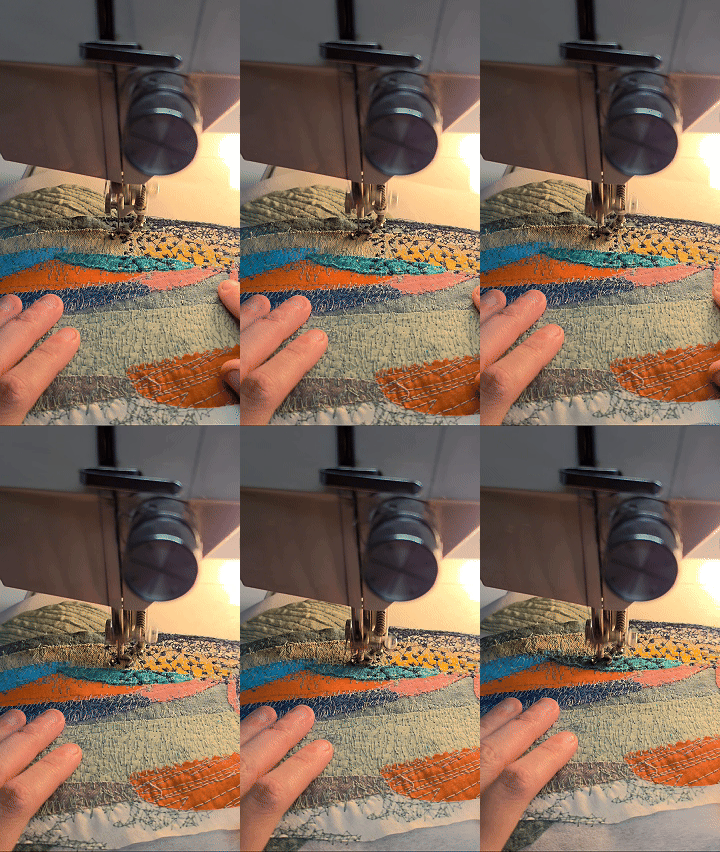
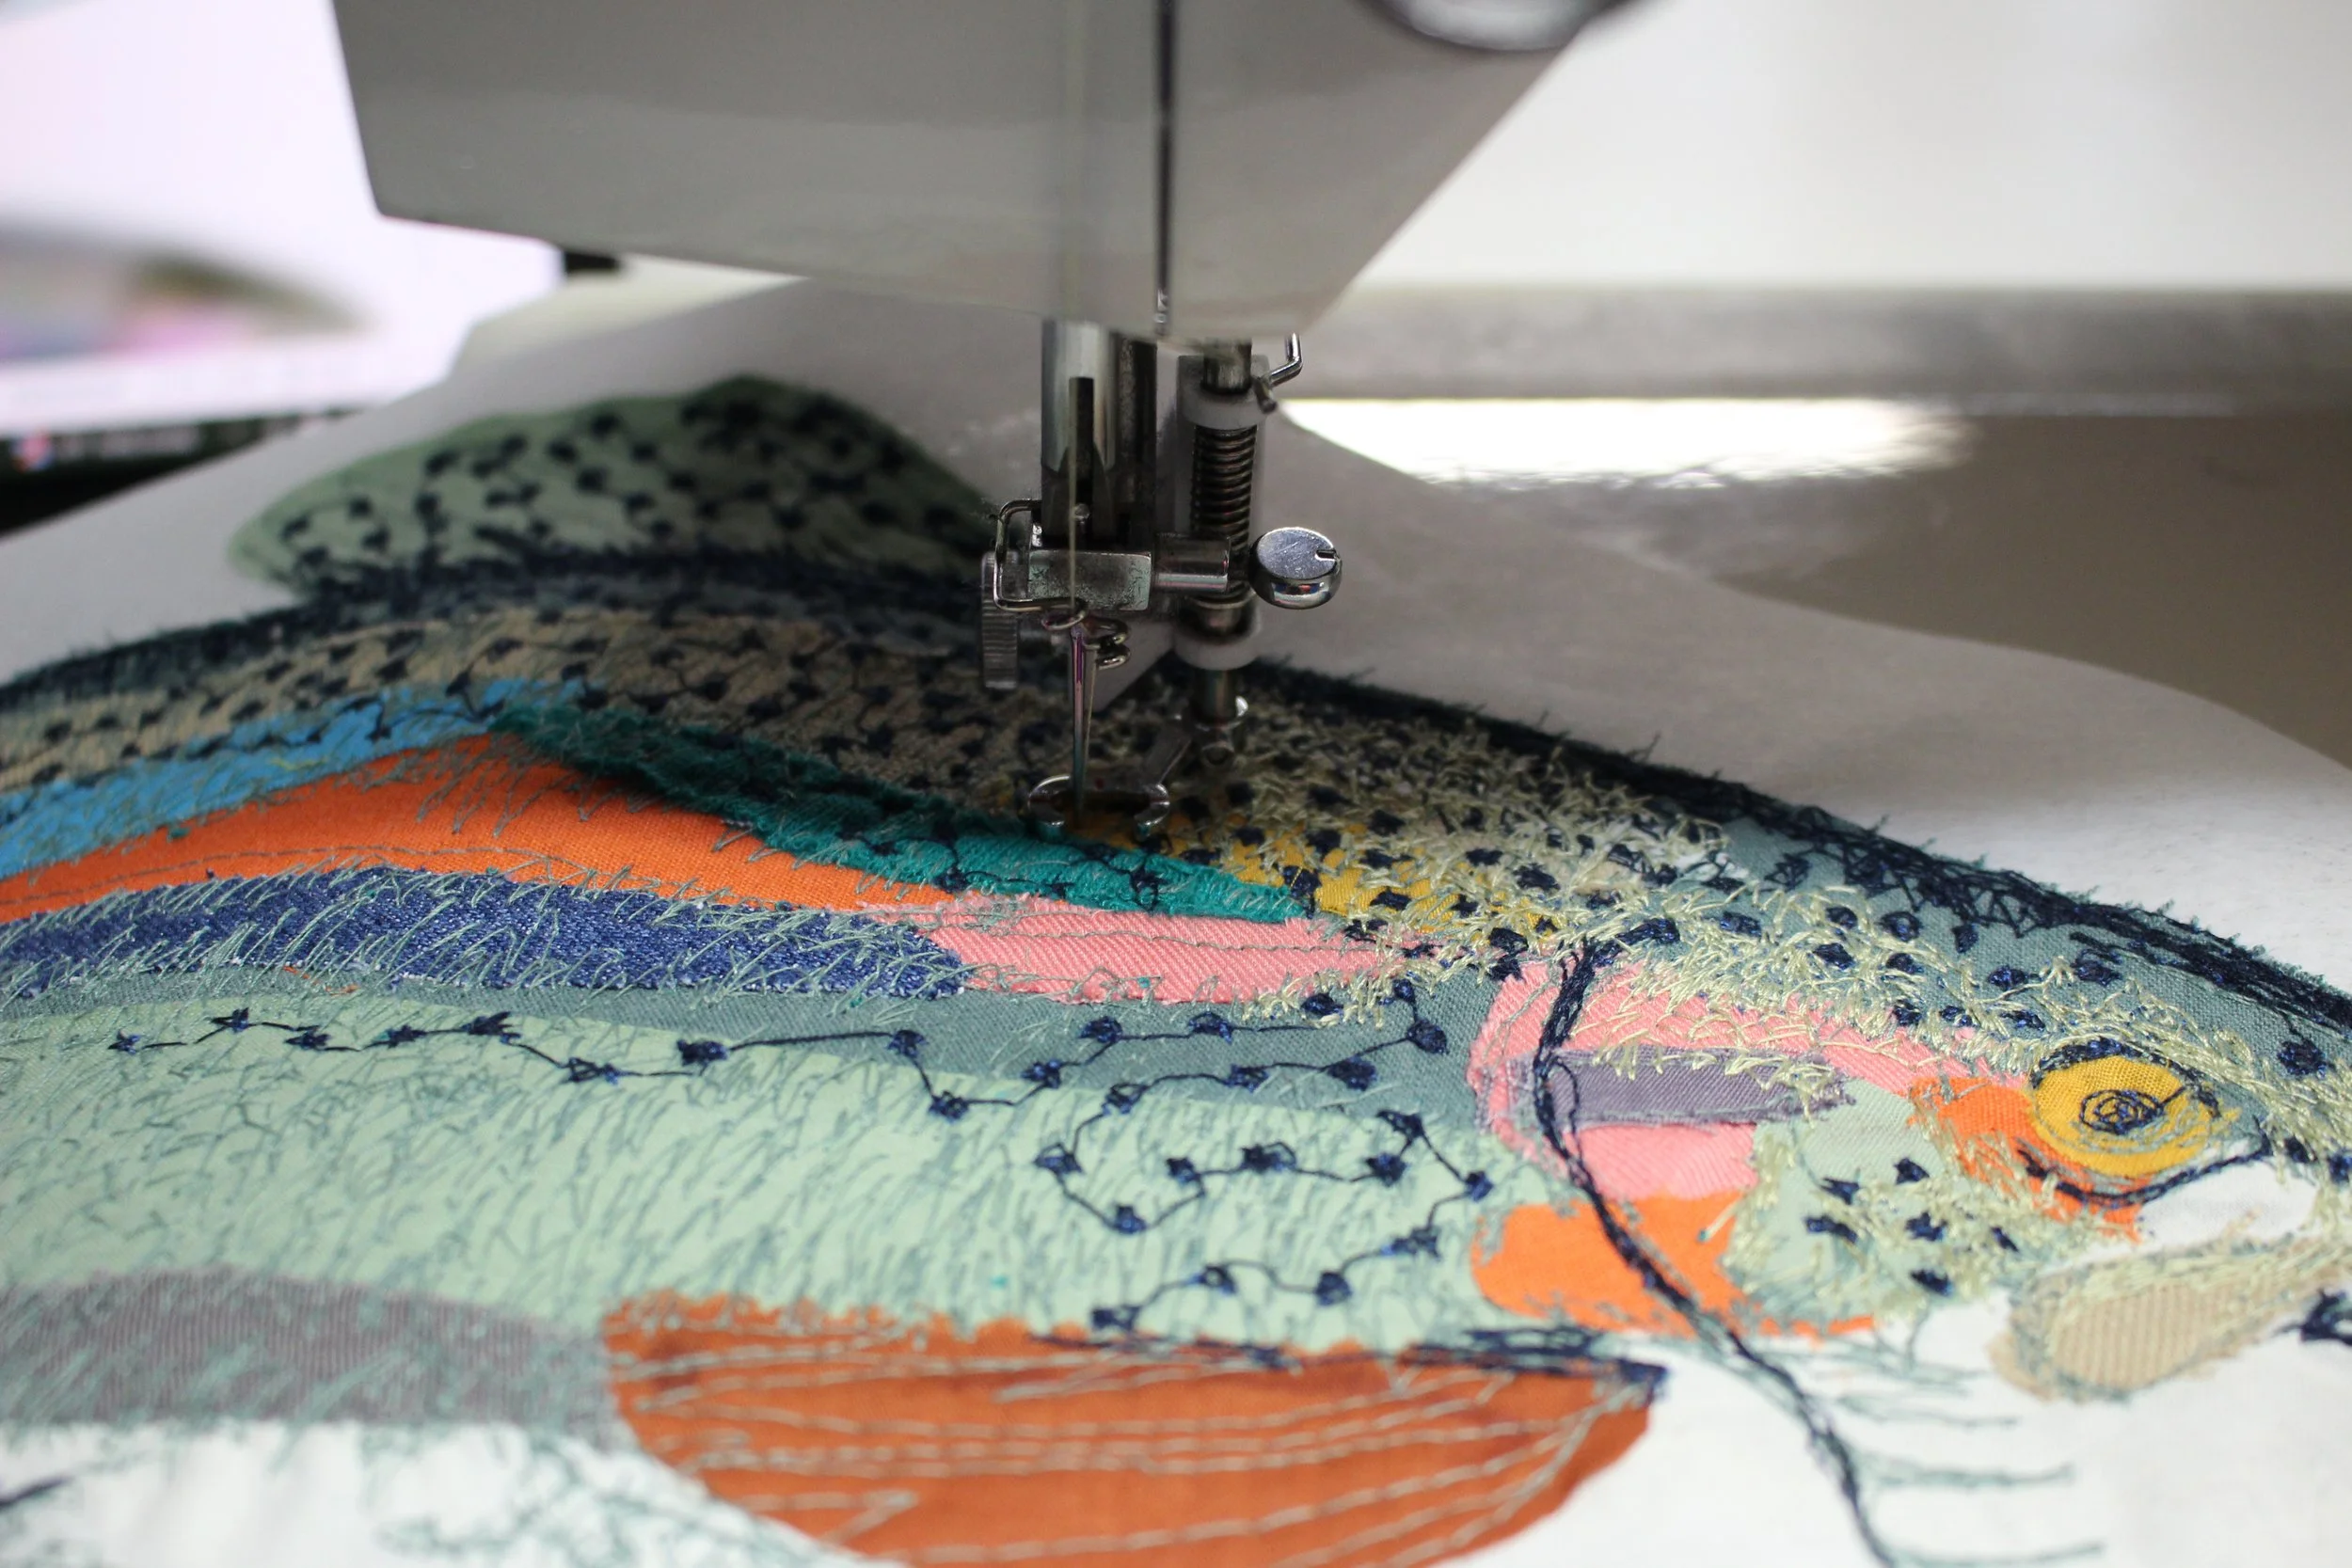
I chose to add all the spots on the trout, using one continuous line of thread.
Rather than sewing a spot, lifting the needle, sewing another spot, over and over.
This saves a lot of time, trust me.
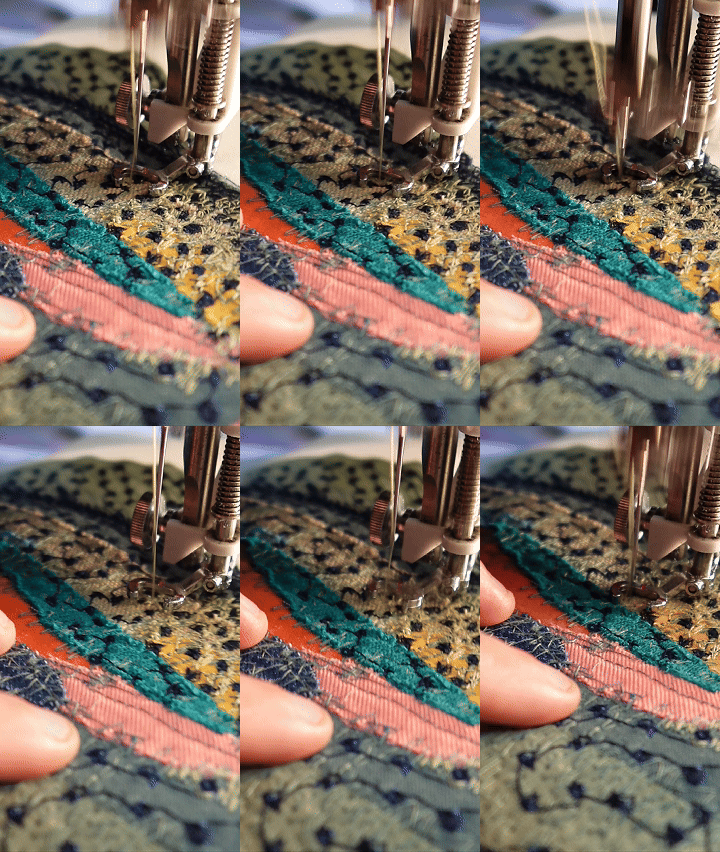
Cover the lines between the spots, with more thread.
I went back over with a light green thread, and covered the connecting lines between all the spots.
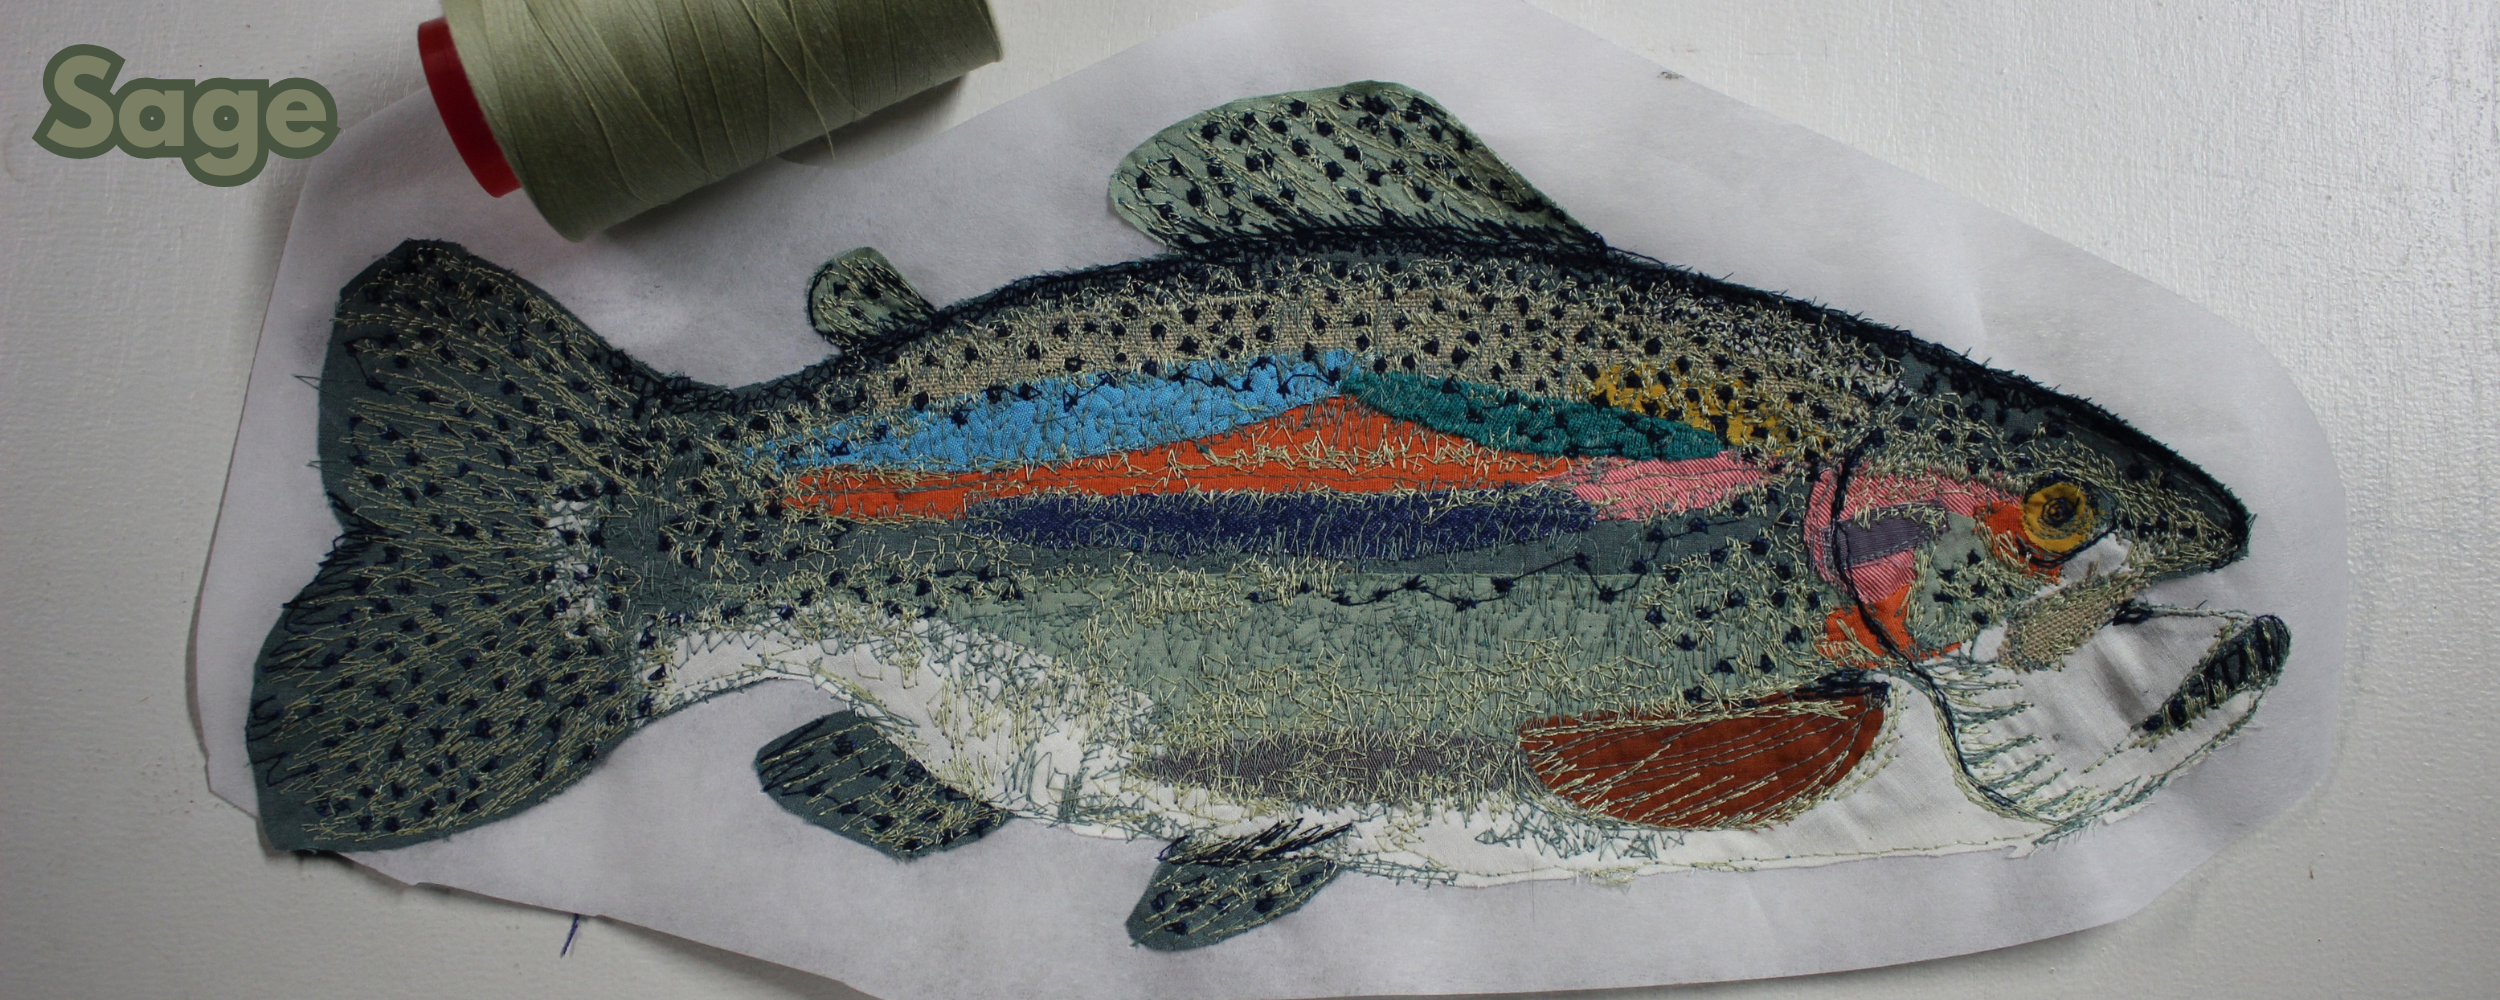
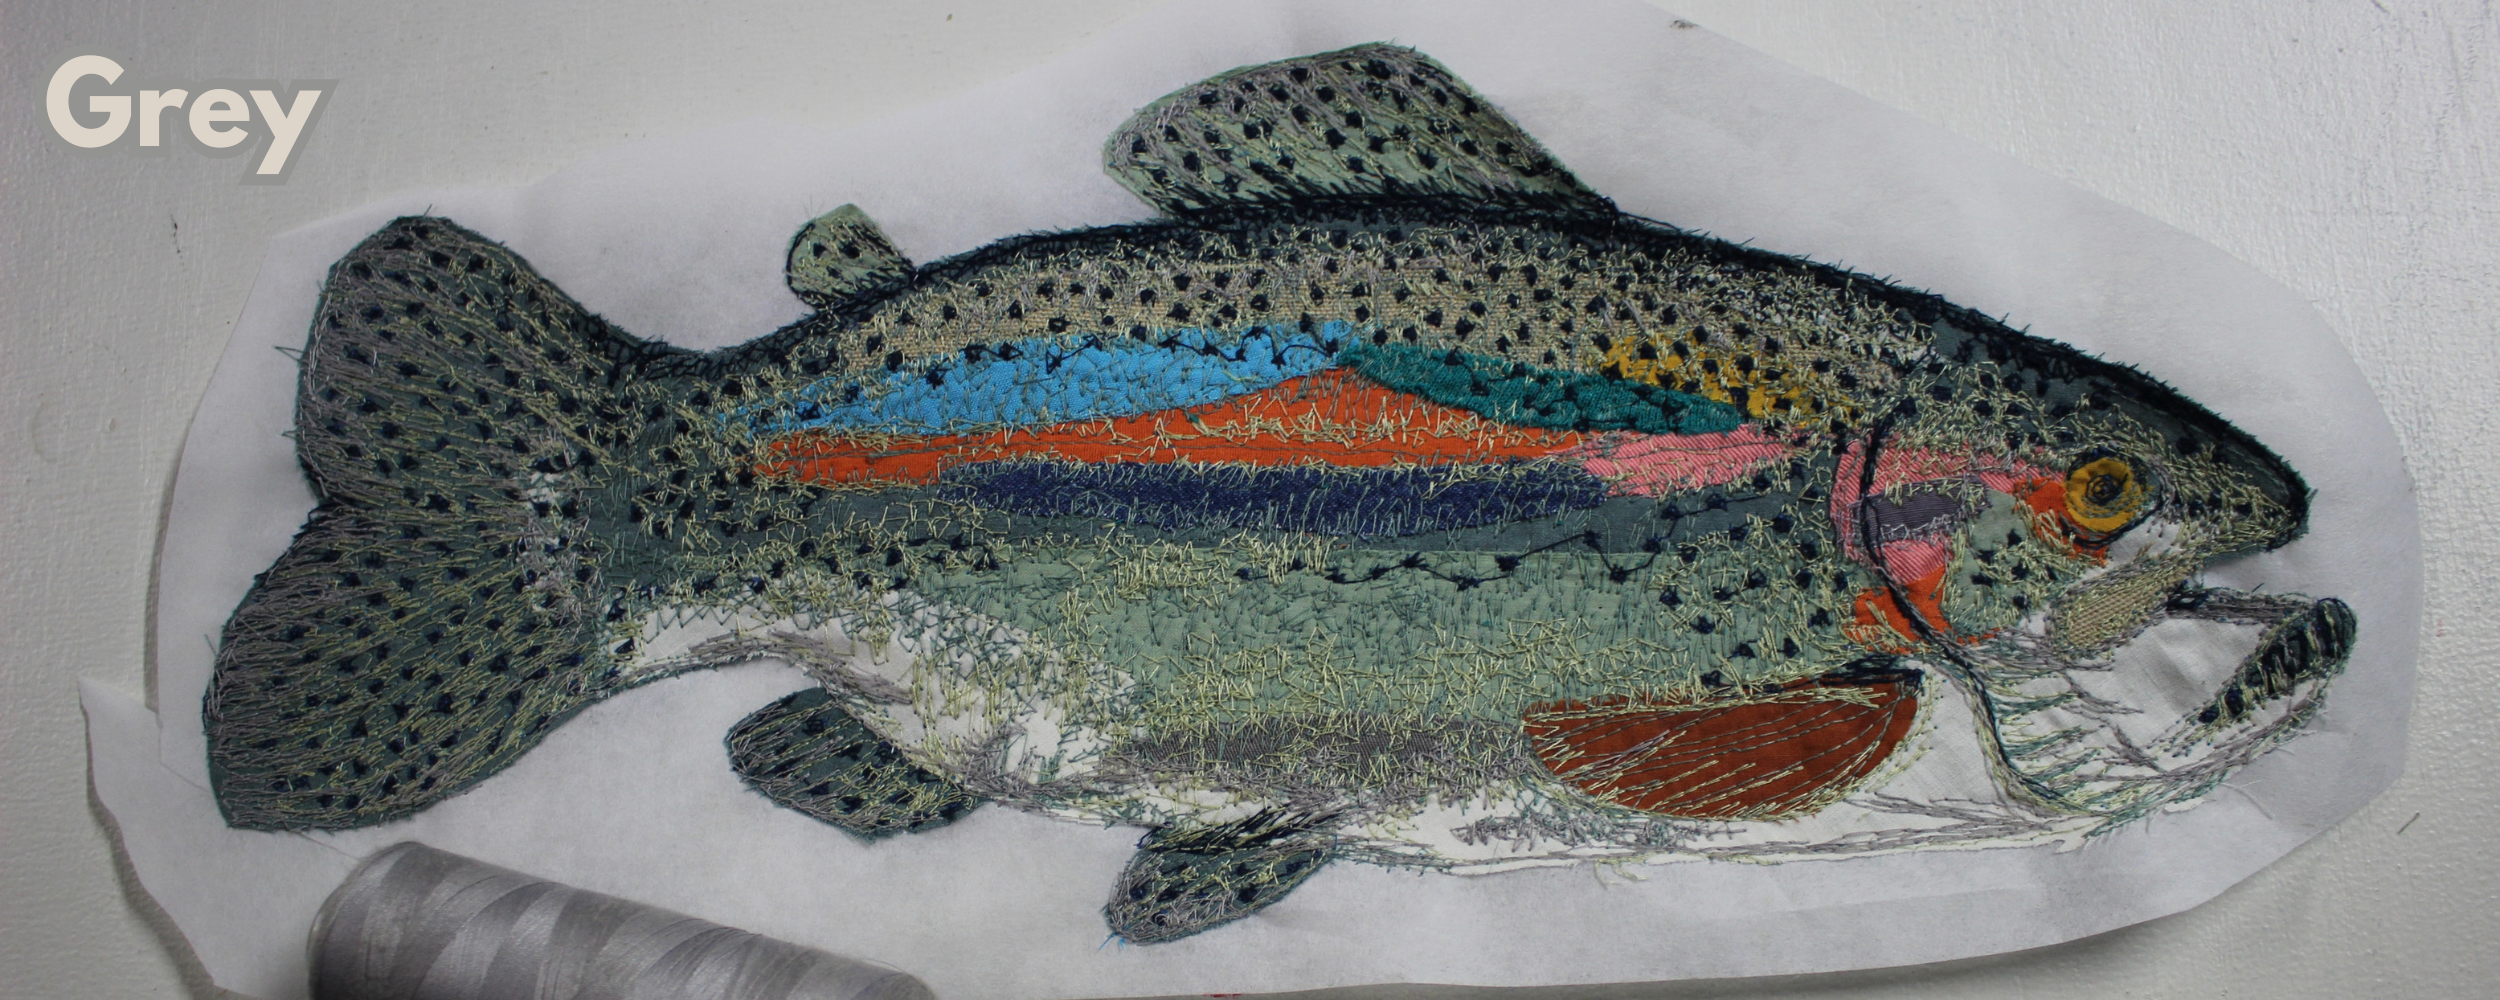
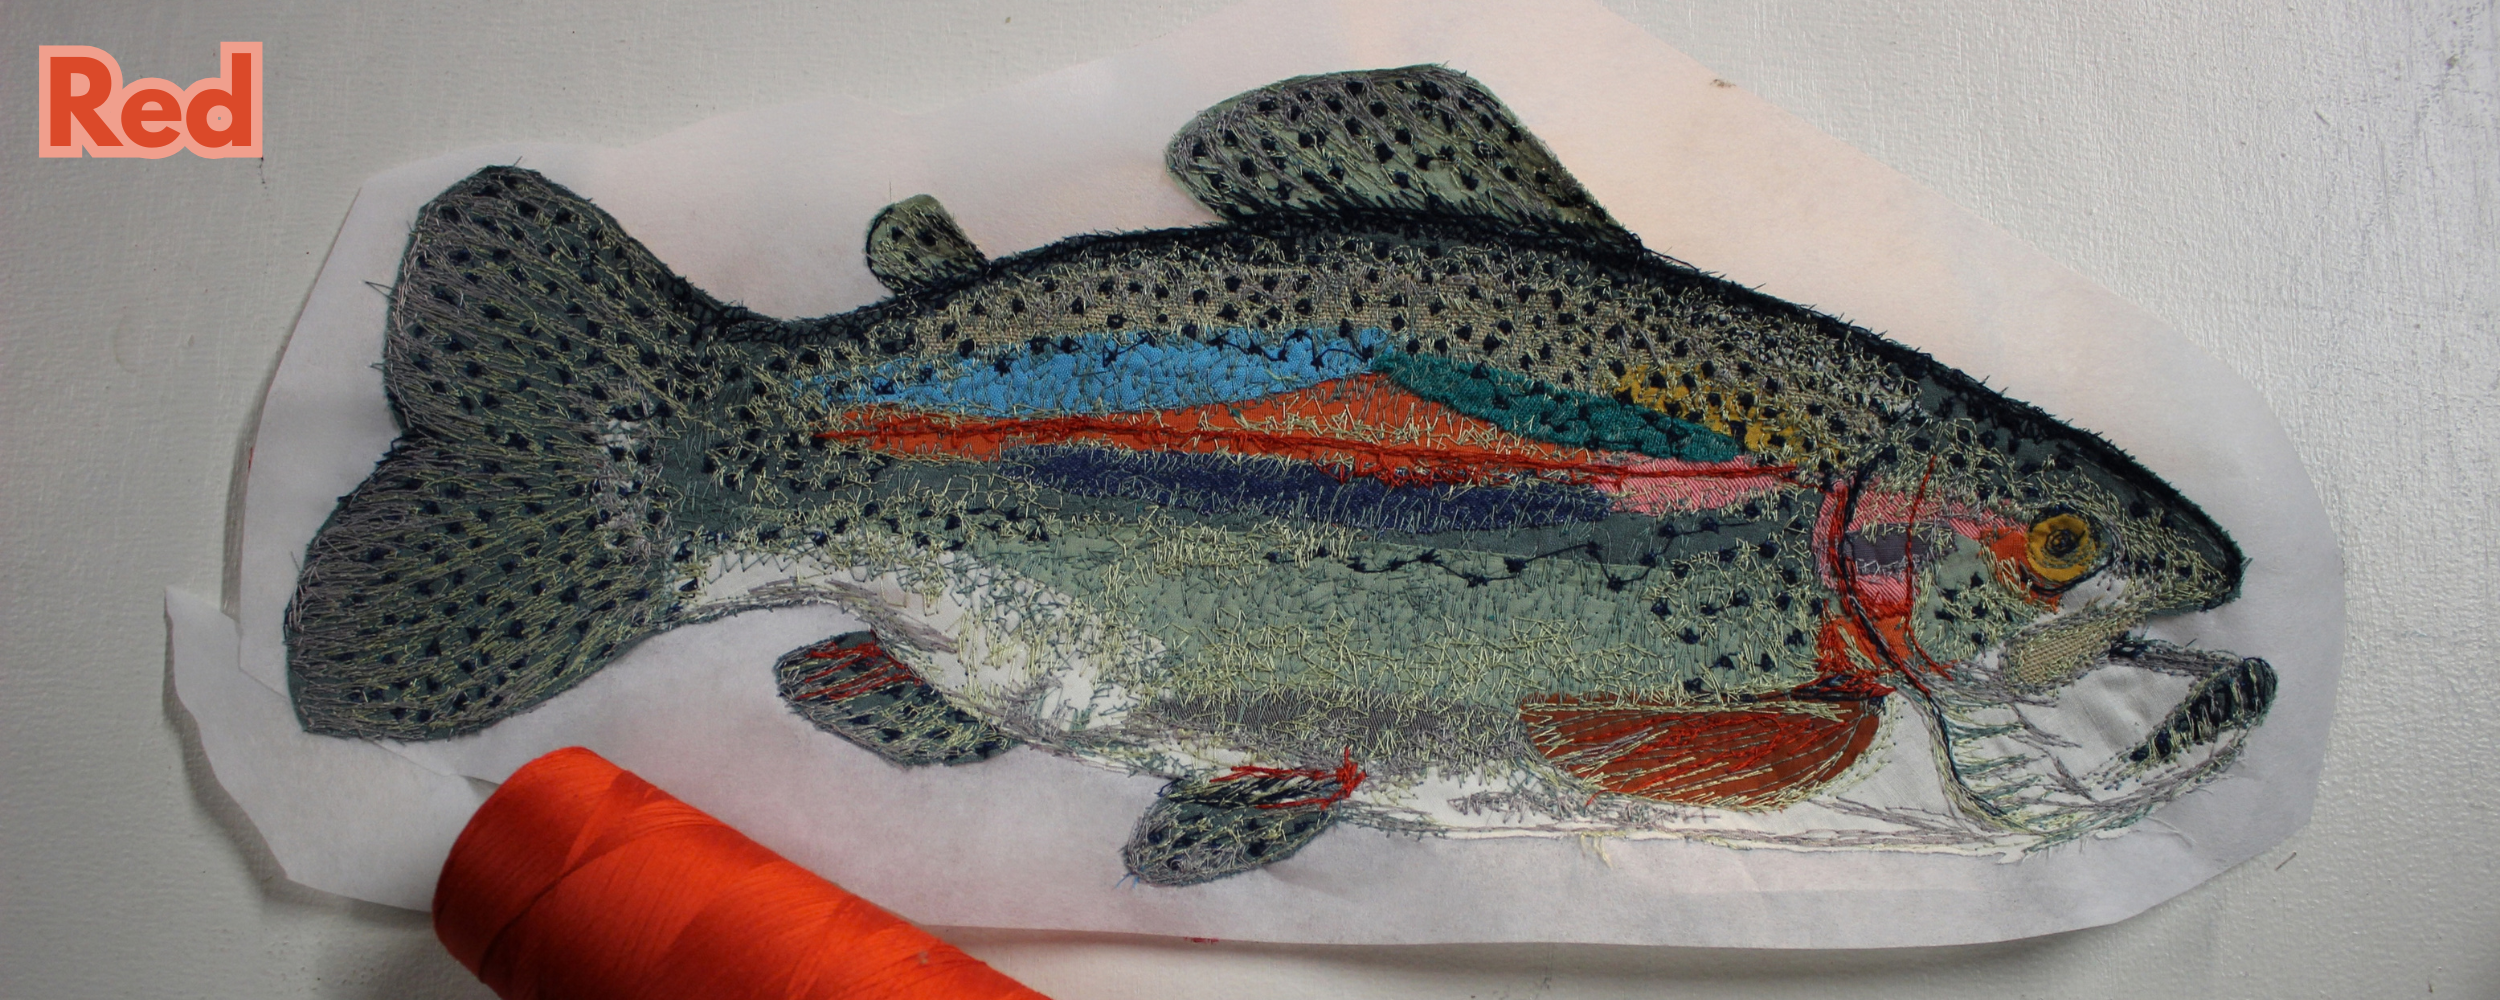
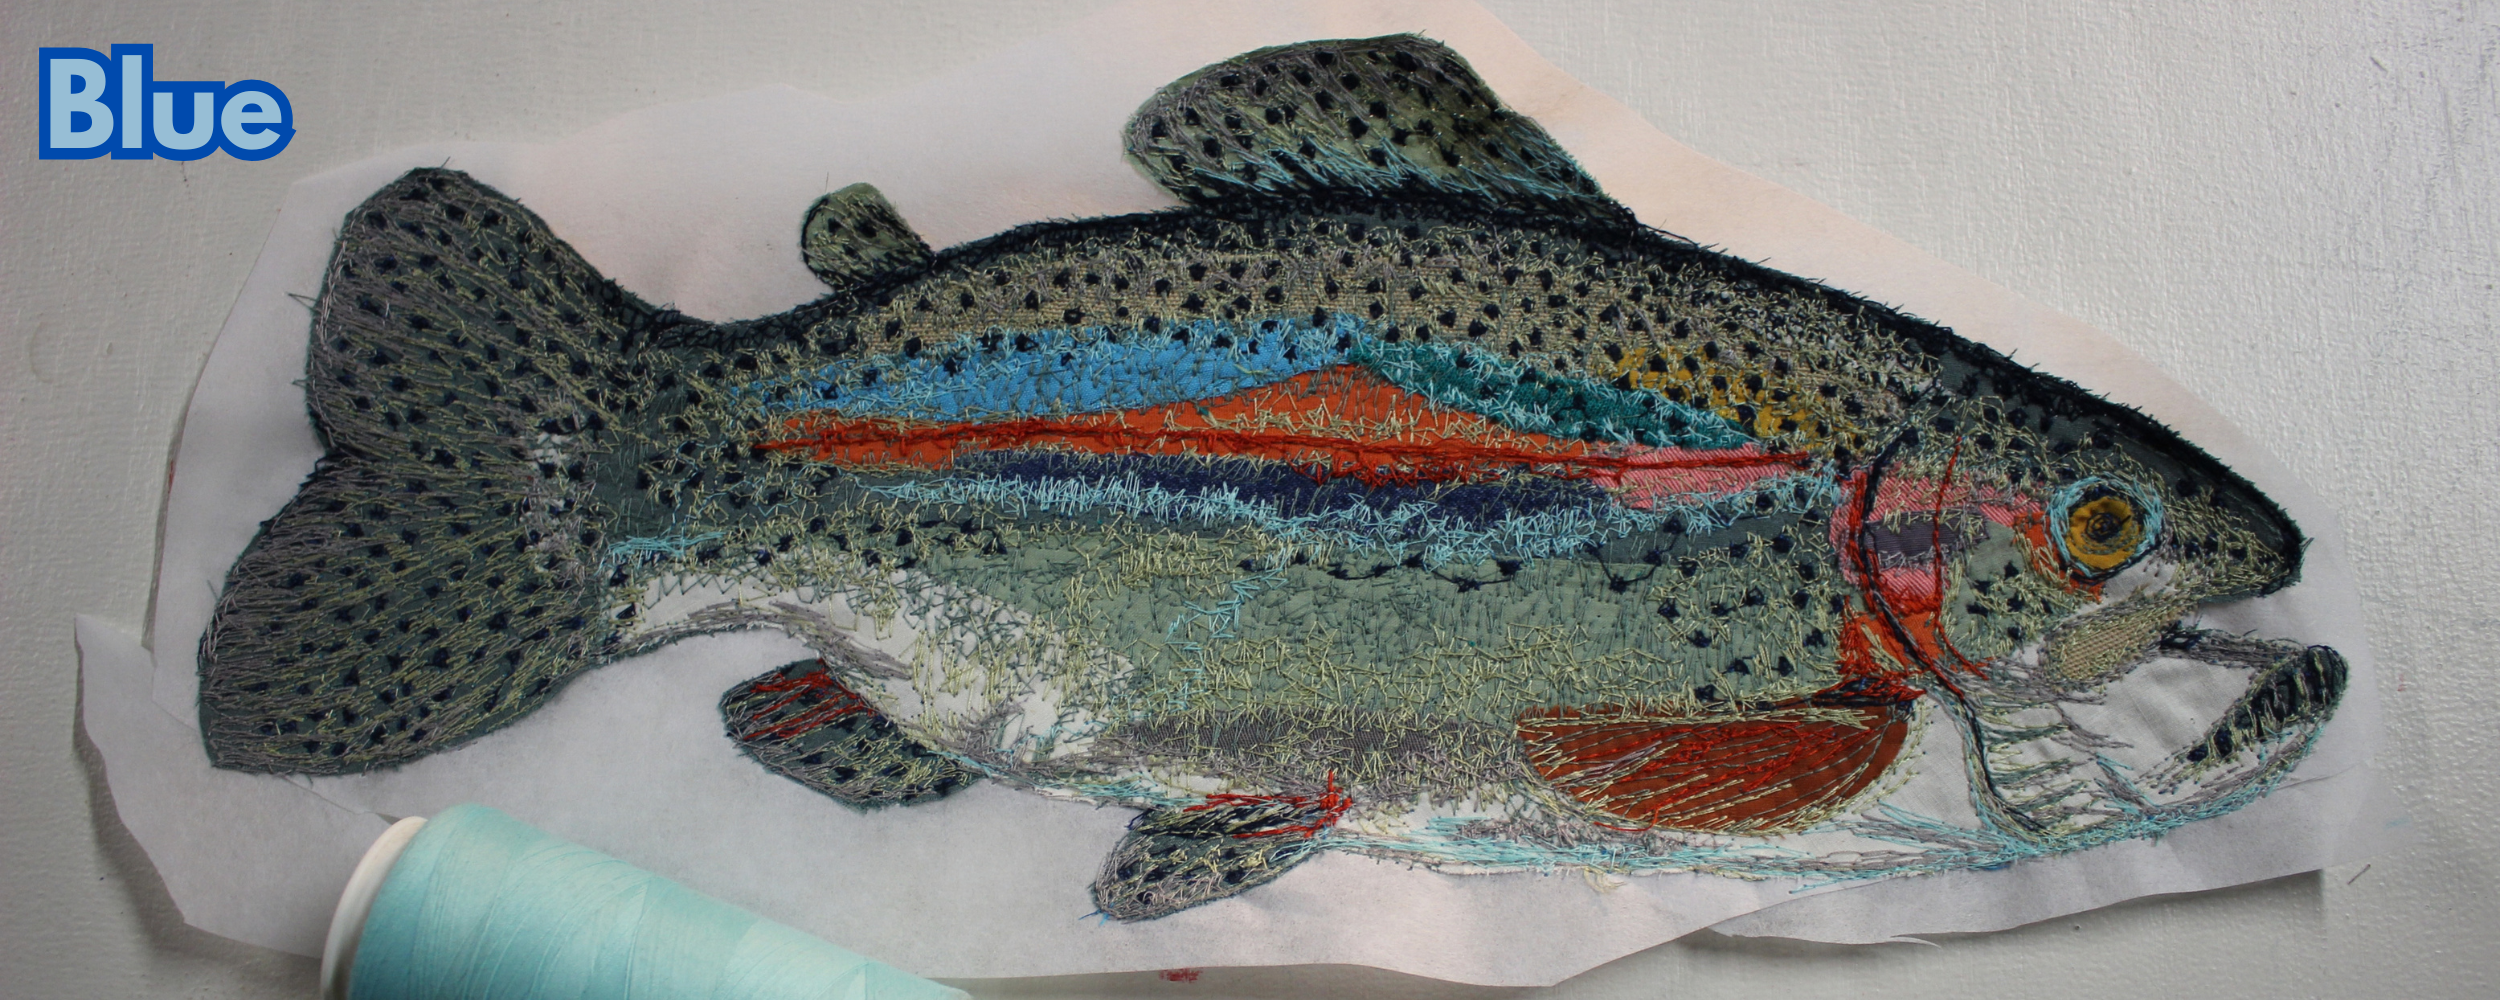
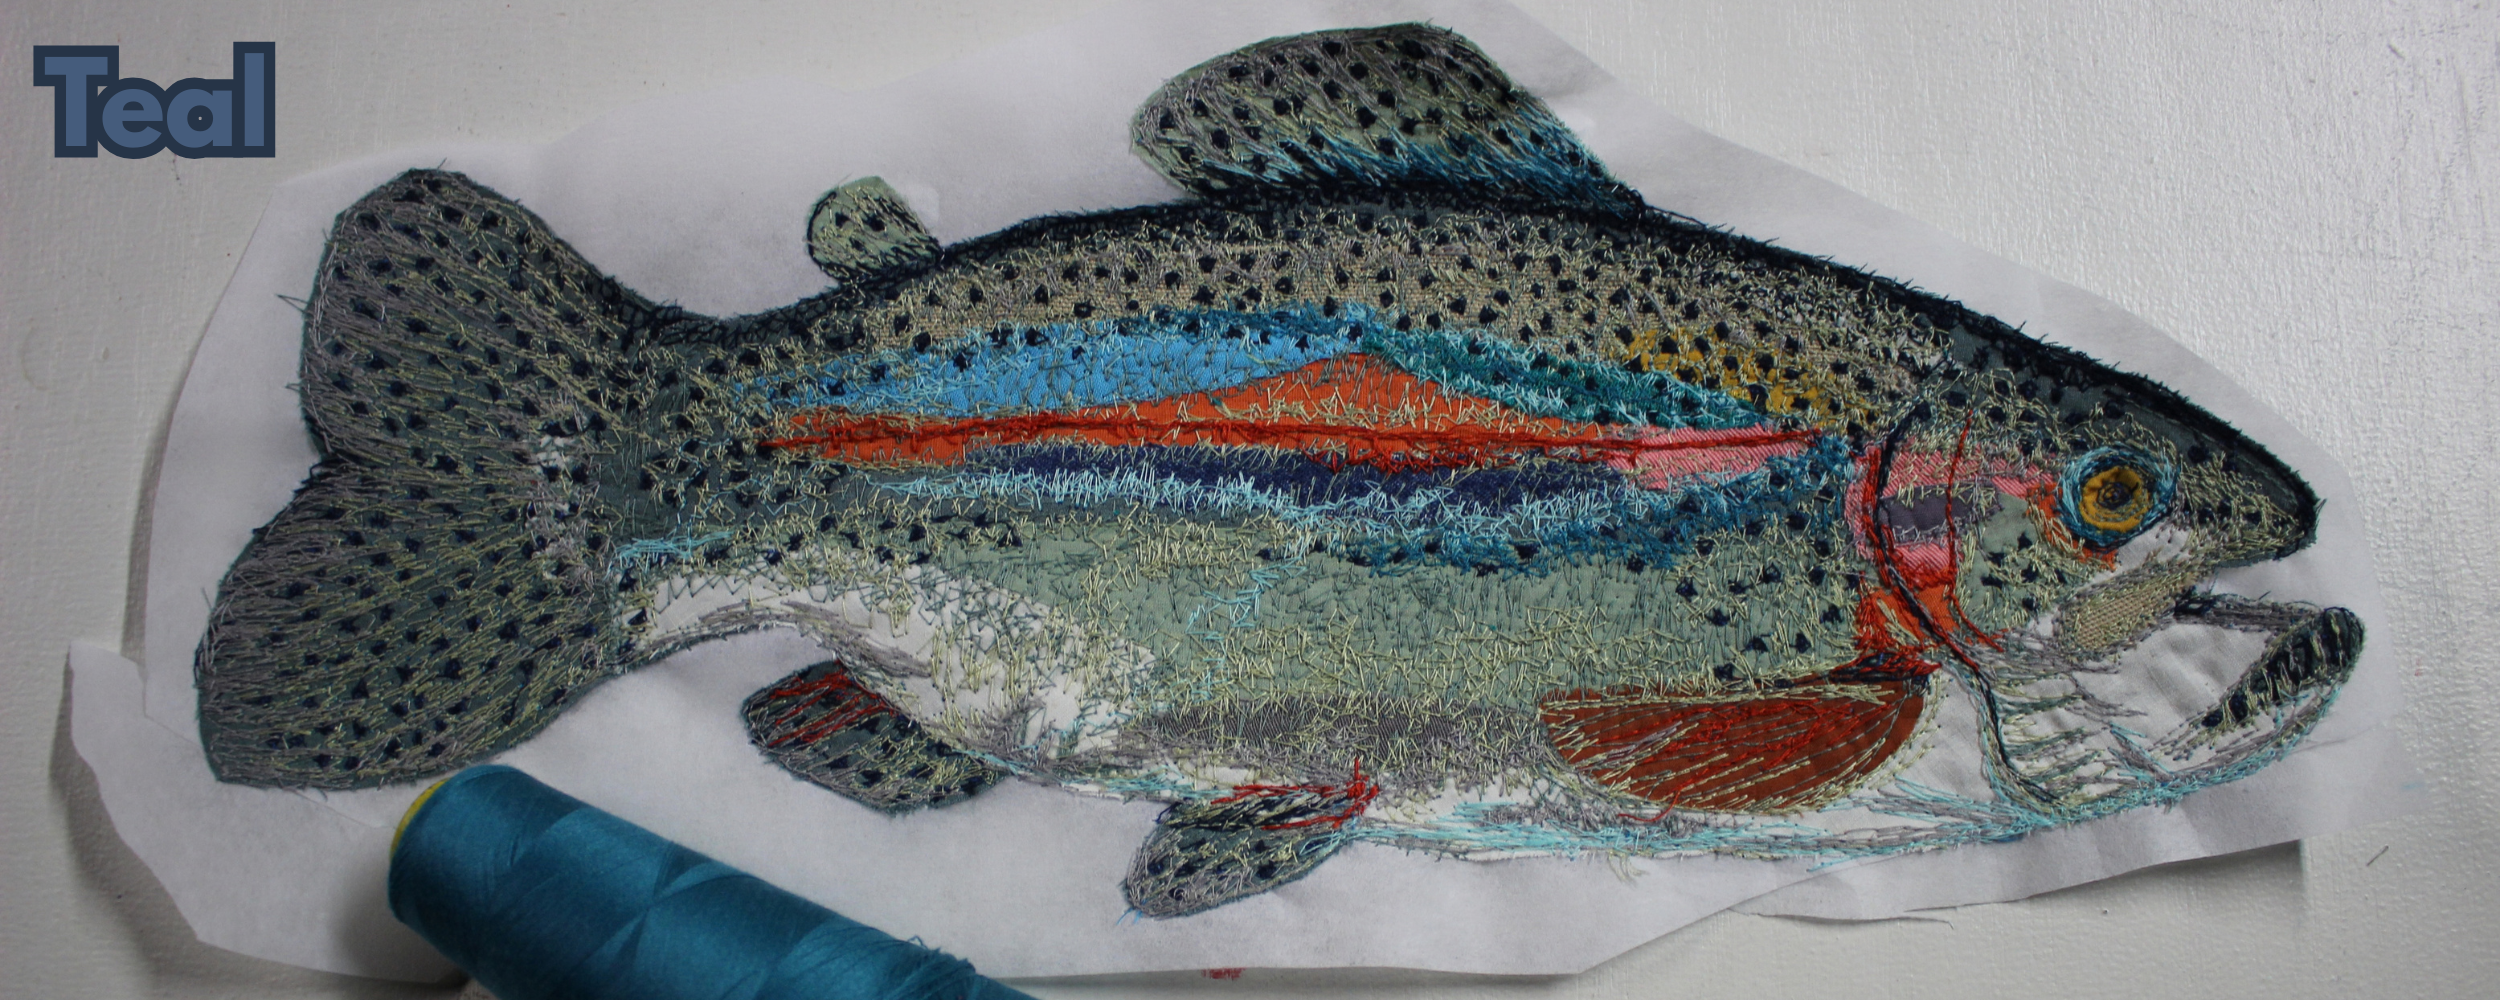
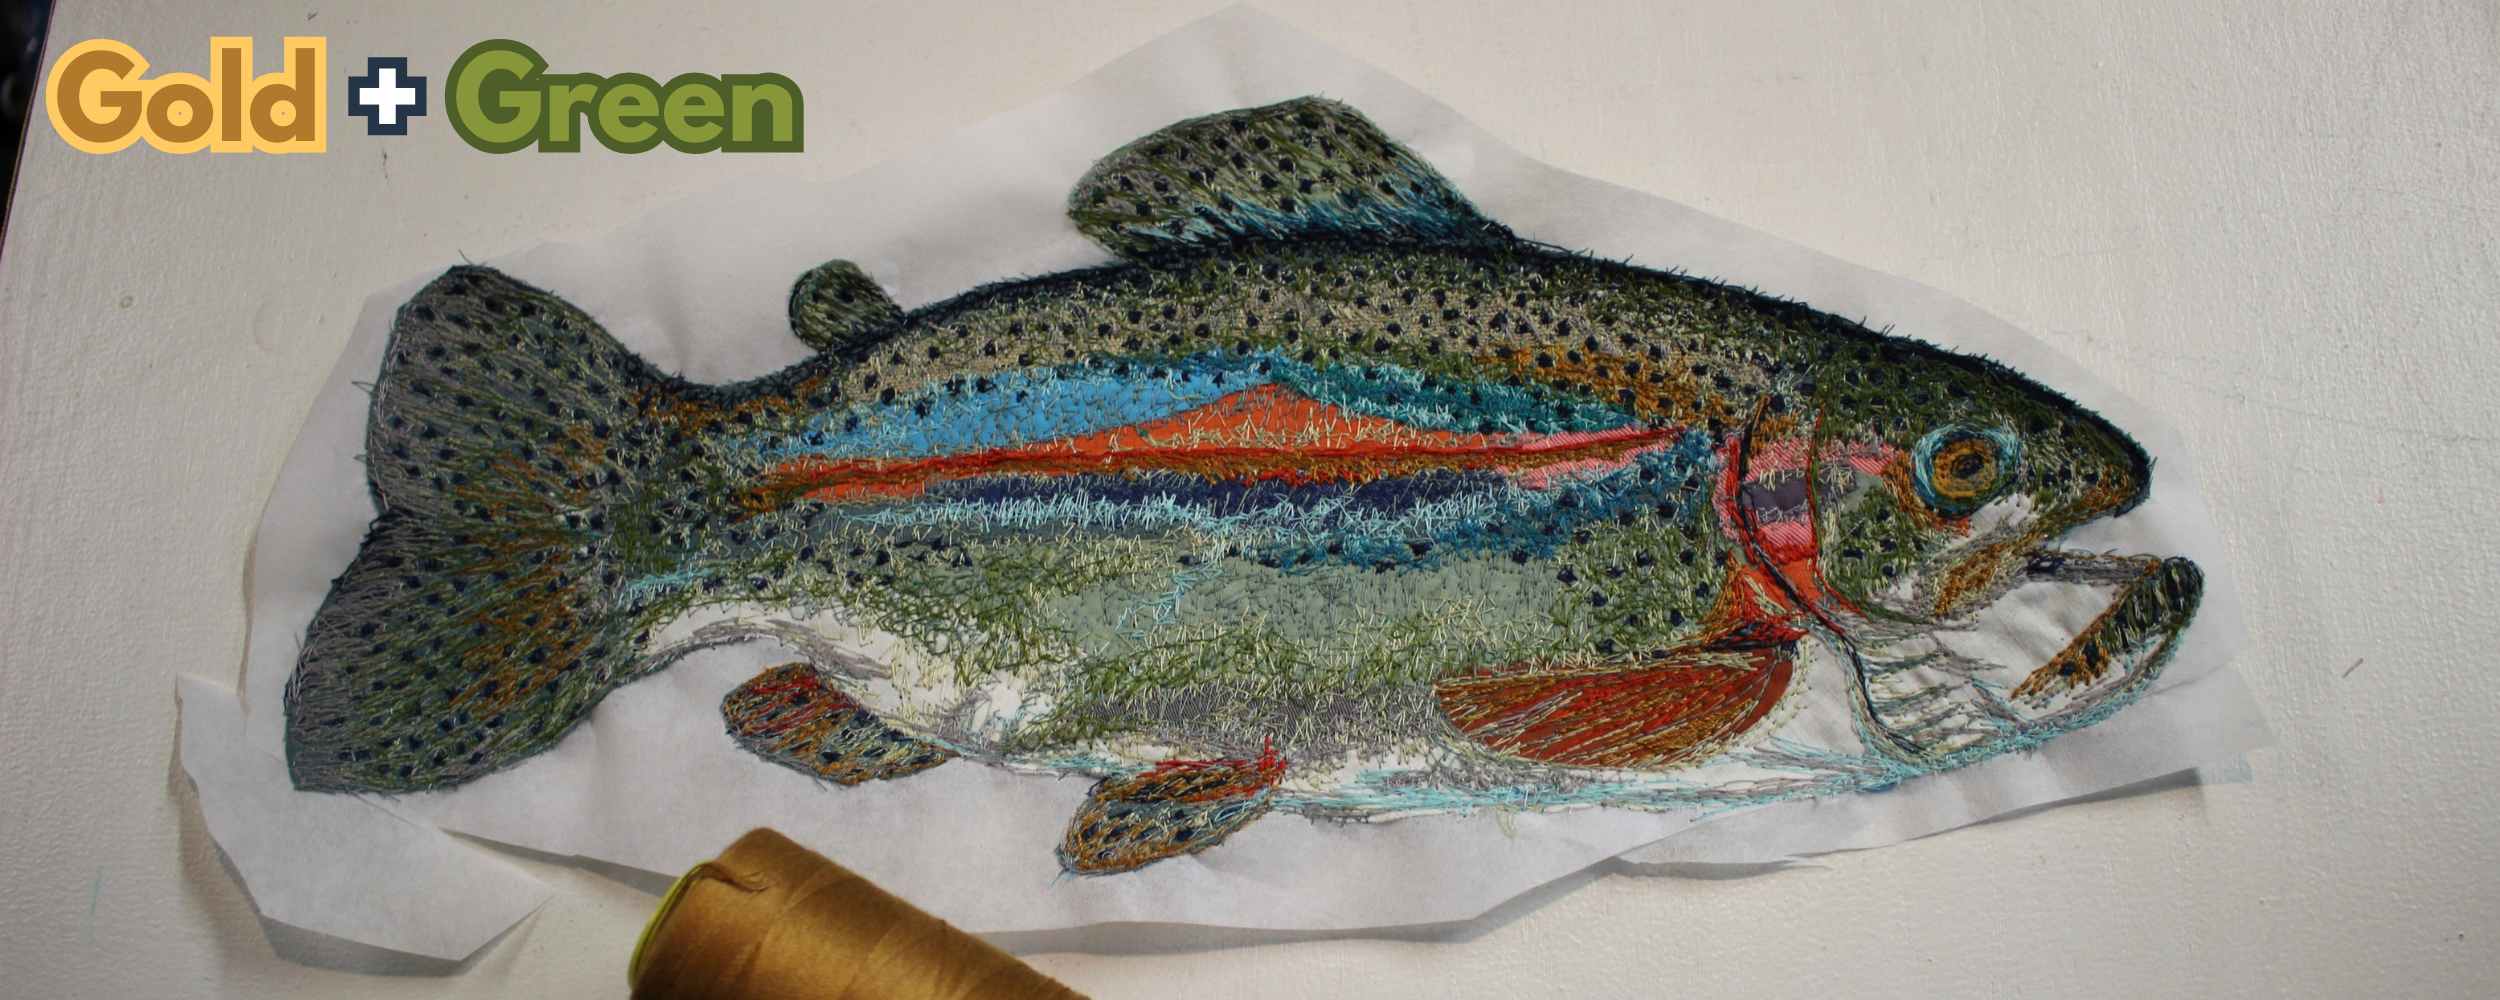
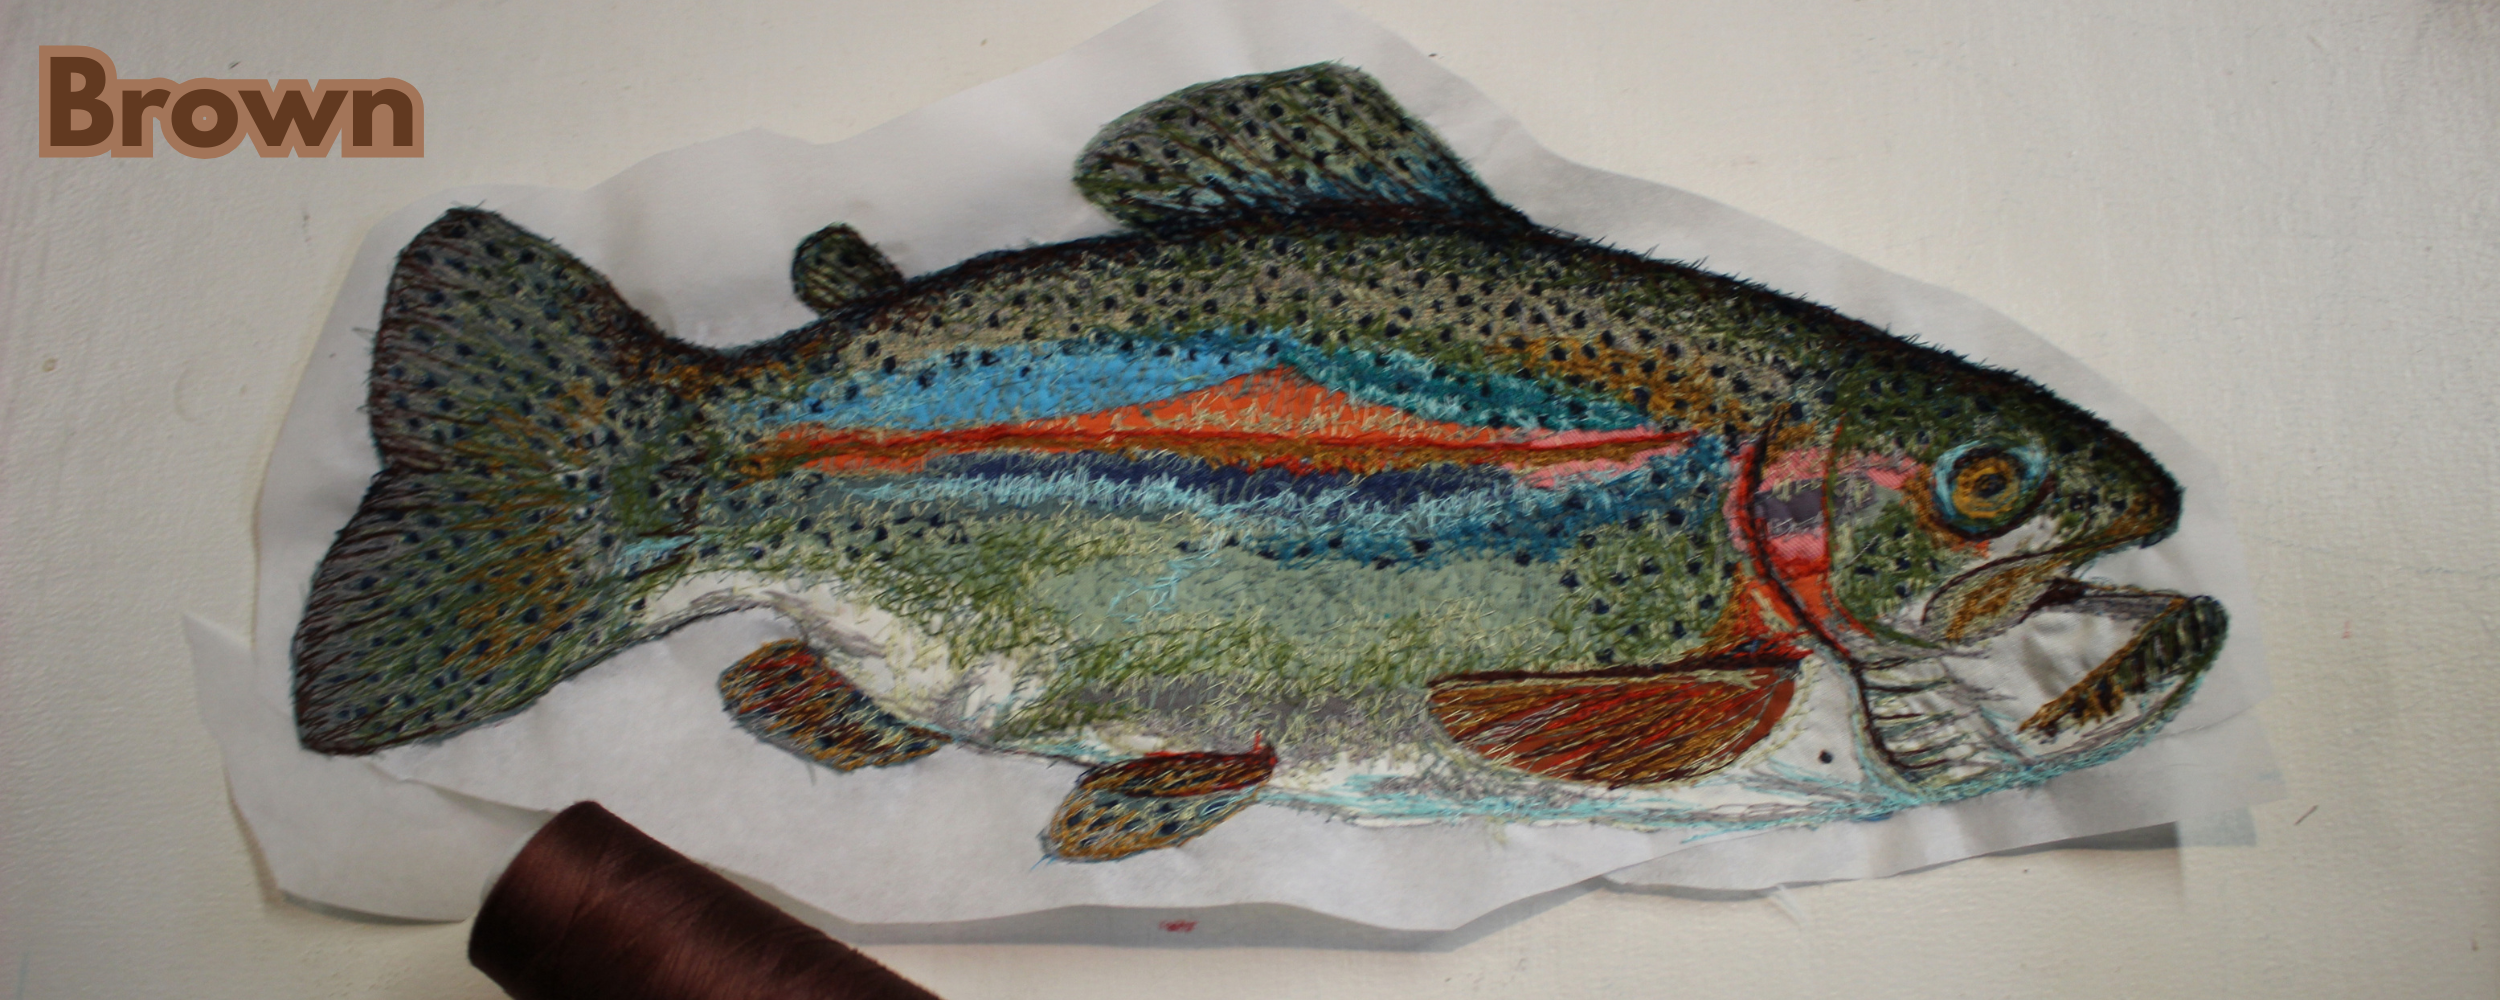
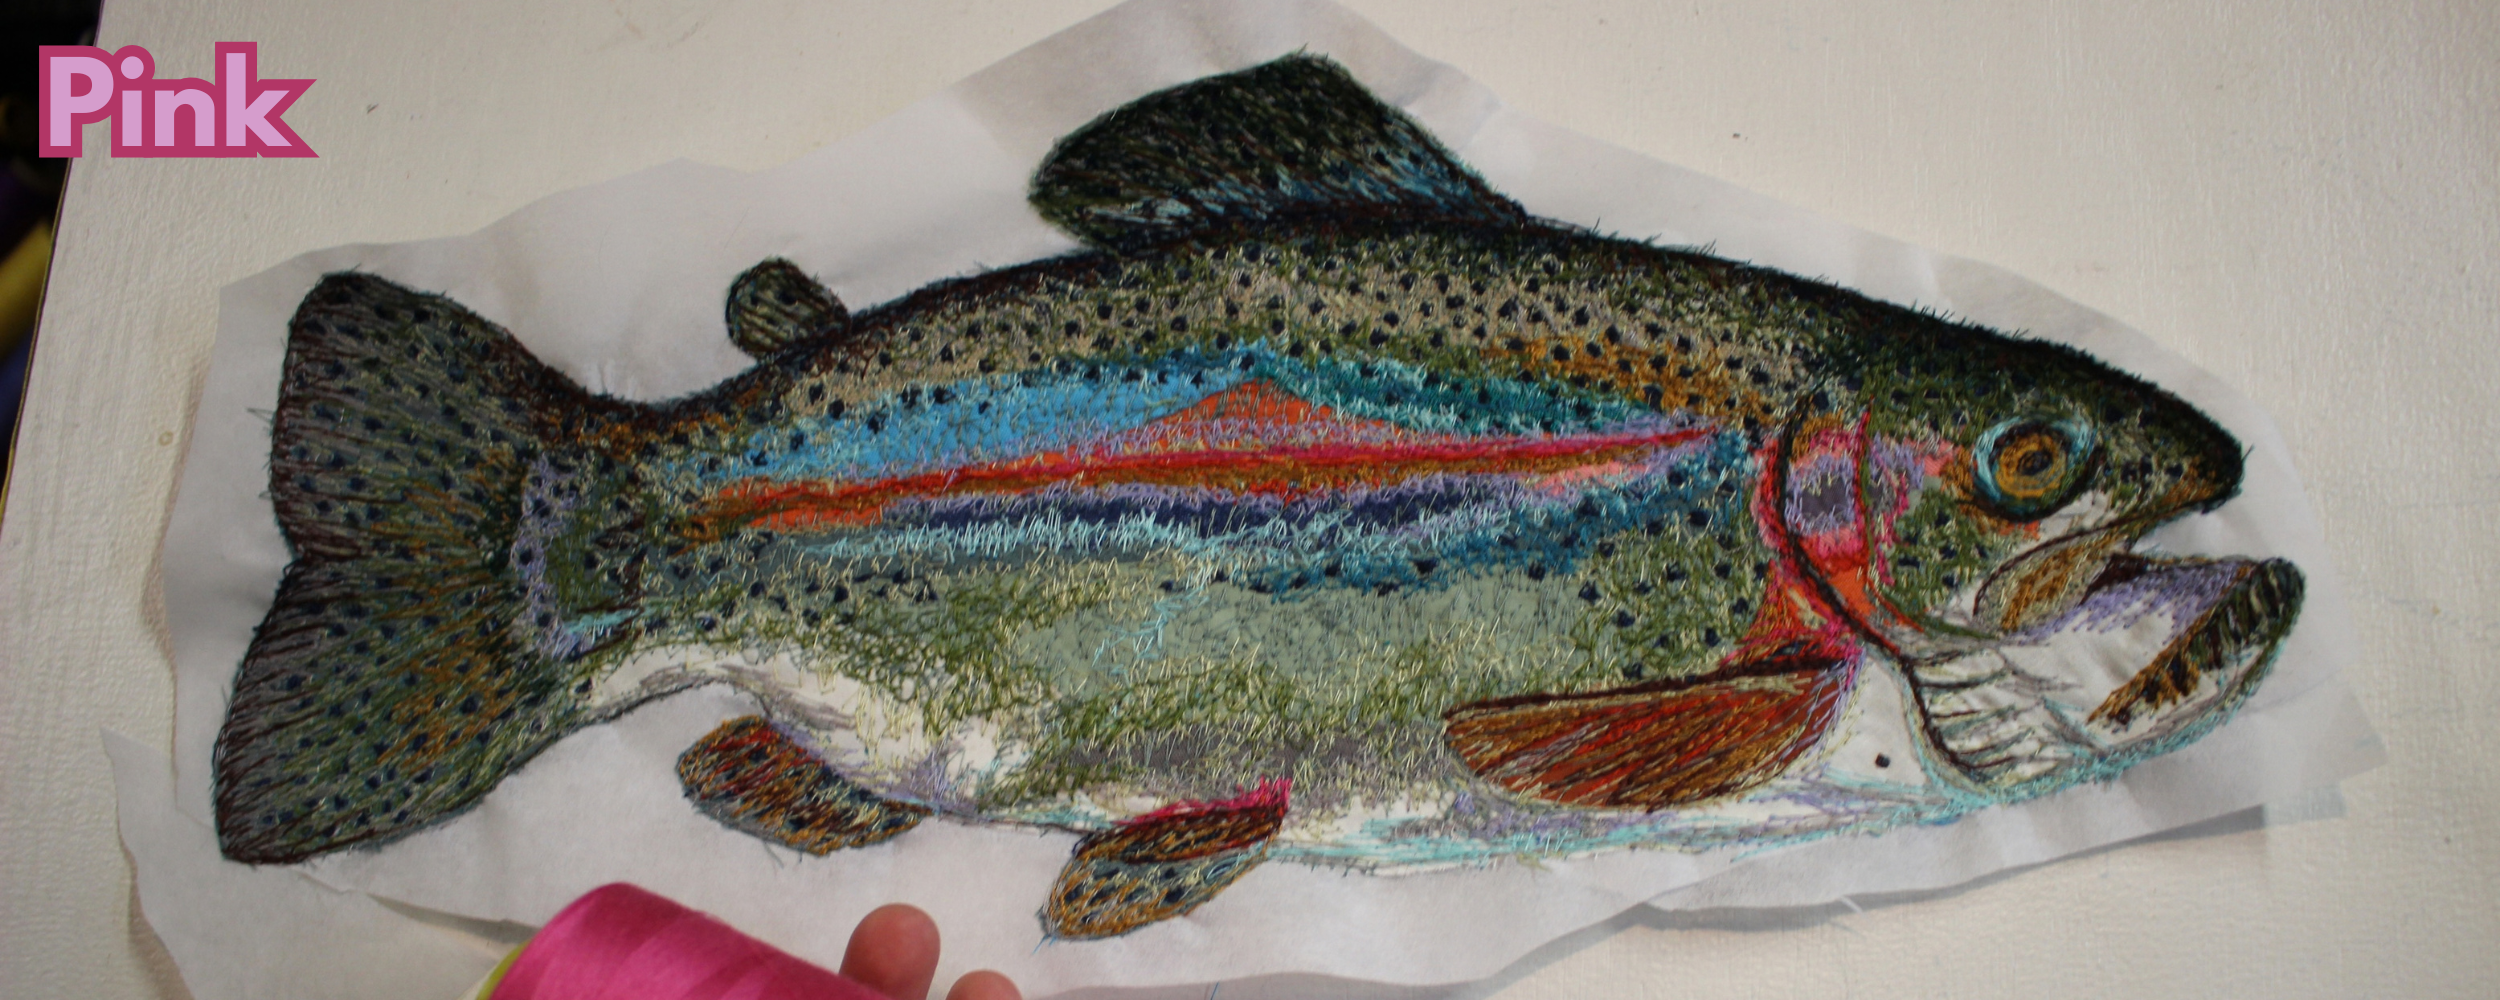
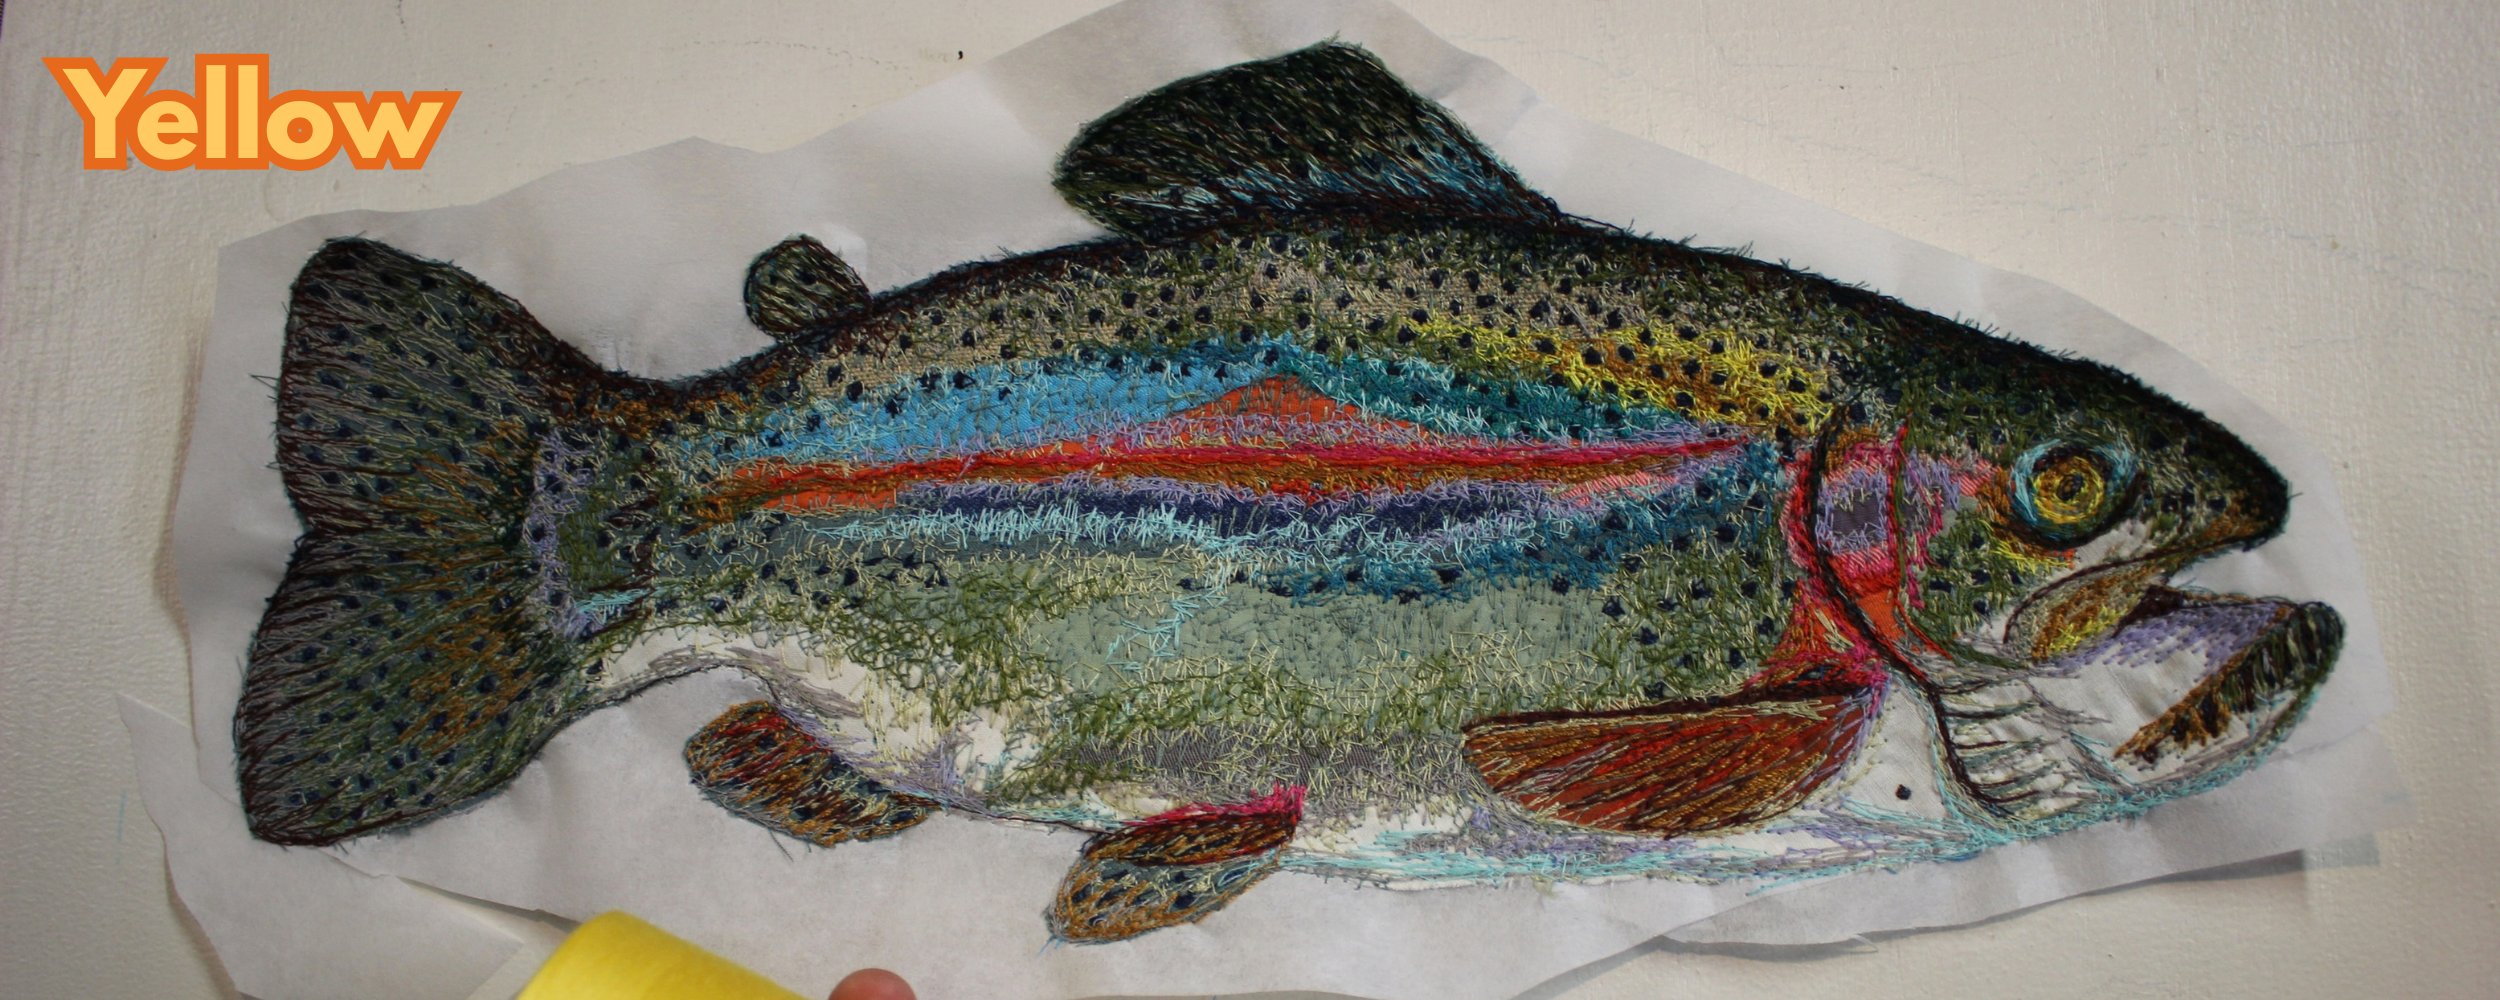
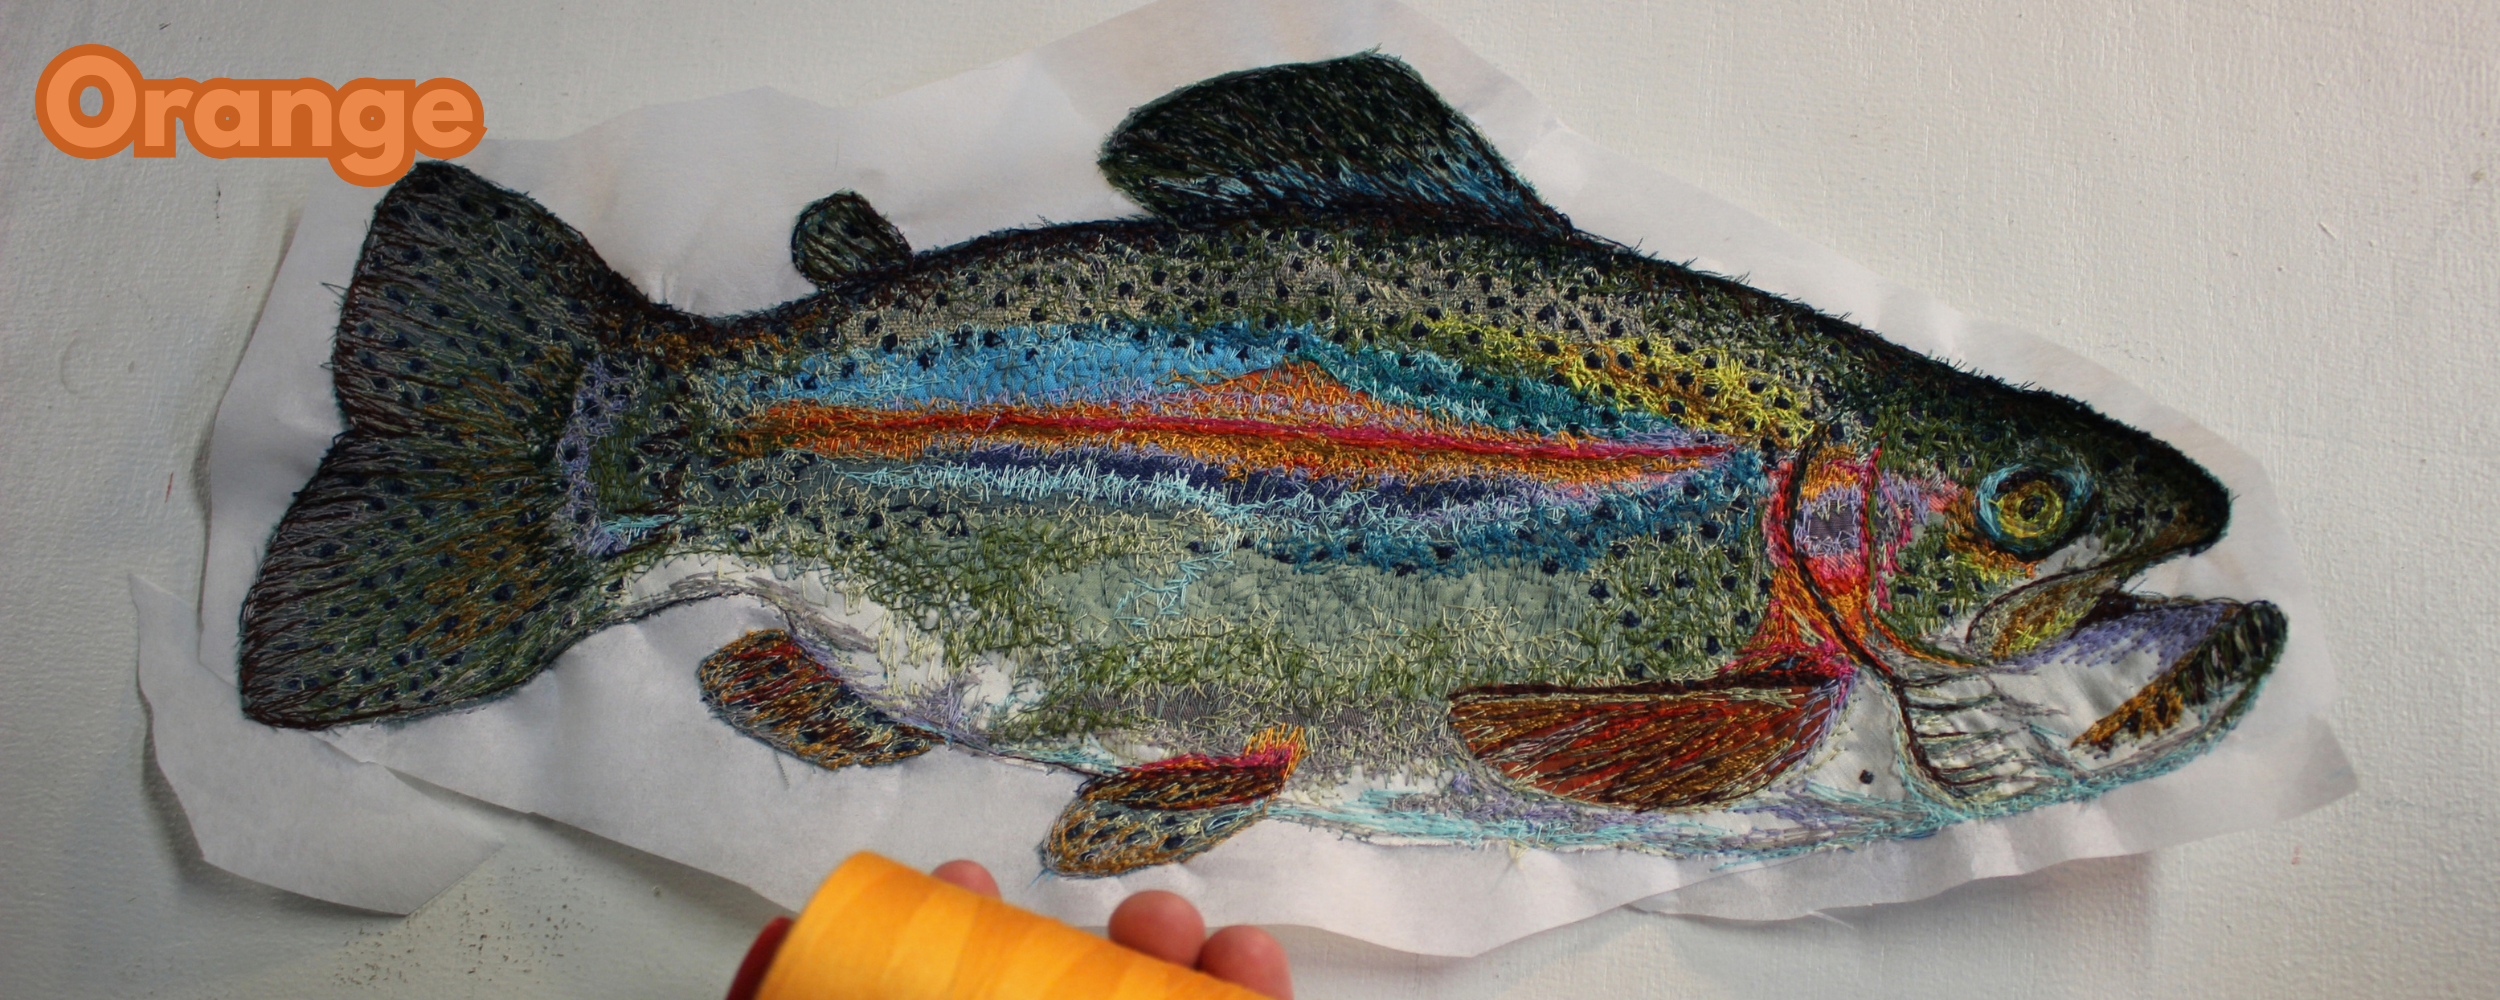
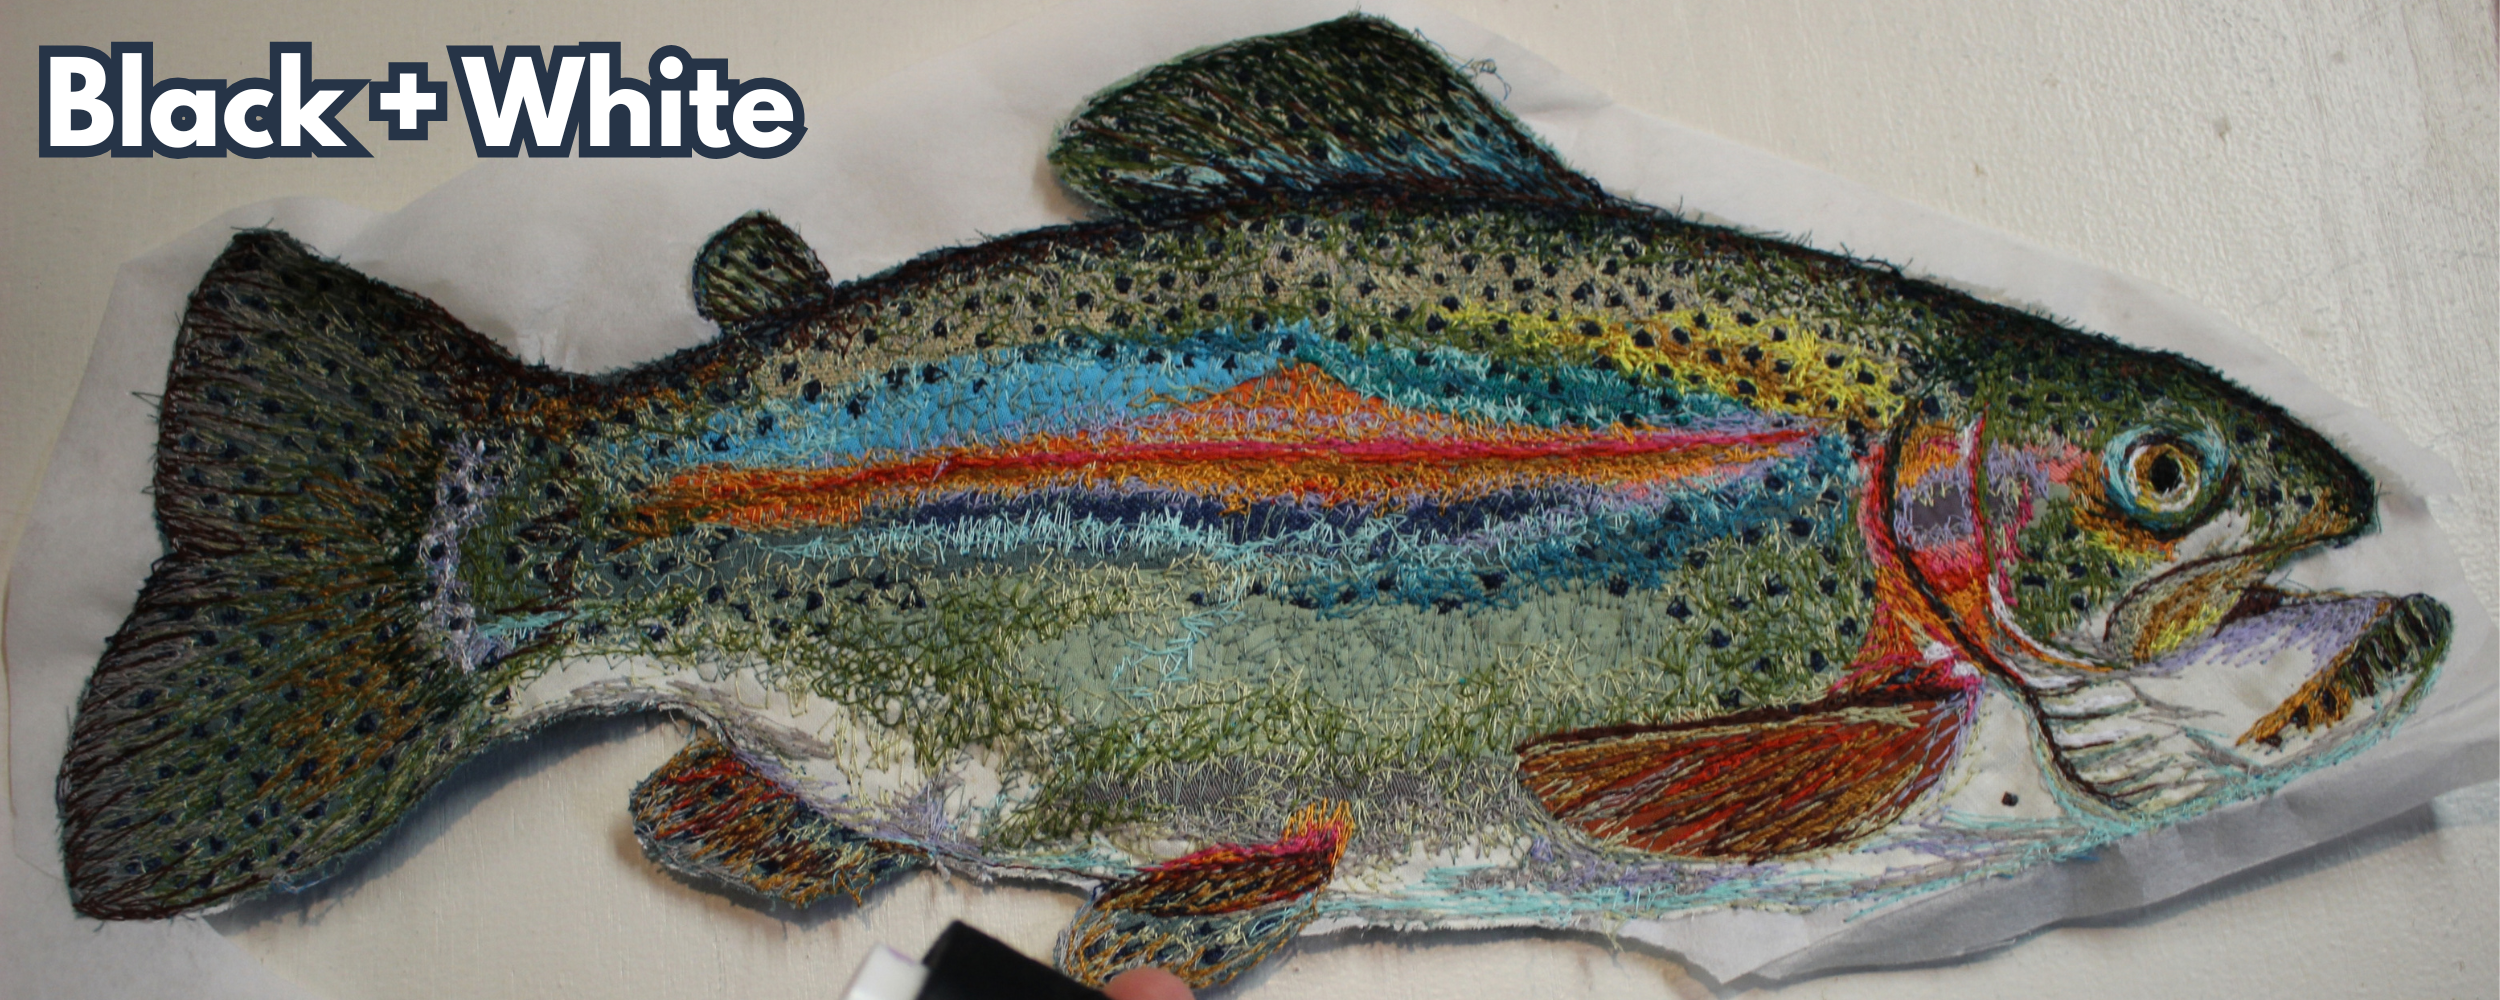
Notice how with each additional thread color, it becomes more and more life like?
Remove the Stabilizer
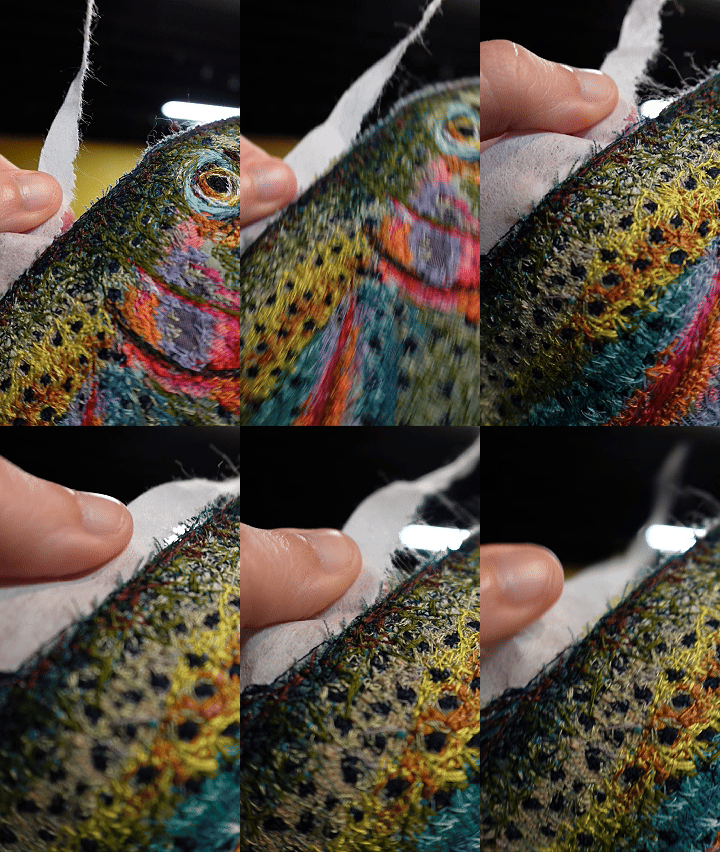
CAREFULLY remove the stabilizer.
It should be easy to remove, if you sewed enough around all the edges, but be gentle. Your thread may pull with it.
Don’t bother removing the stabilizer on the underside, unless there are large areas unused.
Sewing it to a Garment.
I recommend choosing a stiff, durable clothing or fabric, like sweatshirts or denim.
Thin stretchy fabrics do not hold these well. The difference in texture can feel weird, and it can warp or stretch while sewing it on.
For this fish, I chose a sweatshirt for a base for the purse, and a non stretchy polyester liner.
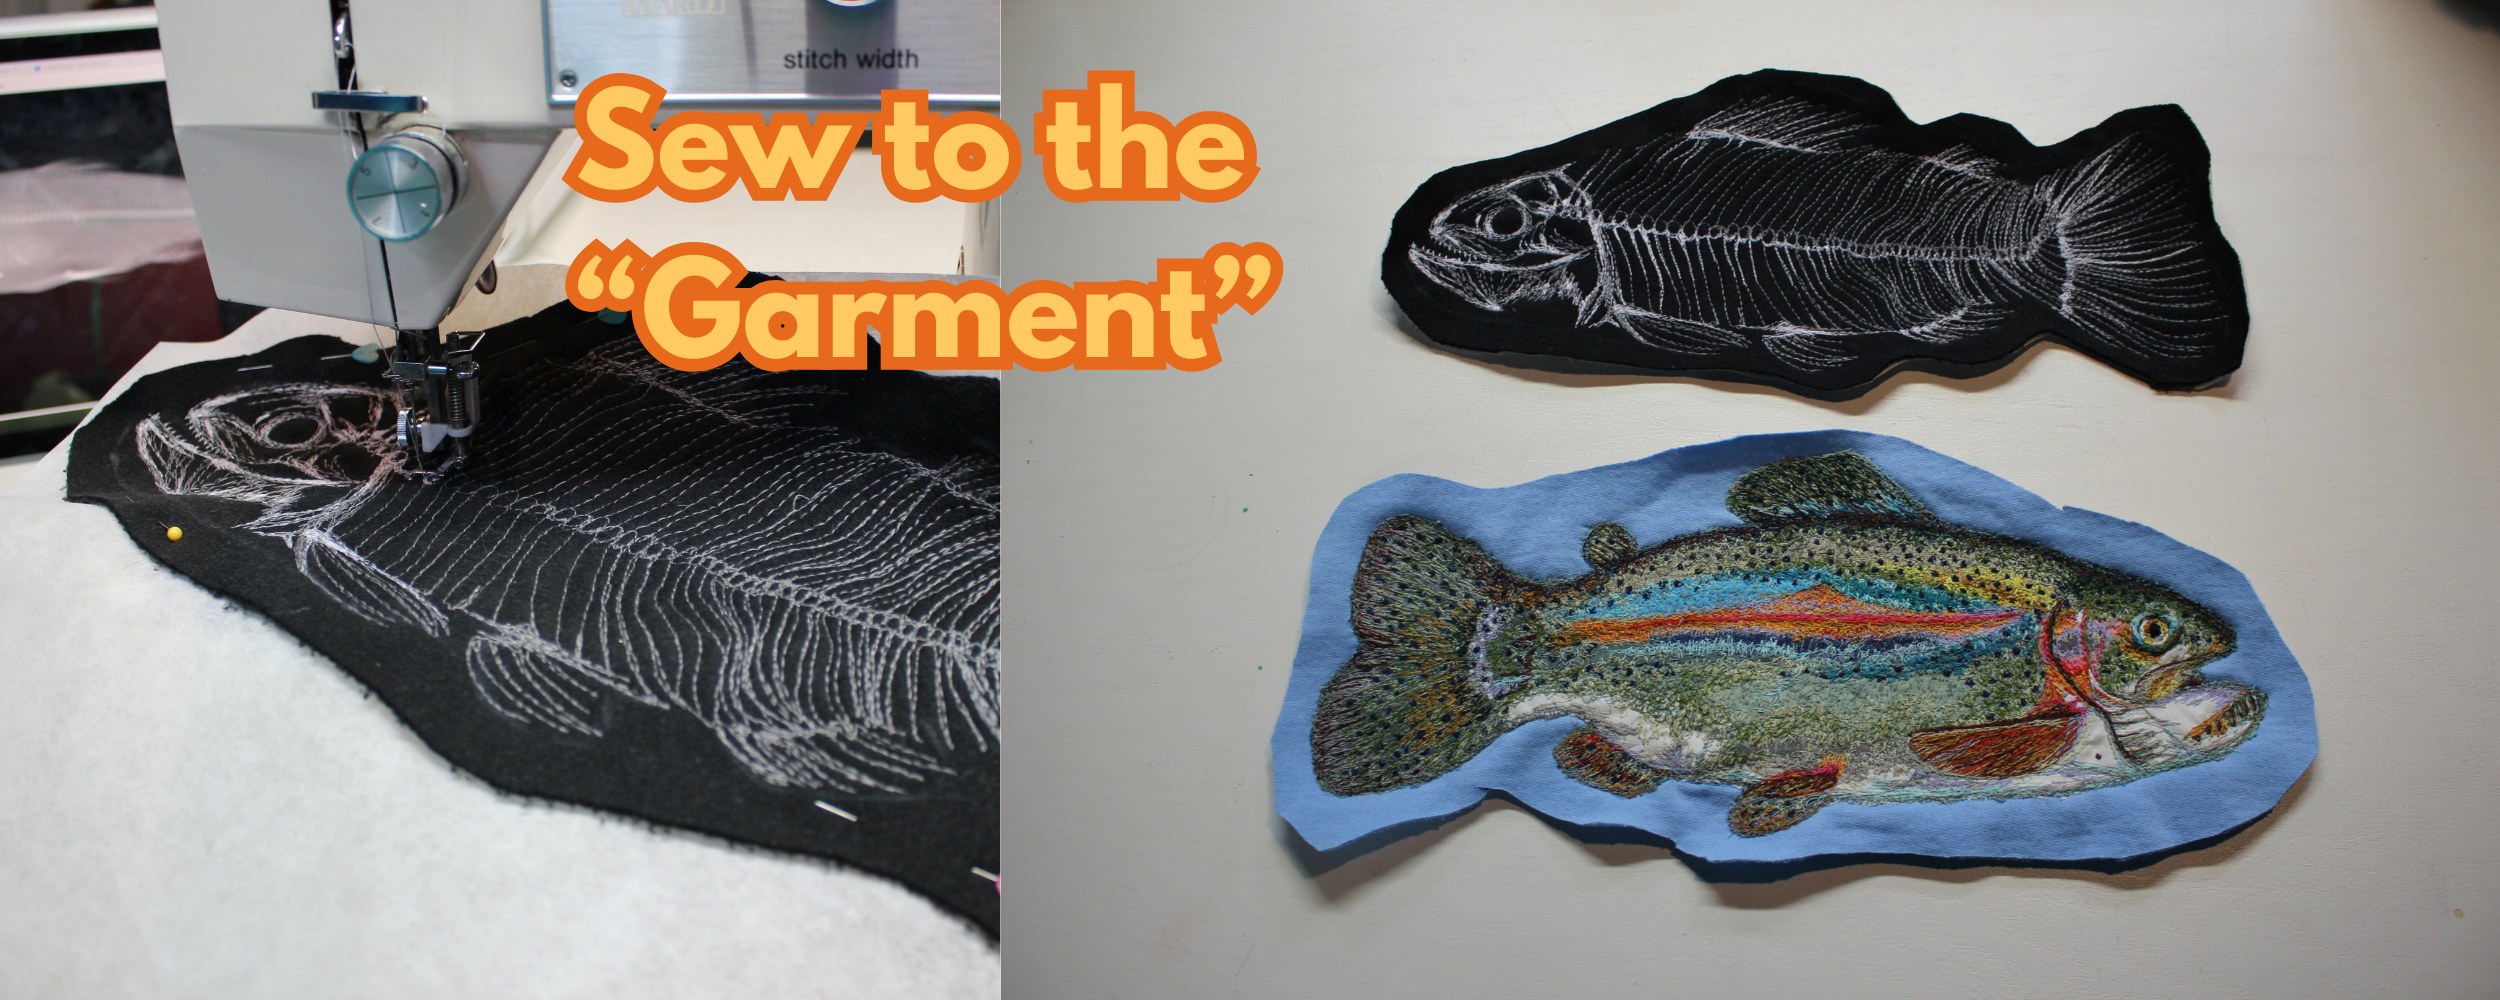
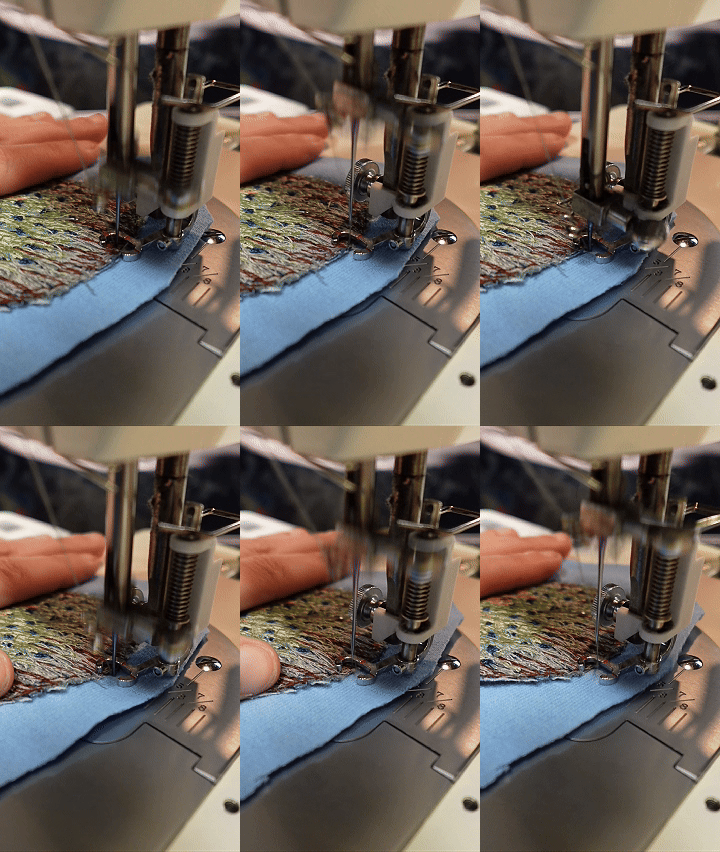
Carefully pin the patch to the garment.
Sew the patch using a zigzag/spiral motion
Completely sew the edges to the garment or fabric.
Use a thread color that blends in to the edges. You might have to use multiple colors.
Use a bobbin color that matches the inside of the garment.
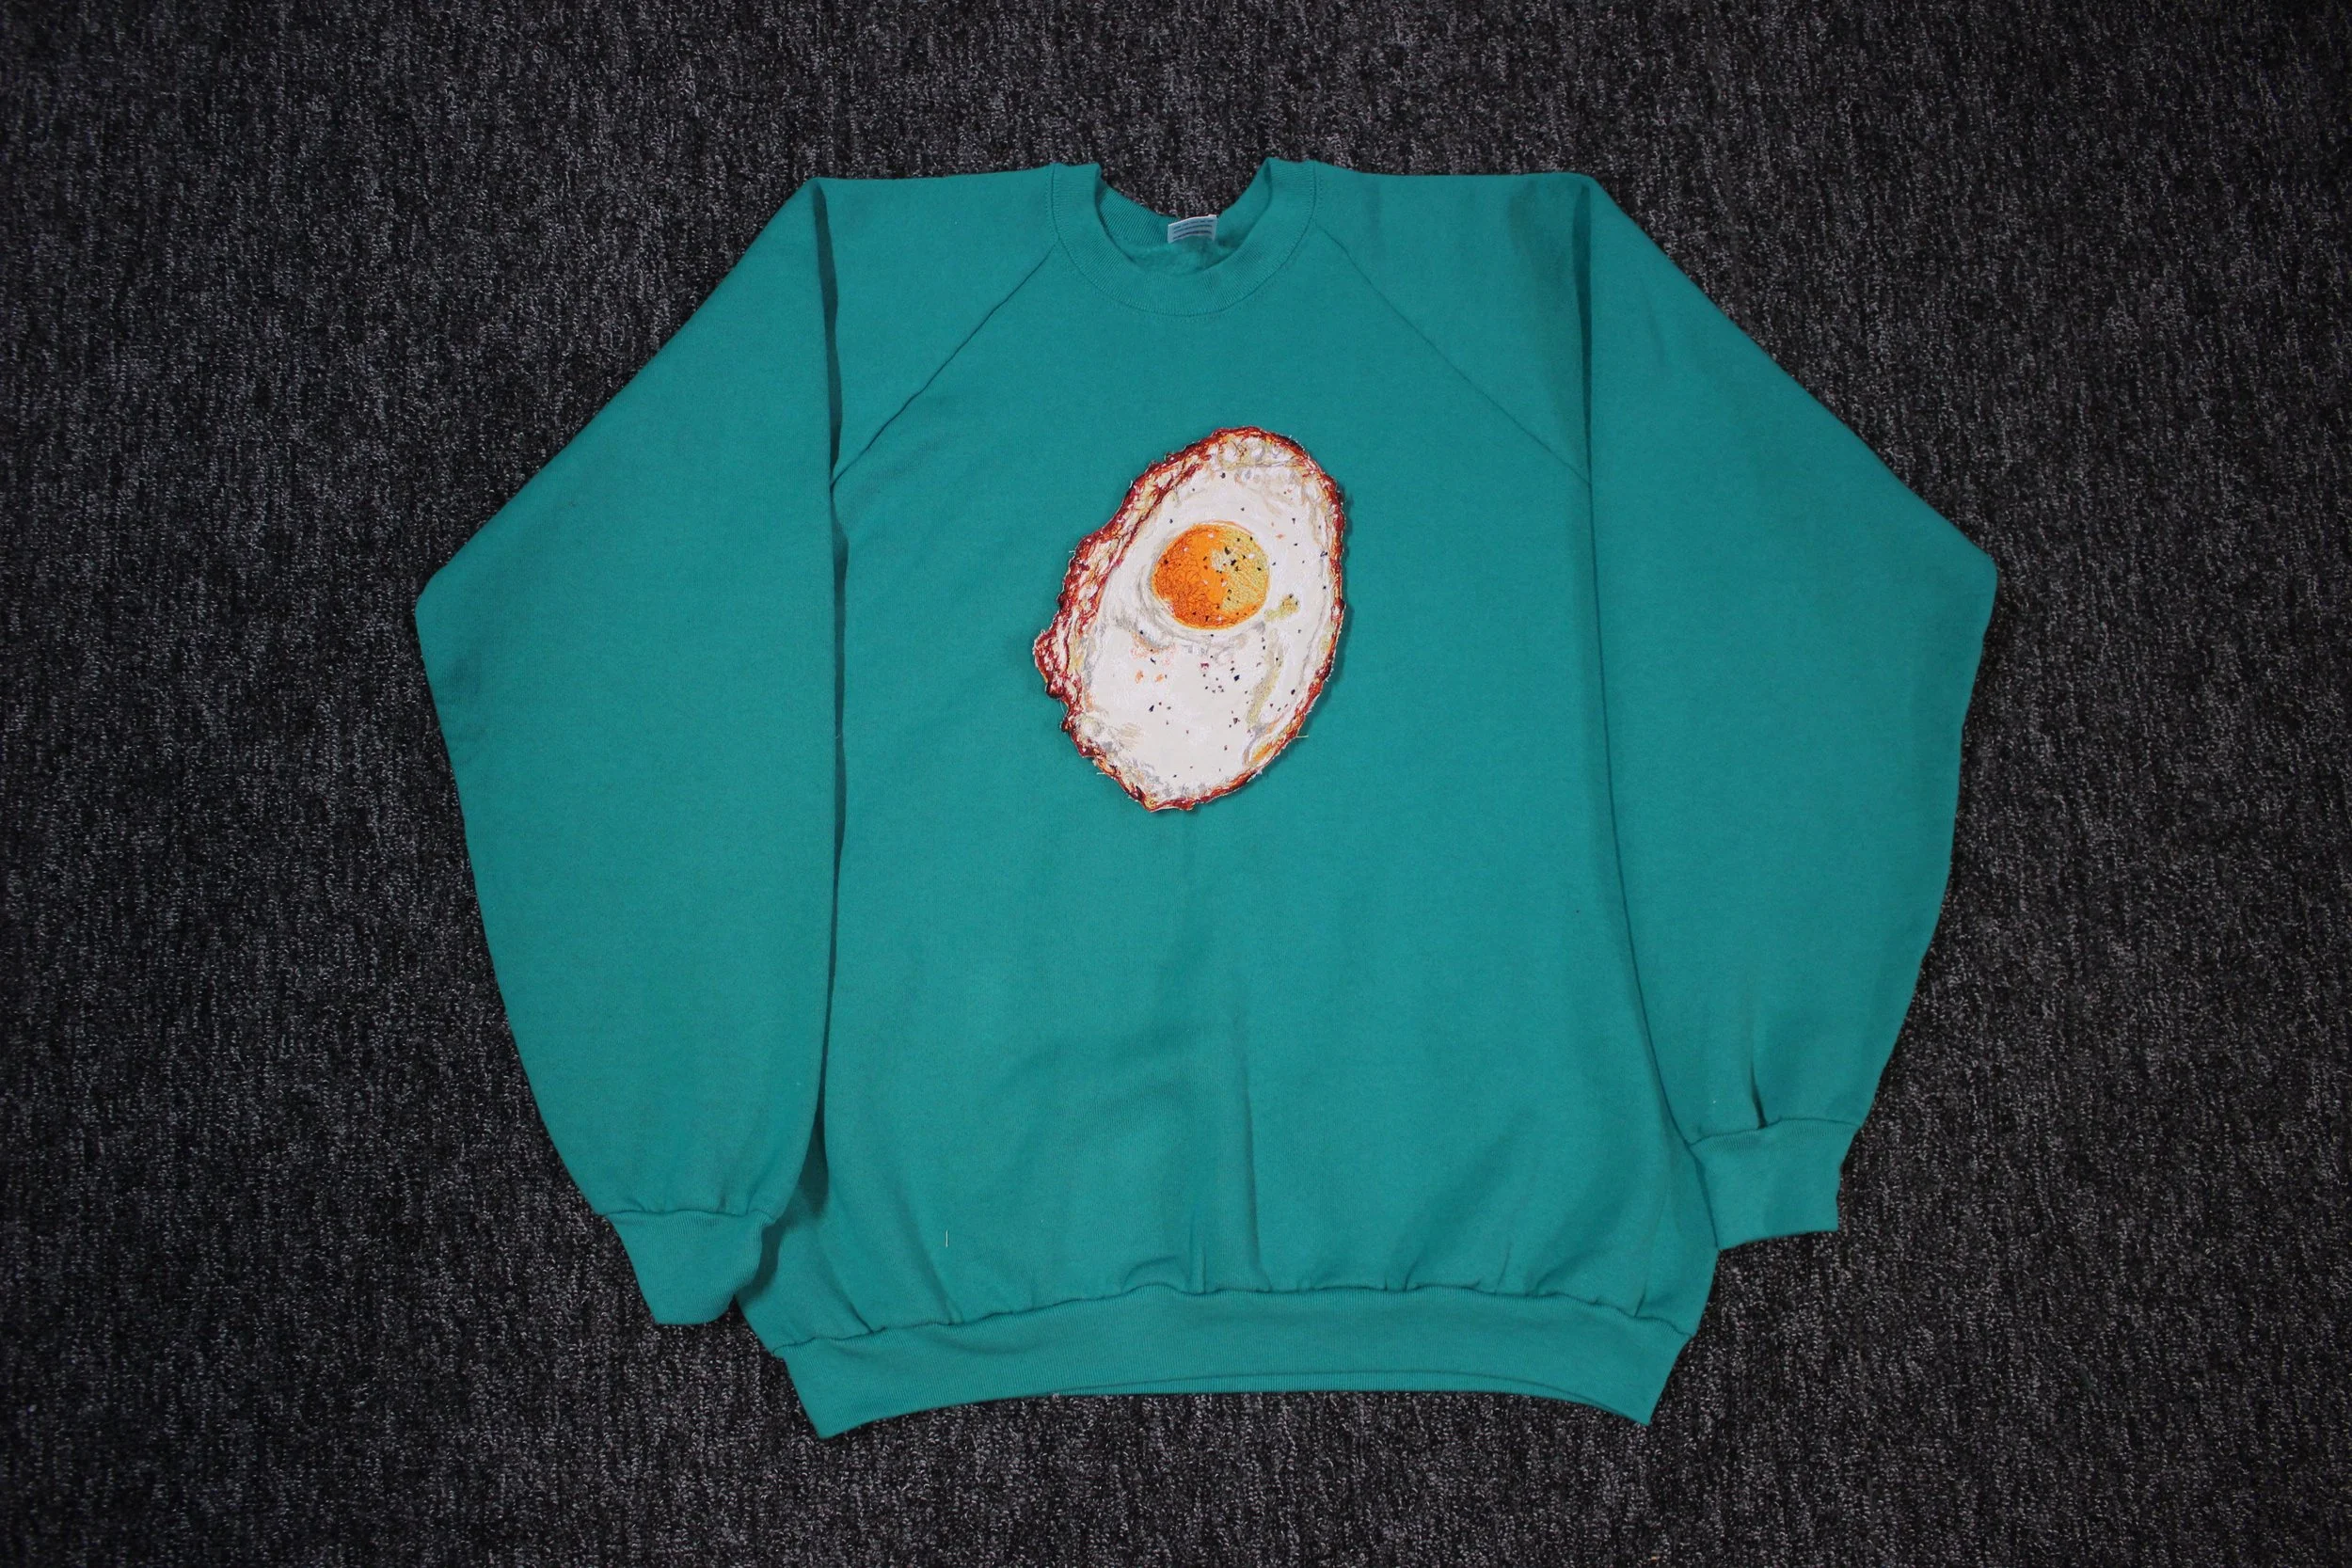
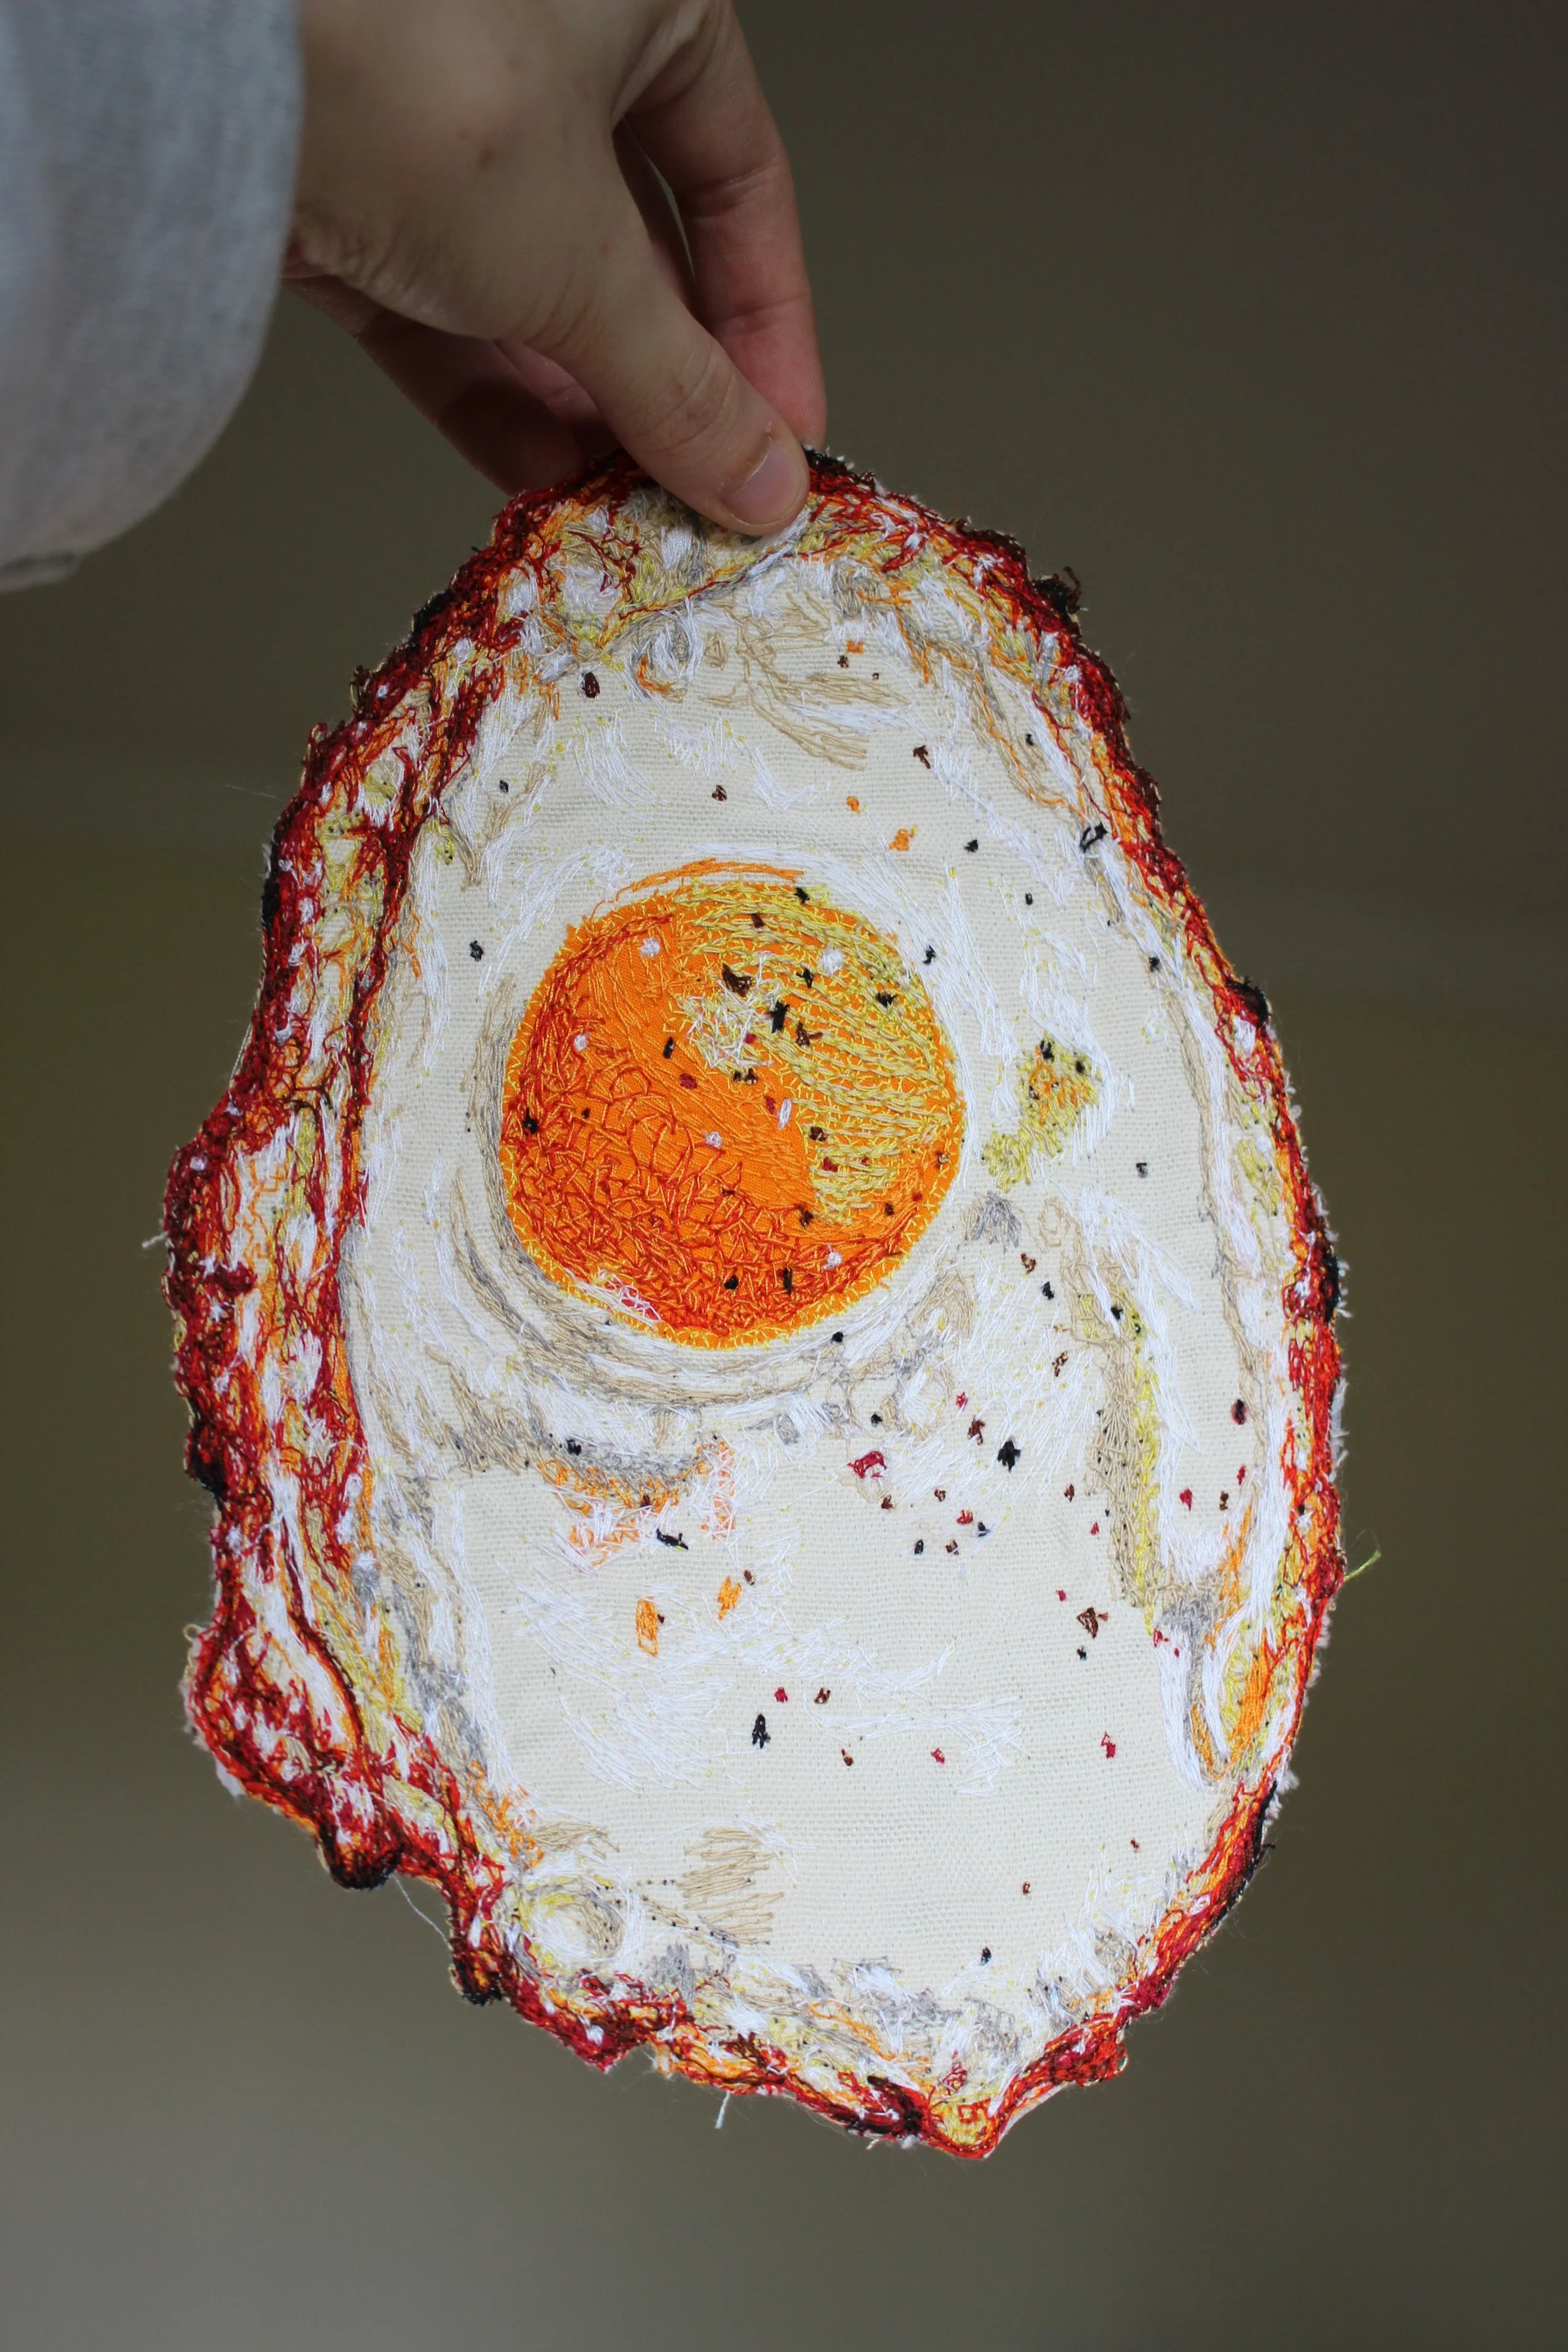
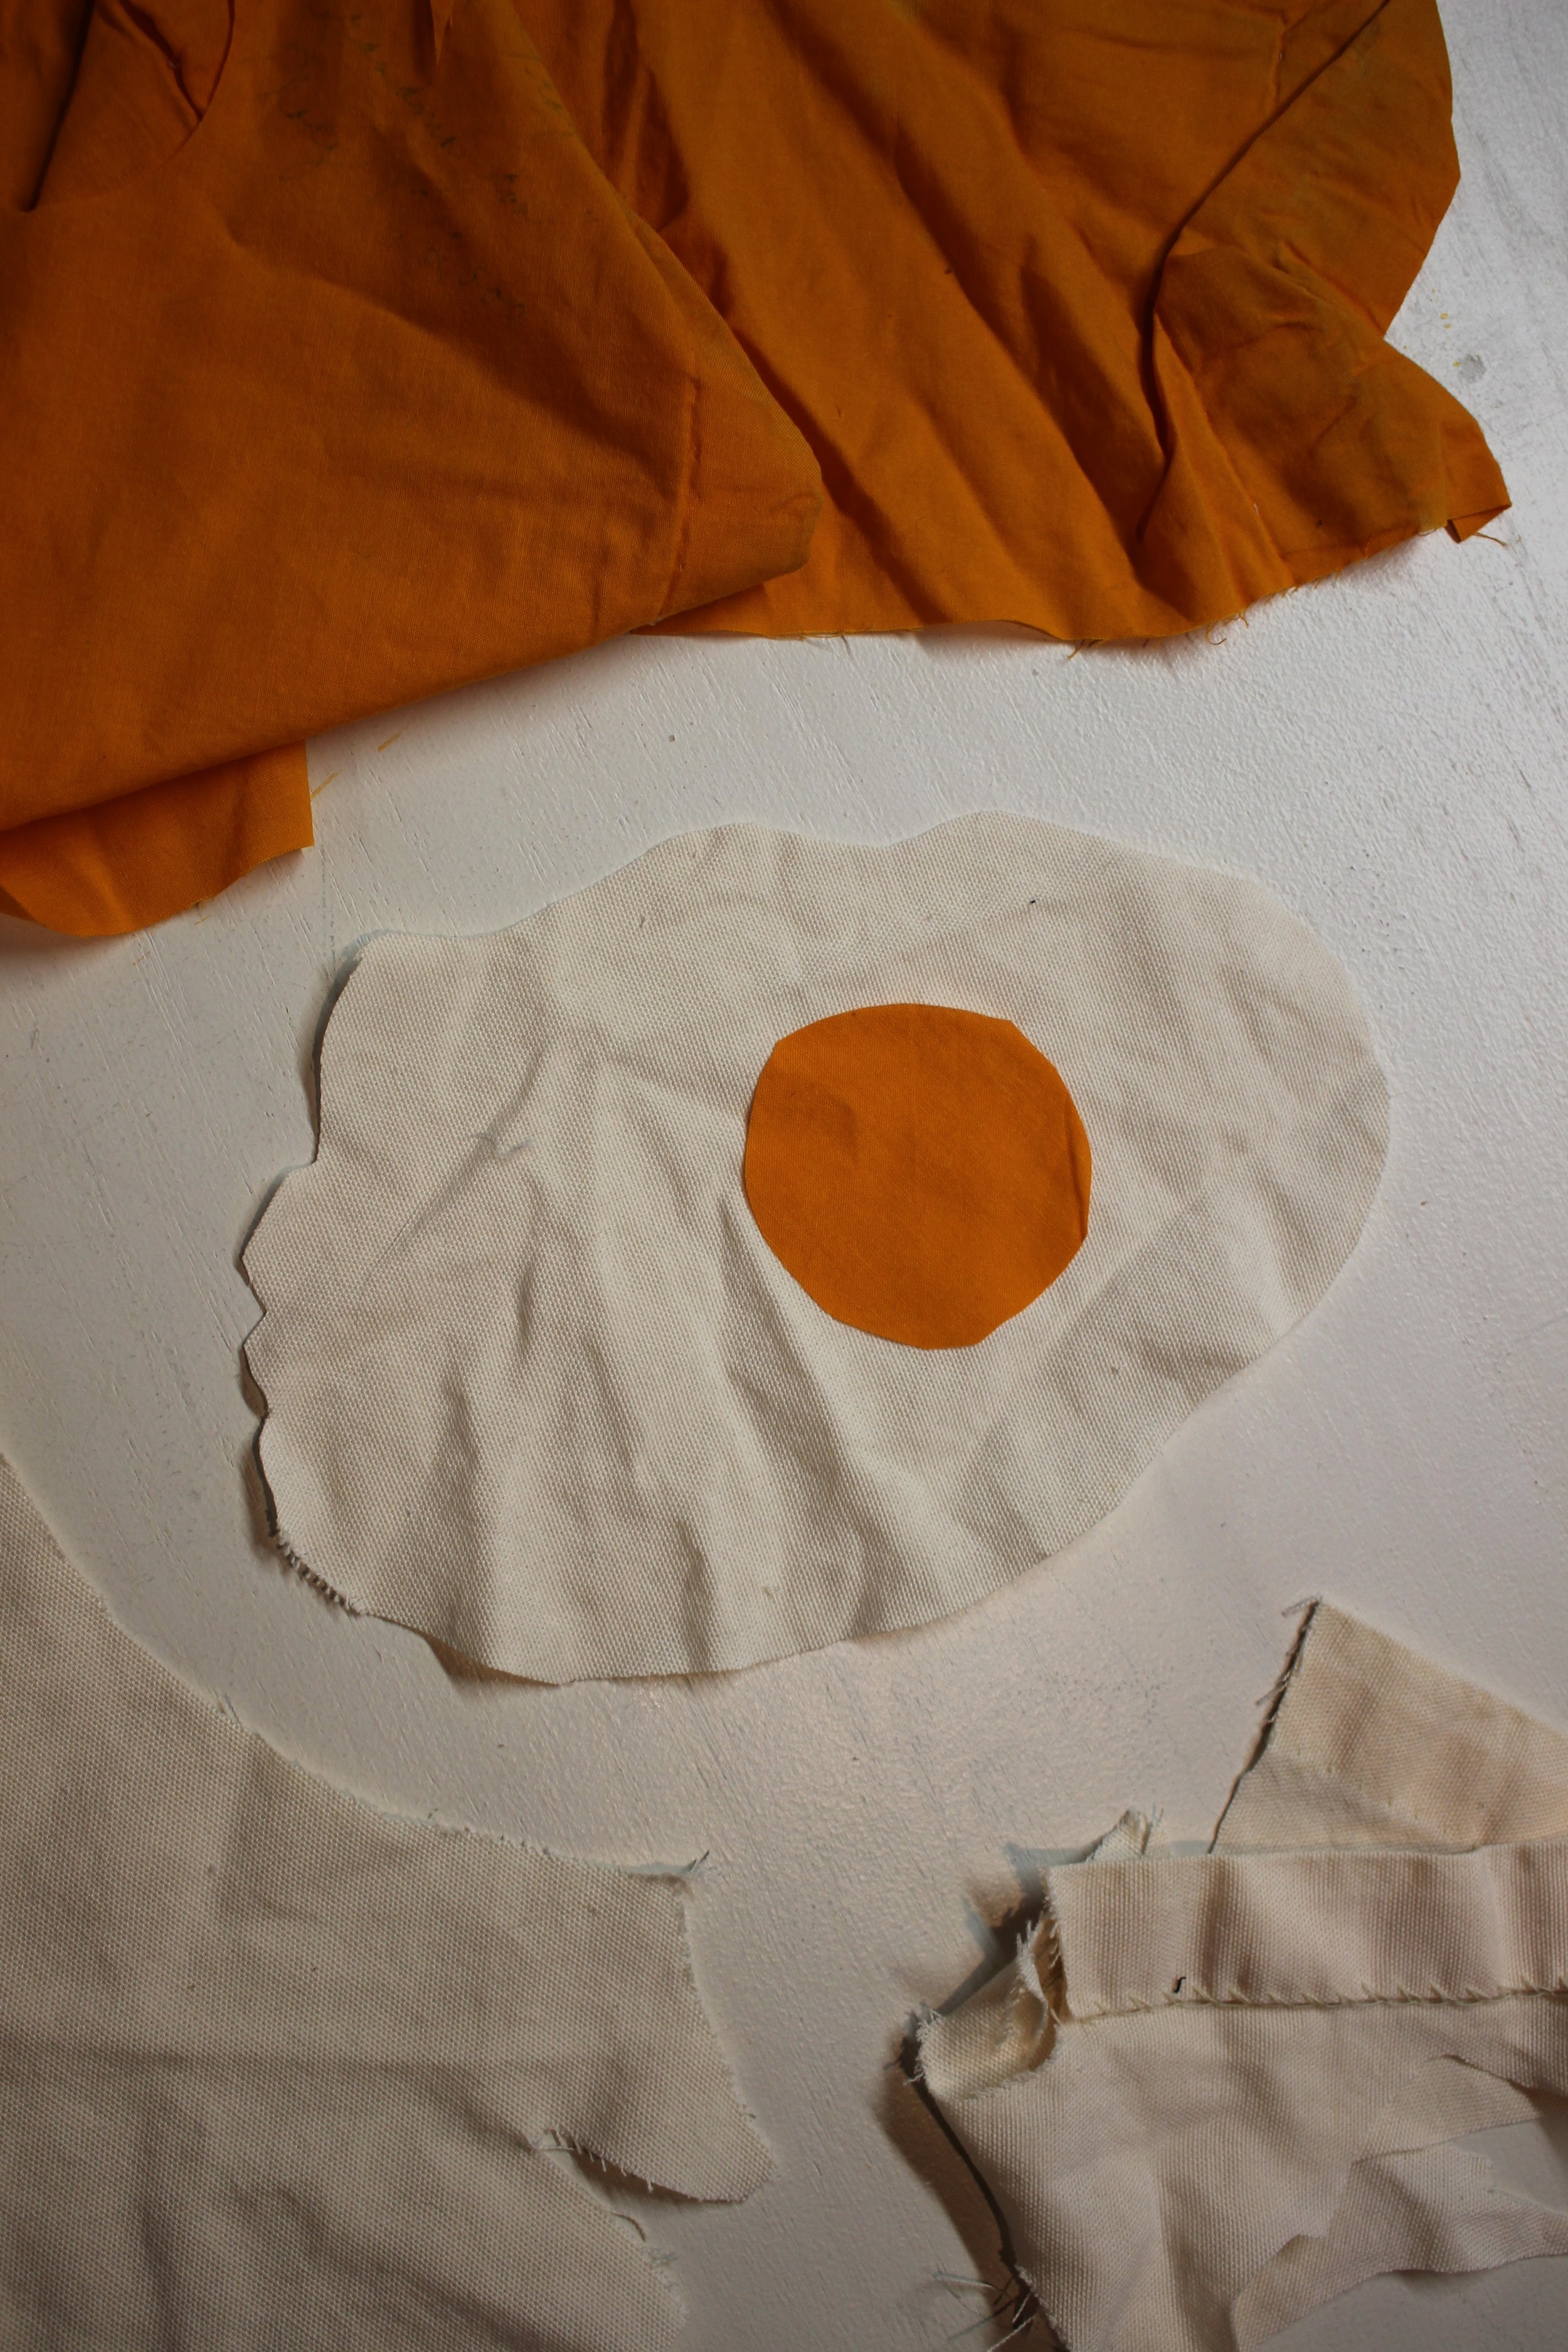
Image: Fried Egg Patch sitting on Sweatshirt, ready to sew on!
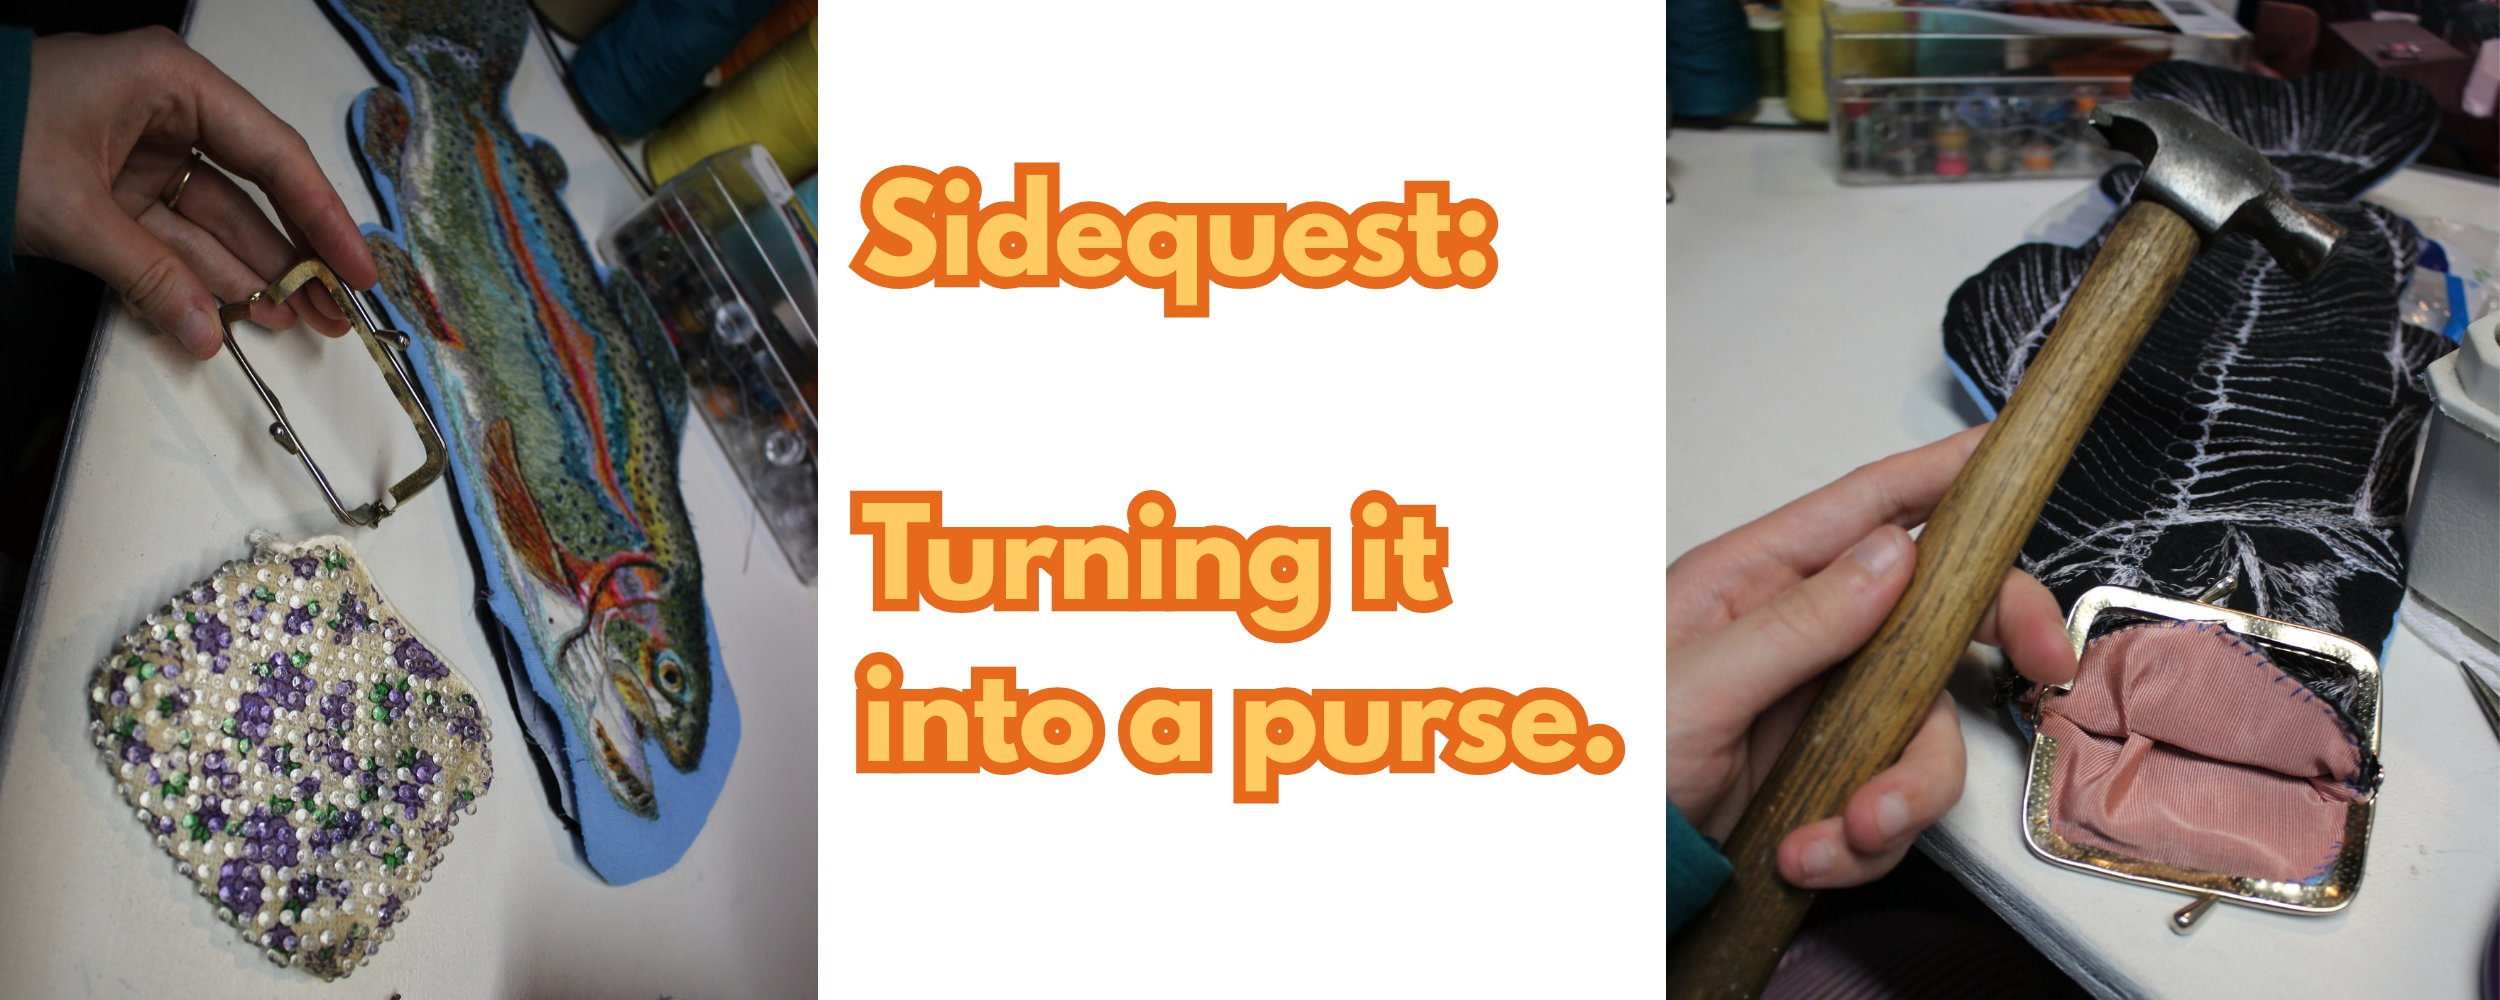
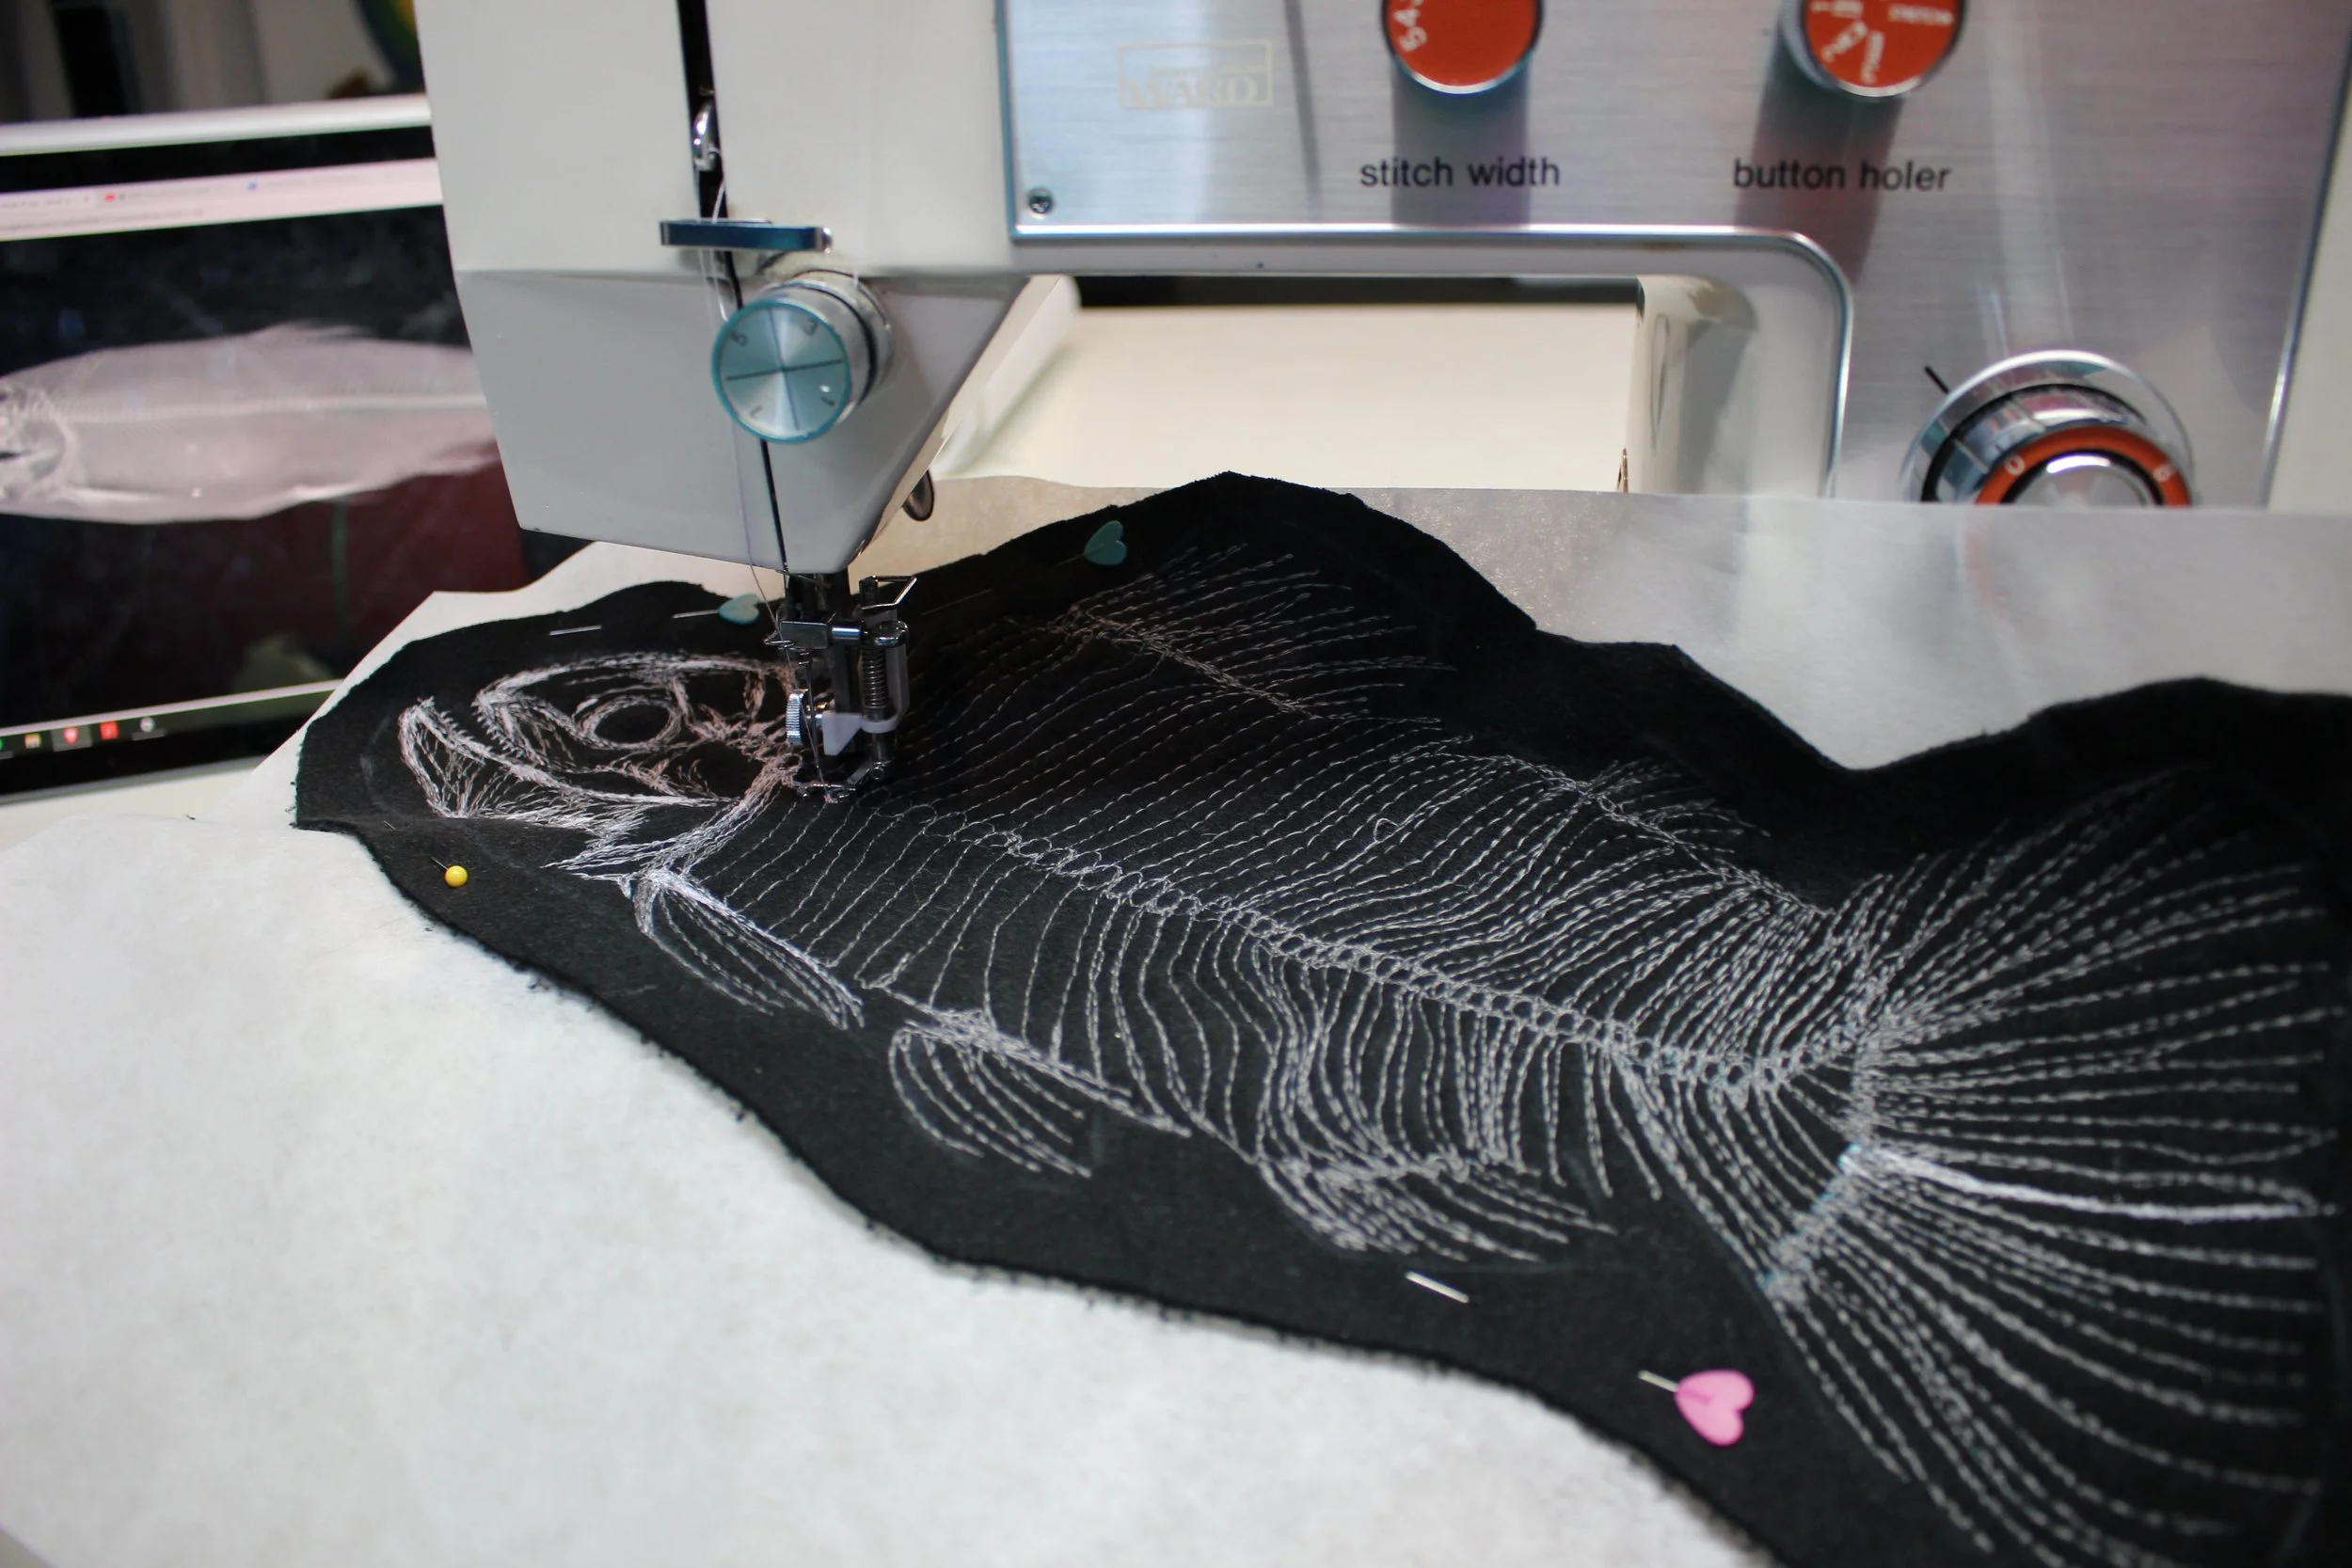
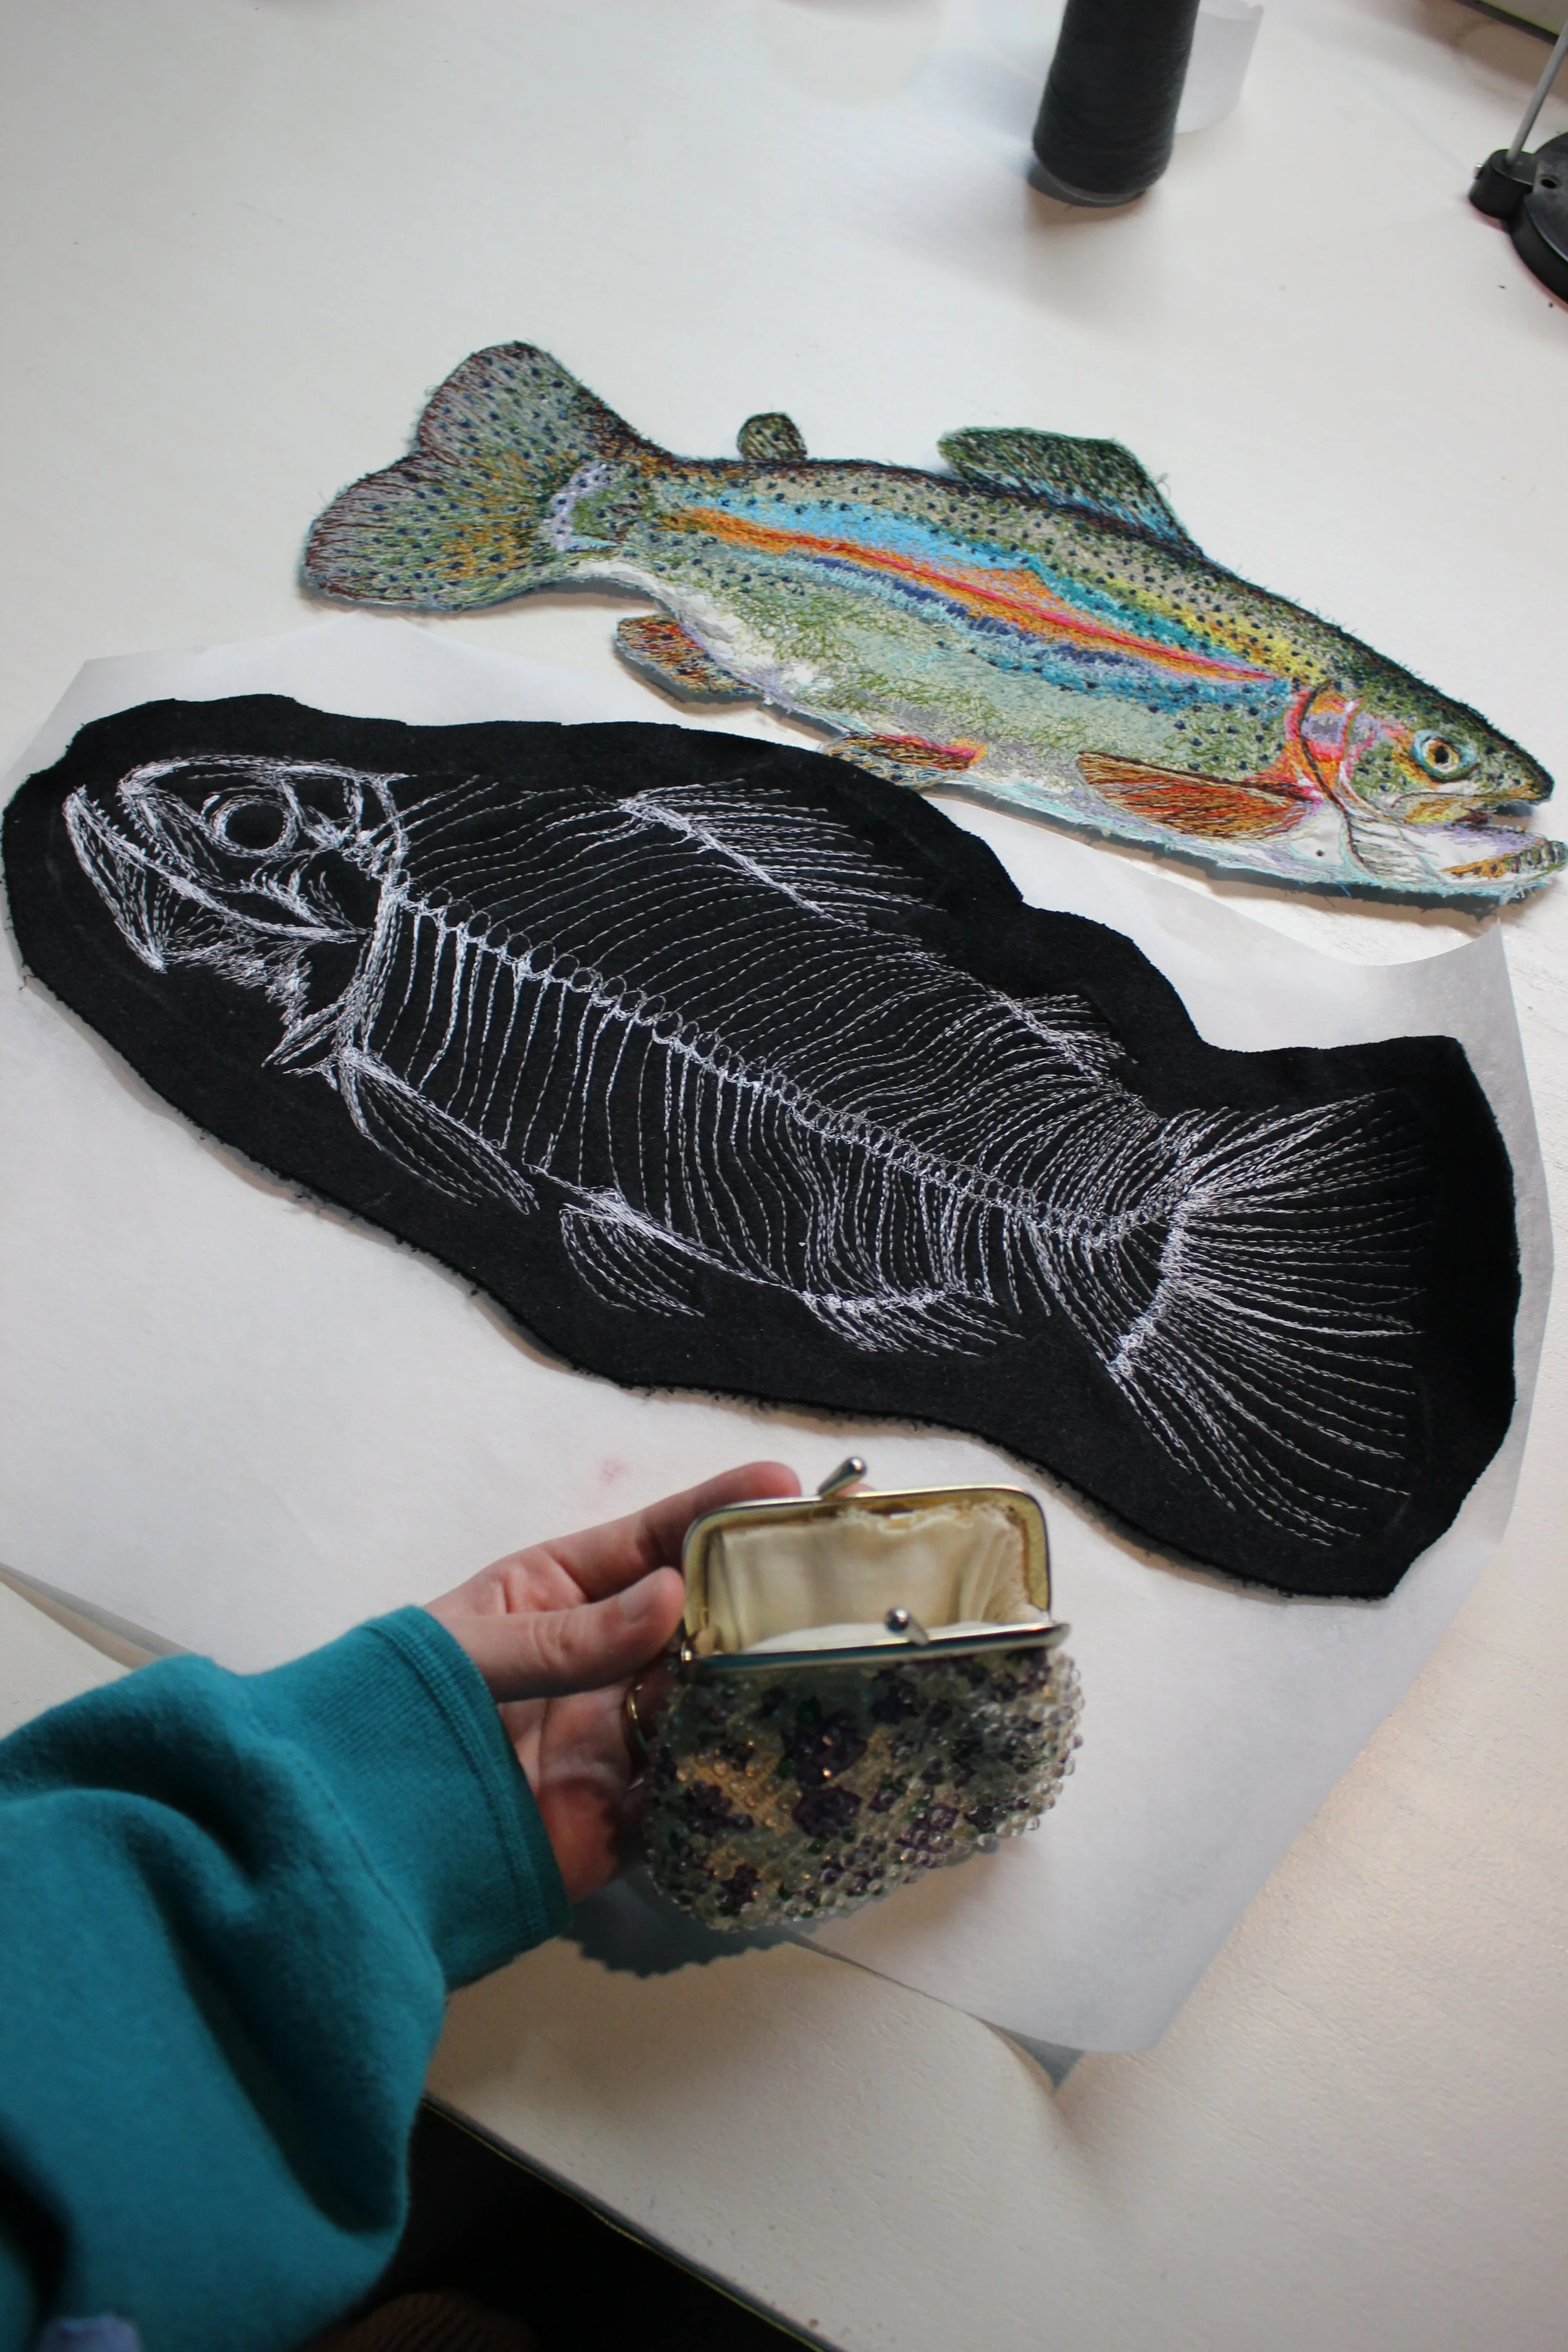
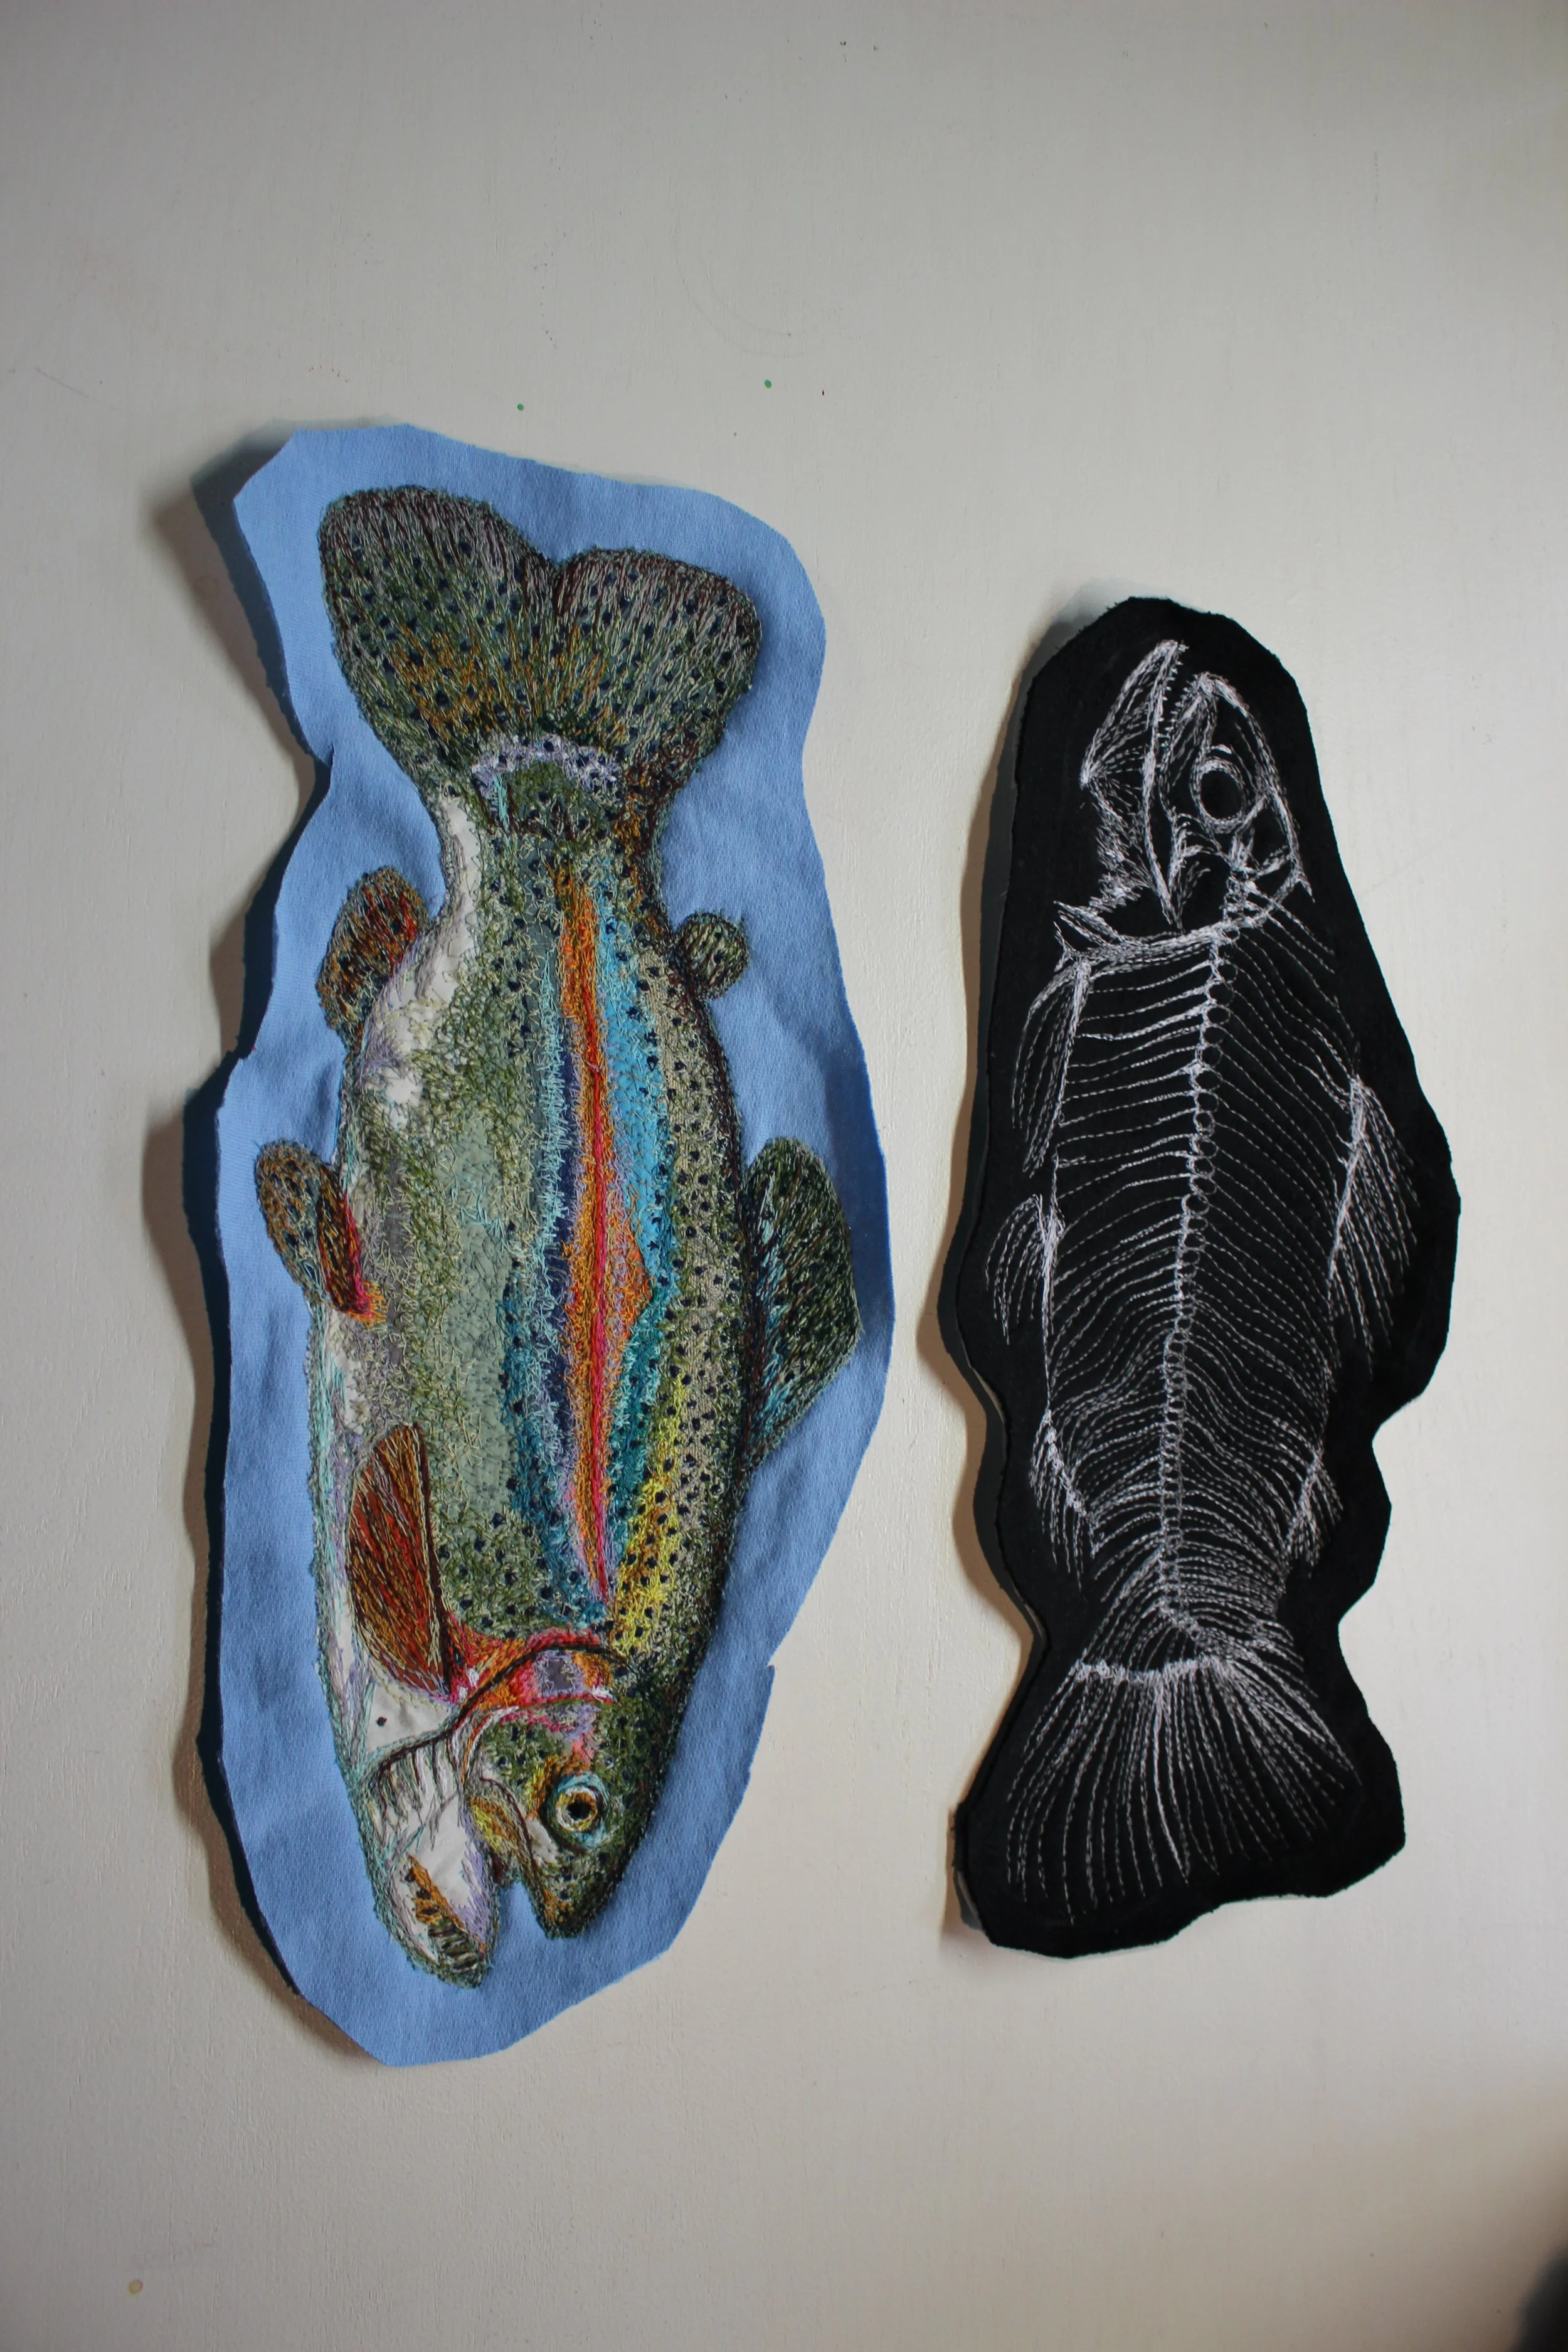
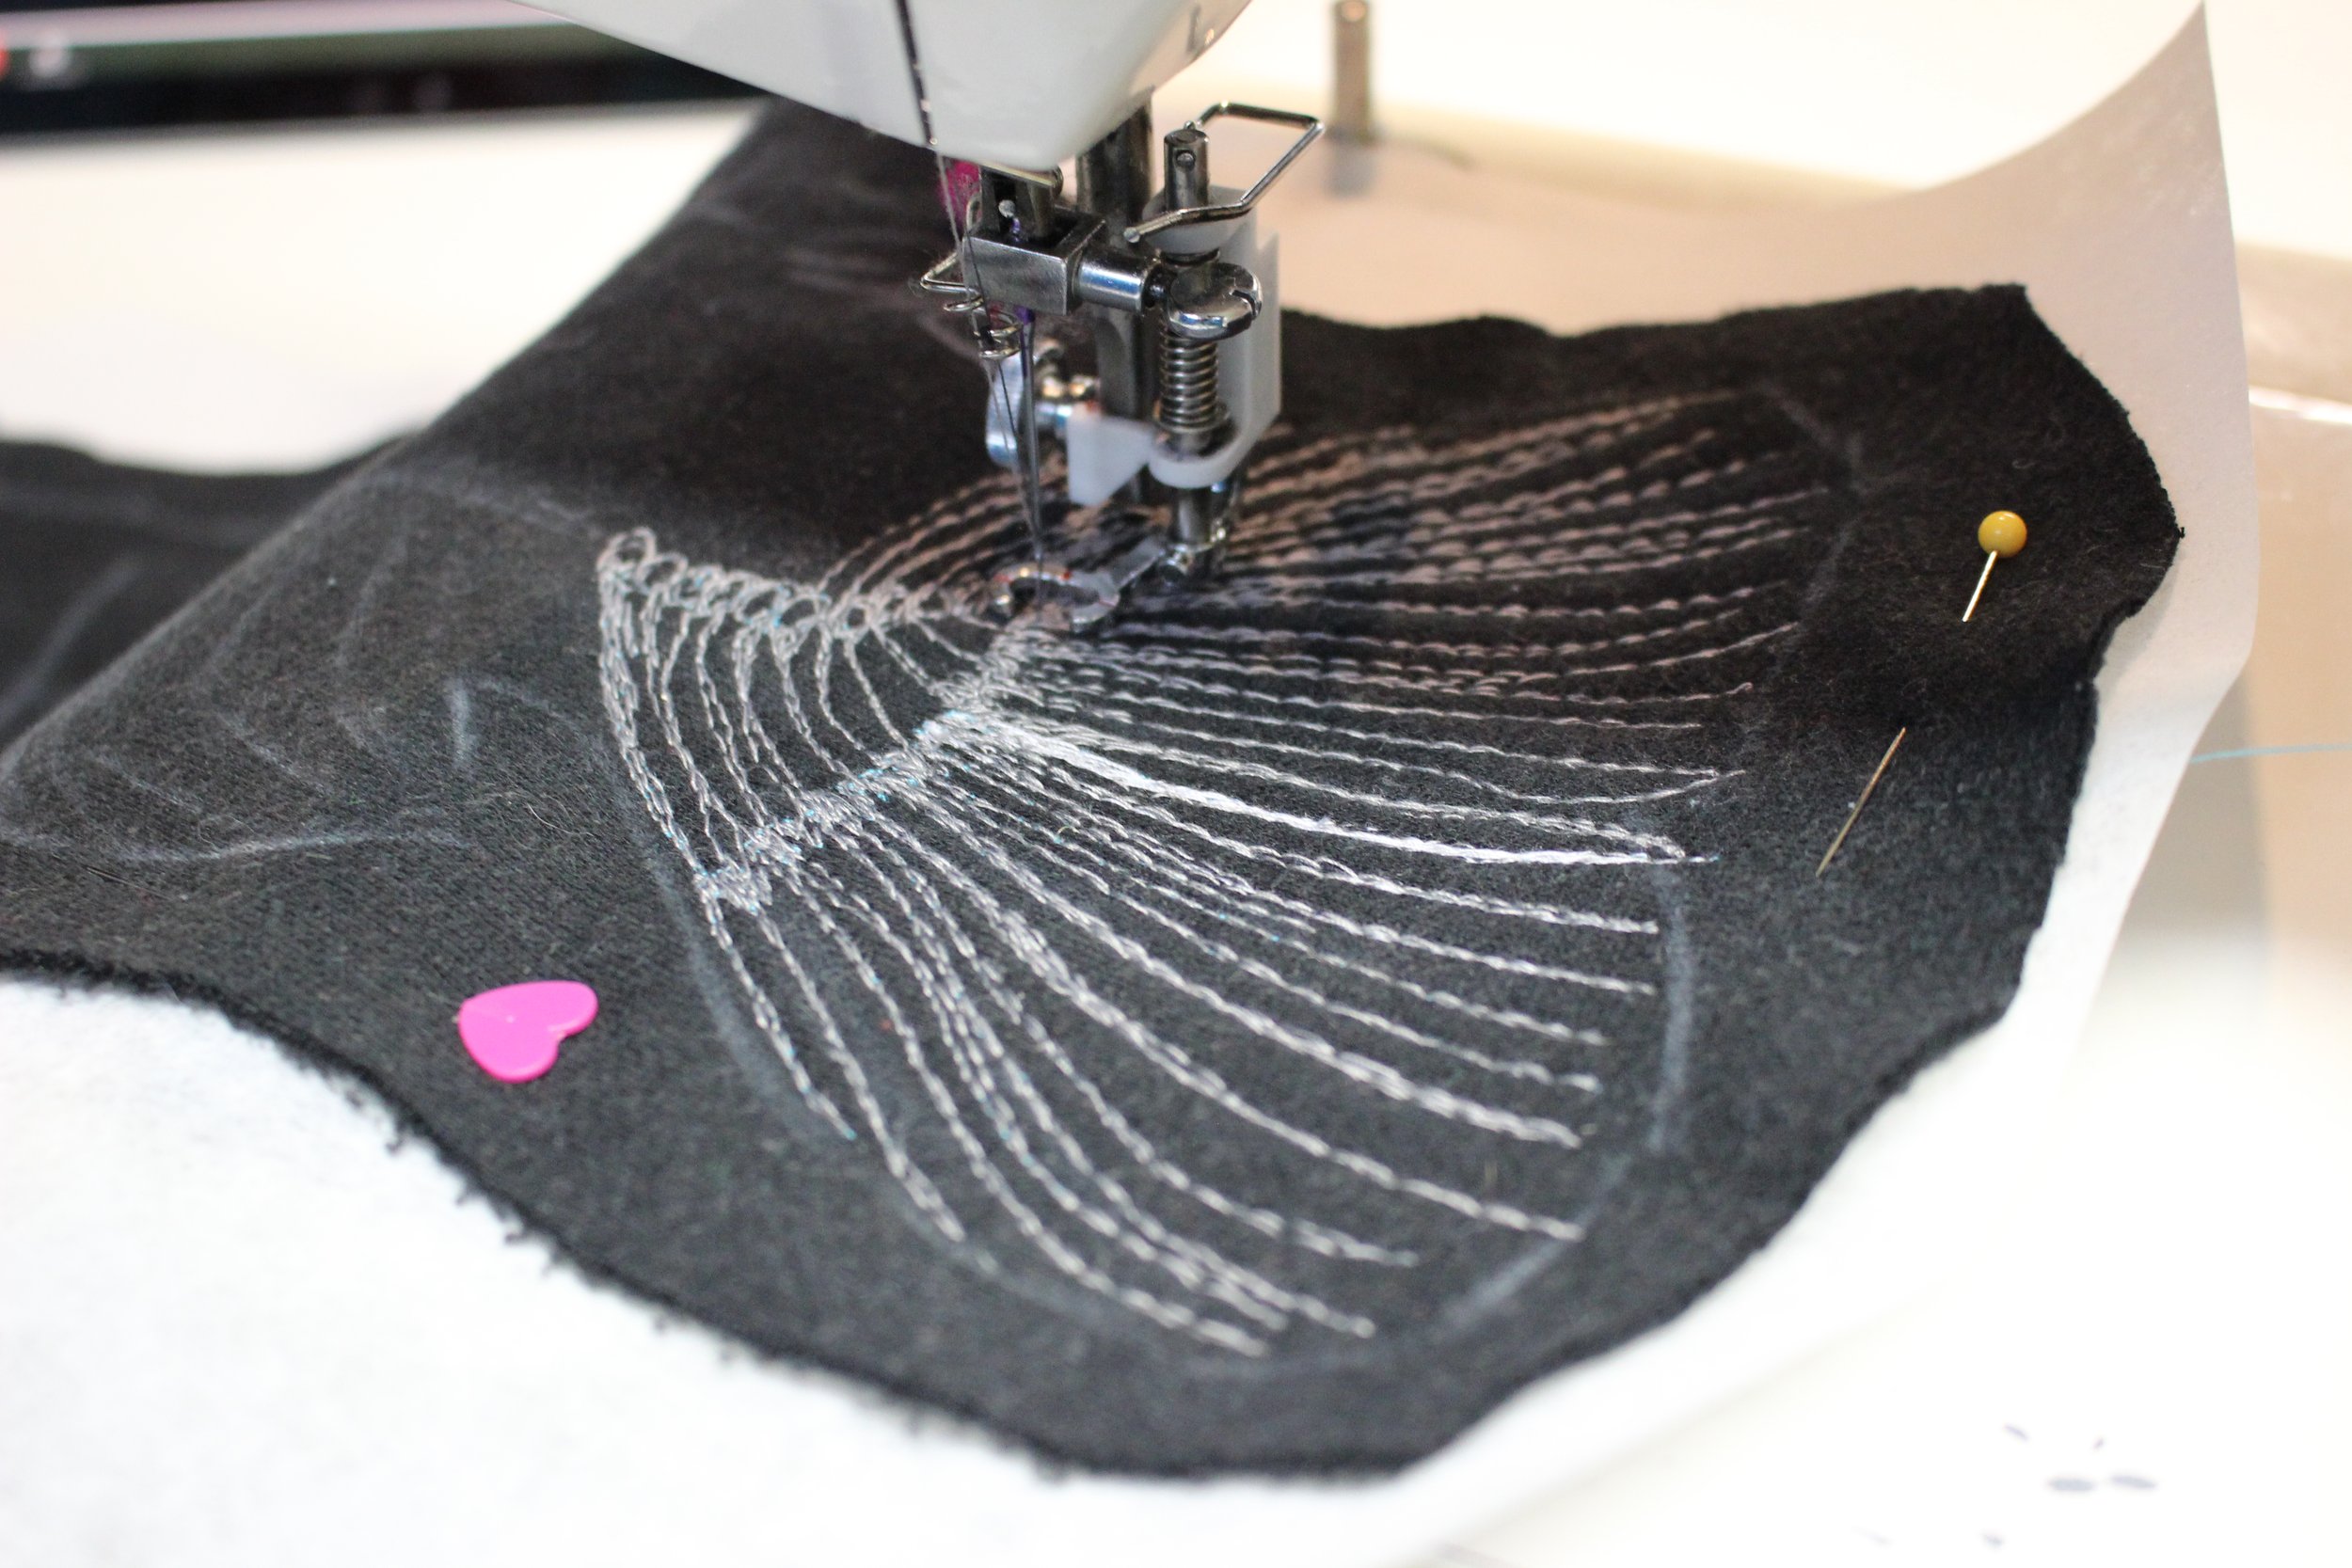
This is not part of the tutorial, I just thought you’d like to know what happened!
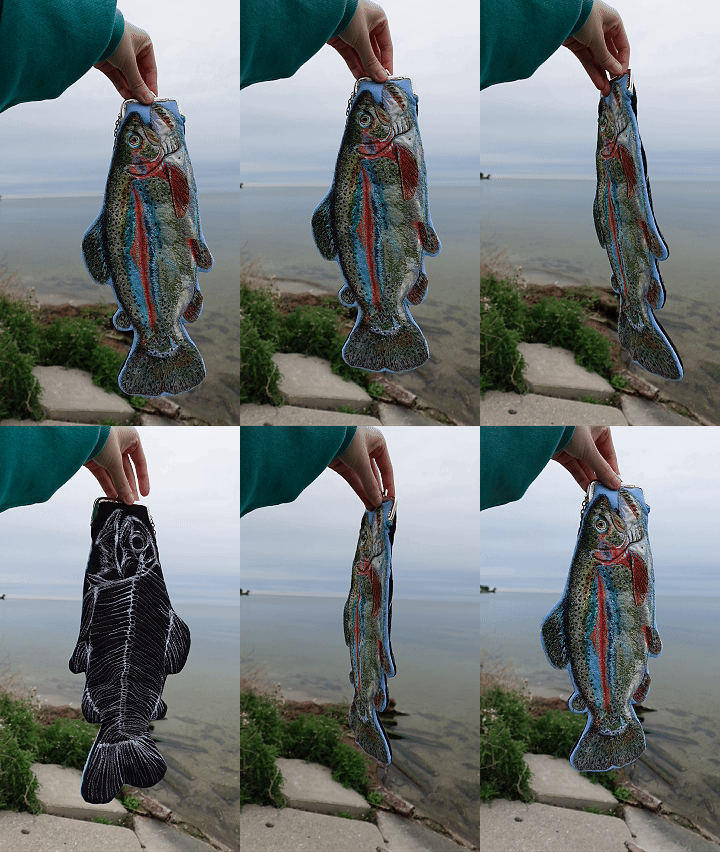
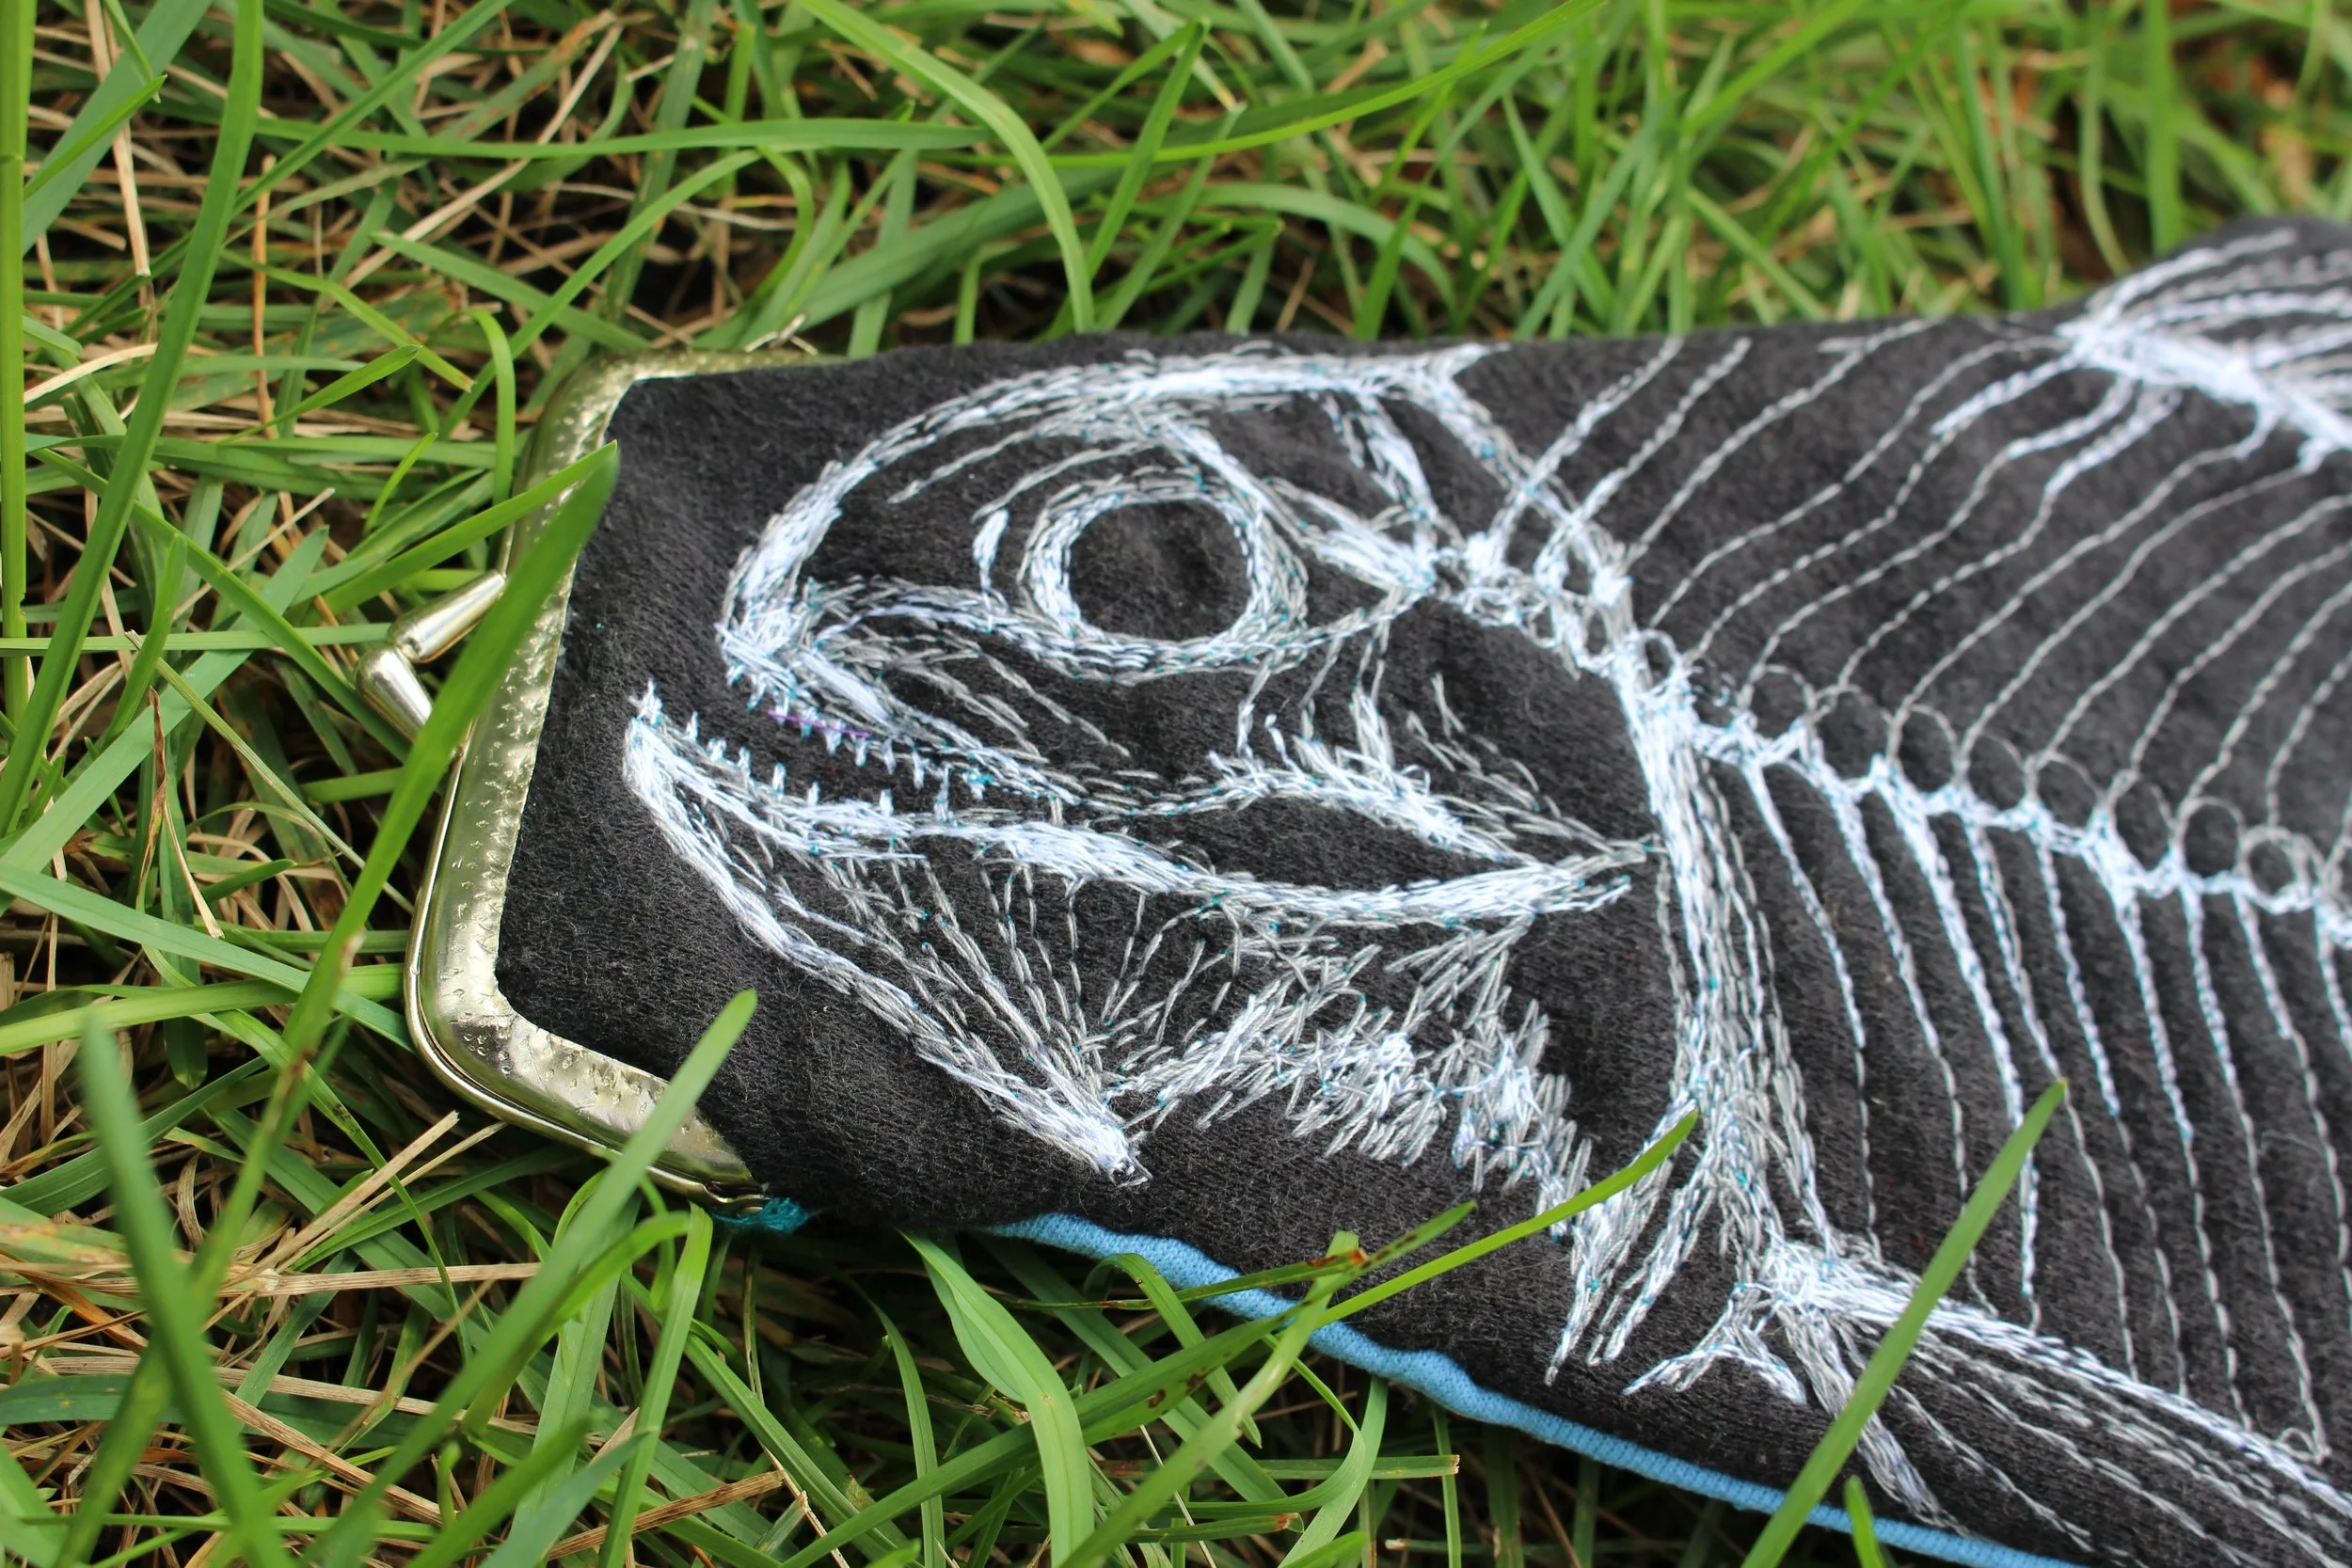
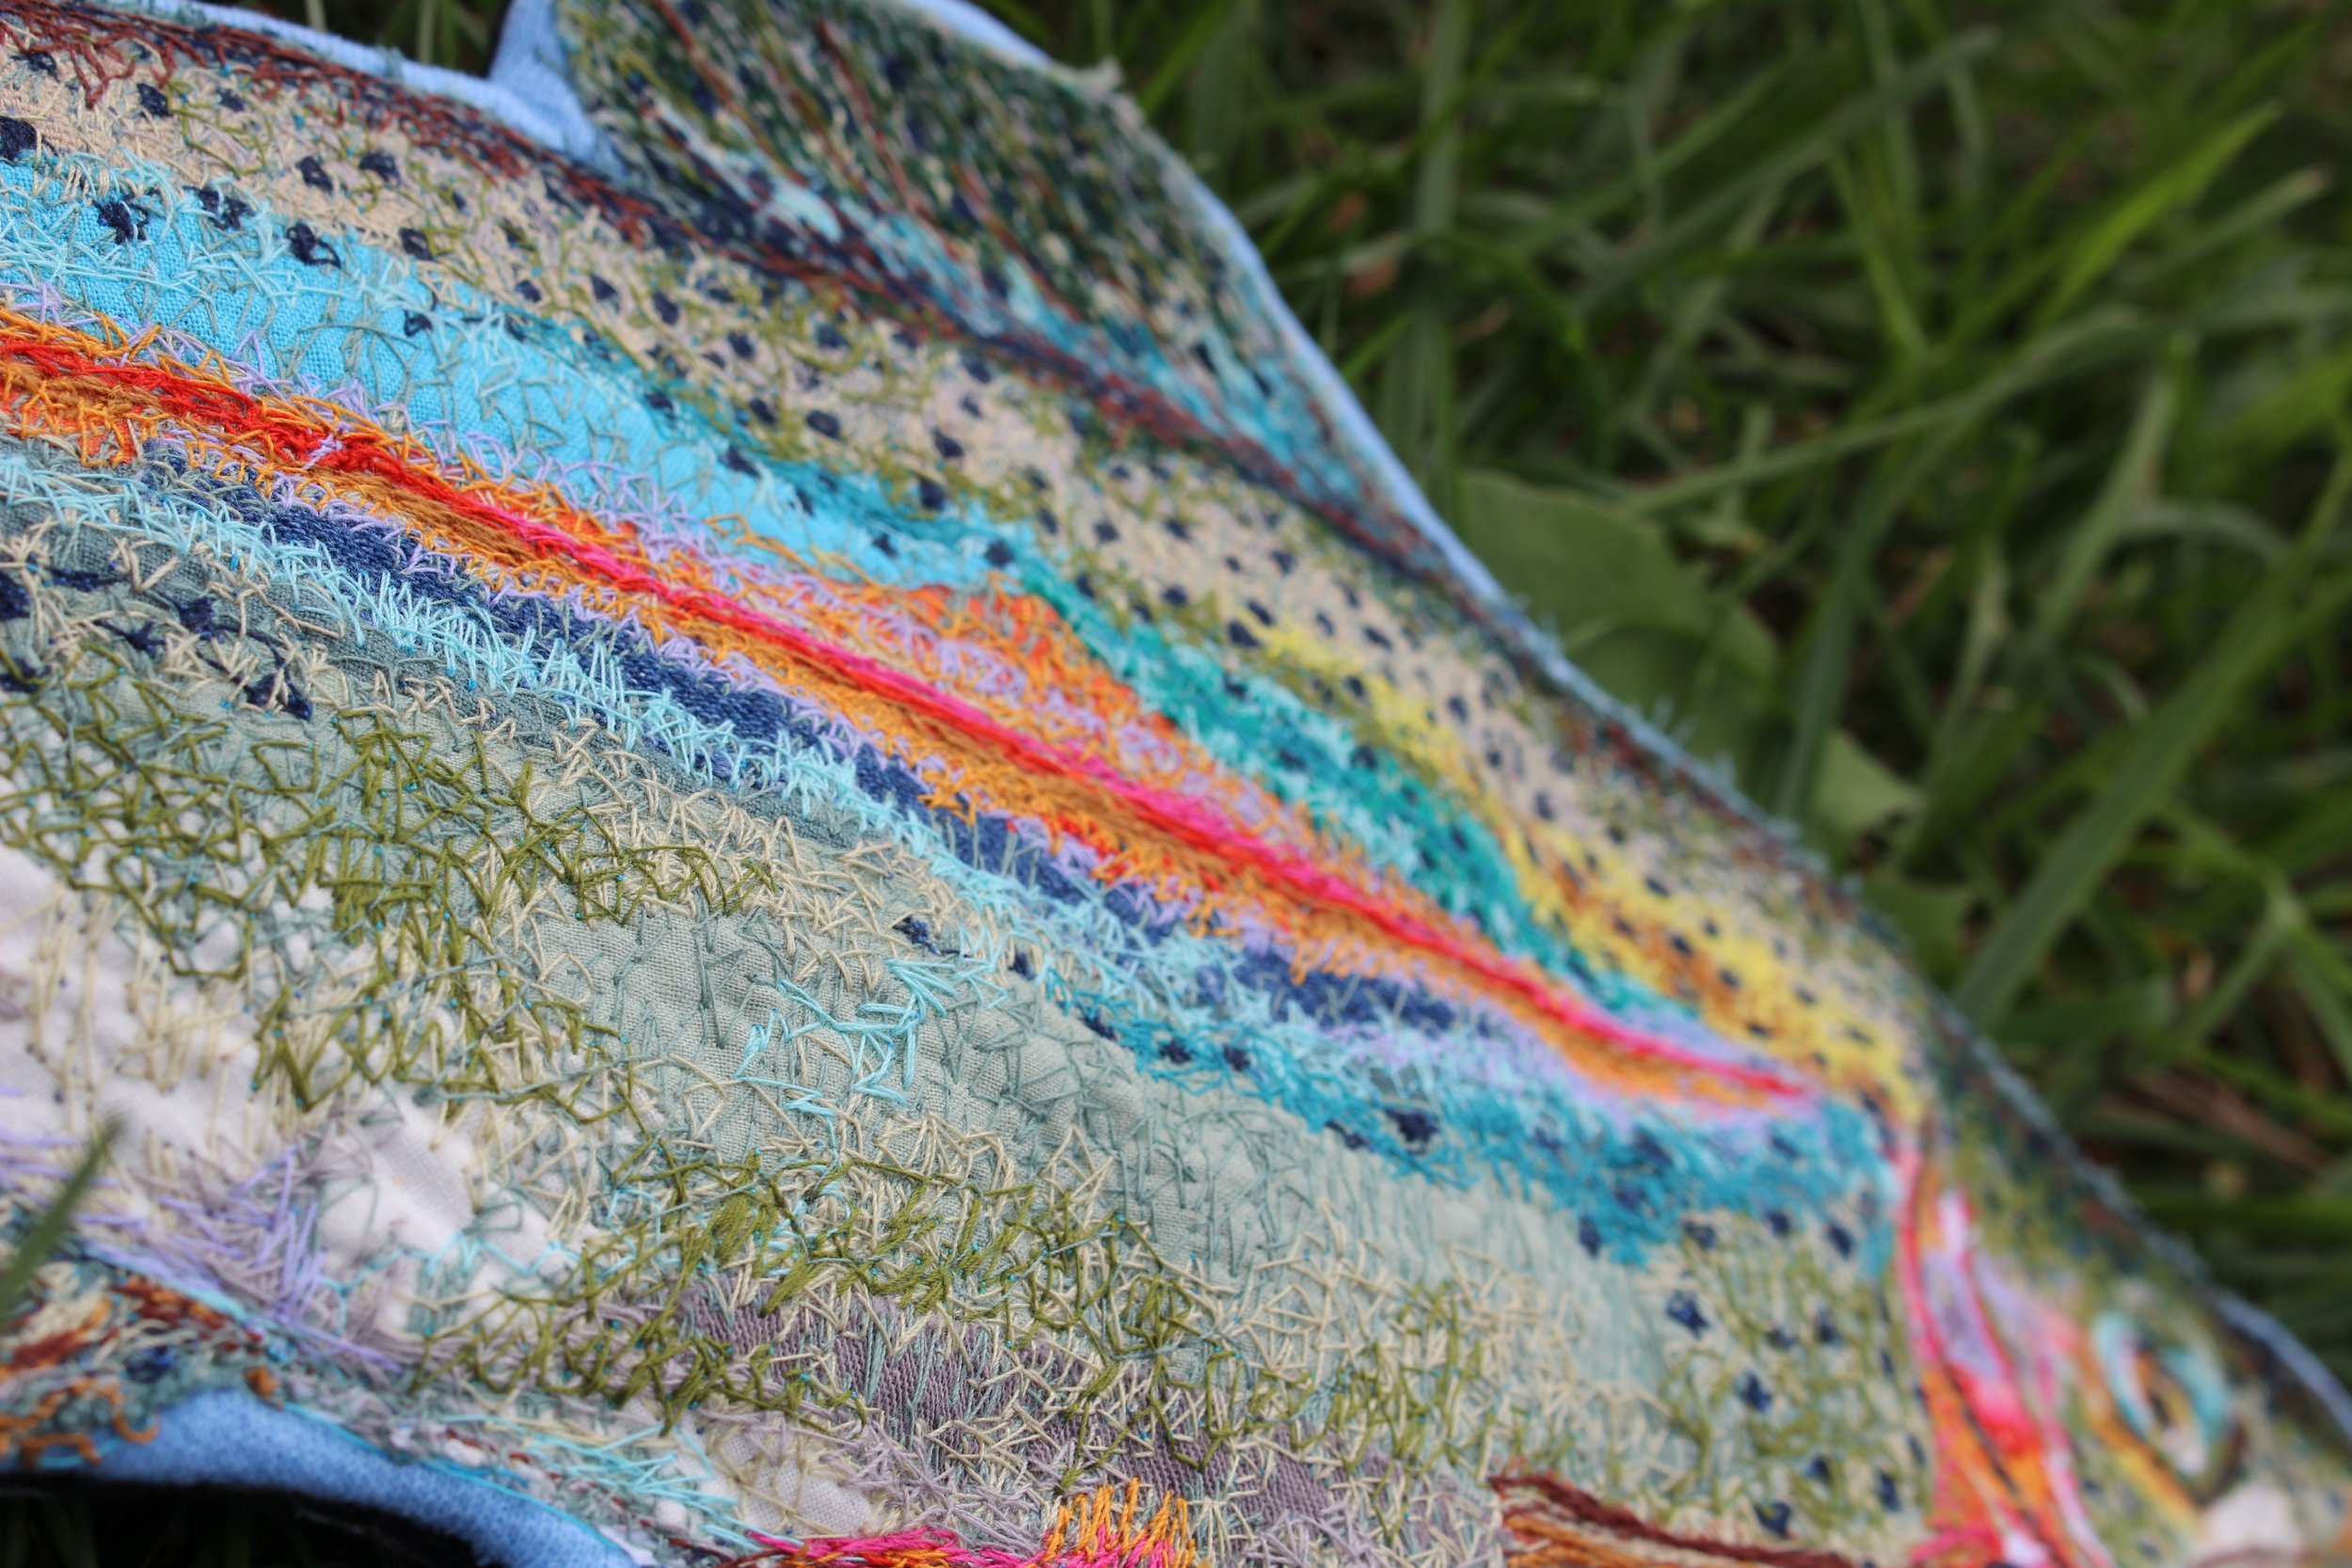
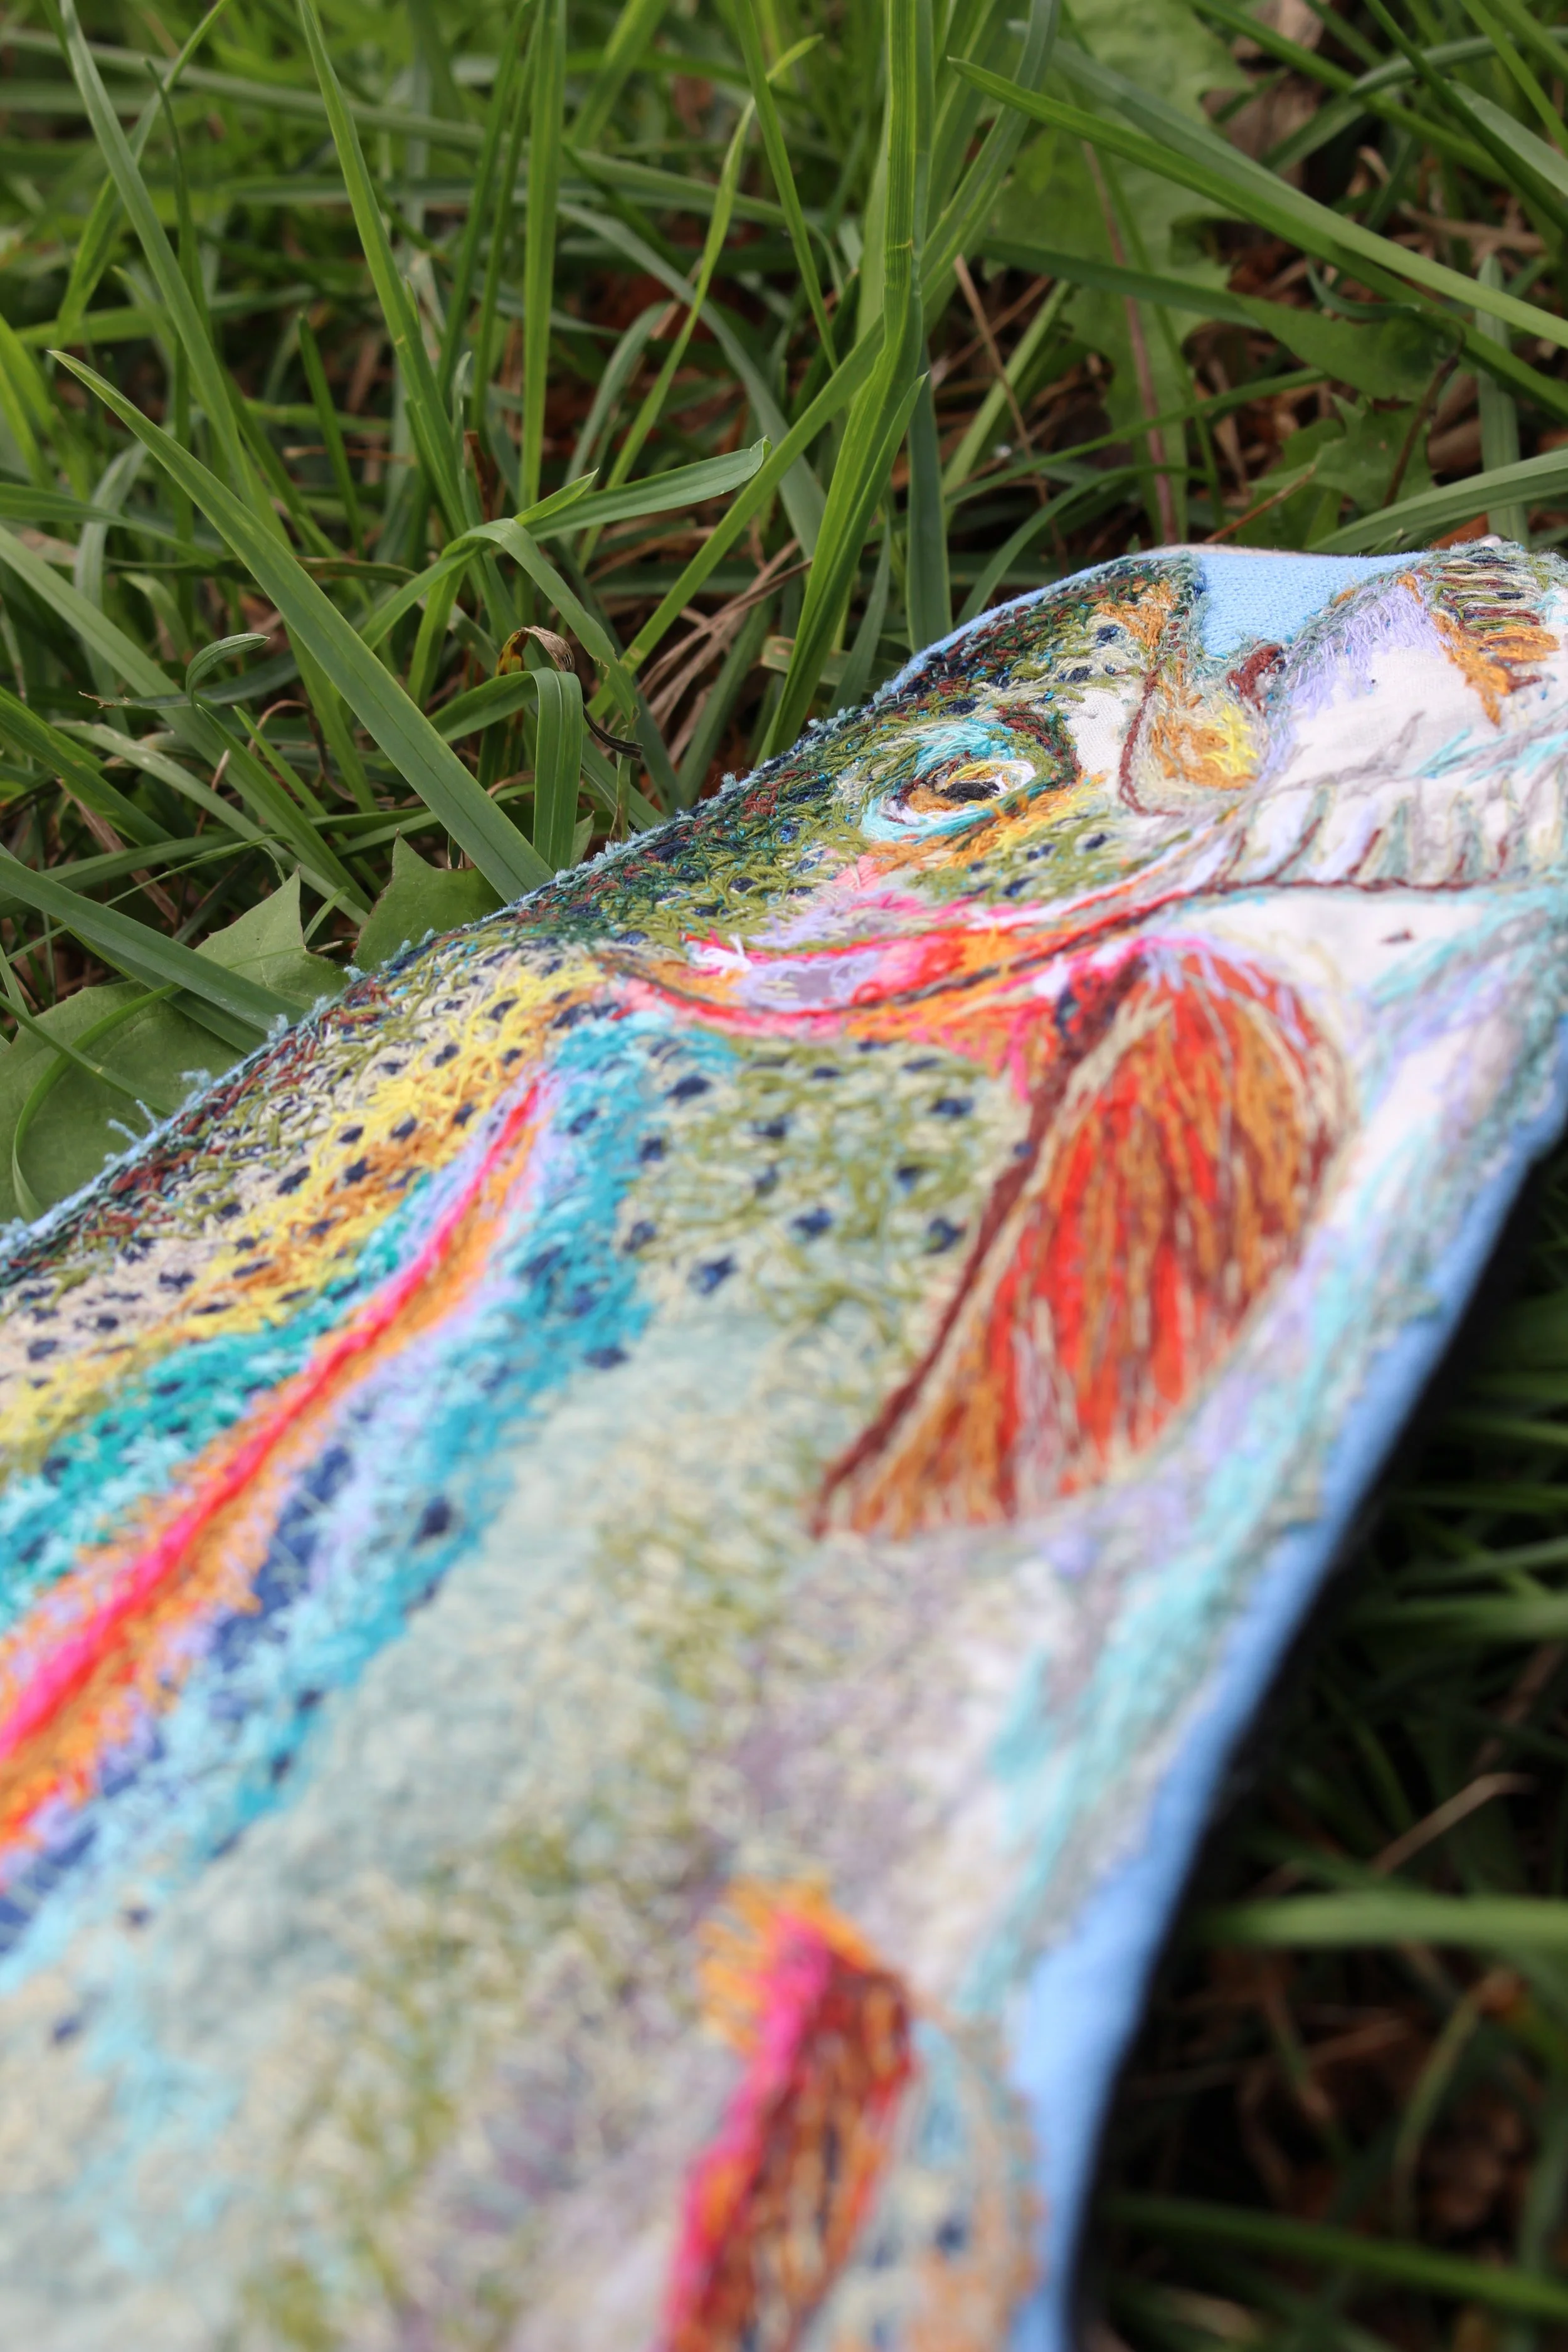
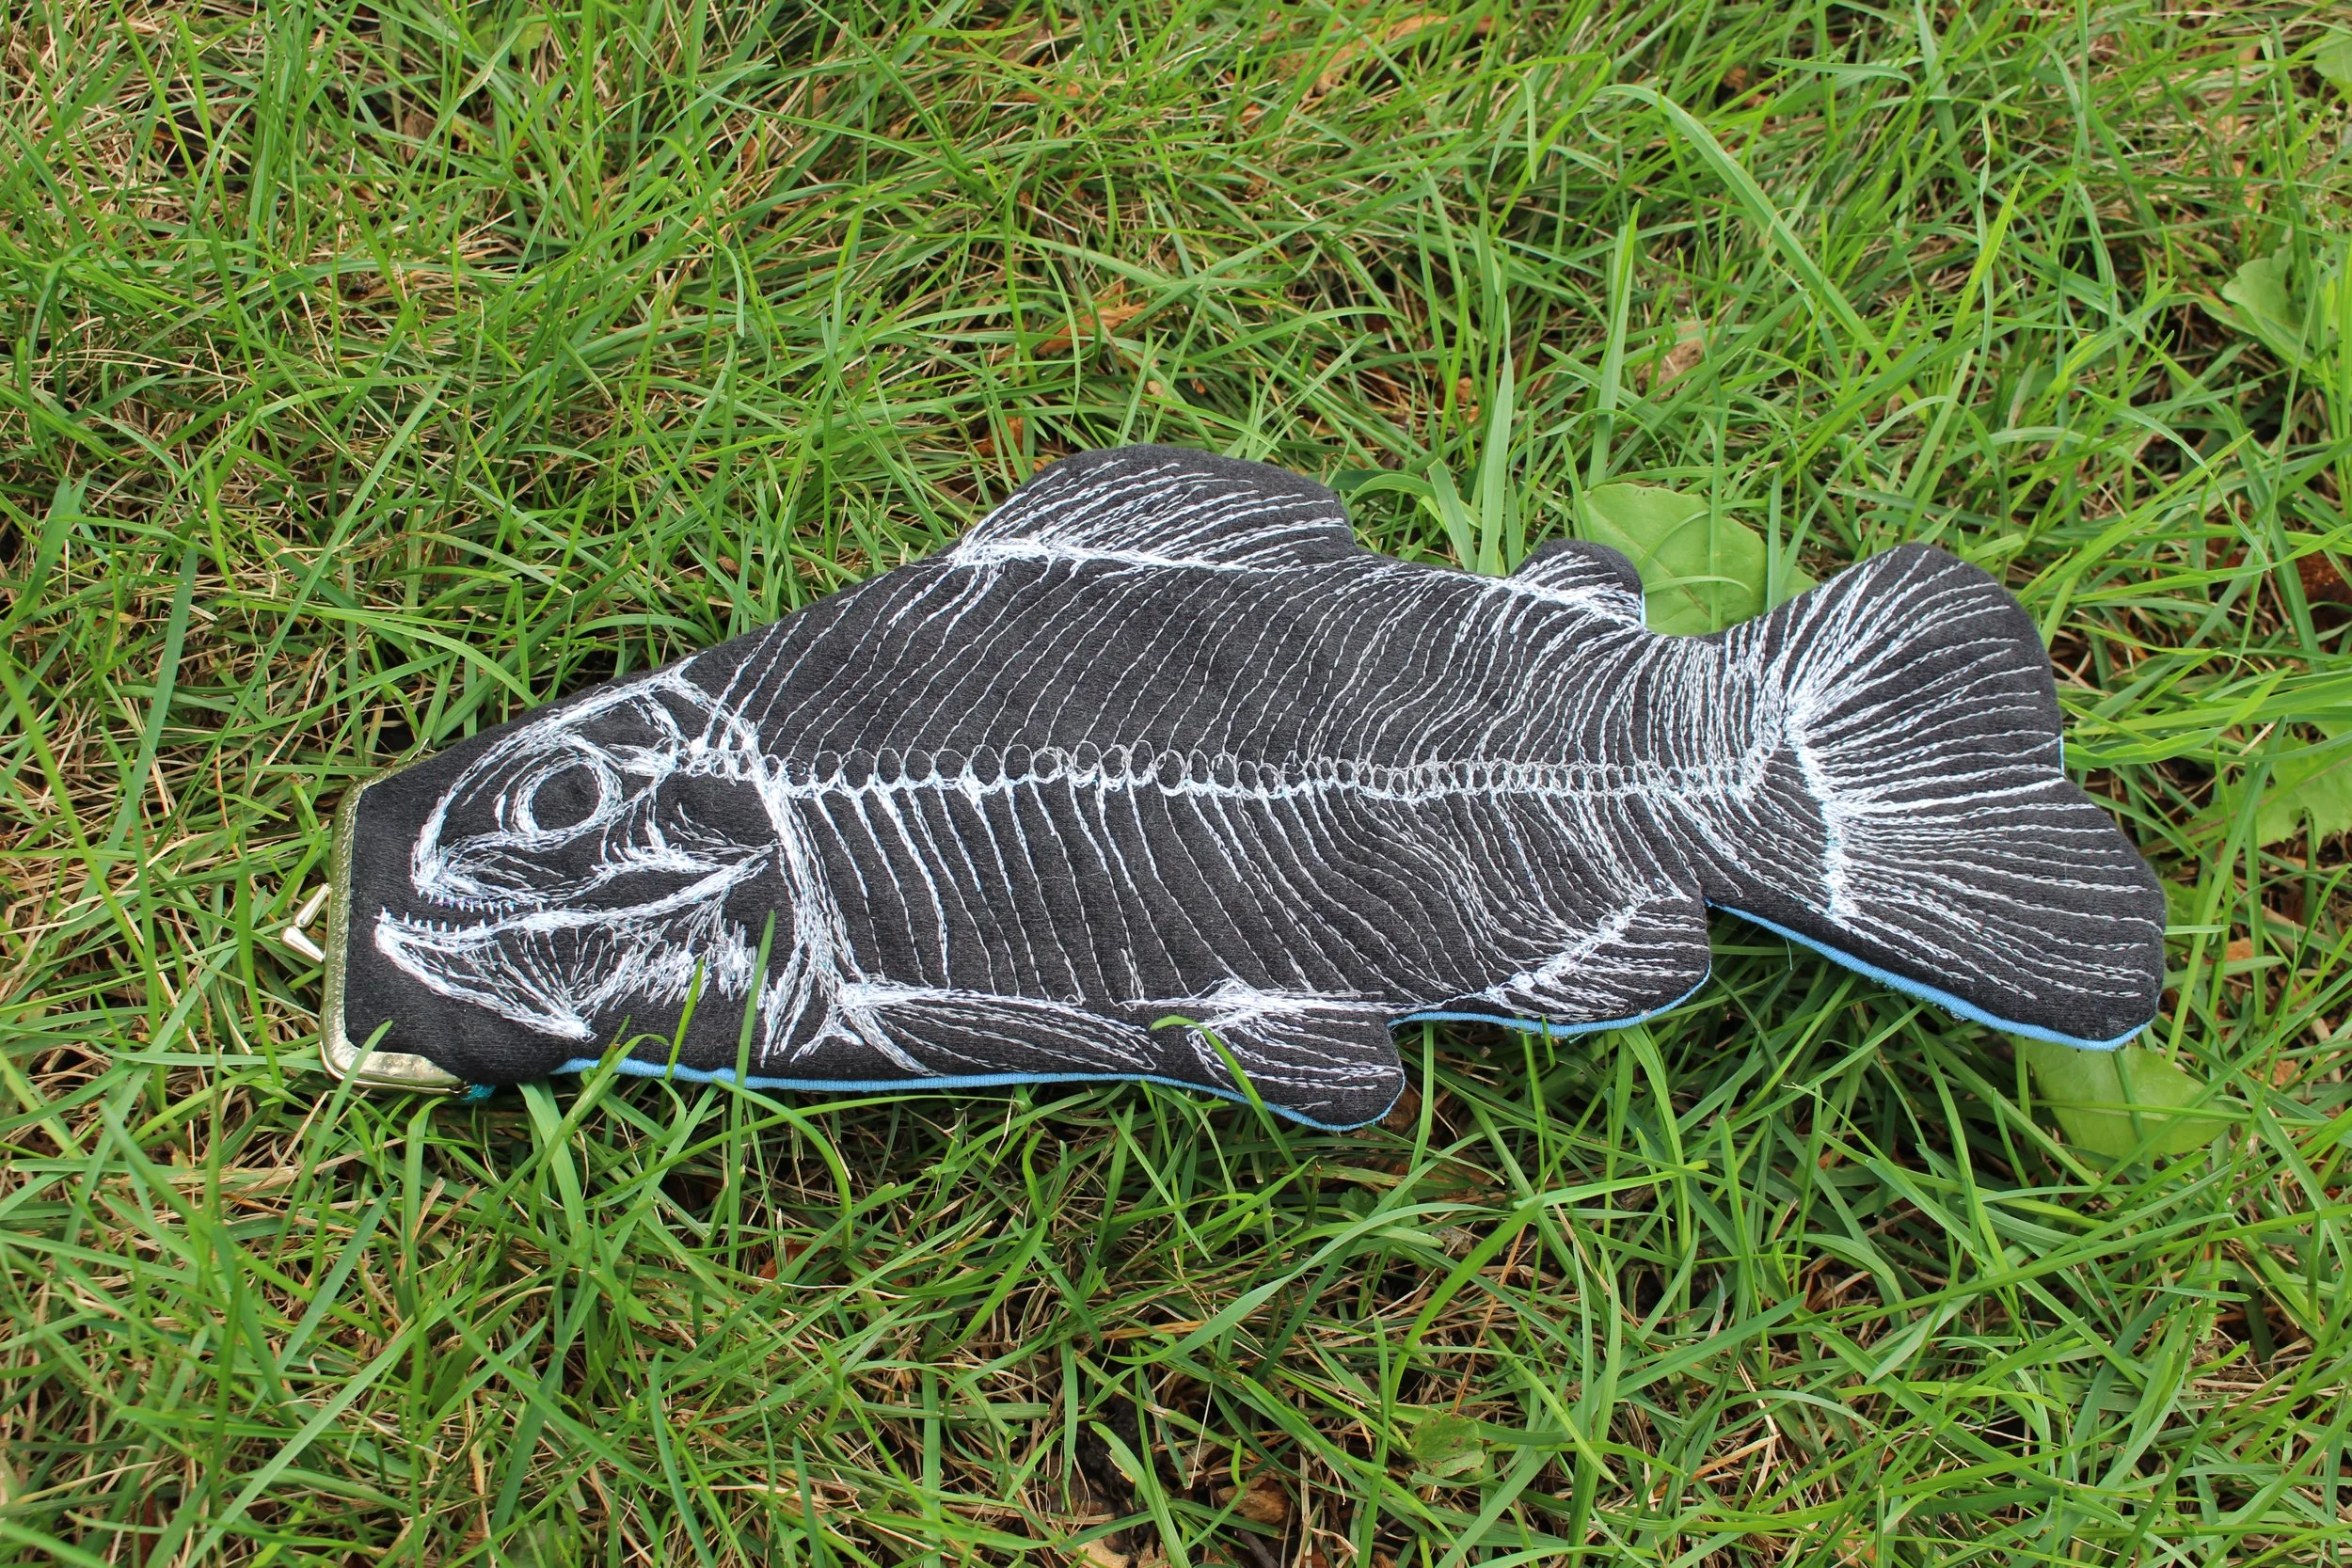
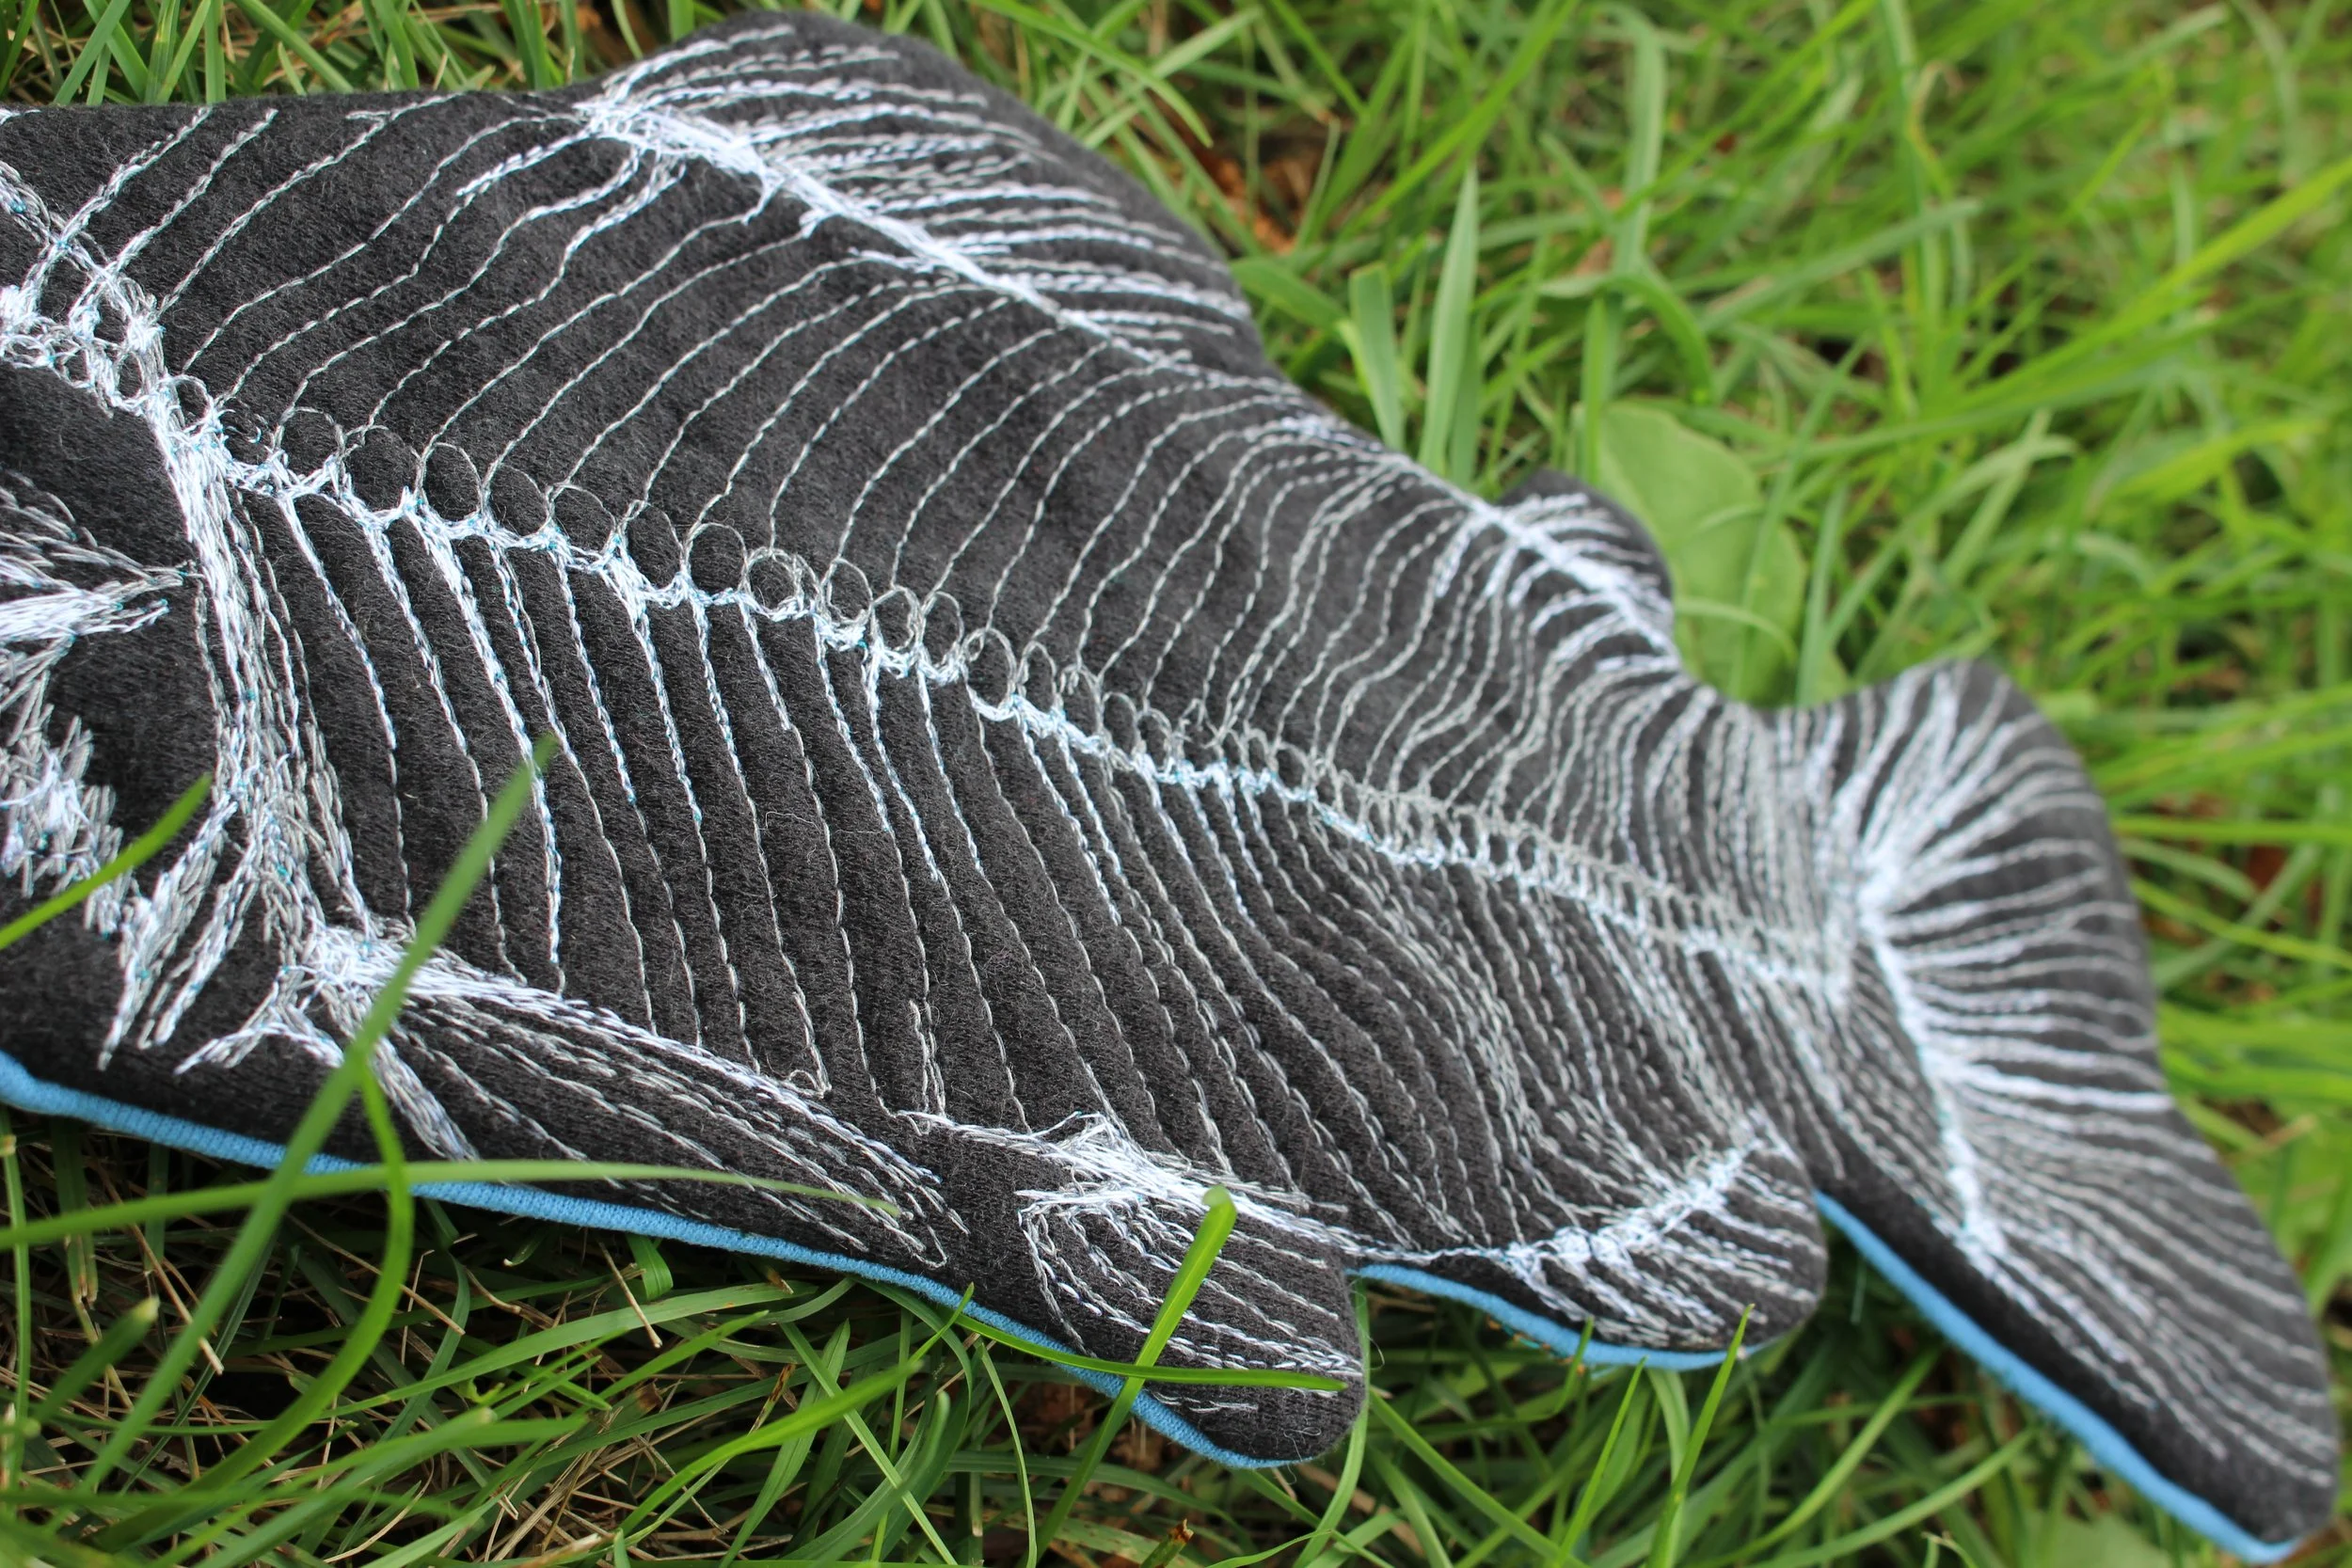
I chose to make the rainbow trout a purse, instead of a patch on a shirt.
I found a few coin purses at an estate sale, and recycled one of the hinges.
The inside is lined with a pinkish polyester fabric.
(Next time I’ll make it so the hinge acts as the mouth of the fish, but unfortunately I already finished the patch when I discovered these!)
All Done!
I know this seems daunting, but just try it out!
And if you do, please send me pics! I’d love to see what you make.
xoxo Brittany
Email: riskthrift@gmail.com
Instagram: @riskthrift