How to make a Patchwork Skirt!
A step-by-step tutorial to make the scrappy skirt of your dreams!
Please let me know if anything needs clarification! Instagram: @riskthrift
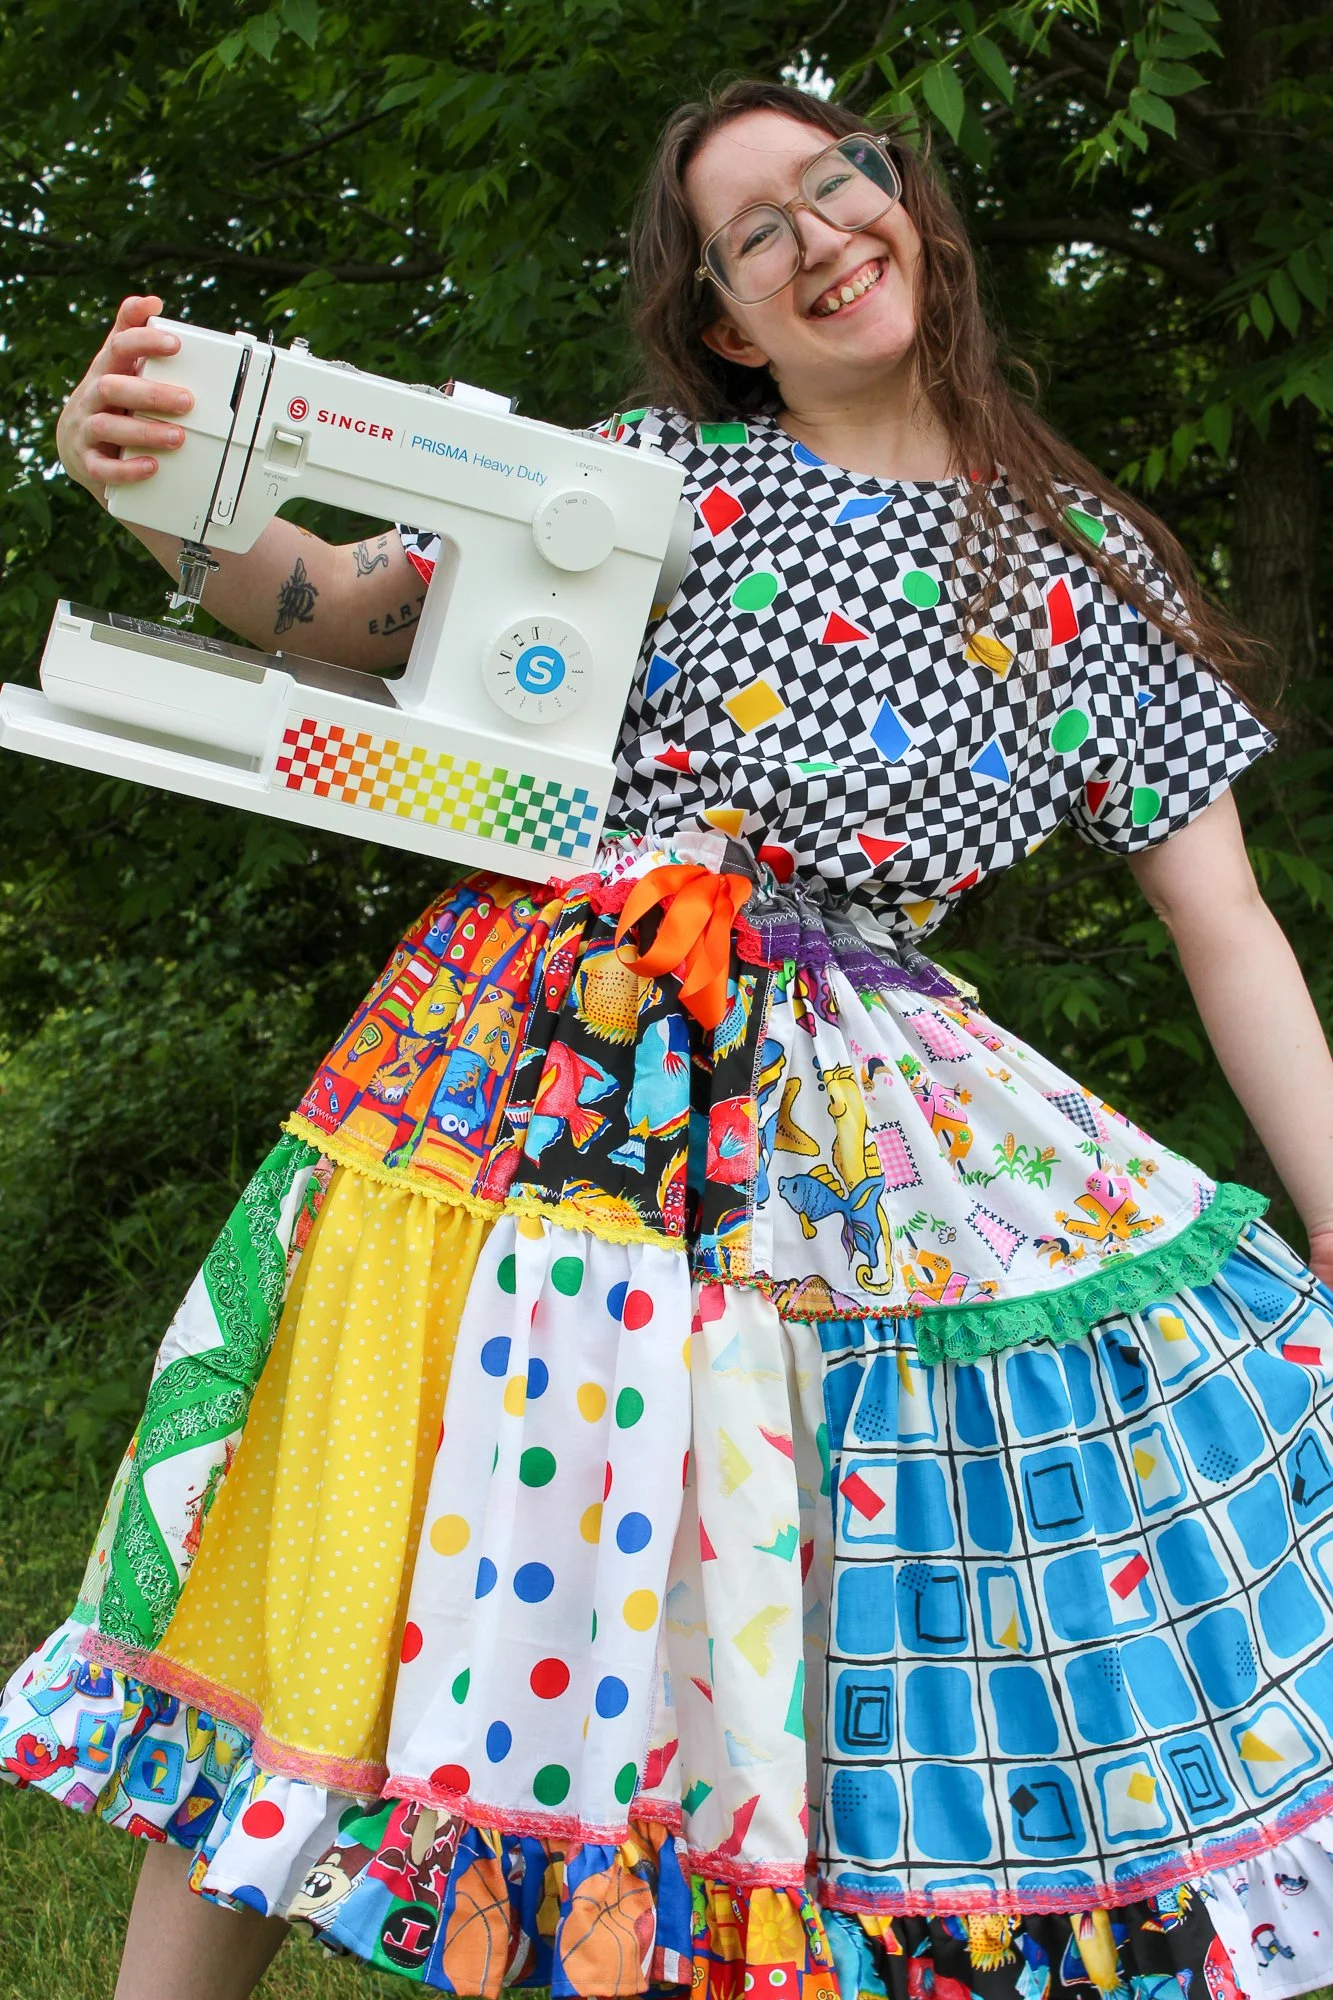
Image: Funky Patchwork Skirt Example!
You’ll Need:
-Regular Sewing Machine
(with a zig-zag stitch, or an overlock foot/stitch)
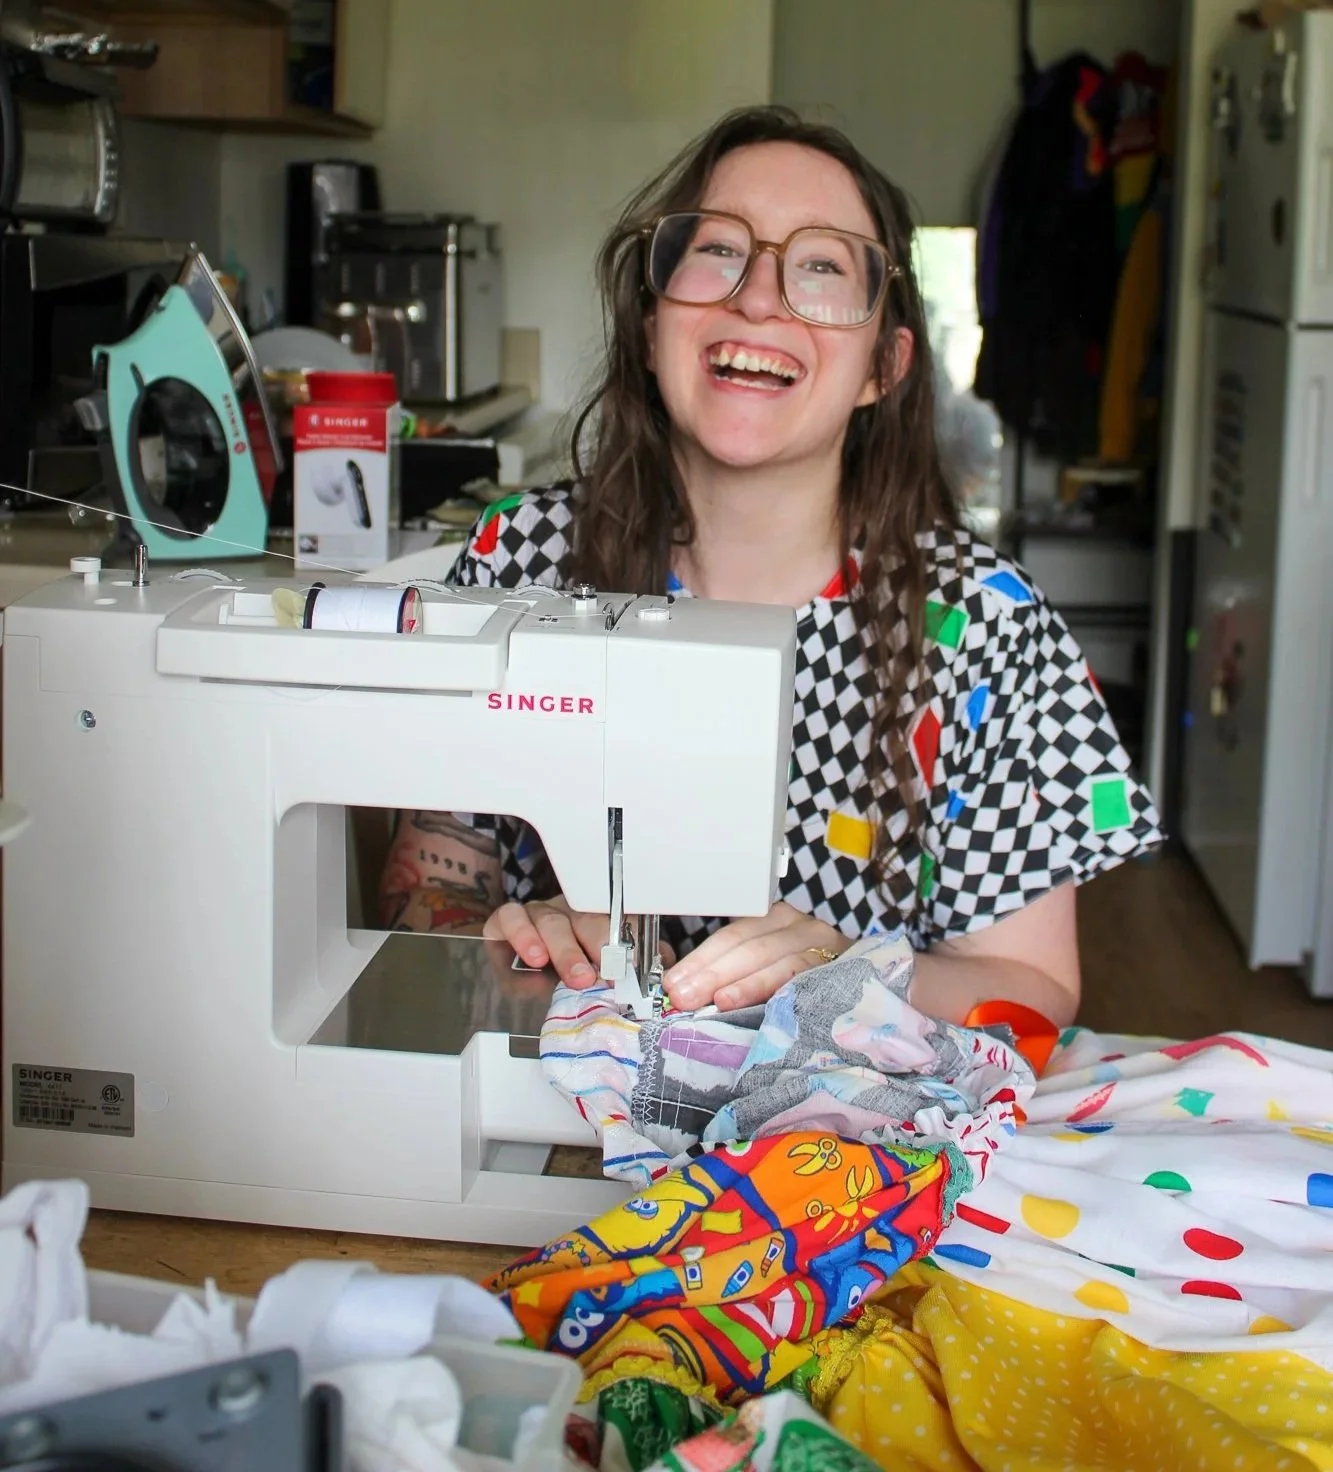
-I am using the Singer Prisma Heavy Duty in my video, and have used Singer Heavy Duties of all kinds in the past. Most sewing machines should also be fine for this project! Secondhand machines are ALWAYS recommended to save money!
Optional: a serger/overlocker machine for a better edge.
-Fabric, lots of it!
It’s hard to say how much is needed. It’s dependent on how tightly you gather the fabric, the waist size, etc.
Generally, each tier is 2-4 times longer than the tier above it.
Non-stretchy fabric, strong enough to hold the weight of the skirt. Save the more delicate fabrics for the bottom tier.
-Regular Thread, in whatever colors match your skirt fabric best.
-Scissors, pins, and a loose measuring tape.
-Ribbon or a drawstring for the waist.
-Drawstring threader tool
-Grommet tools for the waist tie opening, or make buttonholes.
-Lace trim if desired.
-I drew grid lines on my table for easier measuring. You could cut out a piece of cardboard if desired!
Cutting Fabric
Waistband:
I cut mine at 6 inches long, which will be folded in half.
The width is determined by your desired waist. I recommend cutting it at least 3 or more inches wider than your hip size (to get the skirt on and off, and allow for body changes)
For this tutorial,
”LENGTH” = measurement top down
”WIDTH” = measurement side to side
Tiers: I cut 3 different tiers, making the length of each one dependent on the total desired length.
My favorite combination is 10”, 15”, and 5” for the top, middle, and bottom tier. You can make each tier shorter or longer! Or even add a 4th tier if you are feeling crazy! hehe.
See below for other tier lengths and examples.
Other examples include 5/5/5, 10/10/5, and 15/10/10 shown above. I typically cut them in lengths of 5” intervals for less waste. (5/5/5 means Top tier: 5” Middle tier: 5” Bottom tier: 5”)
Each panel of fabric can be as wide as you want. The smaller you cut it, the patchier it’ll be! I typically try to use all the fabric I can to reduce waste. Instead of measuring or making each one identical.
For this tutorial,
”LENGTH” = measurement top down
”WIDTH” = measurement side to side
I recommend cutting a little pile for each tier, as you go, to prevent waste. You can always add after.
(This is another reason why I prefer to cut in 5” intervals, and have the bottom tier 5”. That way, I can use any extra fabric cut for other tiers, for this last one. Because I don’t like wasting fabric.)
The Waistband
Fold the waistband in half right sides together.
Sew the edges together with a straight stitch. 1/2” seam allowance.
Fold the edge over and sew the seam down. This makes it more secure.
Fold the top half of the waistband down, so the right side of the fabric is facing out both inside and outside of the waistband.
Iron flat all the way around.
“Right side” of the fabric means the “correct side,” or the “outside” of the fabric.
Sew a straight stitch all the way around, 1” down from the top. This creates a nice ruffle/gathering effect at the top of the waistband.
Mark two holes on the front of the waistband, either for 2 grommets or 2 buttonholes.
Add the grommets, or buttonholes. On the front/outside fabric only.
Make sure the holes are as wide/large as the ribbon/drawstring.
How to Add Grommets
Adding Grommets
1: Gather Tools: Grommets, hammer, hole puncher. (Some kits provide most of these items. Items needed may differ)
2. Use an additional fabric to reinforce the grommet. One single thin piece of fabric will not hold well. I am using a piece of a sweatshirt scrap.
3. Punch the holes. Using either a handheld puncher, or a drill add-on, etc. Make sure the holes aren’t too big or the grommet will fall off.
4. Place the larger of the 2 grommet pieces into the holder. This will be placed against the outside/right side of the fabric.
5. Push it through the hole, and ensure all the fabric is pushed away from the metal. This ensures a clean fit.
6. Put the smaller of the 2 grommet pieces through this holder, press down.
7. Put the handheld piece on top, the hole will line up with the holder.
8. Hammer it down until secure.
9. Repeat for the second grommet, and all done!
Connecting the Waistband and Top Tier
You have a couple of options…
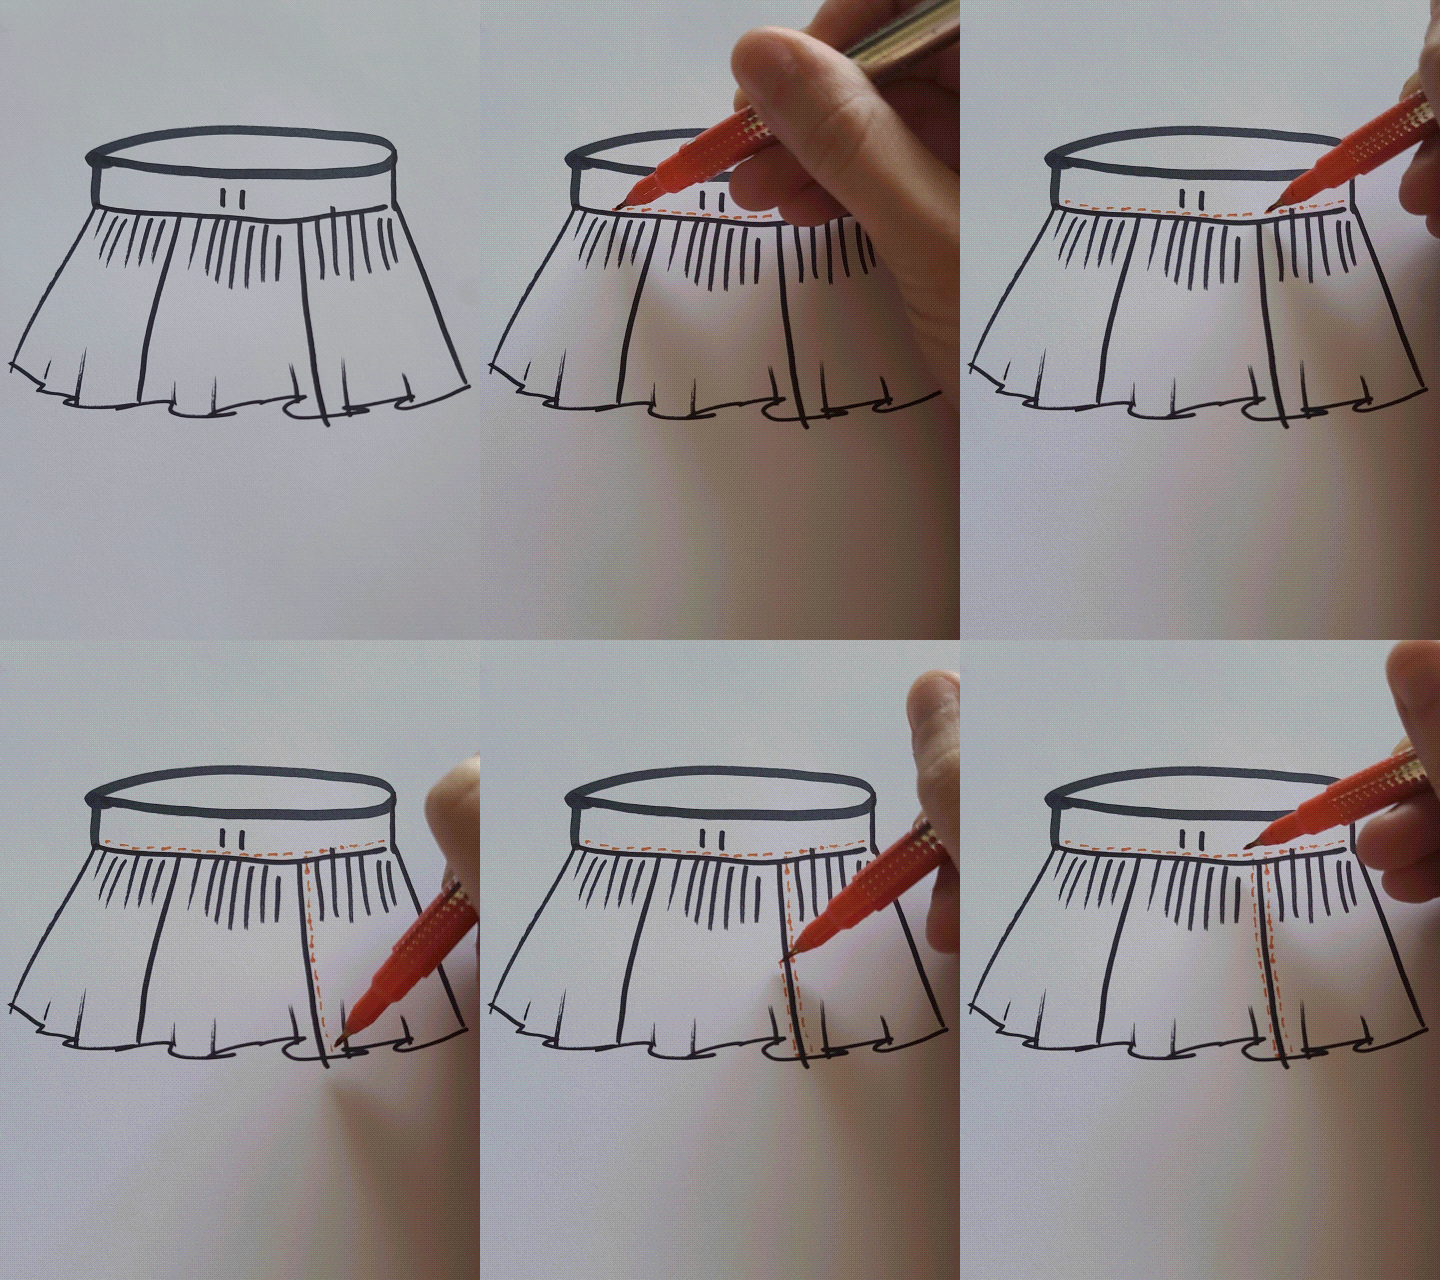
Option 1- The prettiest looking edge inside and out: (pictured below) fold the bottom edges inwards, iron flat. You will have to complete the “top tier” step (down below) to tuck the tier between the fabric. Gather, pin, and sew. This hides the raw edges of the waistband and tier, but it is arguably the most difficult.
Apologies for the difficult explanation.
Option 2- Serged edge visible: Overlock the bottom raw edge together. Either with a serger/overlocker machine or an overcast stitch. Fold the bottom edge in, and sew it down with a straight stitch. The top tier would then be tucked underneath and sewn to the waistband.
This is easier to accomplish, but results in visible edges.
Making the Tiers
Take 2 pieces of fabric - Place them facing together - Sew along the edge with an overlocker or an overcast machine - Open and press the seam down - Sew with a straight stitch
Same as the image above, but drawn out in case this is easier to understand.
To join the fabric together for each separate tier,
Start by putting 2 fabrics face-to-face. Sew the edge together with an overlocker or overcast stitch. Repeat this with each panel of fabric, until they are all joined like a train.
Press each seam down and sew with a straight stitch. This makes it extra secure.
You can choose to measure the total length of this tier to see if you need to add more fabric. Again, it’s hard to gauge how long yours needs to be. I recommend starting with a train ~2 times wider than the section above it. For example, a waistband with a total width of 40” around should require a top tier of ~80” wide, depending on how tightly you gather the fabric.
You can always take away, or add more after you start sewing to the skirt.
Overlock or overcast the entire outer edges of the tier to prevent fraying.
Pictured: 5” (bottom) tier has been joined together, seams have been sewn down, and the outer edge of the entire train has been overlocked.
Join the Top Tier to the Waistband
Join it to the waistband either via option 1 or 2 from above.
If using option 1, I recommend gathering and pinning to make sure everything is even. Or even pre-gather the tier if you want it a little easier to pin.
If using option 2, tuck and gather the top tier fabric as you sew them together. I don’t generally care about making the gathering even. But you do you.
Continue all the way around.
If you need more fabric, backstitch the thread and pull it out of the machine. Join more panels of fabric together, guess-timating how much you need.
If you have too much, cut the excess off, fold the edge in, and join it to the other end of the tier.
To join both ends of this train together:
Overlap them, bring the needle down, lift the foot, rotate 90 degrees, bring the foot back down, and sew them together.
(This is explained slightly better in the video shown on my Instagram)
Rotate 180 degrees, go back up this edge, and sew all the way back around with an additional stitch.
This is the perfect time to add lace trim if you desire!
As you might be able to tell, there really is no cut-and-dry way to make this skirt! It’s whatever you like best!
Finish each tier by folding the bottom hem in and sewing it down.
Other tiers
Repeat the steps for the bottom two (or more) tiers!
The bottom tier can get REALLY long, so good luck! (mine are typically 400-600” long)
Add the Drawstring
Once it’s all sewn, use a drawstring threader tool to run the ribbon or drawstring through one hole/grommet, around the waist, and out the other hole. (Please note, the blue one pictured is broken; they typically have 2 holes.)
If using a ribbon, light a lighter on the edge to prevent fraying. (Be careful!)
Other helpful tips
I recommend saving any thinner/delicate fabrics for the bottom tier only. The skirt can get heavy, so you don’t want anything to rip!
If using grommets for the first time, I recommend practicing first! It can be a little tricky.
I also recommend reinforcing it with a few extra layers of fabric just where you plan on applying the grommets. It is less likely to hold on a single thin piece of fabric.
WEEHOO WEE HOO
You need to handwash and air dry this skirt ONLY. Machines will pull and tug all corners of this skirt, causing holes. Don’t risk it after all the work you put into it!
Steam out any wrinkles, don’t iron.
If you made it this far, truly thank you for your support! These tutorials take me HOURS and hours to create, and are free, because everyone deserves the resources to make their own silly clothes!
xoxo brit


