Studio Rennovation
Tips, cost break down, stuff you might find helpful to rennovate your space :)
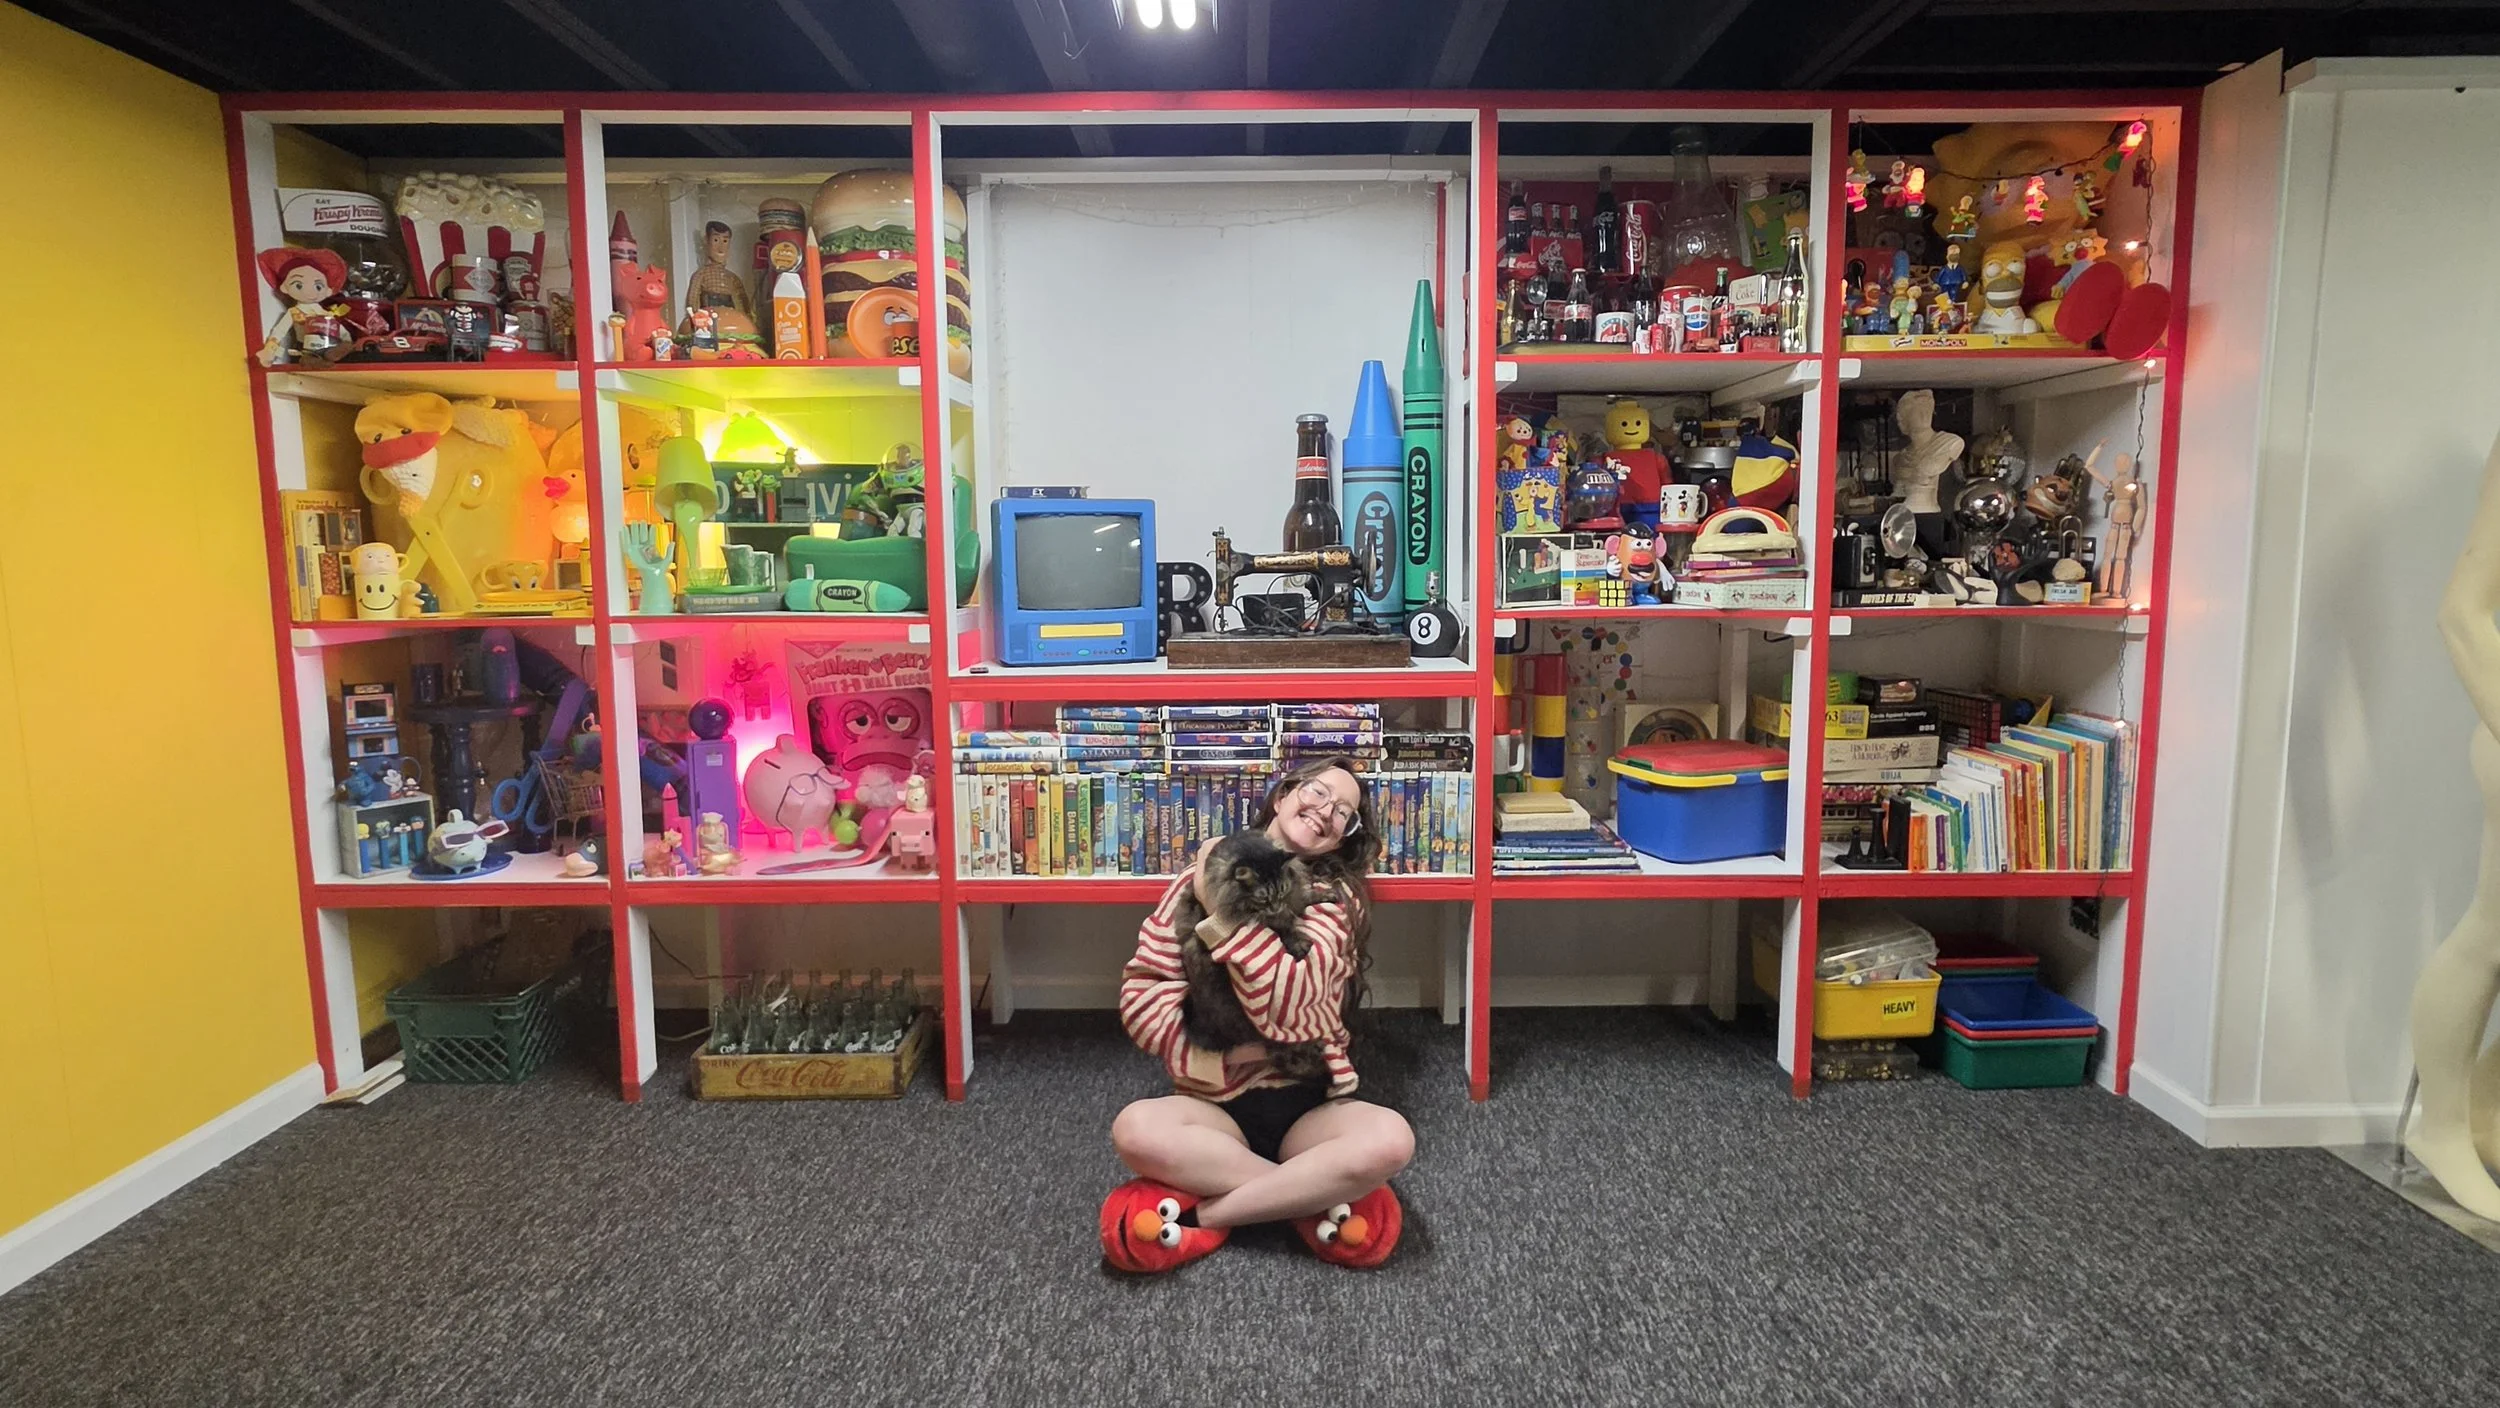
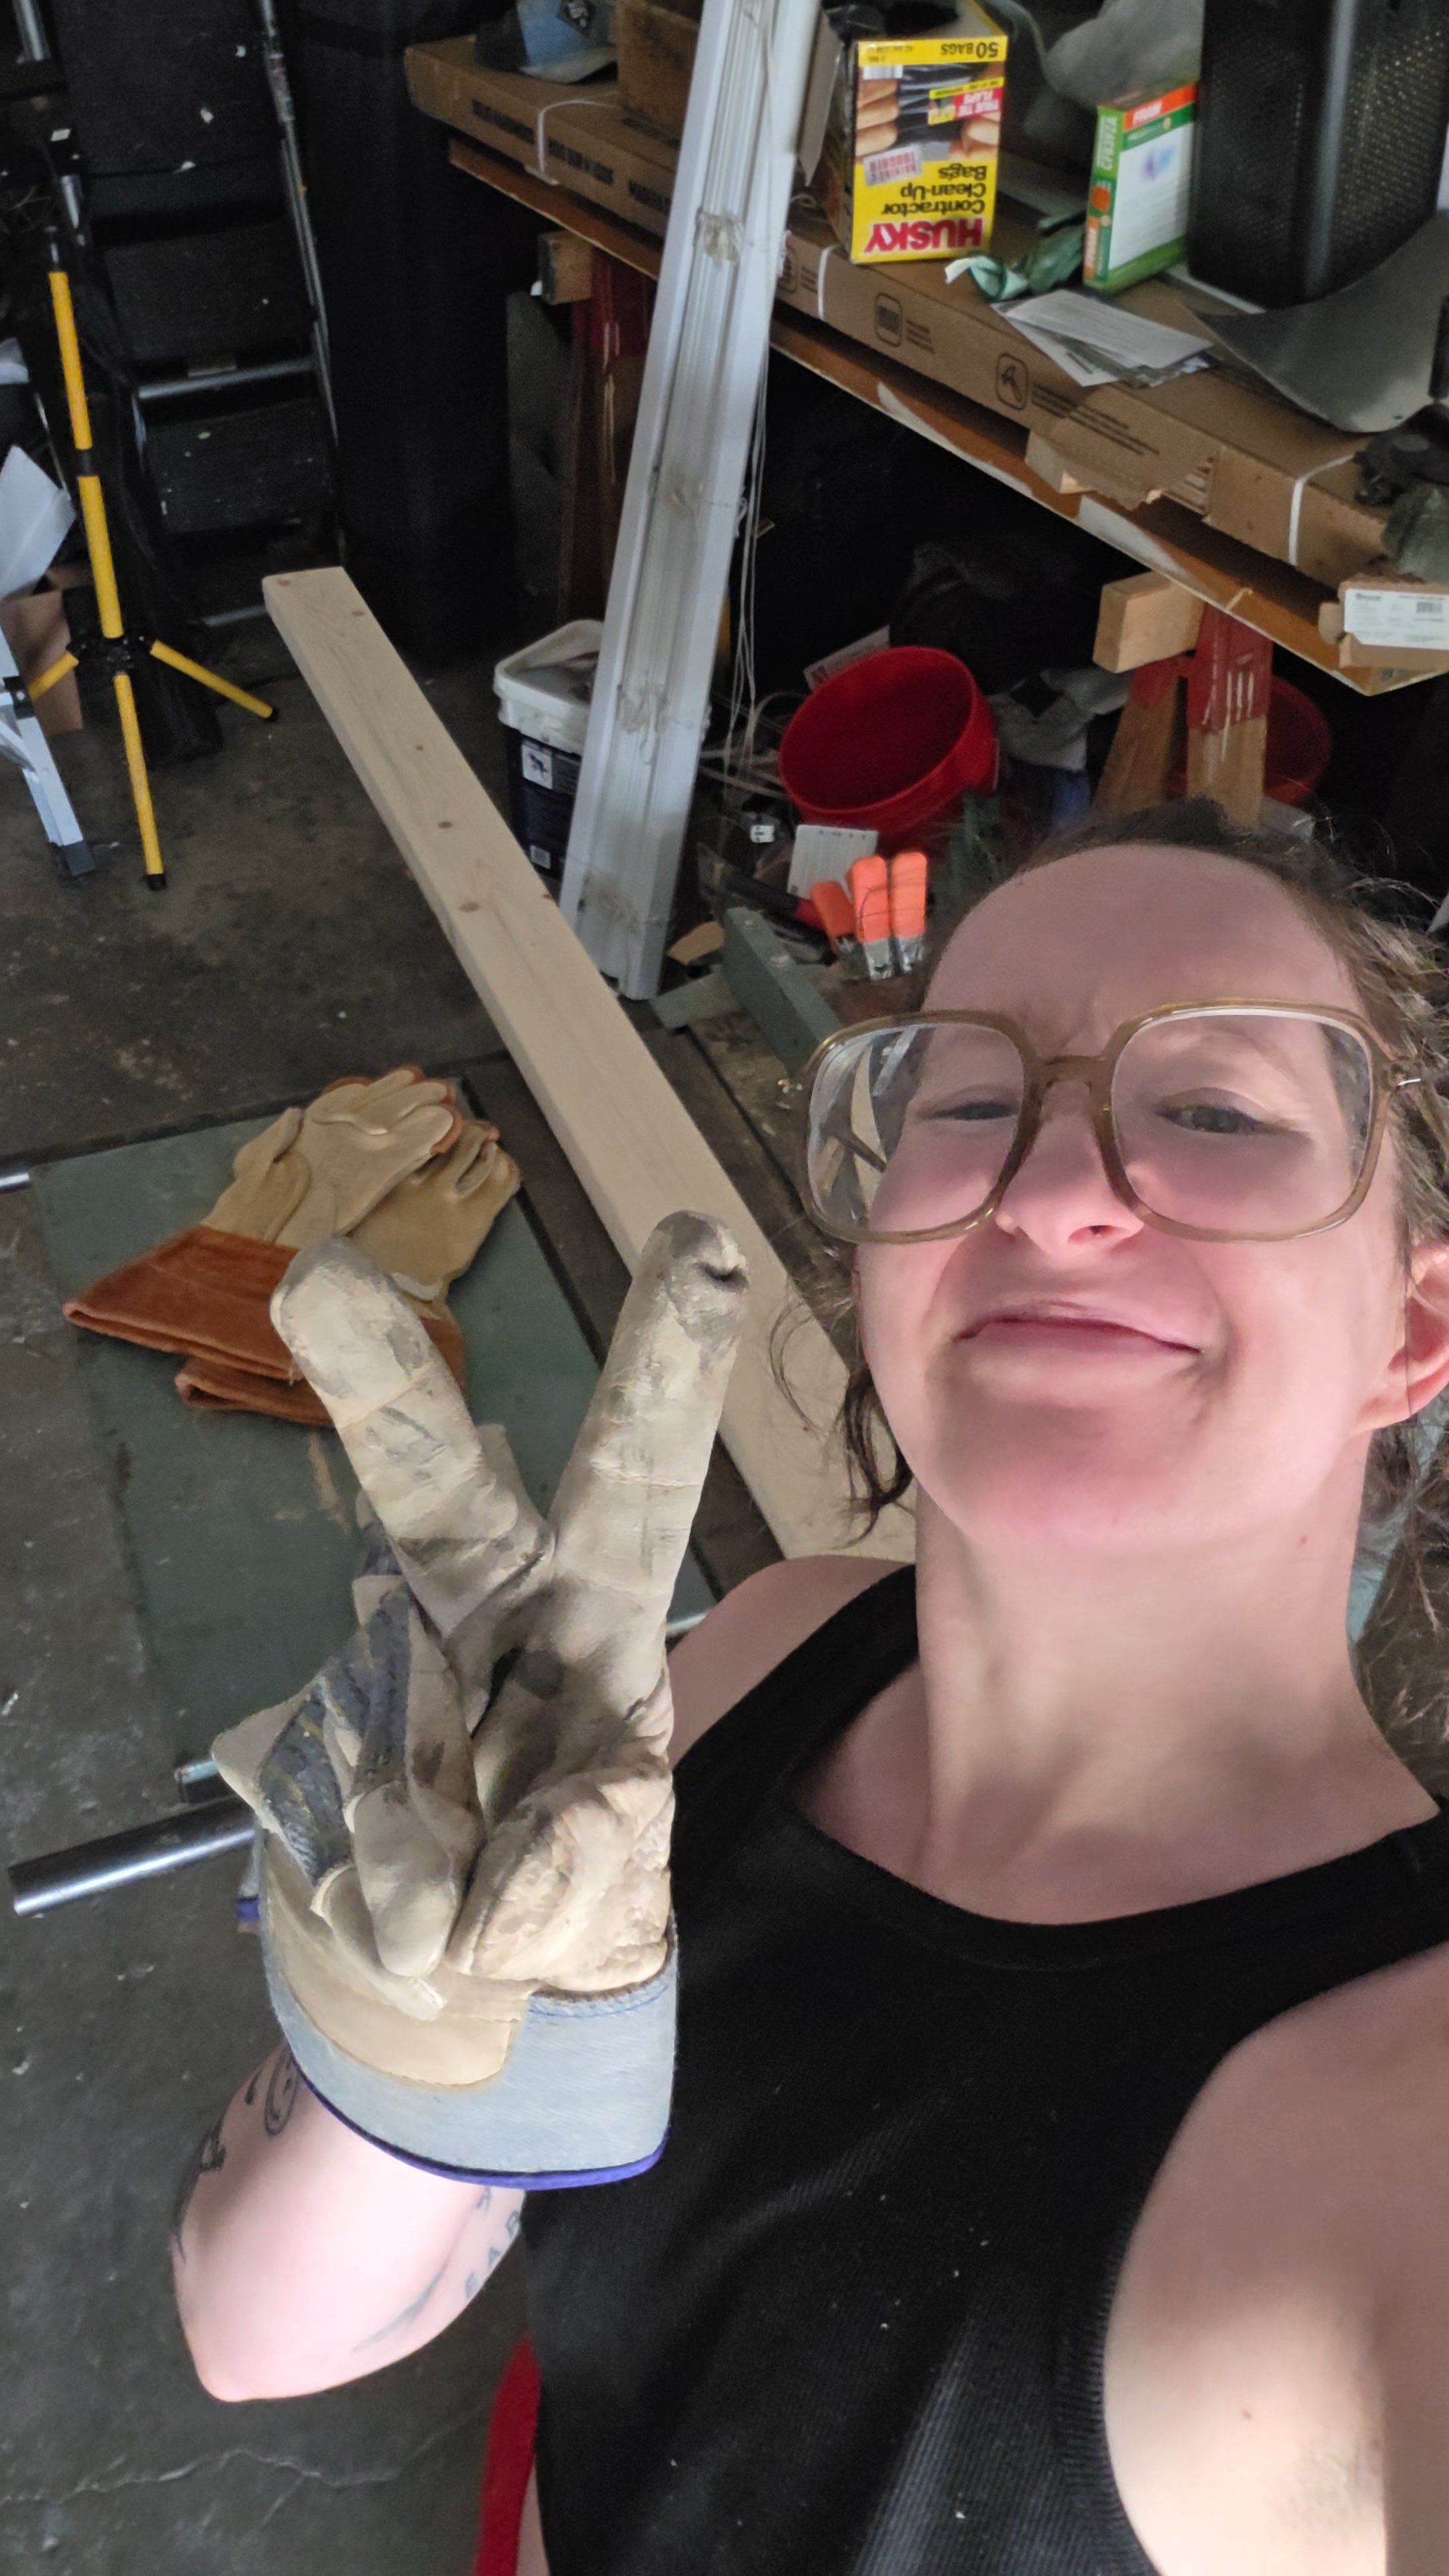
Image: Posing in front of my wall shelf with Bambi!
Me and my fiance bought our first house back in April!
We have been slowly working on creating this house a home. Including my DREAM studio. (AKA the basement)
Overview
Ceiling Tile Removal
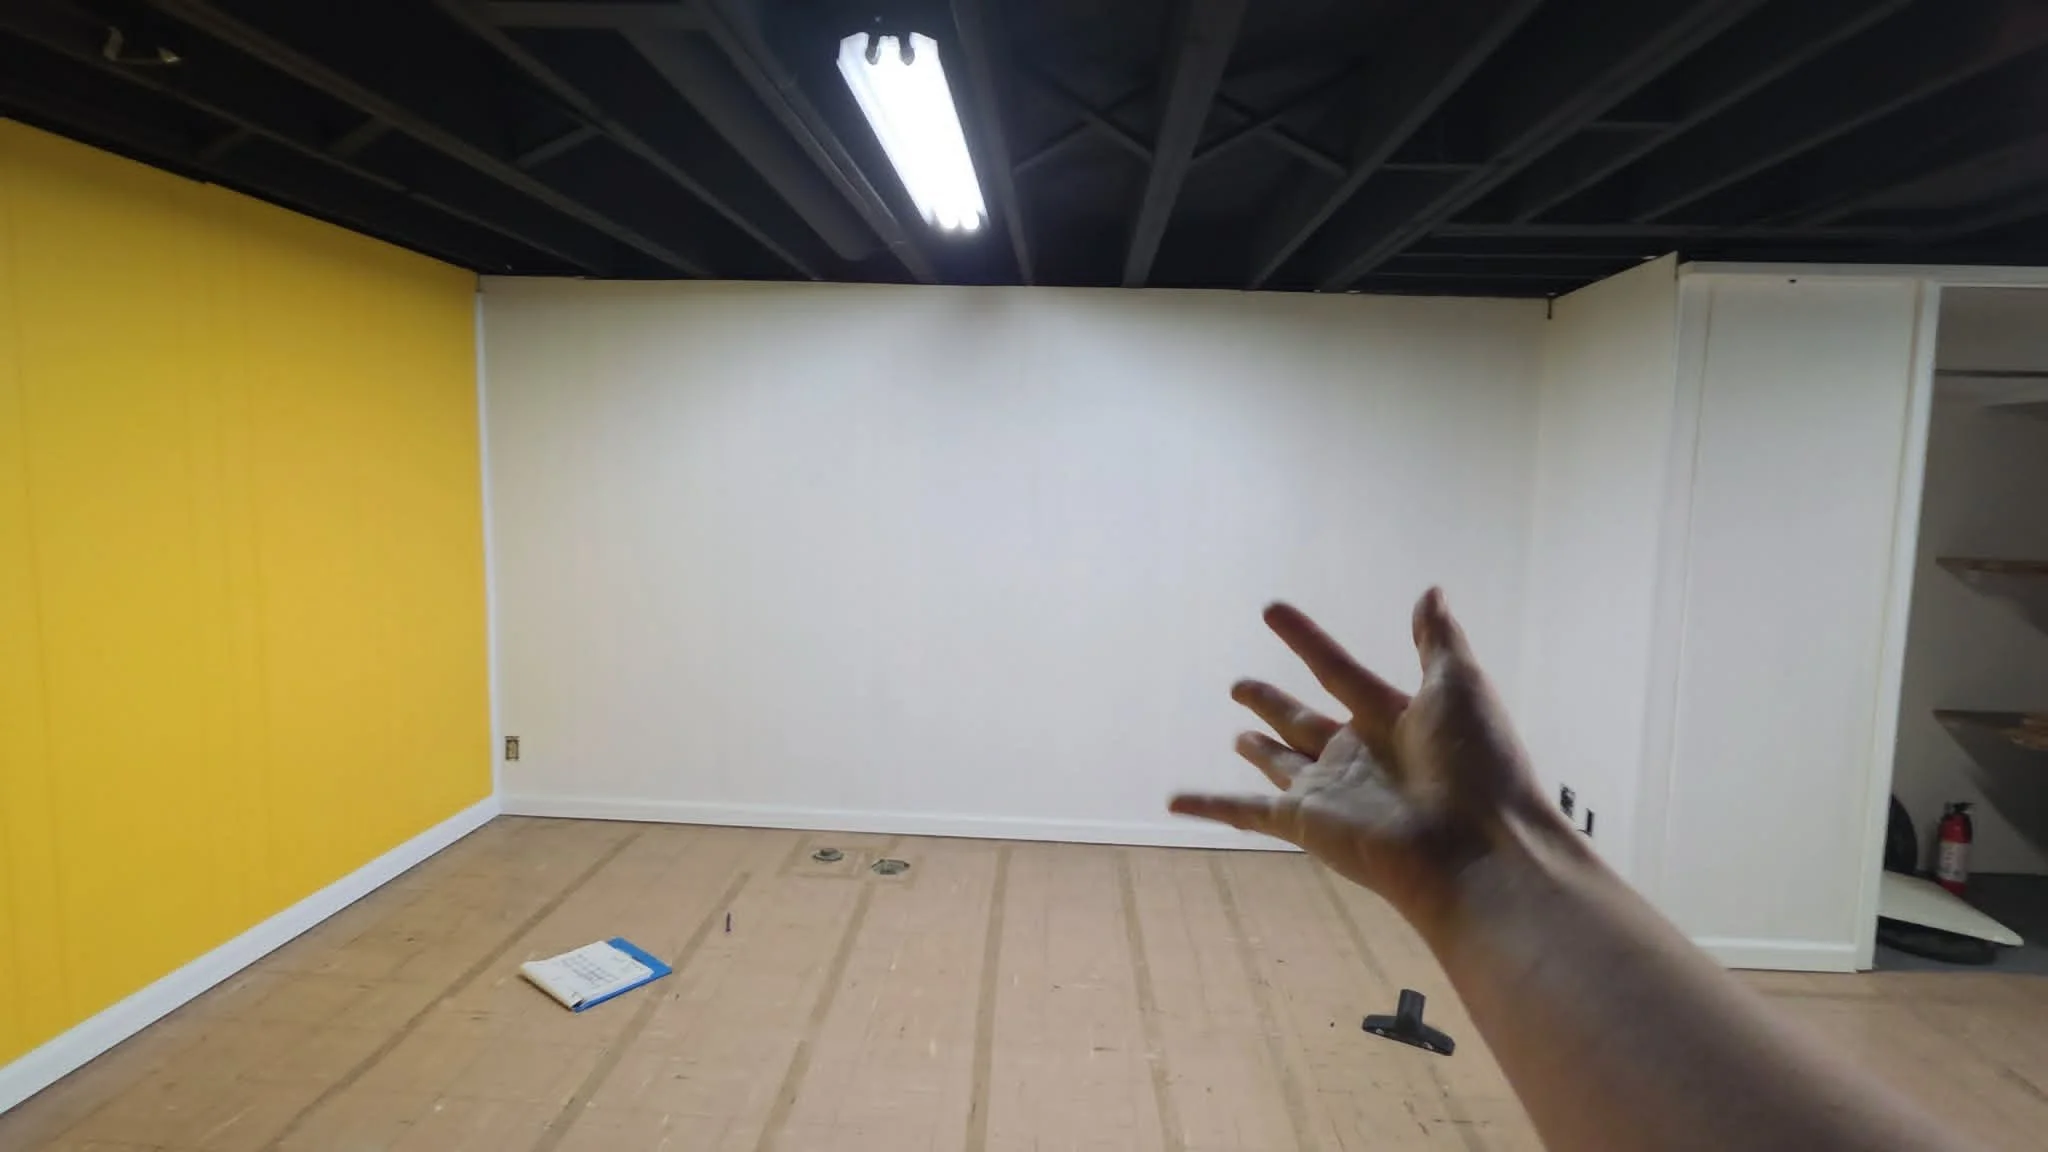
Wall Removal
Ceiling Paint
Wall Prime and Paint
Carpet Replacement
Shipping Station
Clothing Racks
Sewing Table
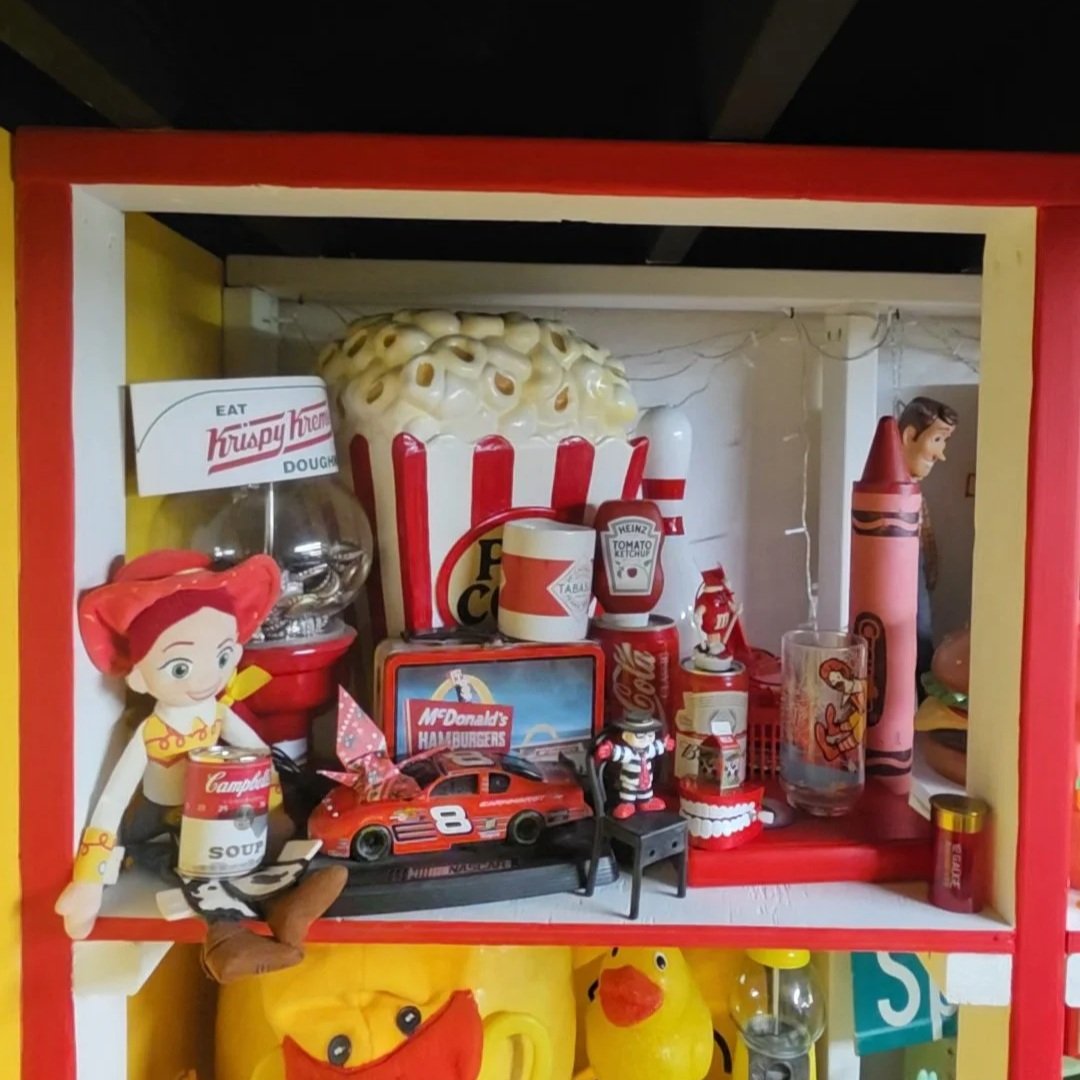
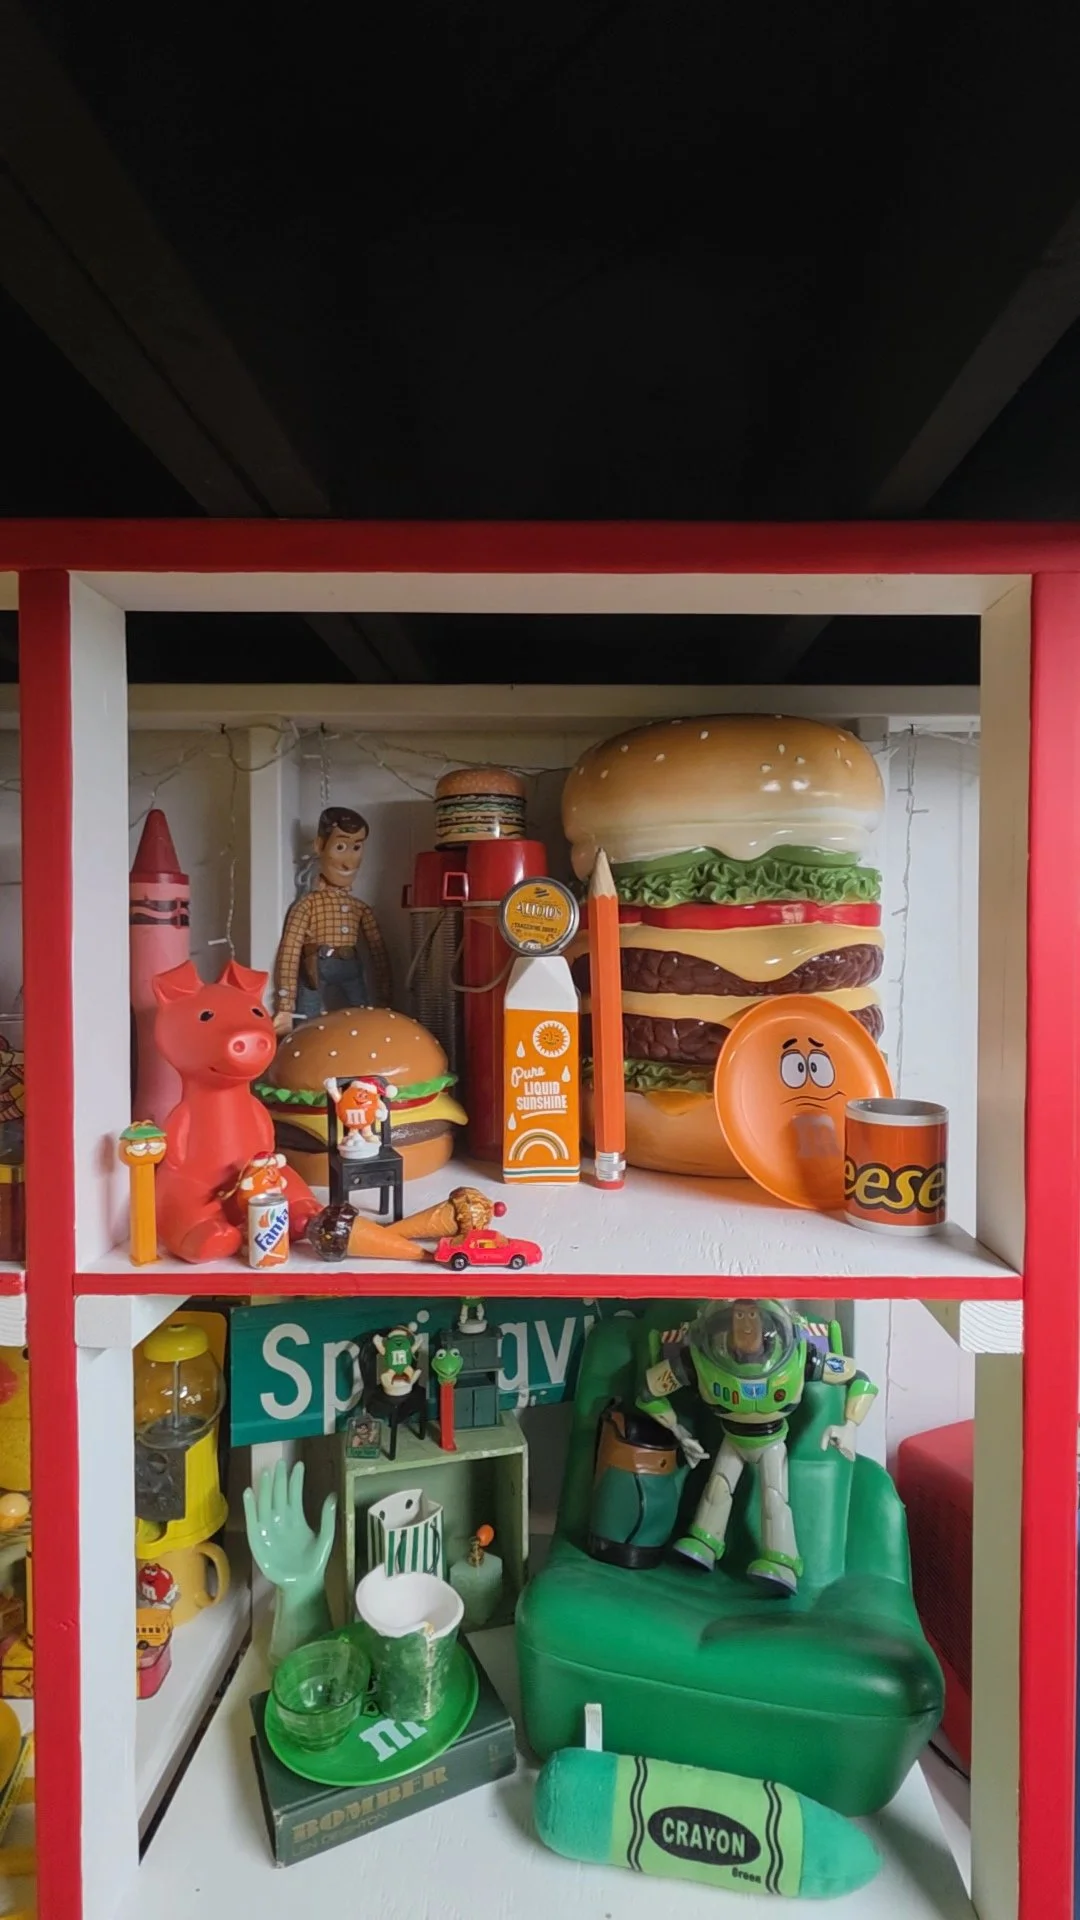
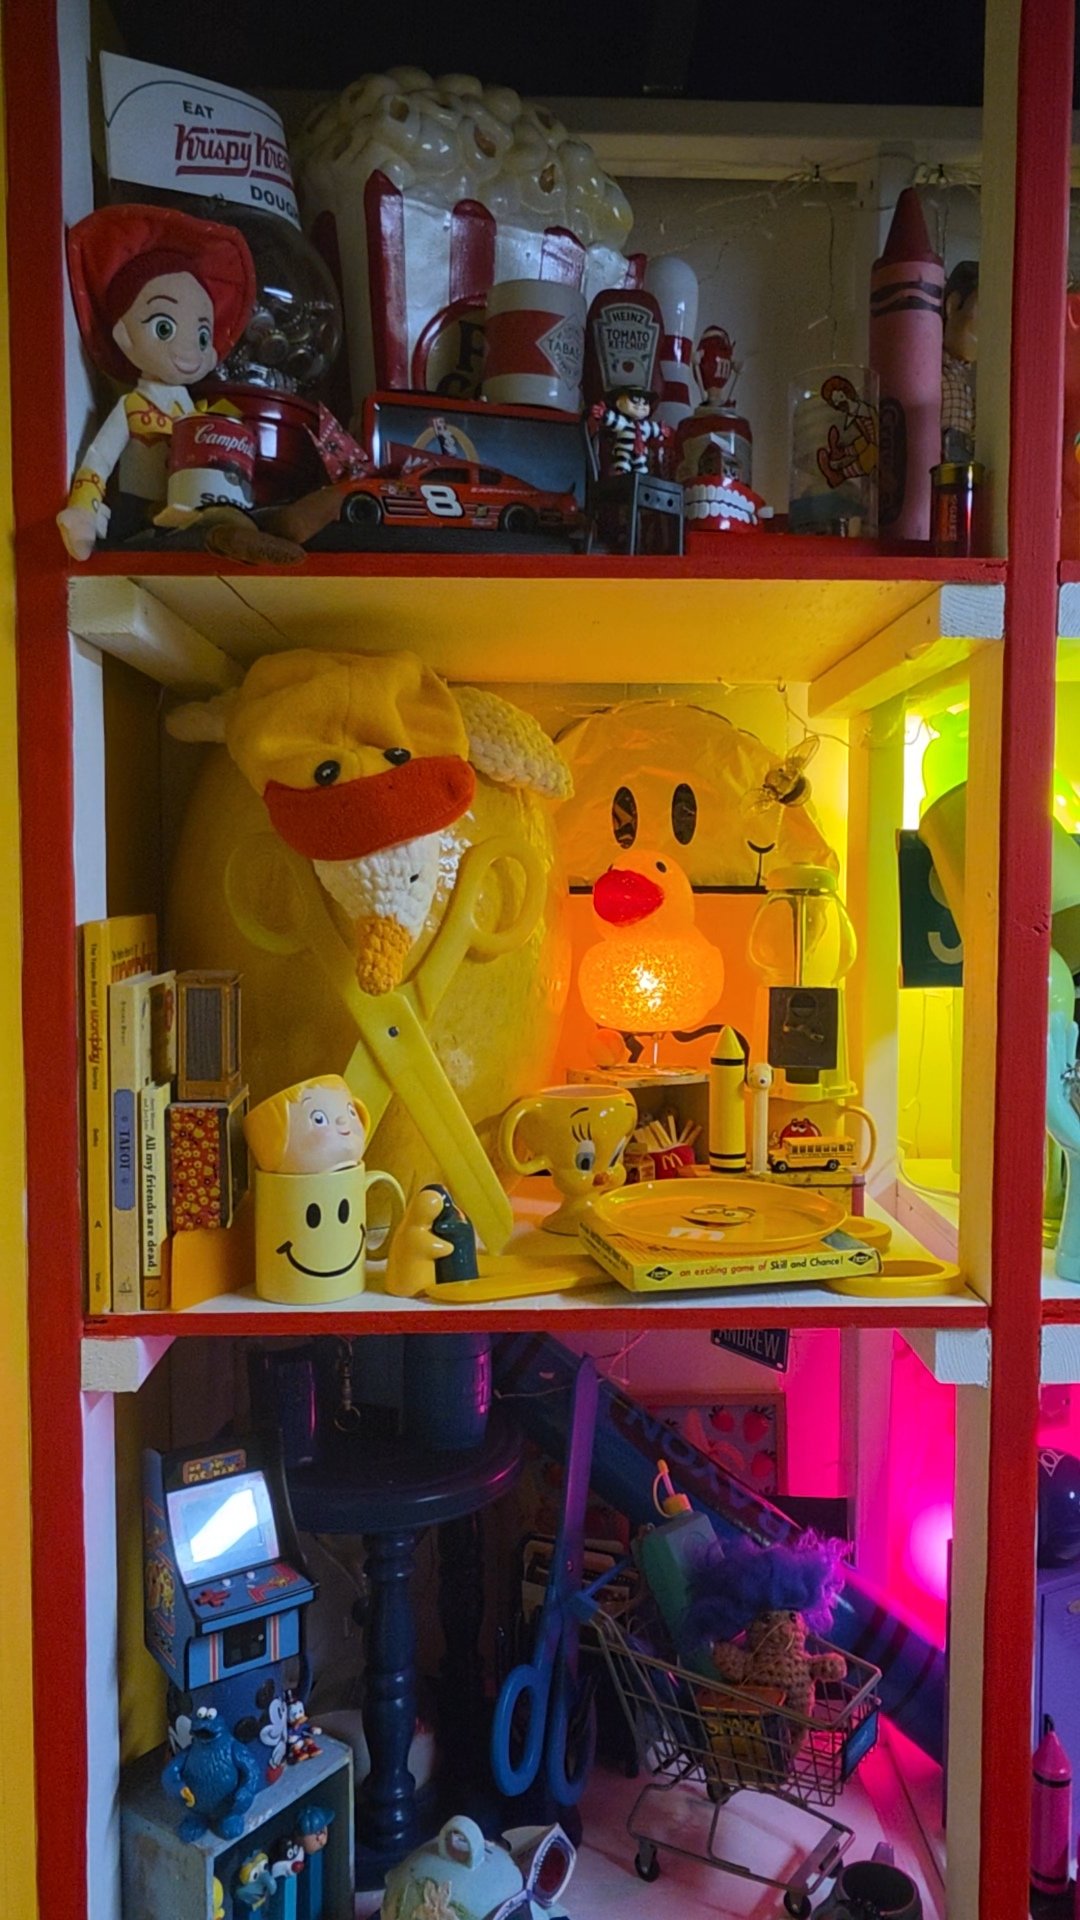
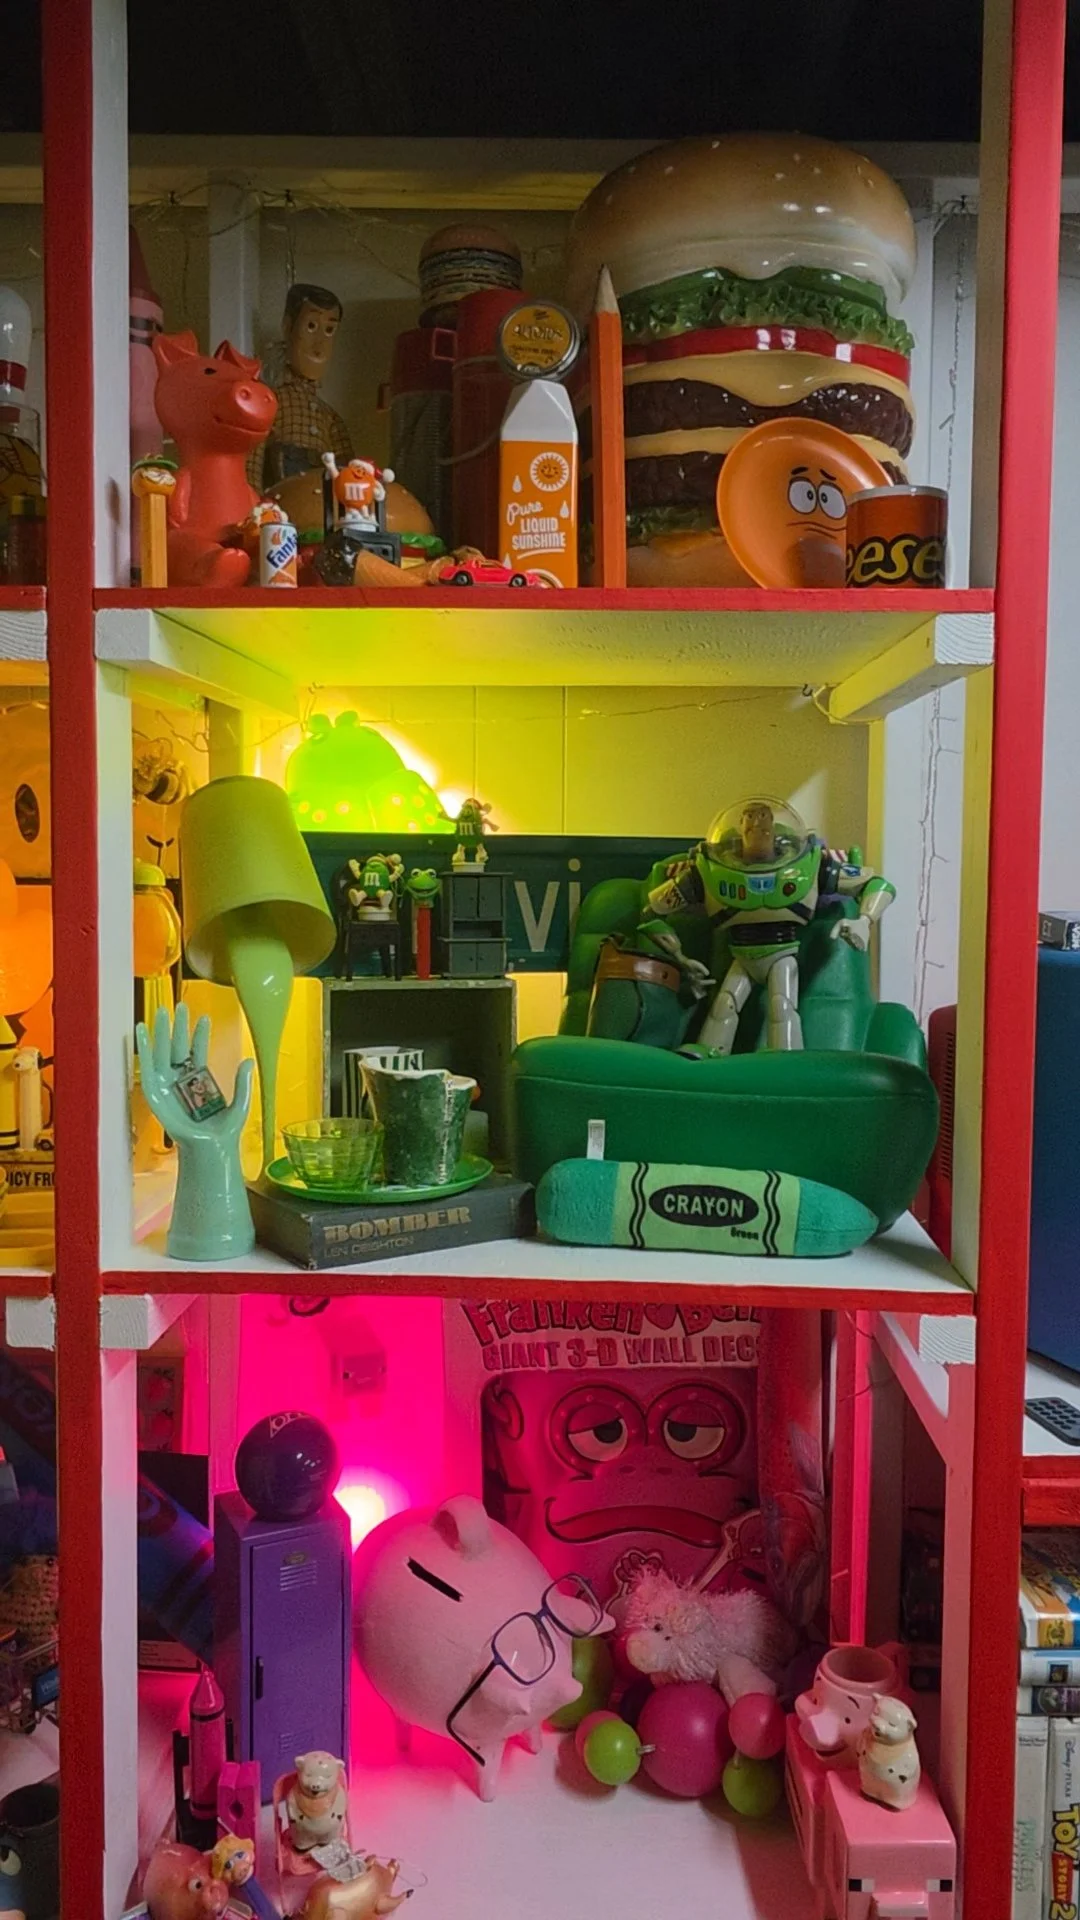
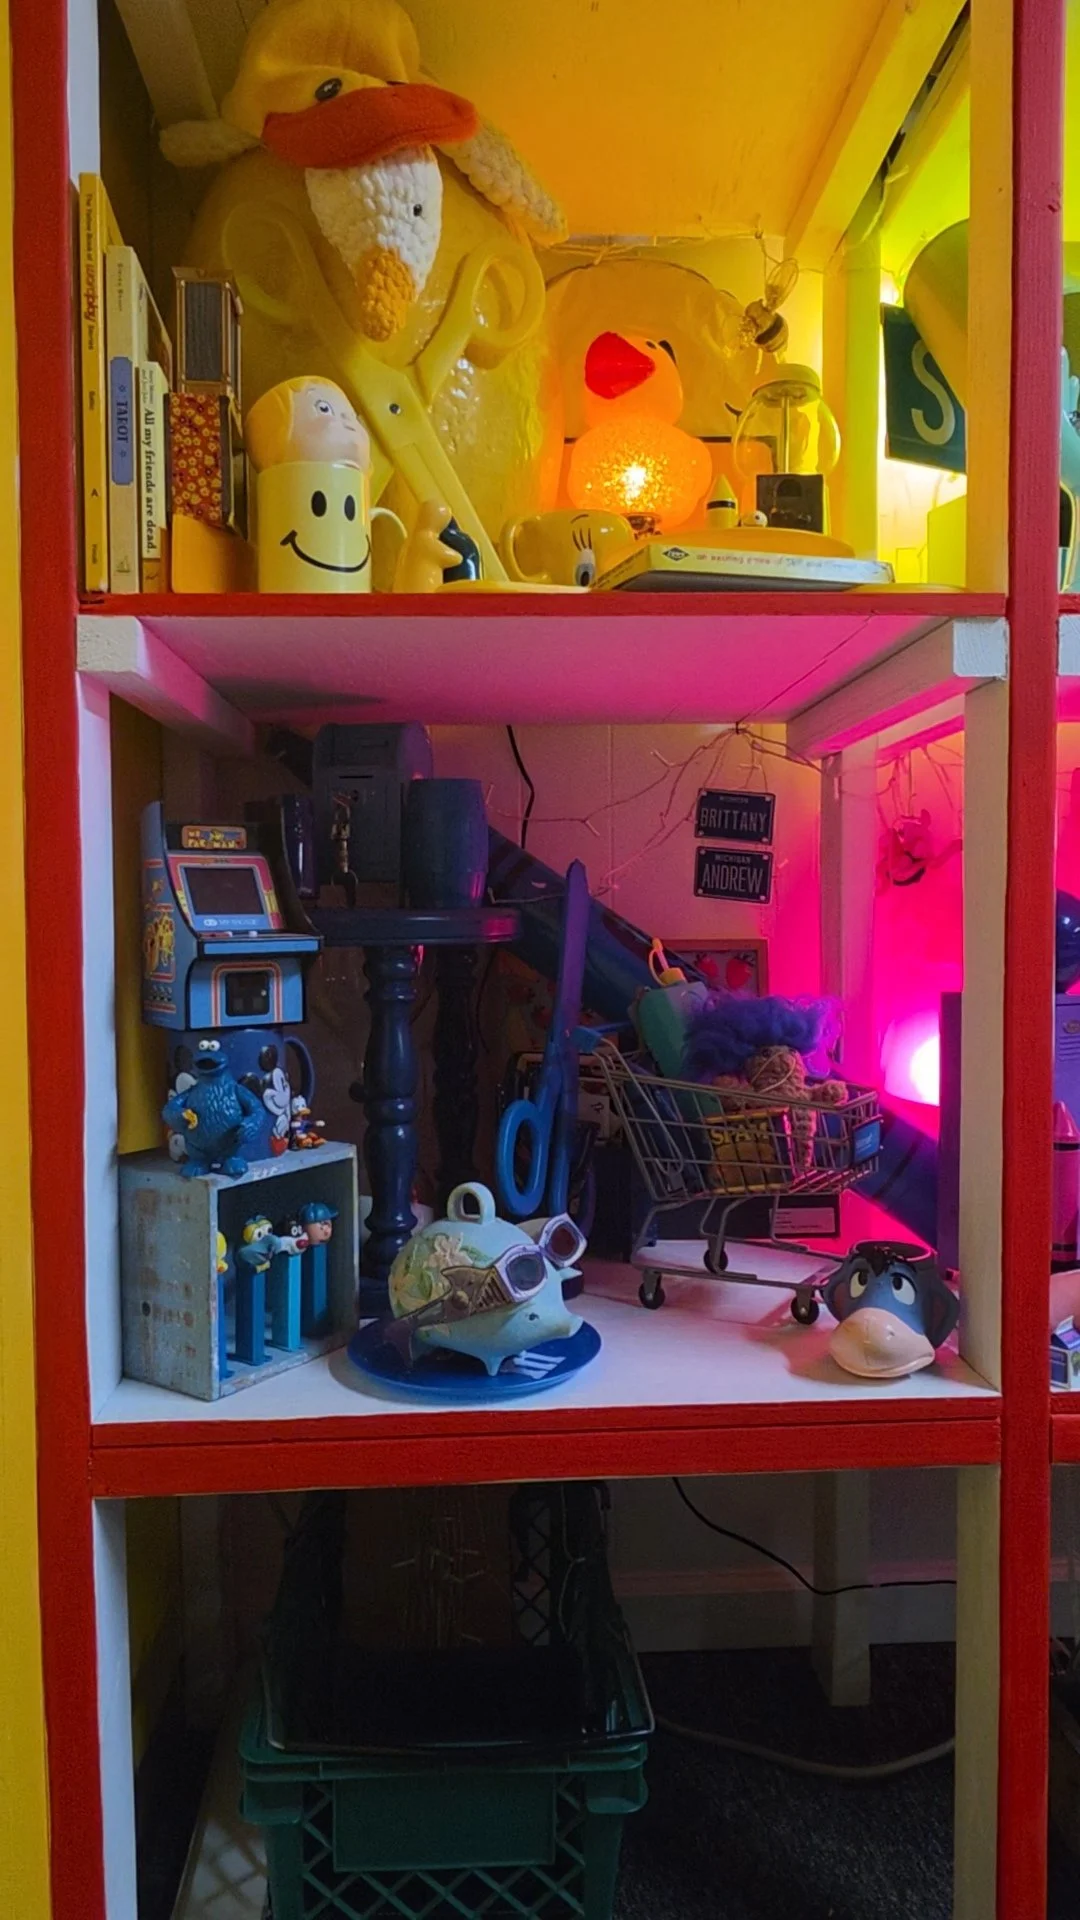
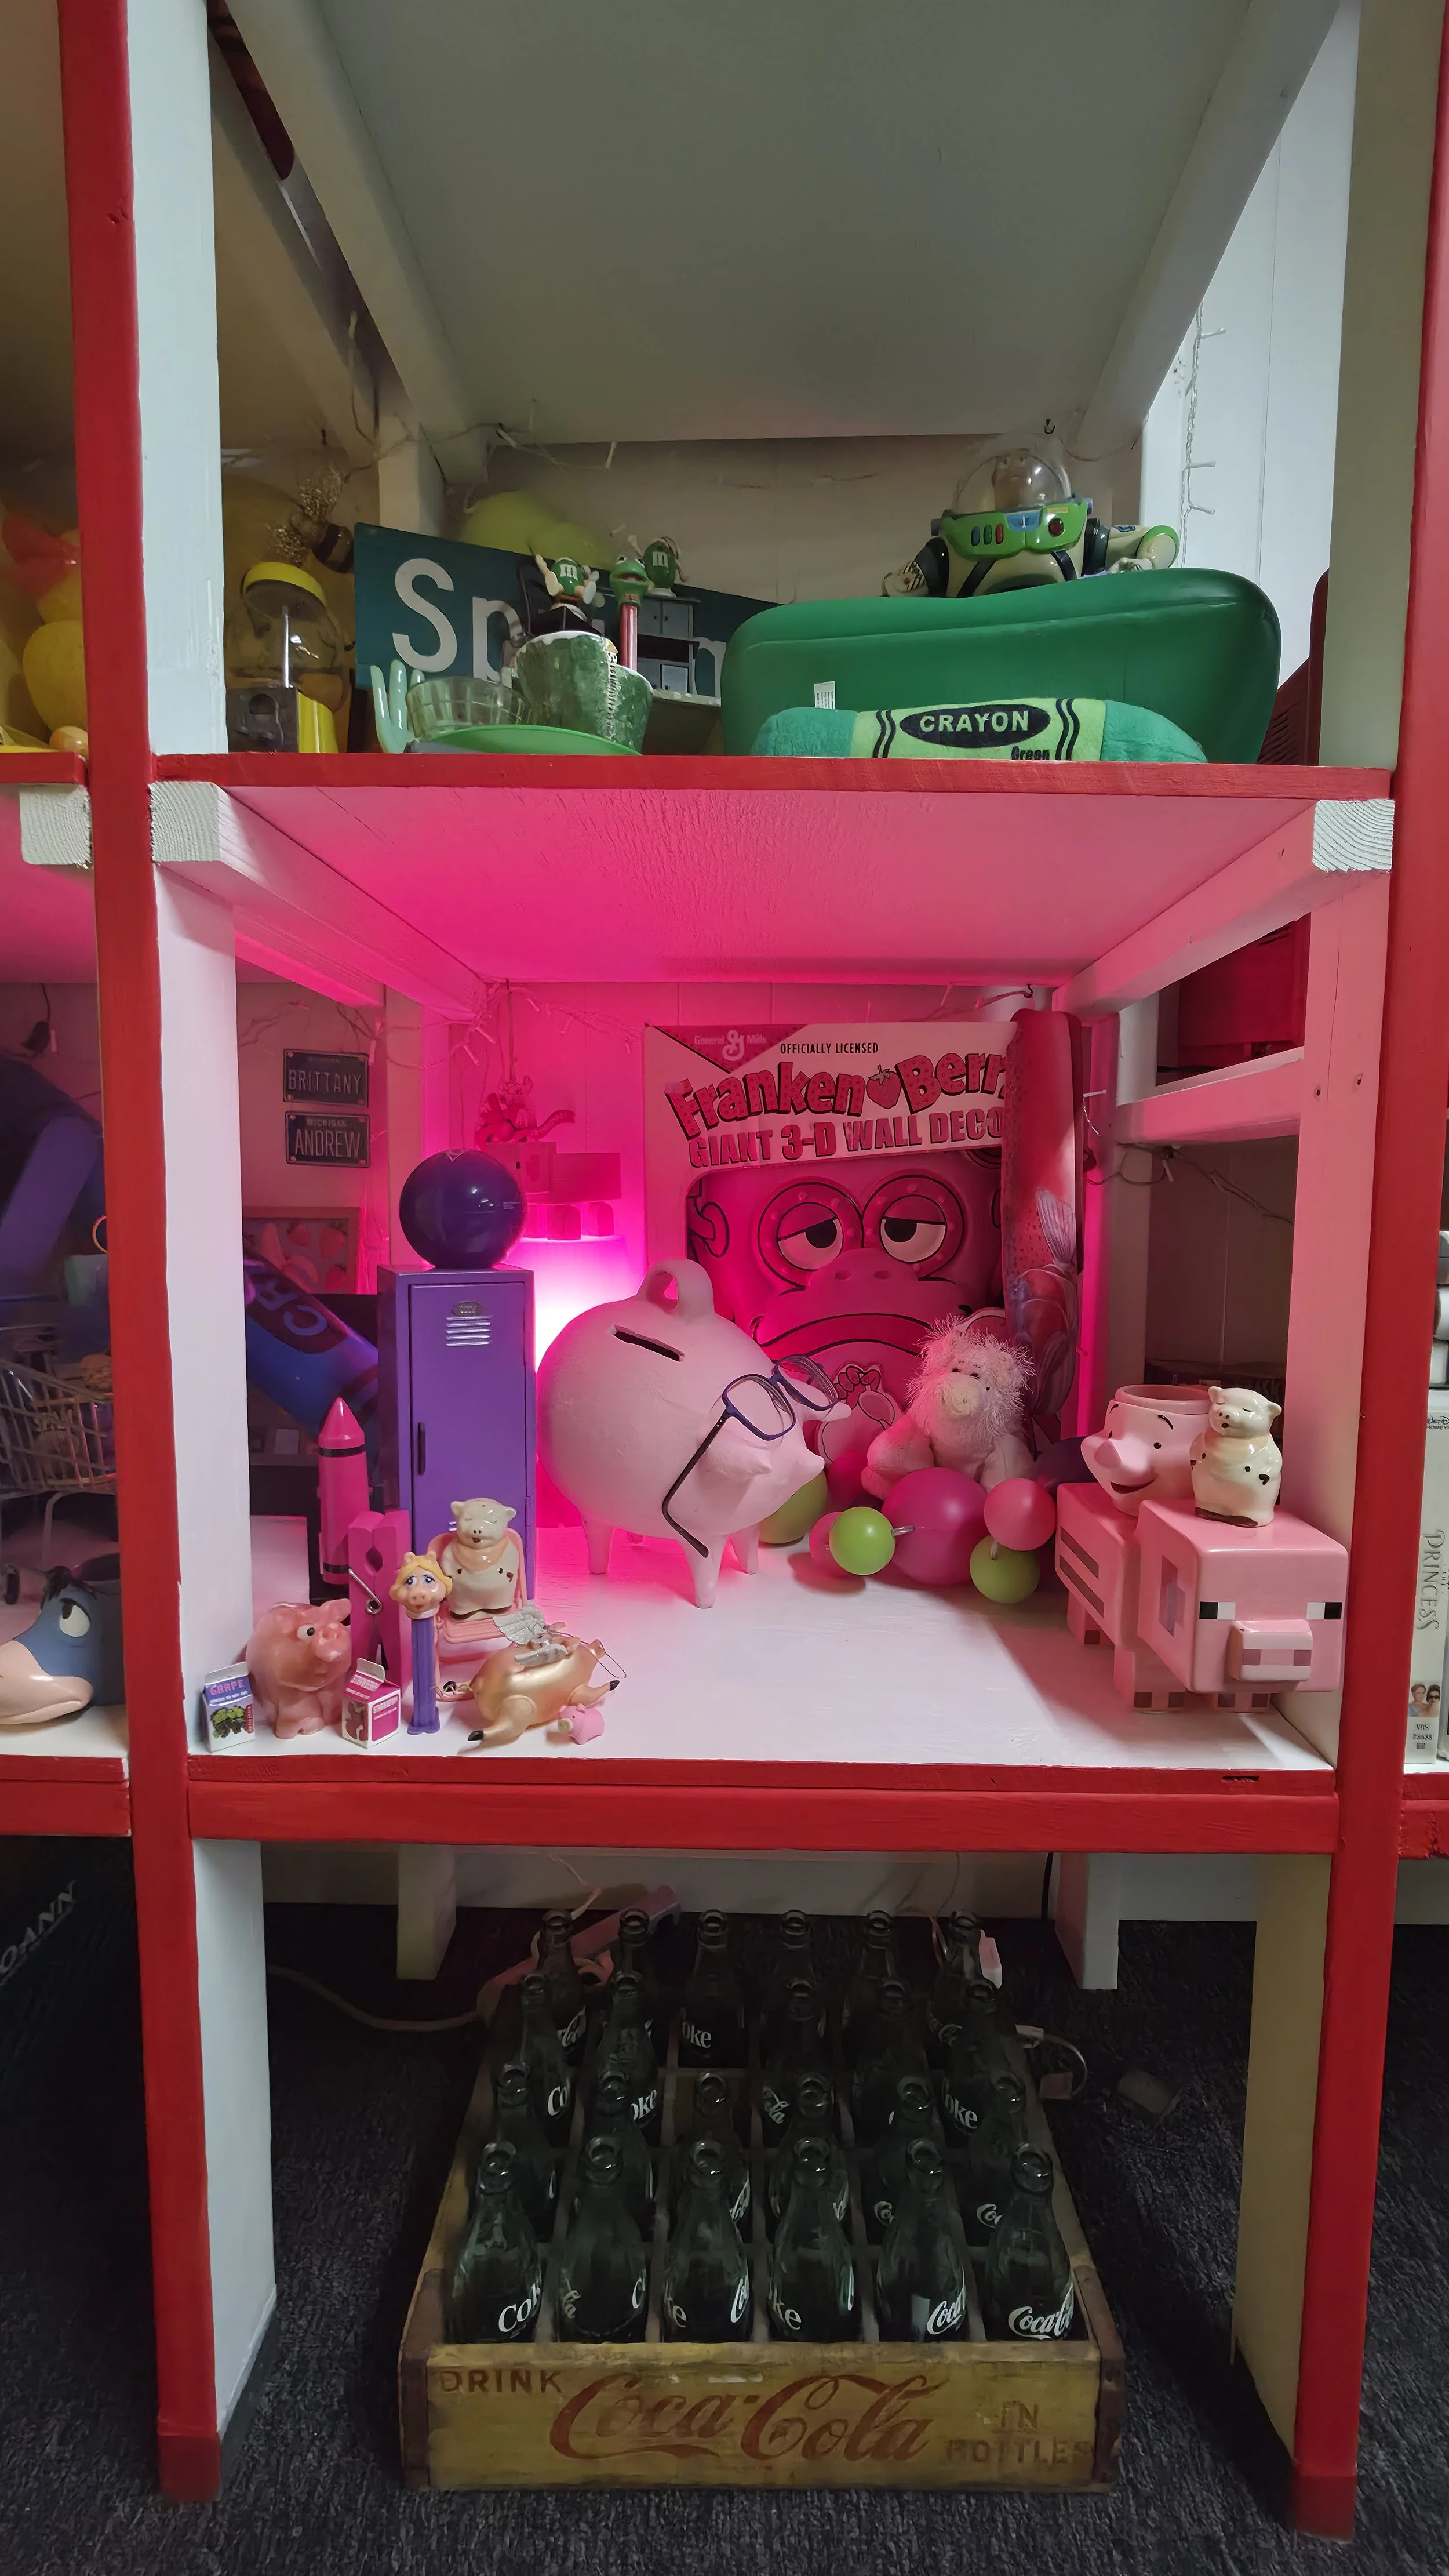
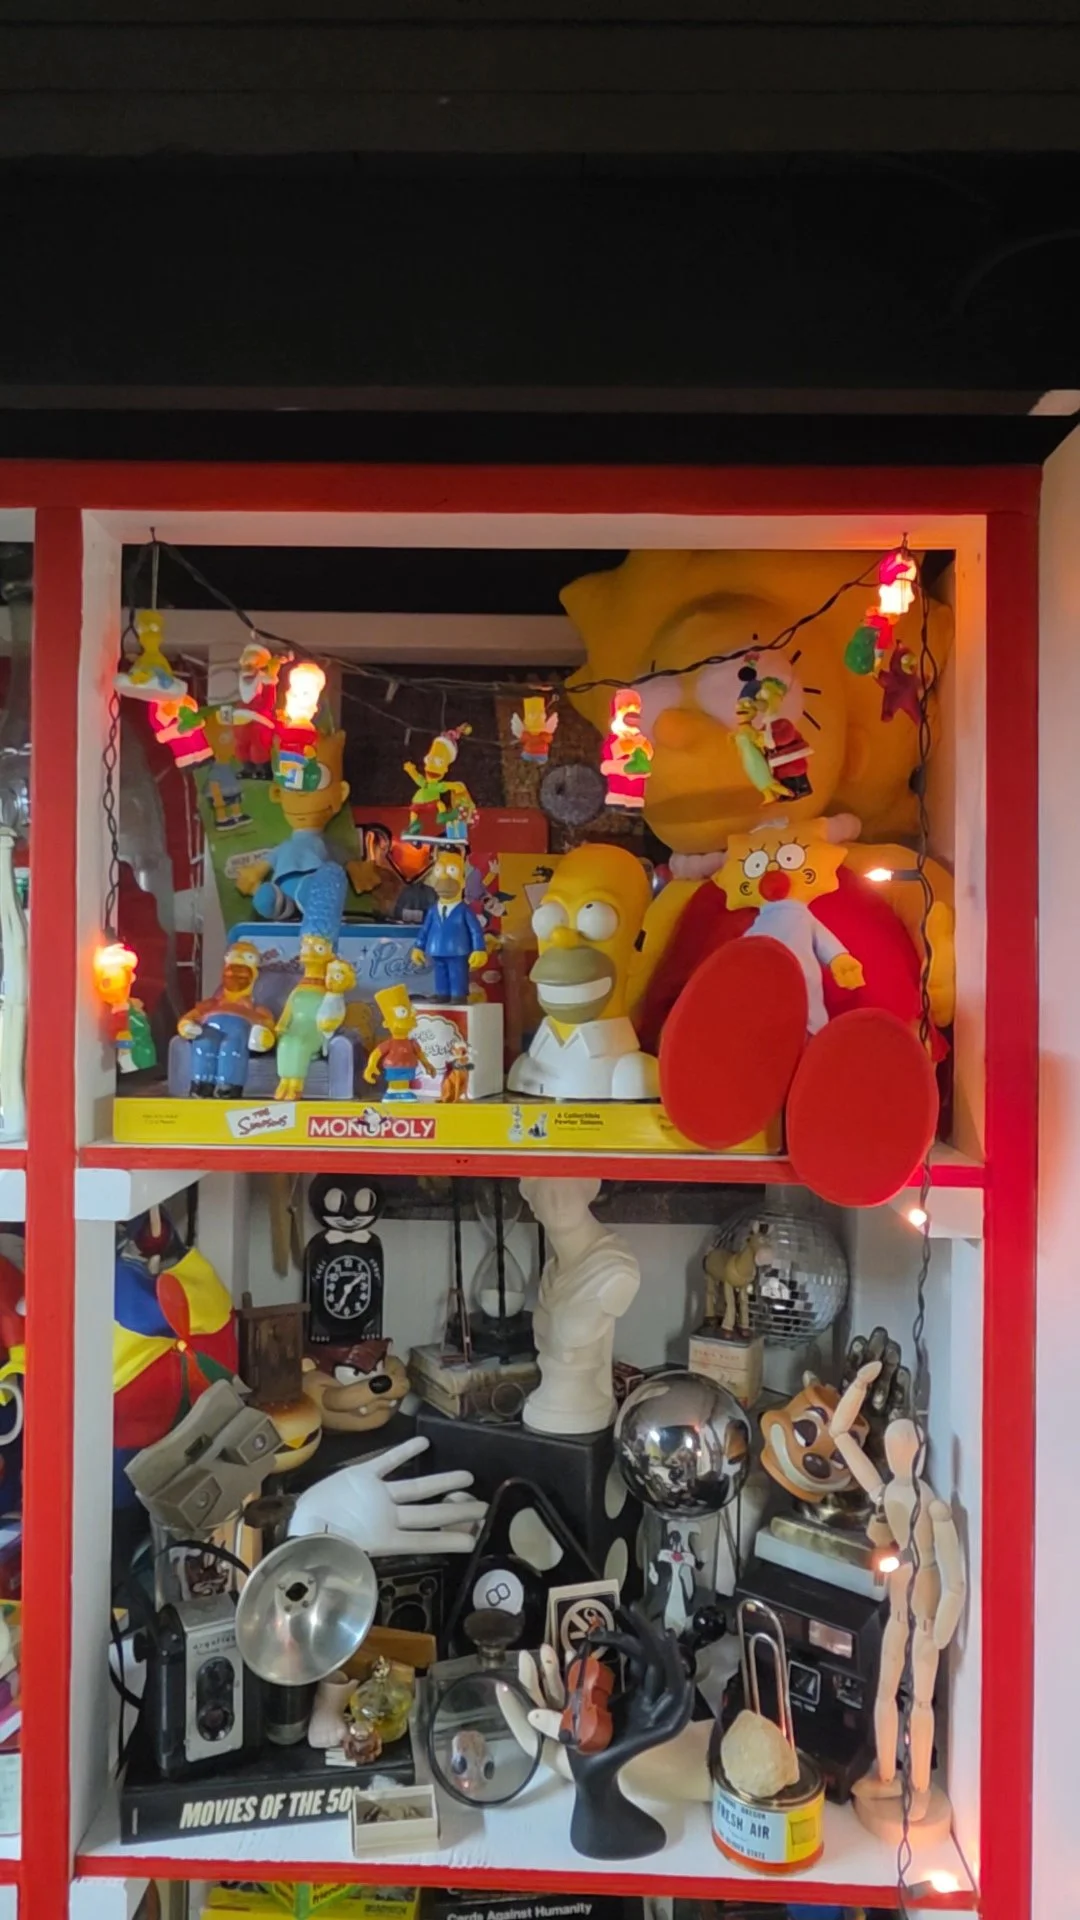
Wall Shelf
Ceiling Tile Removal
The first thing that needed to go was that sterile ugly ceiling tile. (No offense)
Don’t worry, we donated it to Habitat for Humanity!
There were many reasons I went this route.
-Higher ceilings, industrial vibe, exposed beams to reduce bugs, and space to hang stuff!
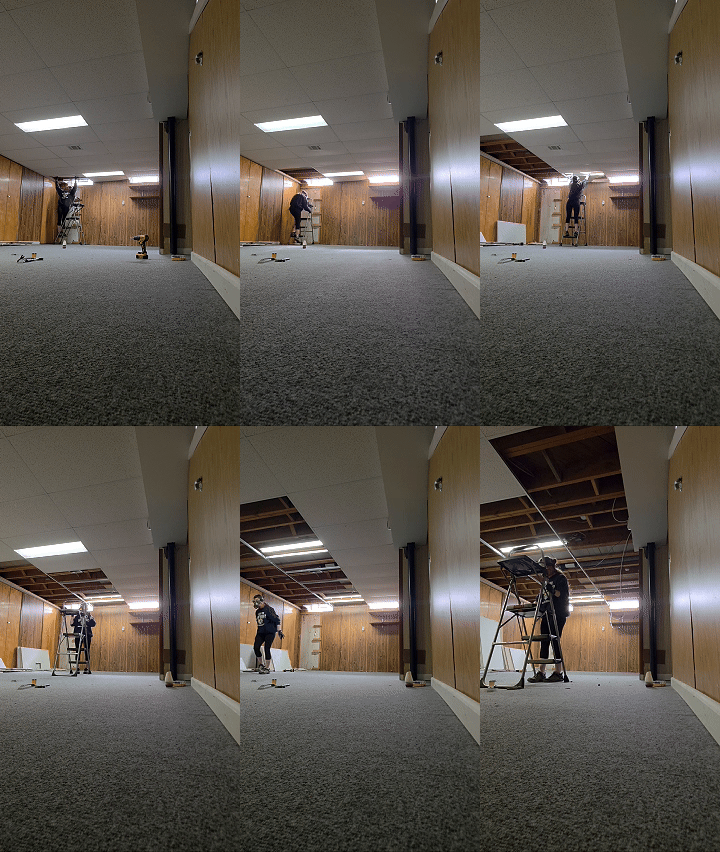
BEFORE messing with these tiles, check the year they were produced. Anything prior to 1990 should be assumed asbestos until proven otherwise.
(Ours had a printed date of 2008 on them)
Popping them out is a little difficult,
You have to push up, tilt and rotate, making sure not to break em in half. They’re fragile!
There is also a grid like pattern of metal that the tiles sit on. You might need a screwdriver to remove them, while other pieces may be attached via rivets, which have to be pulled/broken apart.
Wear a MASK. A respirator that filters particles. Goggles are important too, to prevent debri from getting in your eye.
We wore Half-face masks, with P-100 60923 filters, approved for organic vapor, acid gas, and 99.97% airborne particles. (~30-40$)
How to wear properly:
Make sure there is an air tight seal. (If you have facial hair, you might need to shave it.)
Try the mask on, and use your palms to cover each side of the filter where air comes in. If no air comes through, you’re good. If there is a leak, you aren’t protected.
Wall Removal
This was my FAVORITE part!
Nothing like busting down some walls with a crowbar.
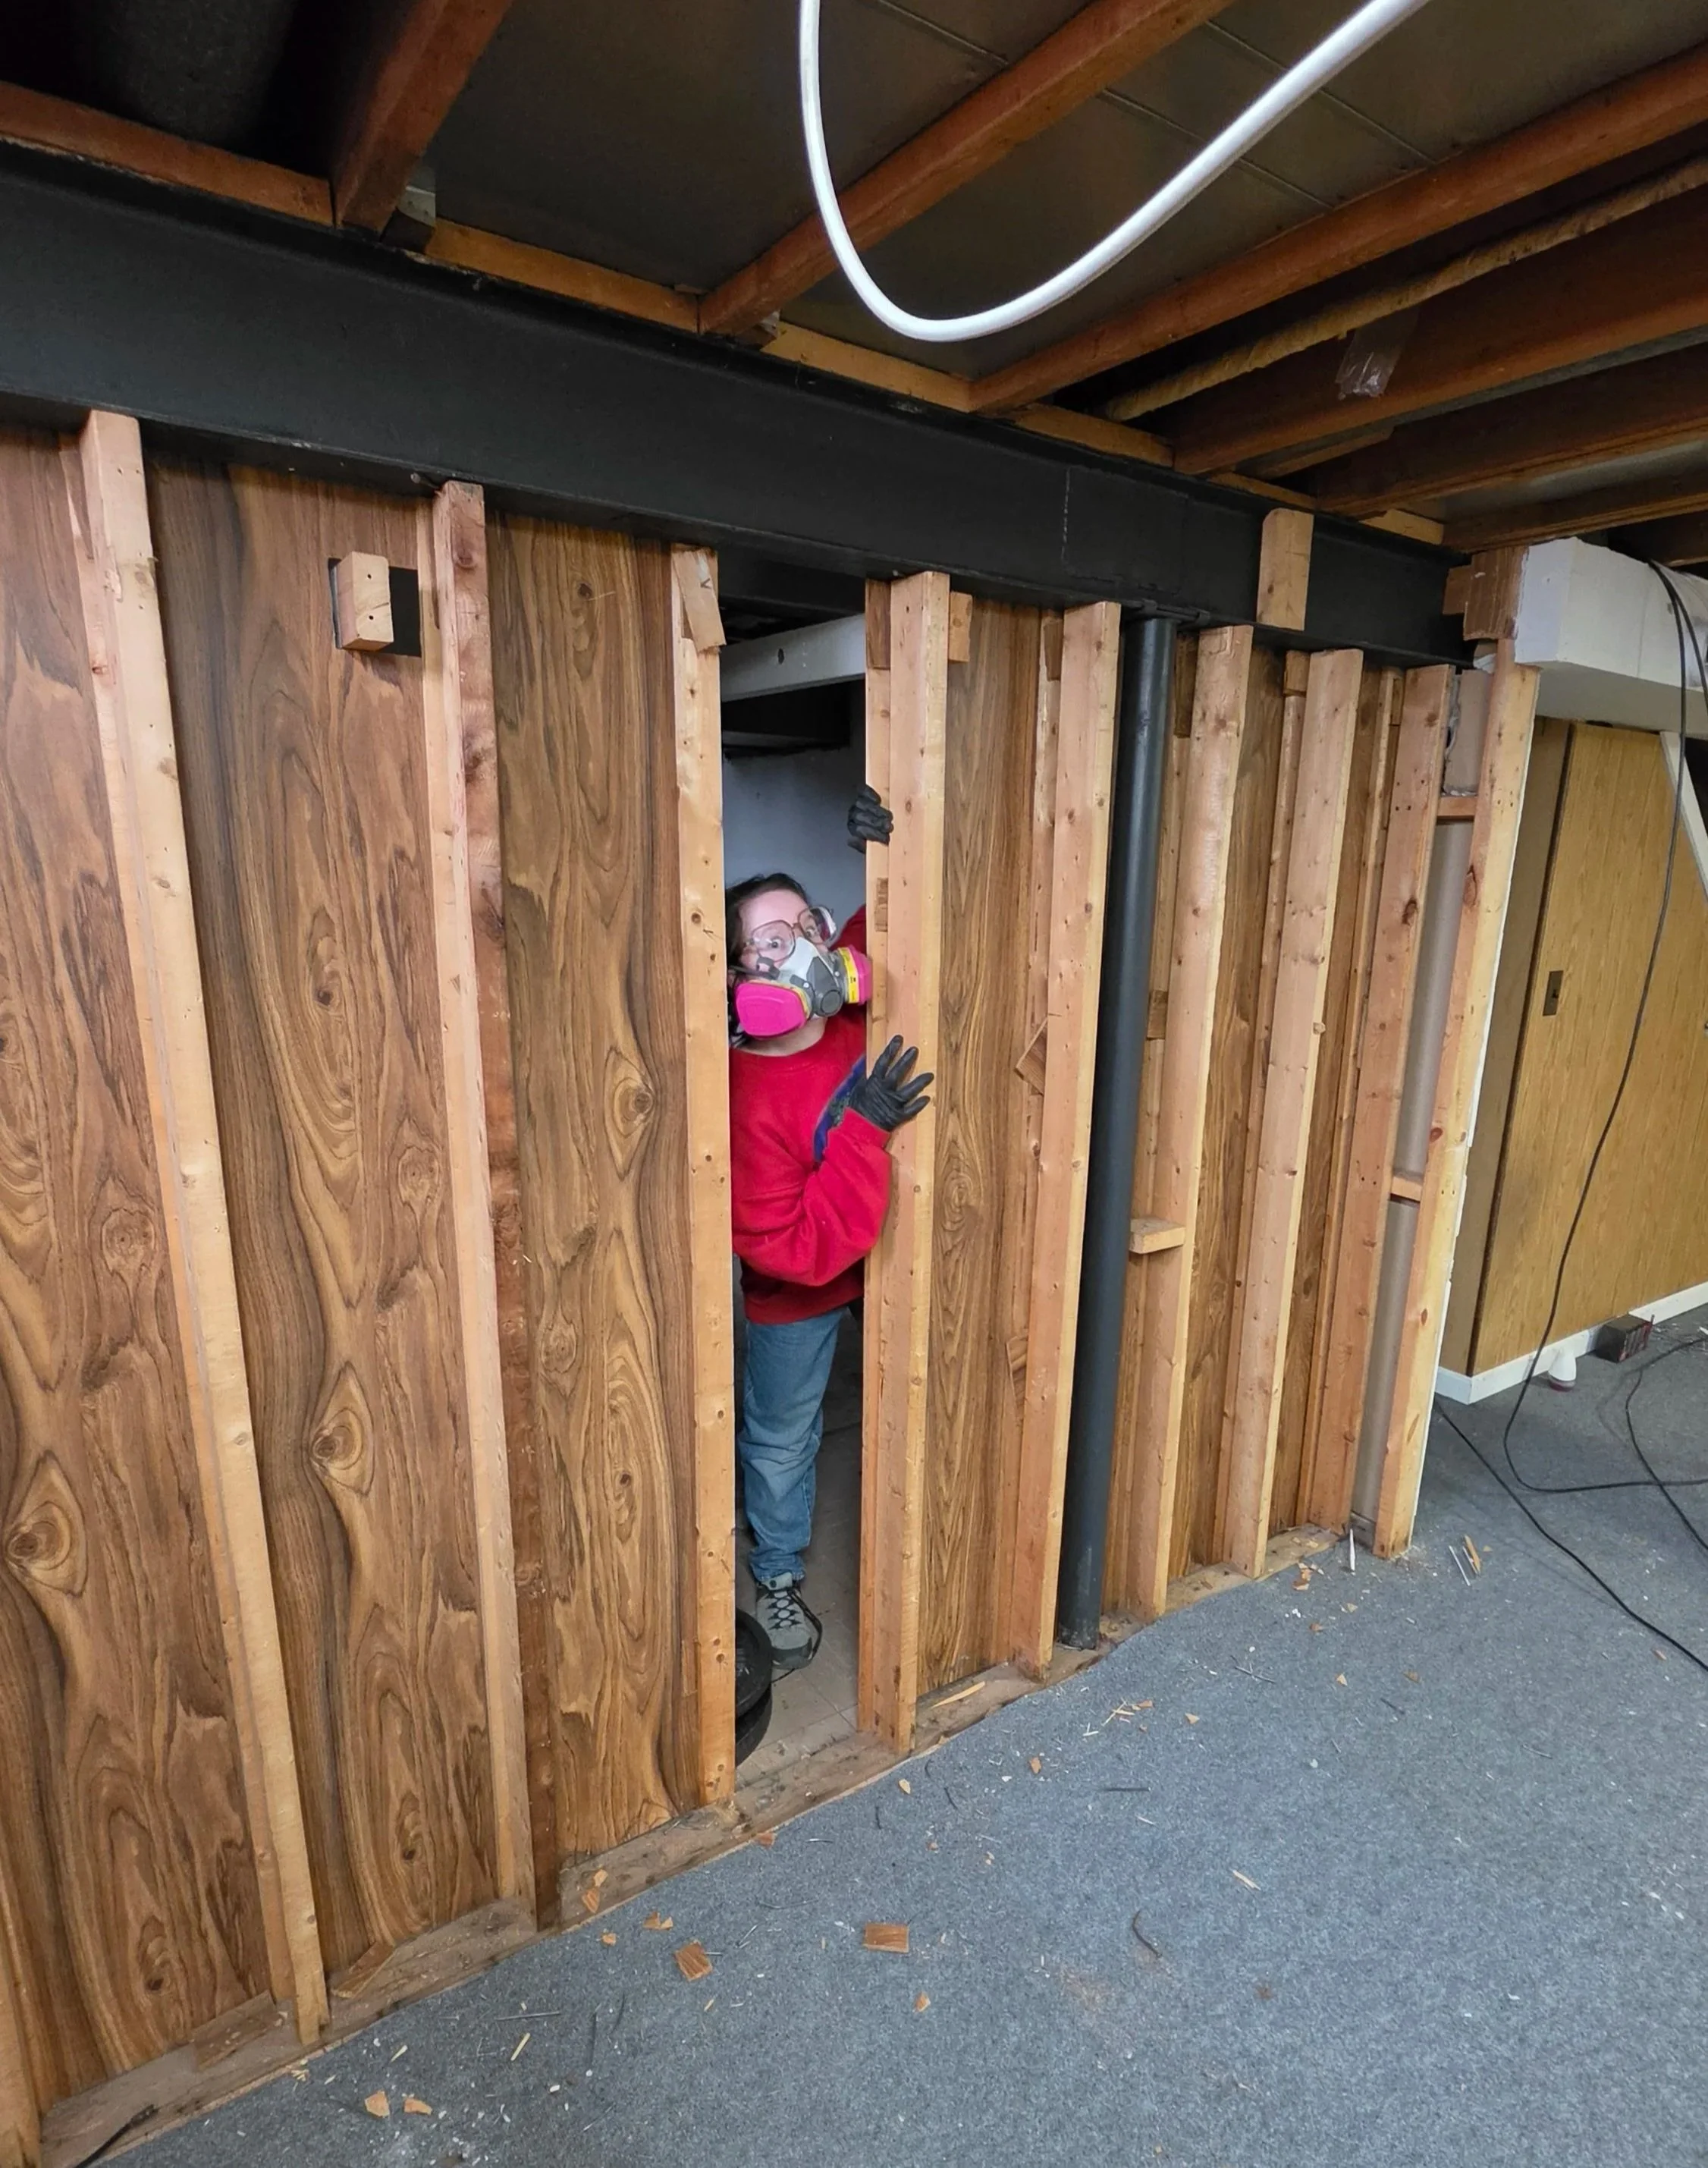
Image: Brittany peeking through hole in wall.
I recommend having a few sizes of crowbars, hammers, screw drivers, mallets, you name it.
We tried our best to save the wood siding for donation/re-use.
Be careful with what materials you are tearing down. Lead paint, and asbestos were all prevelant in the 80s and earlier.
Double check where all elecrical cords and outlets are. You do not want to mess with that.
Ceiling Paint
We chose to use matte black dryfall paint (~70$), in a paint spray machine.
This paint is a matte black, which has the least amount of shine. It covers imperfections the best, but it is hard to clean.
One 5 gallon bucket covered the basement section of ~400 square feet.
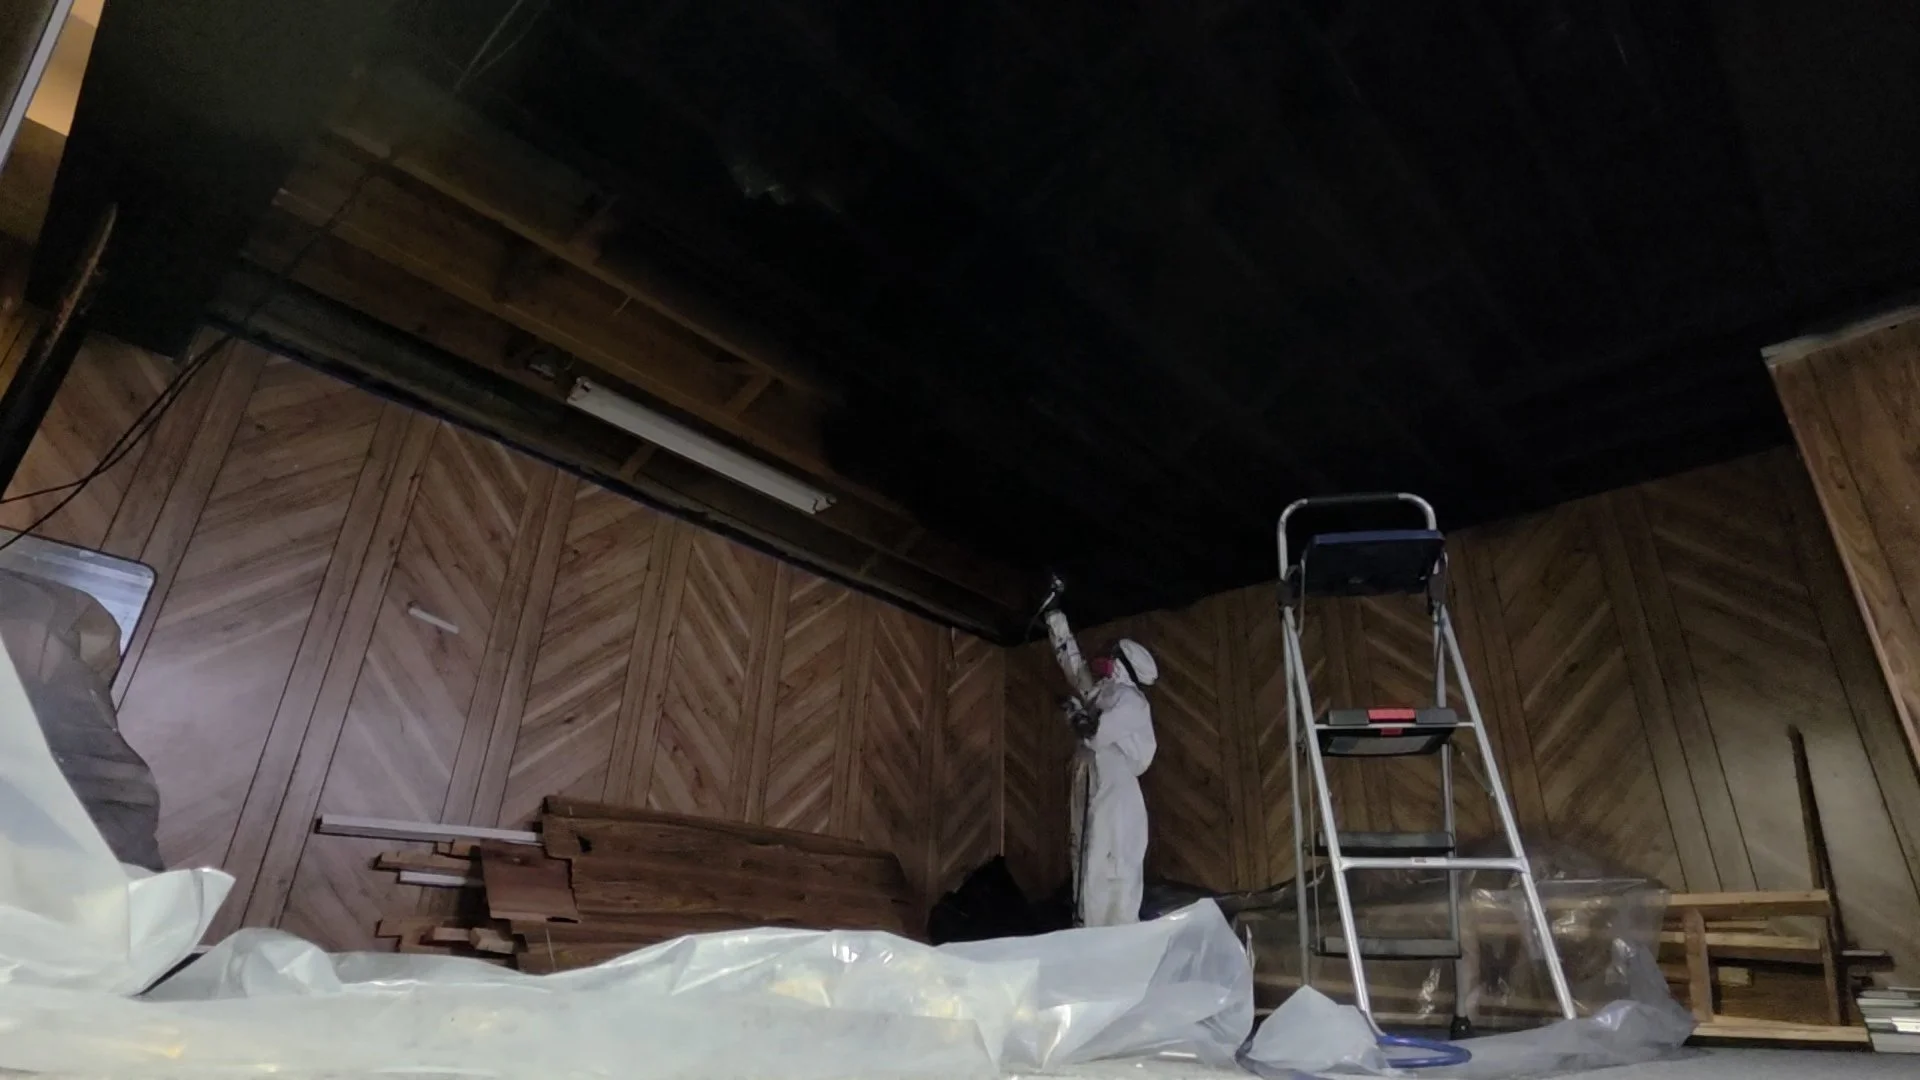
Image: Spraying the Ceiling Black
The paint sprayer is a MUST. I’d still be painting right now if I did it by hand.
We got a good deal on a bidding site for one that worked relatively well. (After we figured out how to finally use it.) We paid 60$, brand new is around 200$.
Pros- Faster, better coverage, easier to get hard to reach crevises.
Cons- Expensive, messy, hard to clean, learning curve.
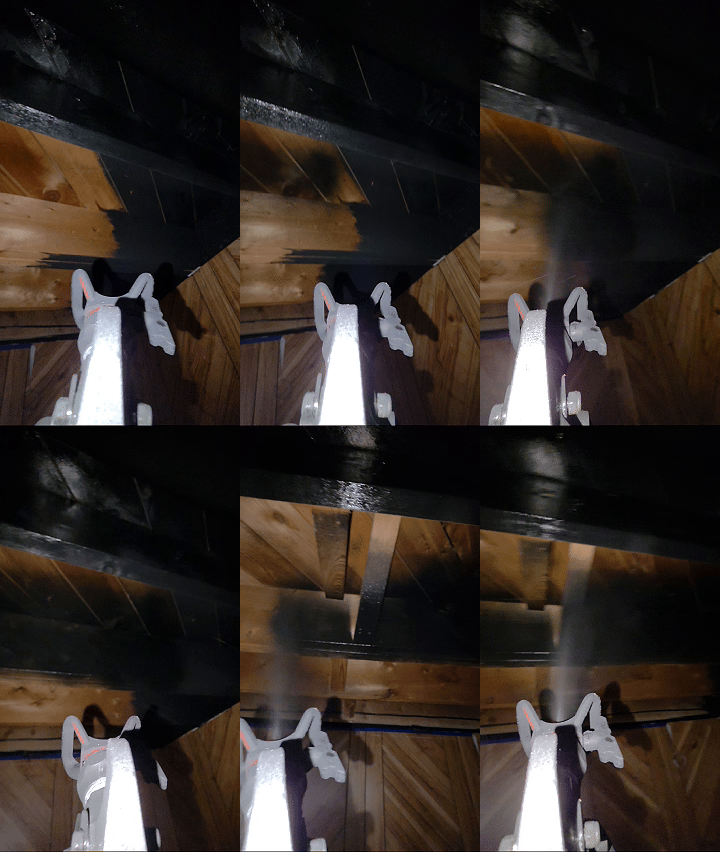
Follow all the instructions on the paint sprayer.
-Cover all outlets, lights, switches, vents, windows, floors, etc. Anything you don’t want painted. (I used masking tape and plastic)
The dryfall paint is meant to dry before the excess particles reach the ground, but it’s still hard to clean up.
-Wear a light that attaches to your head to see easier.
-Look from all angles, make sure you didnt miss any spots!
-Don’t over apply in one spot. Otherwise paint will drip.
-The particles get everywhere! Be careful.
Don’t forget PPE.Personal Protective Equipment.
I talked about a respirator above. You’ll also need:
Hazmat Suit 9$
Gloves 9$
Goggles 4$
Baby wipes were especially helpful to clean the mask, goggles, and any exposed skin.
A regular 2-3” wide angled paint brush is helpful for finer lines on edges.
If using a paint sprayer: I recommend getting a couple empty 5 gallon buckets to help clean and flush water through the machine.
Please do not dump paint water on the ground or in the drain. Dispose properly. We left the buckets to evaporate and eventually mixed some of Bambi’s cat litter with it to make it a solid. Then we were able to throw it away.
Wall Prime + Paint
Primer is ESSENTIAL. (~25-30$ for a 2 gallon)
Anytime you want to paint over something dark, dirty, weird texture, etc. Primer helps your paint bond and require less coats.
Regular paint can vary anywhere from 25$-60$+ per gallon depending on the brand!
On the wood colored walls, I required 2 coats of primer and 2 coats of regular paint.
I am not sold on any one brand of primer, just use your best judgement.
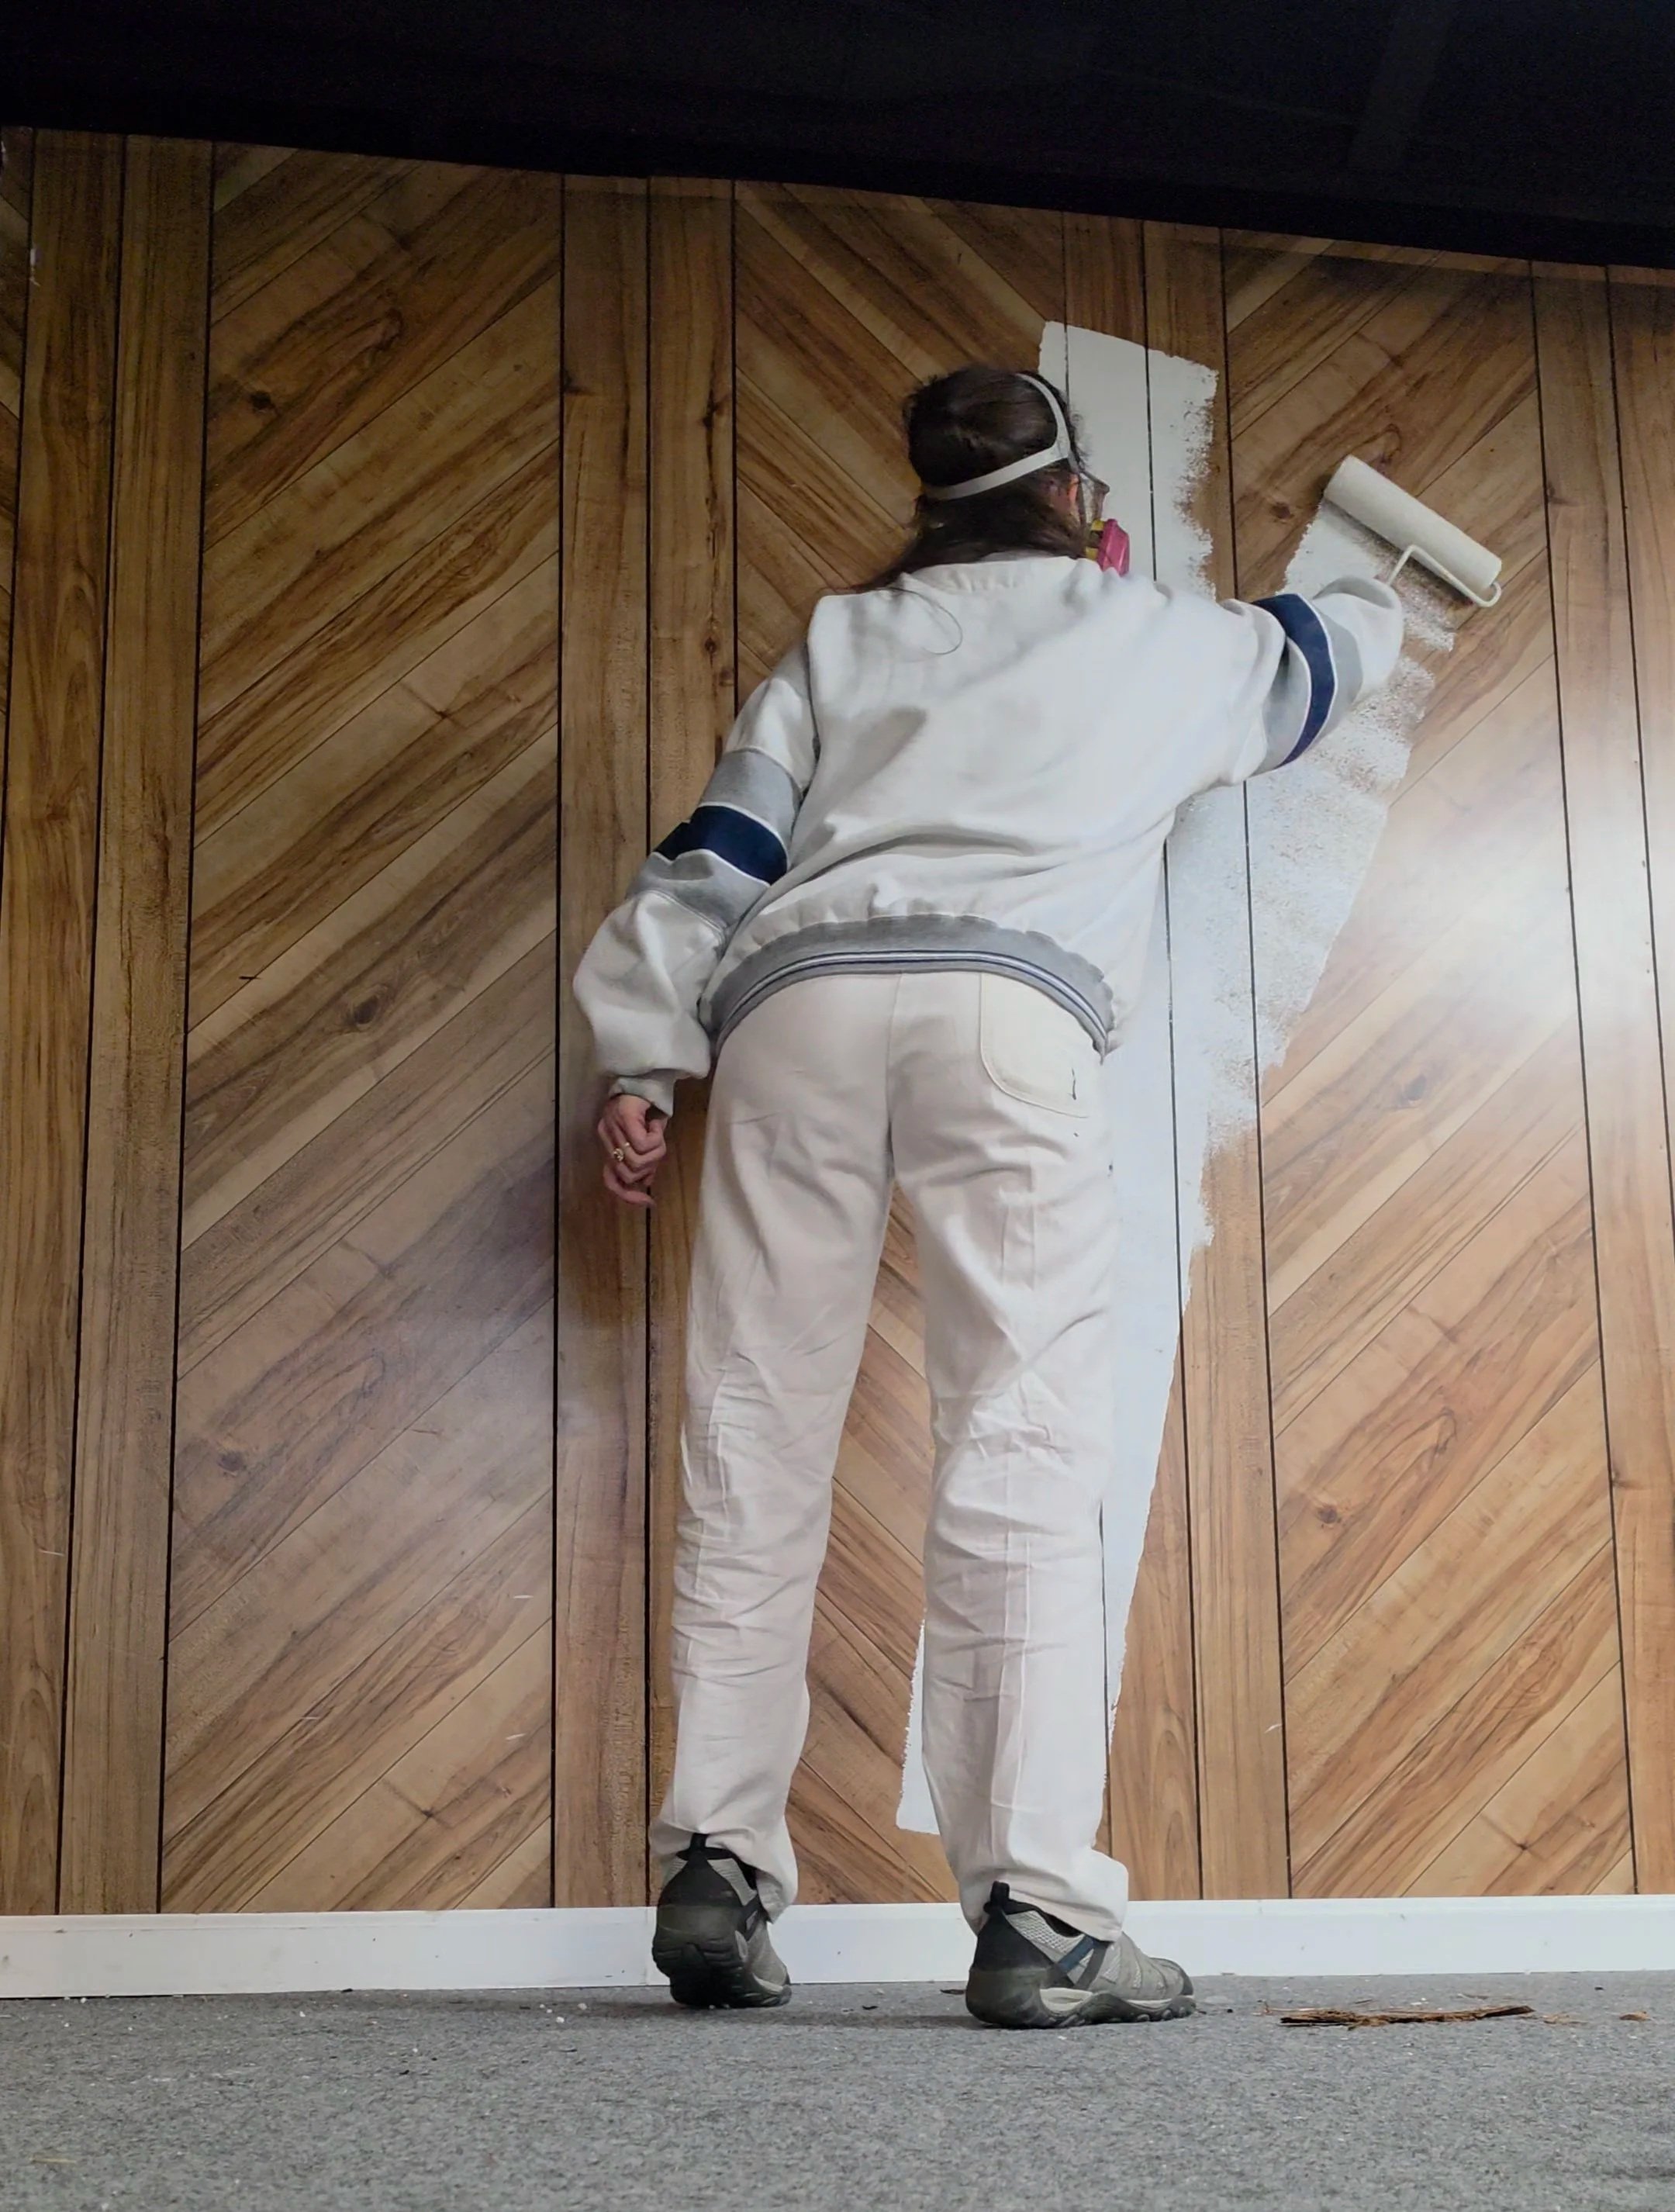
Yes I painted over the wood paneling. As much as I love the 70s, this paneling was closer to the 80s/90s. And it was not the vibe for this space. But I made sure to salvage as much as possible!
This was my first time using a roller. I cant really show you how to paint, but there are plenty of good videos on youtube.
I used a 3/8 nap. I recommend an extension stick!
Quick tips:
- Insert the roll with the nap facing the direction of the open side.
-The side where the handle connects is called the “leading edge”. This is the direction you roll the paint
-You will need to put a lot of paint on the roller, and you’ll need to re-apply every few lines.
-Don’t press too hard, or you will get drips.
-If you see drips, roll over immediately, or else it will dry.
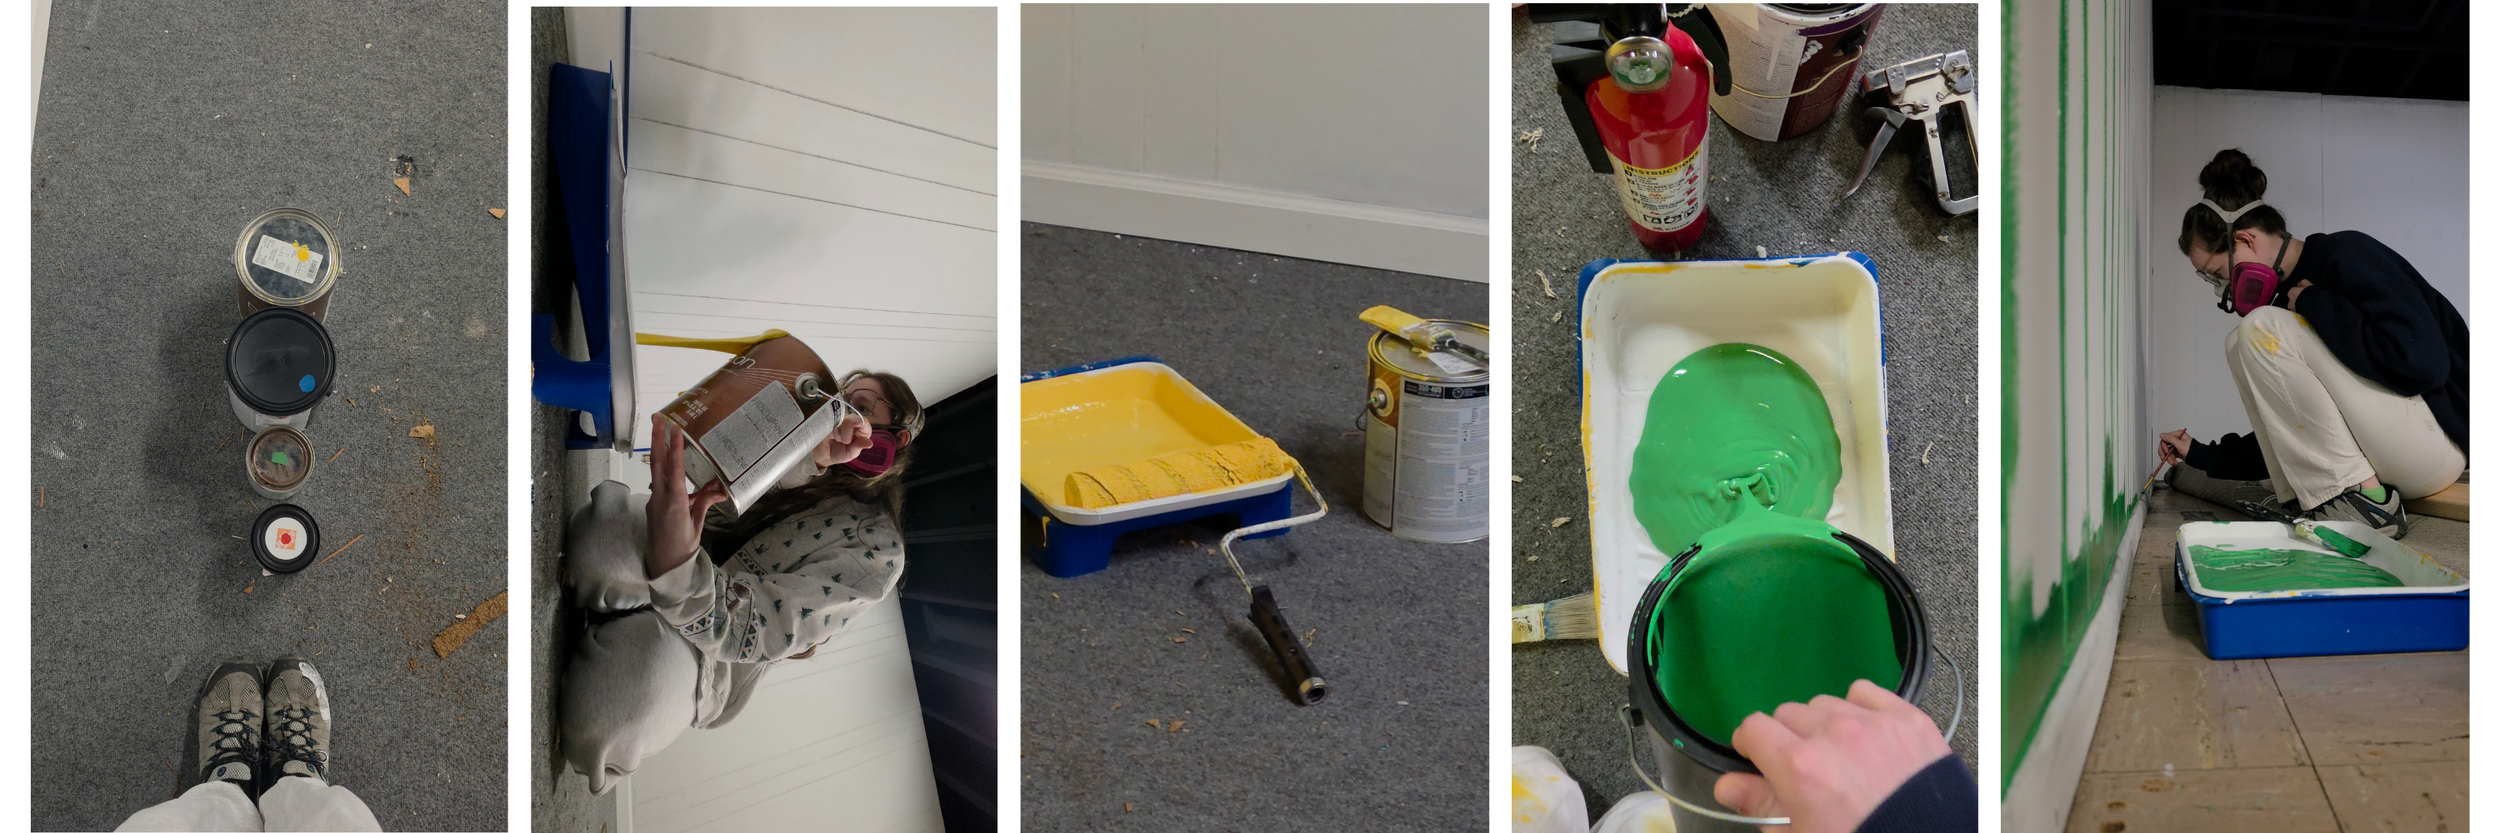
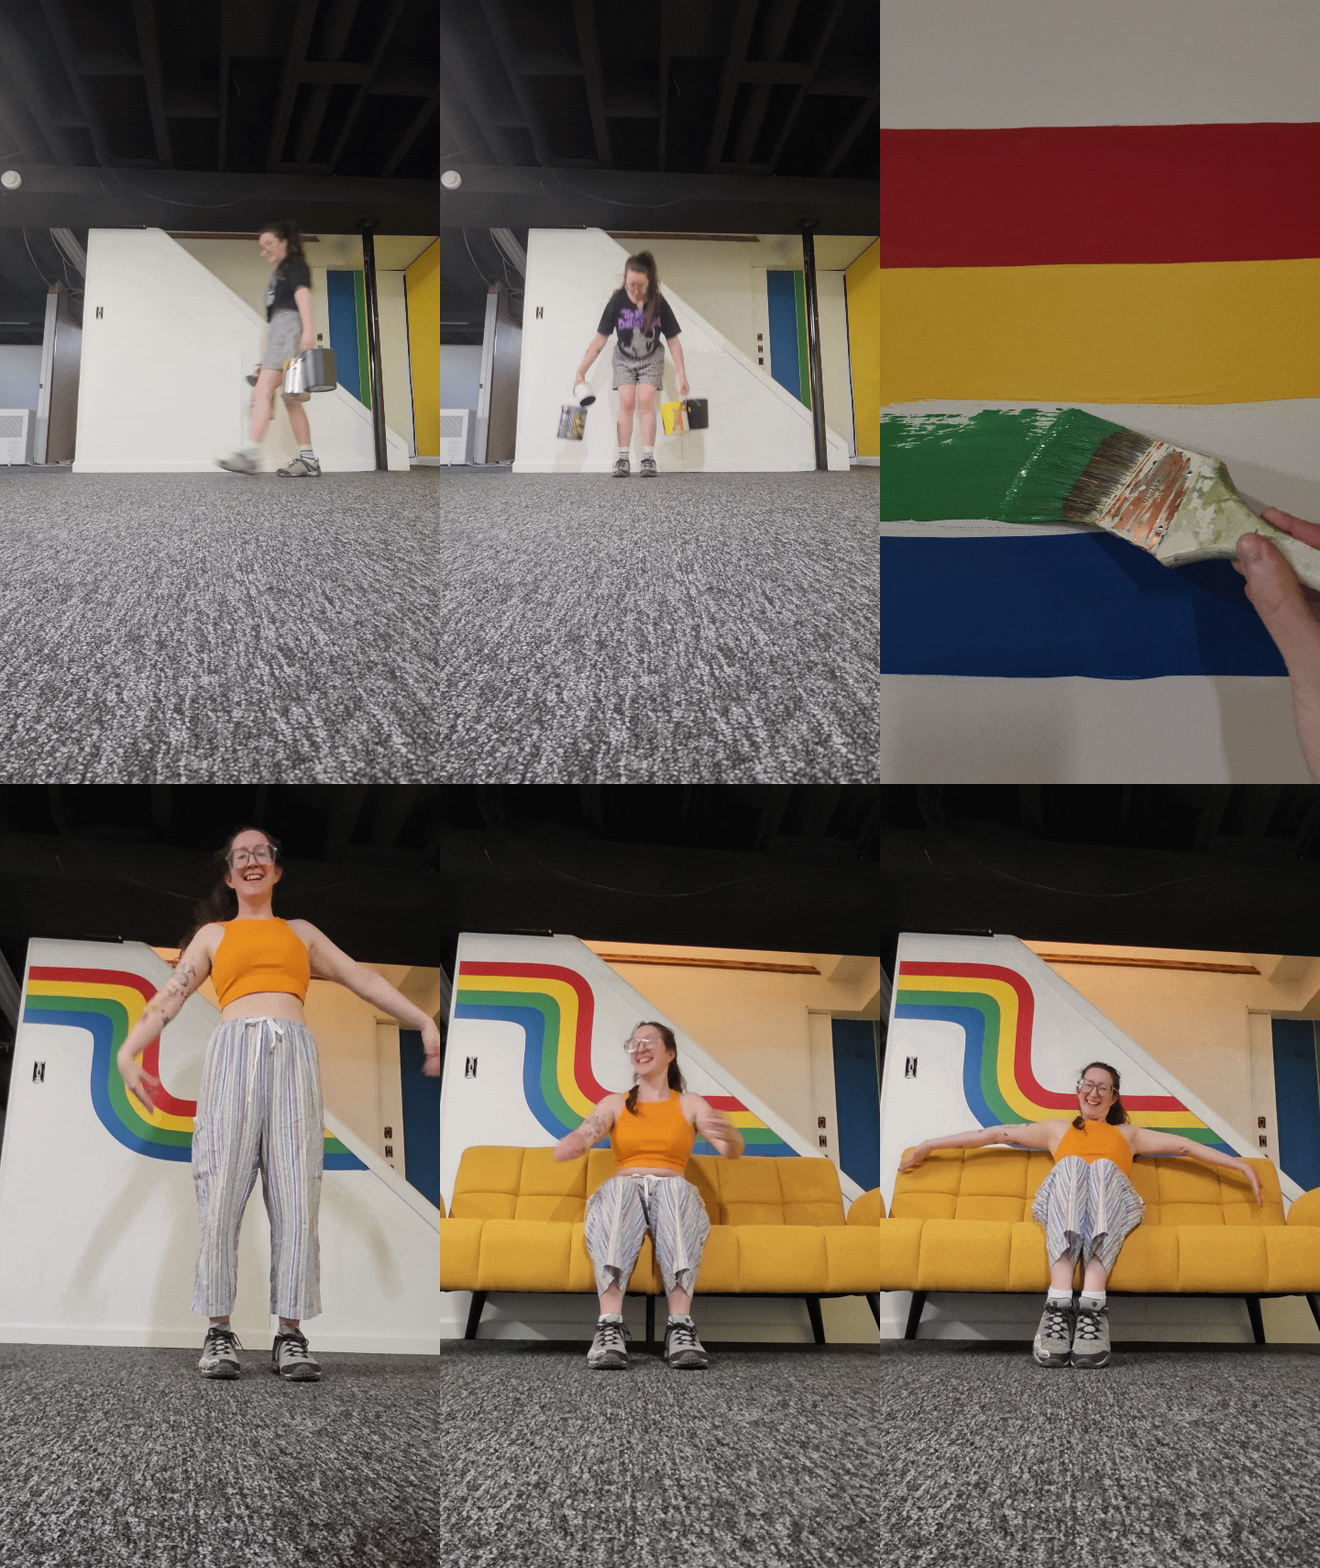
Tips:
-You can store used paintbrushes in the fridge. Covered of course! It’ll prevent it from drying out.
-Always stir paint, even if it looks fine.
-Get a good quality edge painting brush for finer lines.
-Purchase “oops” paint from various stores to save money. I especially liked Sherwin Williams, cause they were able to slightly re-tint some of the paints to fit. (The yellow gallon was 10$, and the green was 5$!)
-Even if the paint says “one coat”, you will probably need 2.
-They sell paint roller scrapers that are curved, and able to push out excess paint from the roller. Use this if you are discarding/cleaning the roll.
-Store paint buckets in a dry cool place. Not humid or warm.
Carpet Replacement
In an ideal world, I could have sealed over the tile and painted it. Unfortunately that would be too time consuming, expensive, and possibly dangerous if the tile was asbestos.
Instead we ripped out the old carpet and layed down the new.
This is not an easy task. Thankfully Andrew’s Mom and Dad came to help.
(You will need a truck, or have it delivered)
I believe we had to purchase a 50 ft long, 12 foot wide roll. (~400-500$)
Berber style carpet (low pile), ~70-80 cents a square foot. (Menards)
Carpet tape 4$
Seam Glue 5.50$
Utility Knife or carpet knife
Marker to draw where you need to cut
Measuring tape
Shipping Station
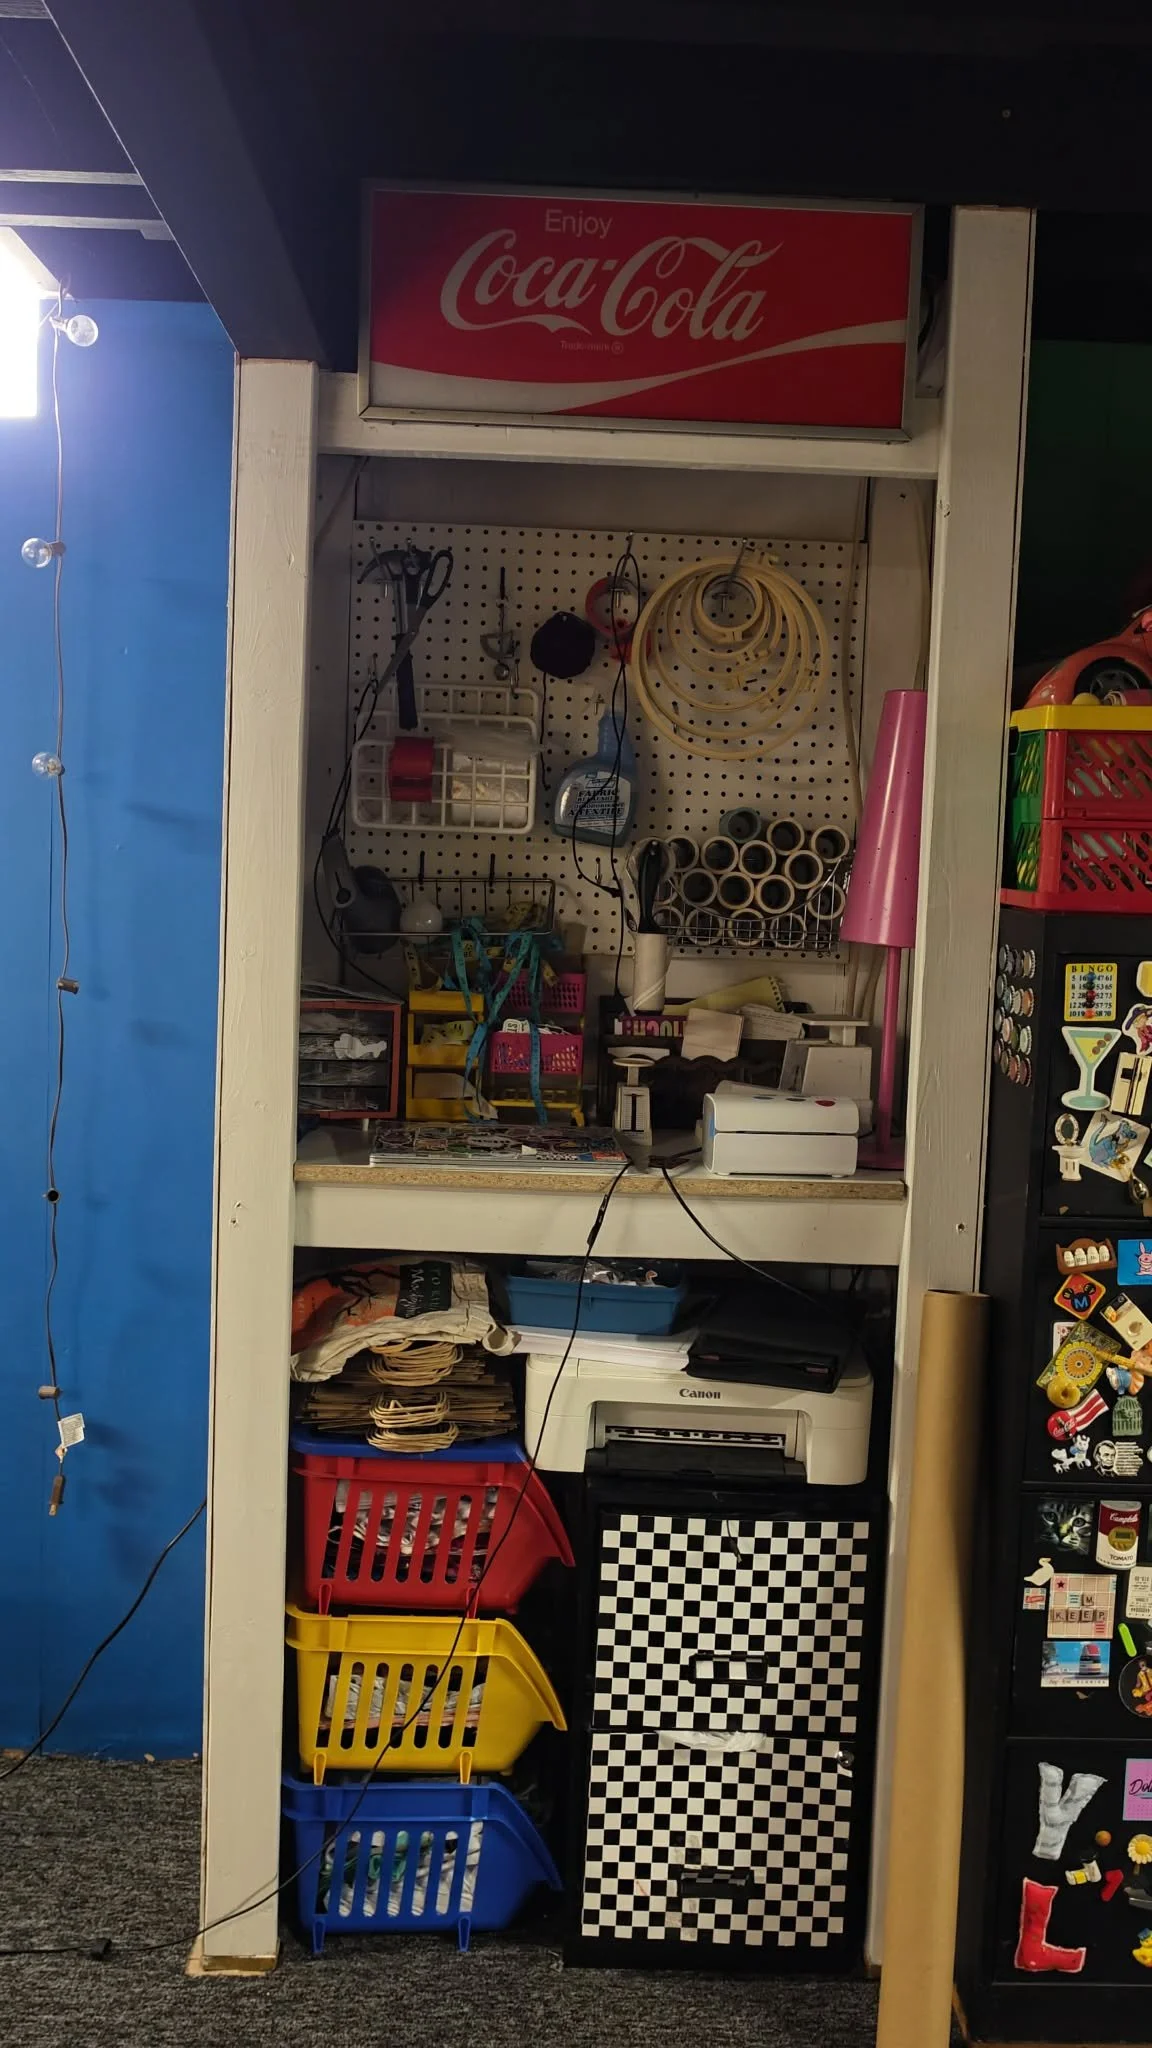
Our very first wood working project left much to be desired.
I won’t go into much detail, but we made a simple frame with 2×4’s, added peg board to the back, wood paneling, and a plywood slab for the table.
We used a circular saw, speed square, level, multiple clamps, wood glue/ liquid nails, caulk gun, measuring tape, and a metal 3 ft ruler to use as a cut guide.
Clothing Rack

I wanted a dedicated space to hang all of my inventory!
I decided on two stacked racks on the left, and one tall rack on the right. (For shorter garments, and longer ones)
You’ll need:
2×4’s, the amount depends on your wall.
Metal pipes, I did 5/8 inch diameter.
Level
Screws, Screwdriver, Drill bit
Wood Pilot bit
Cost: ~50$ in materials.
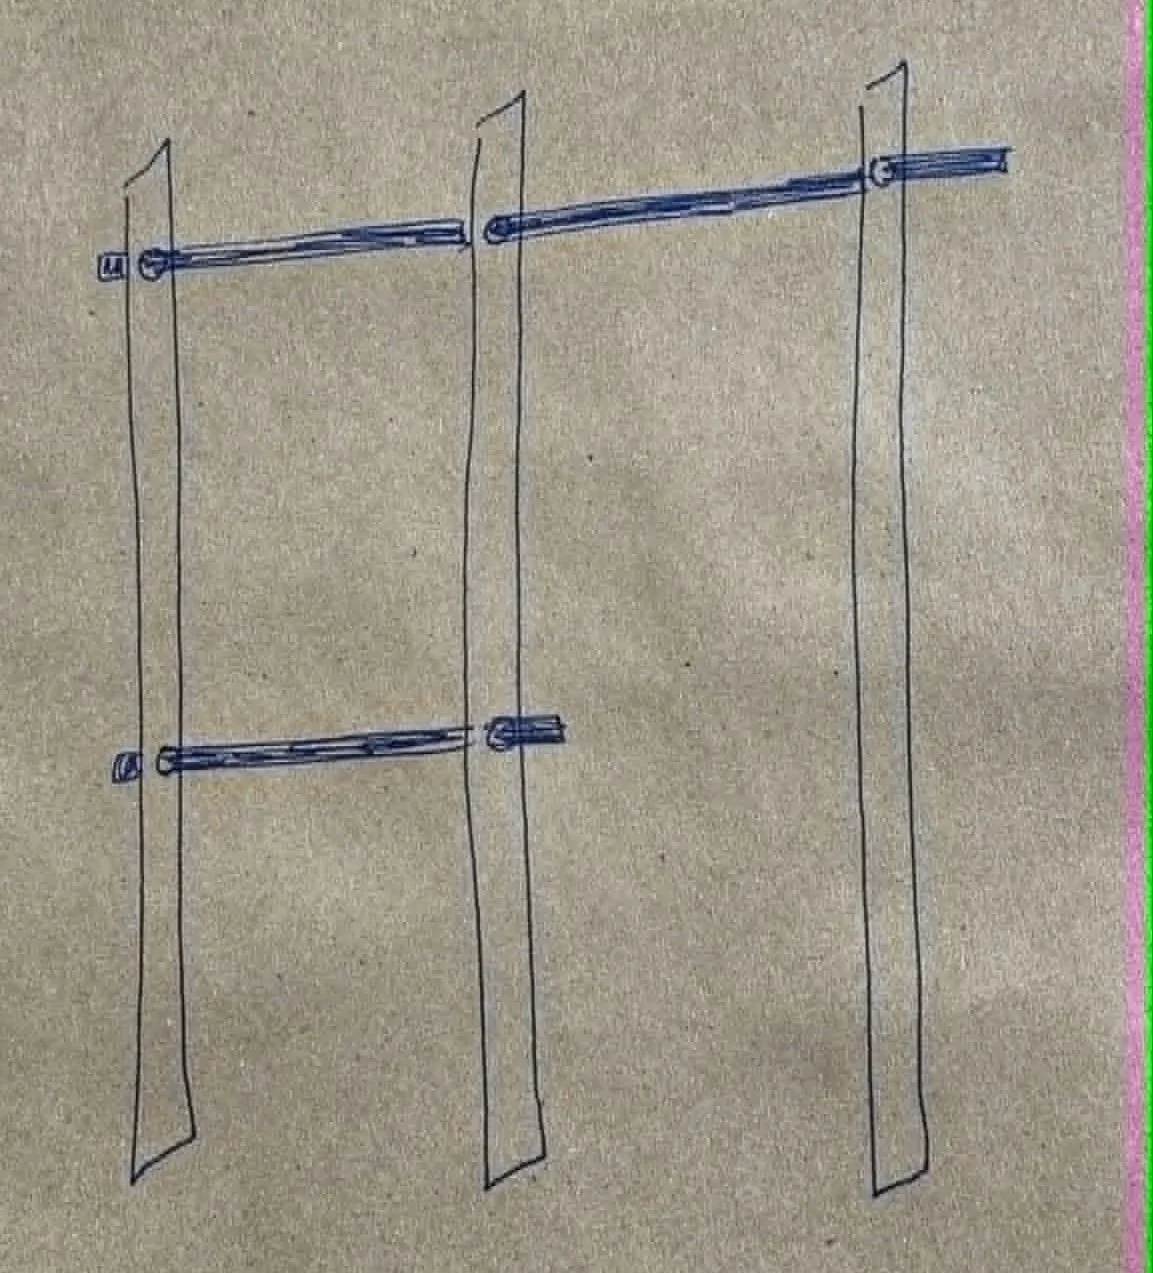
If you dont have a pipe cutter, try building it to the width that they are available in. Check what options the stores near you sell.
Cut the 2×4’s to the height of the ground to the ceiling/rafters.
Drill holes onto the wood, using a wood pilot bit large enough to fit the pipes into.
Insert the pipes into the wood, and lift the entire piece upright.
Level the wood, and screw into the rafters one at a time.
Prime and paint if needed. I used leftover black dryfall paint.
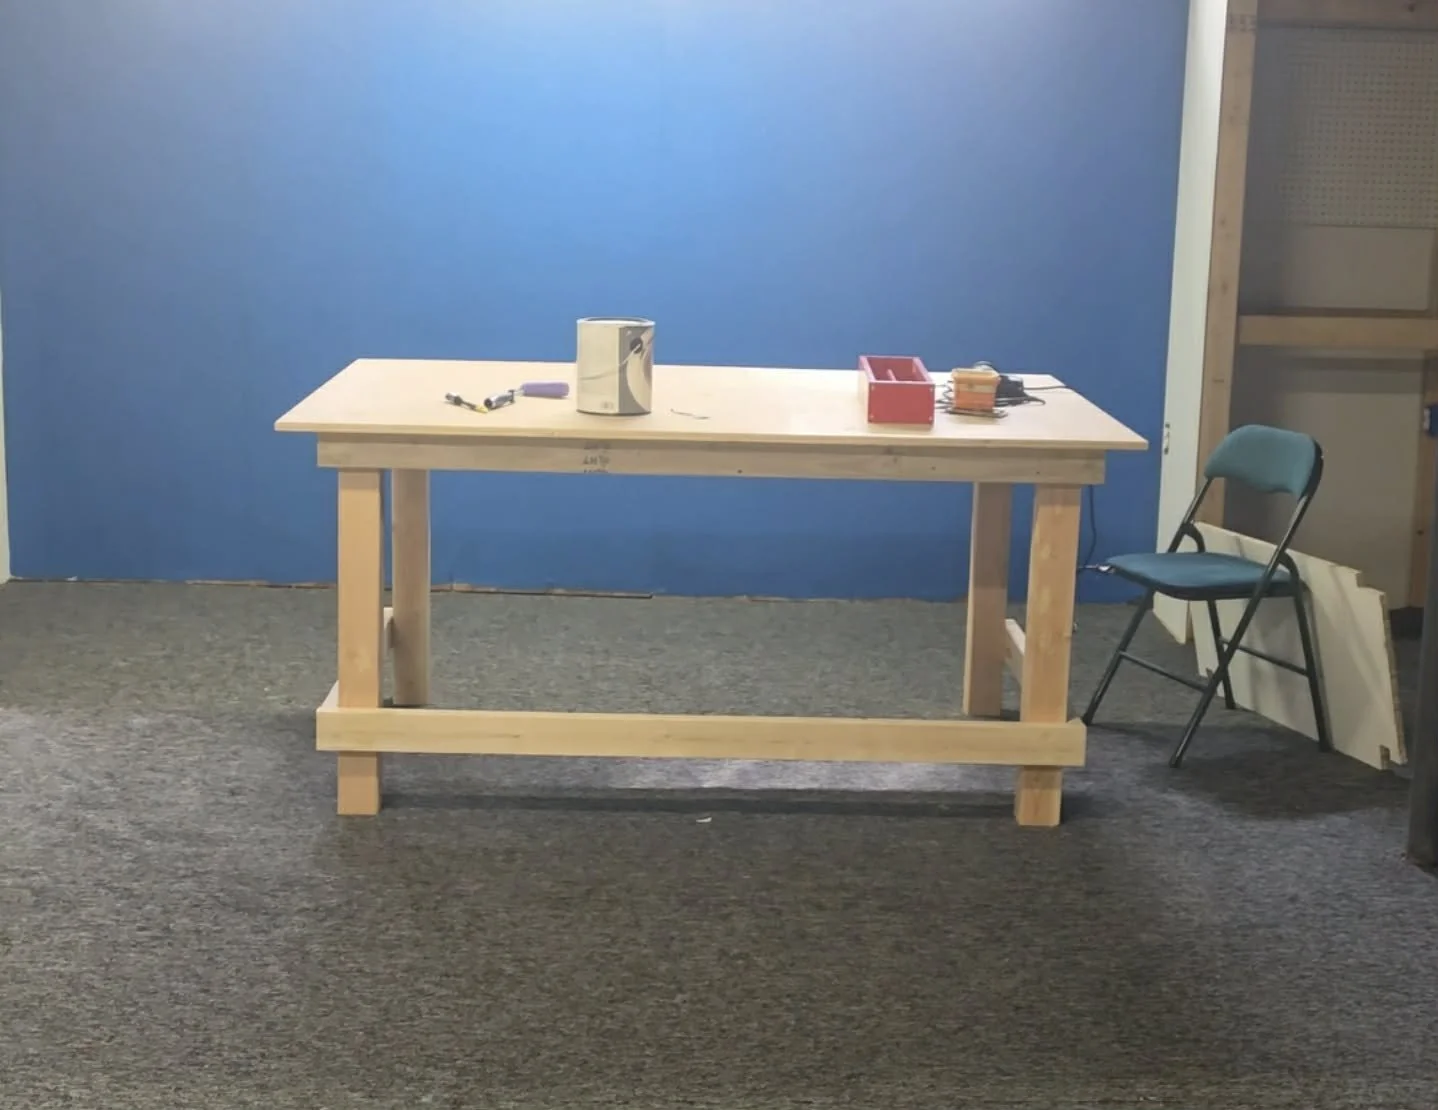
Sewing Table
This project went a lot better.
I dreamed of a table tall enough to stand and work, and wide enough to lay clothes out comfortably.
We plan on adding caster wheels to the bottom that can be pushed down to roll, and pulled up to set on the ground.
Cost: ~150$ in materials.
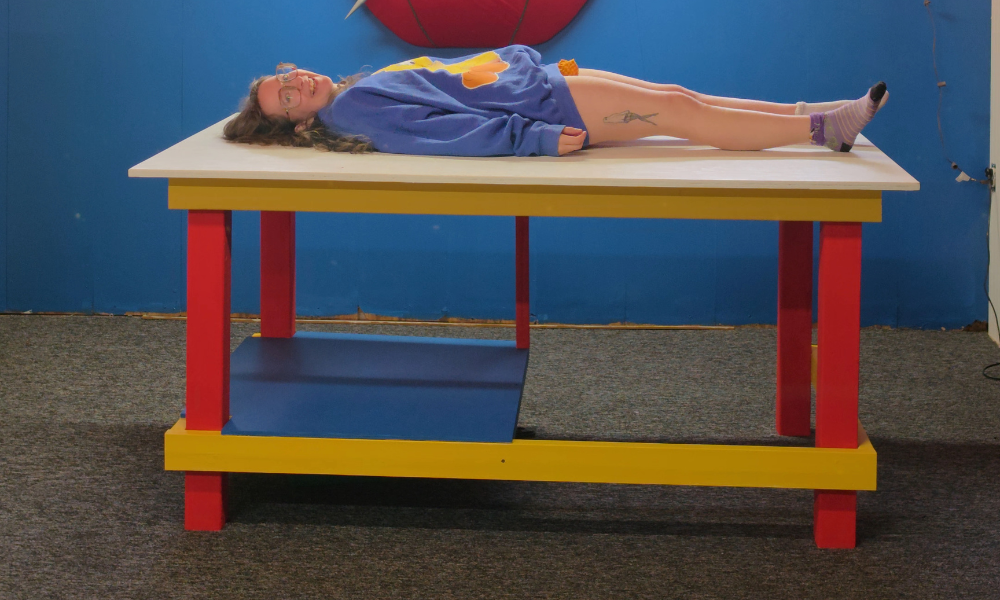
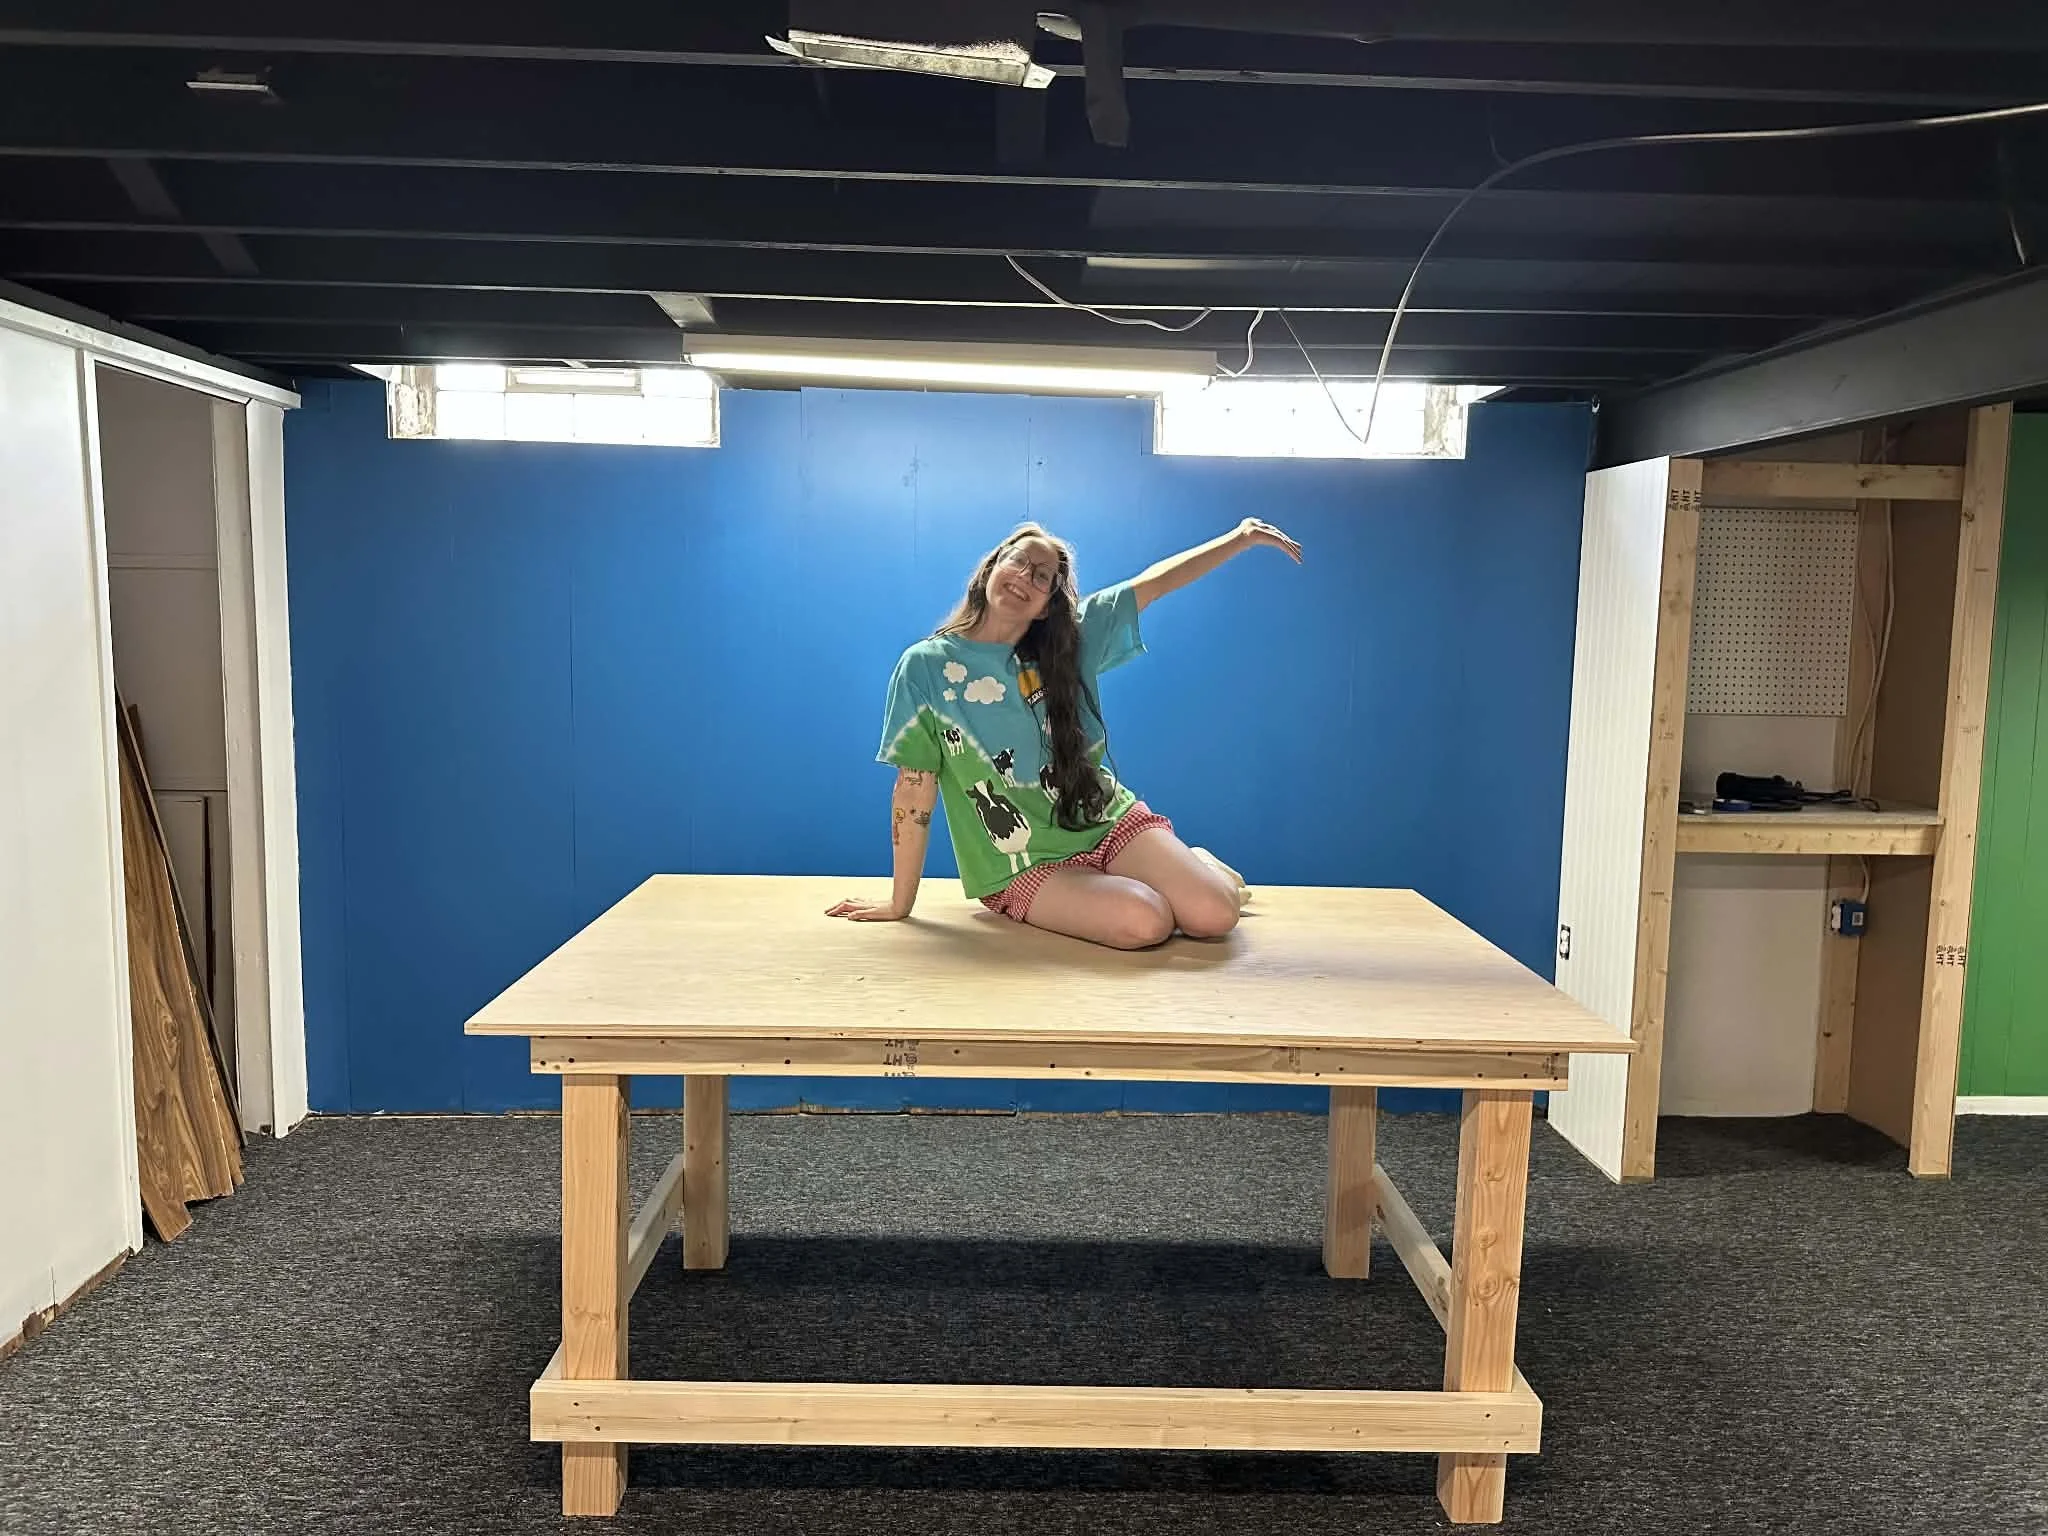
Image: Laying on Sewing Table
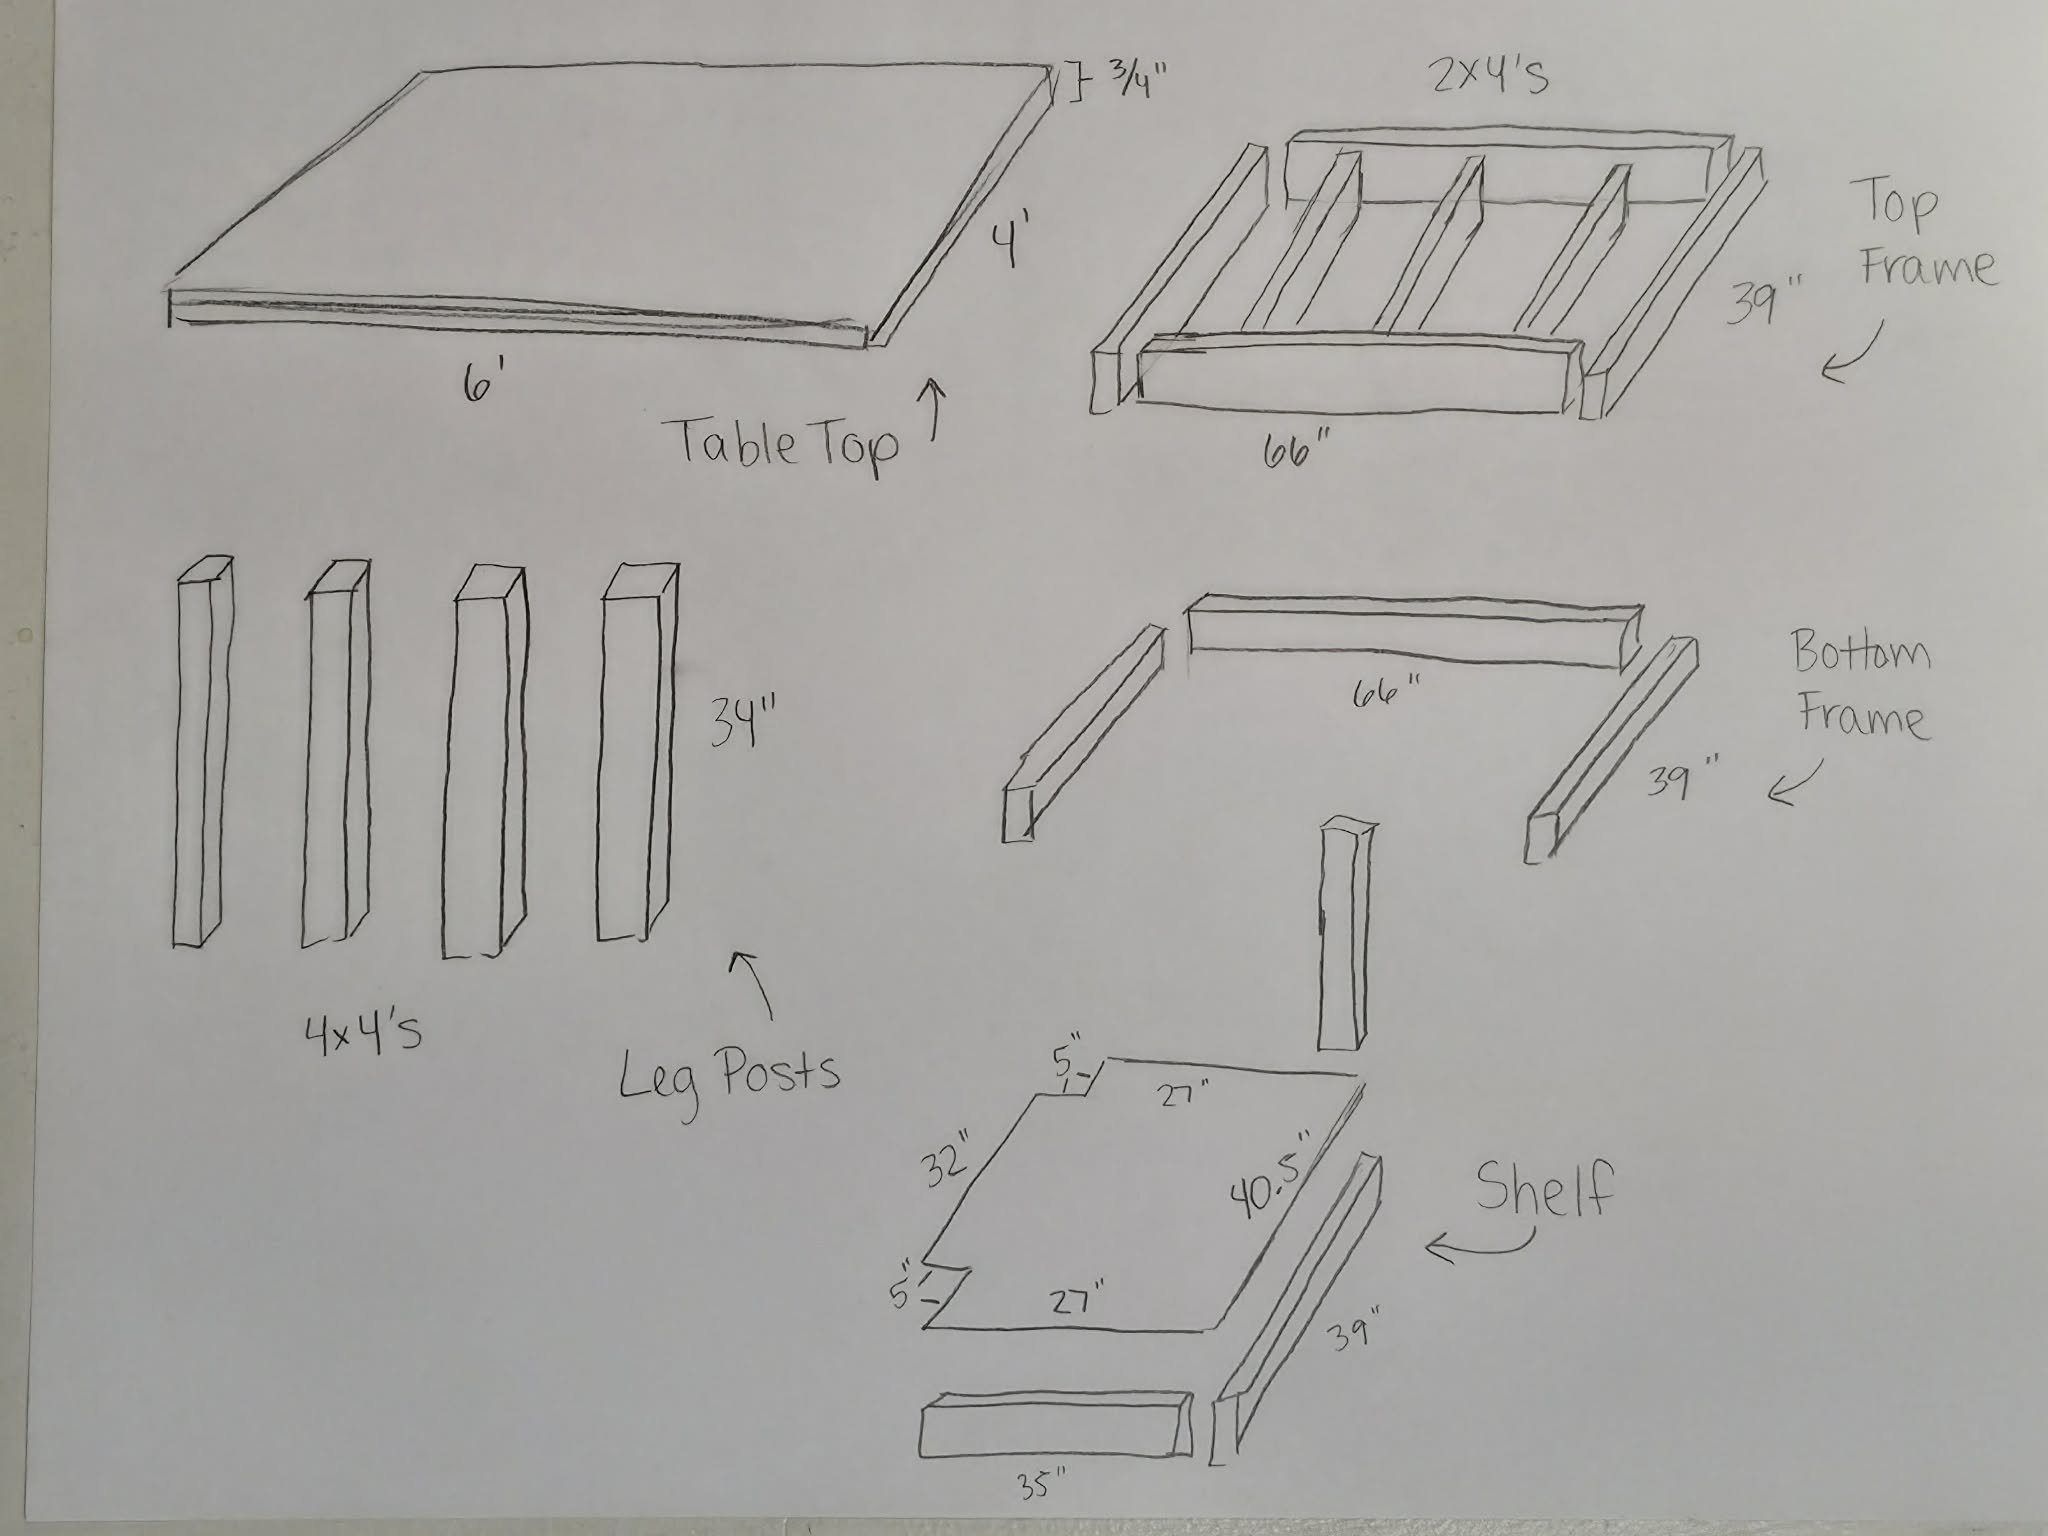
Image: Sketch of wood needed for table
I used:
Tabletop: ¾ inch thick Wood Slab: 6 feet x 4 feet
Table Legs: 4 4×4’s cut at 34” long.
Frame: 8 2×4’s cut at 39” long. 3 2×4’s cut at 66” long
Shelf: Plywood Slab cut at 40.5”x32” with two 5” squares cut out of the 2 corners.
Shelf Frame: 2×4’s cut at 35”, 39”, and 24.5”
Screws
Circular Saw
Wood Filler
Orbital Sander and Sandpaper (200 grit)
Router (Optional)
Primer + Paint (Glossier sheens recommended for high traffic areas)
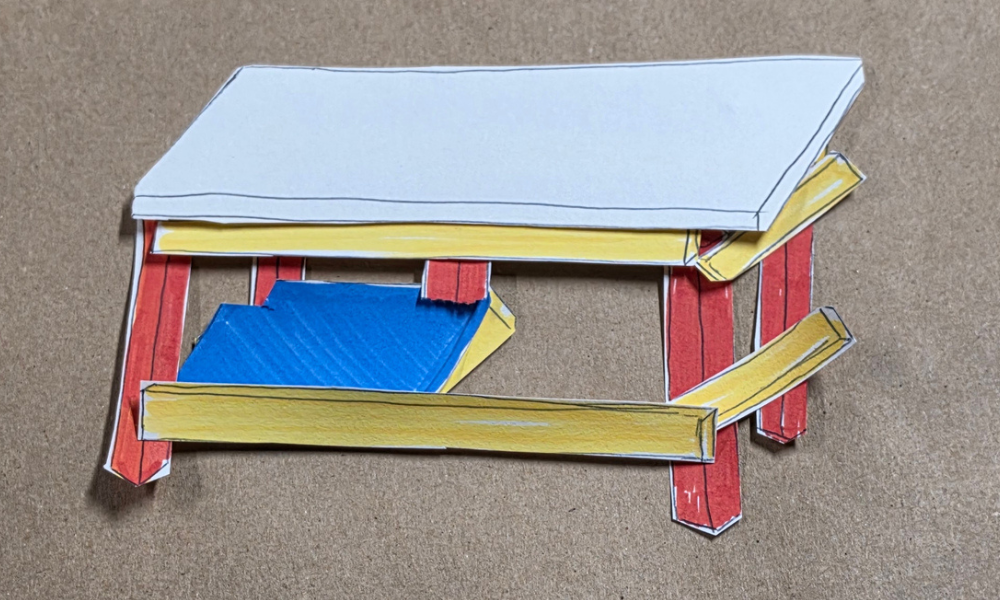
Image: Paper diagram of sewing table
Cut 2 2×4’s at: 39” and 2 2×4’s at: 66”
Arrange the 2'x4’s into a rectangle on the ground.
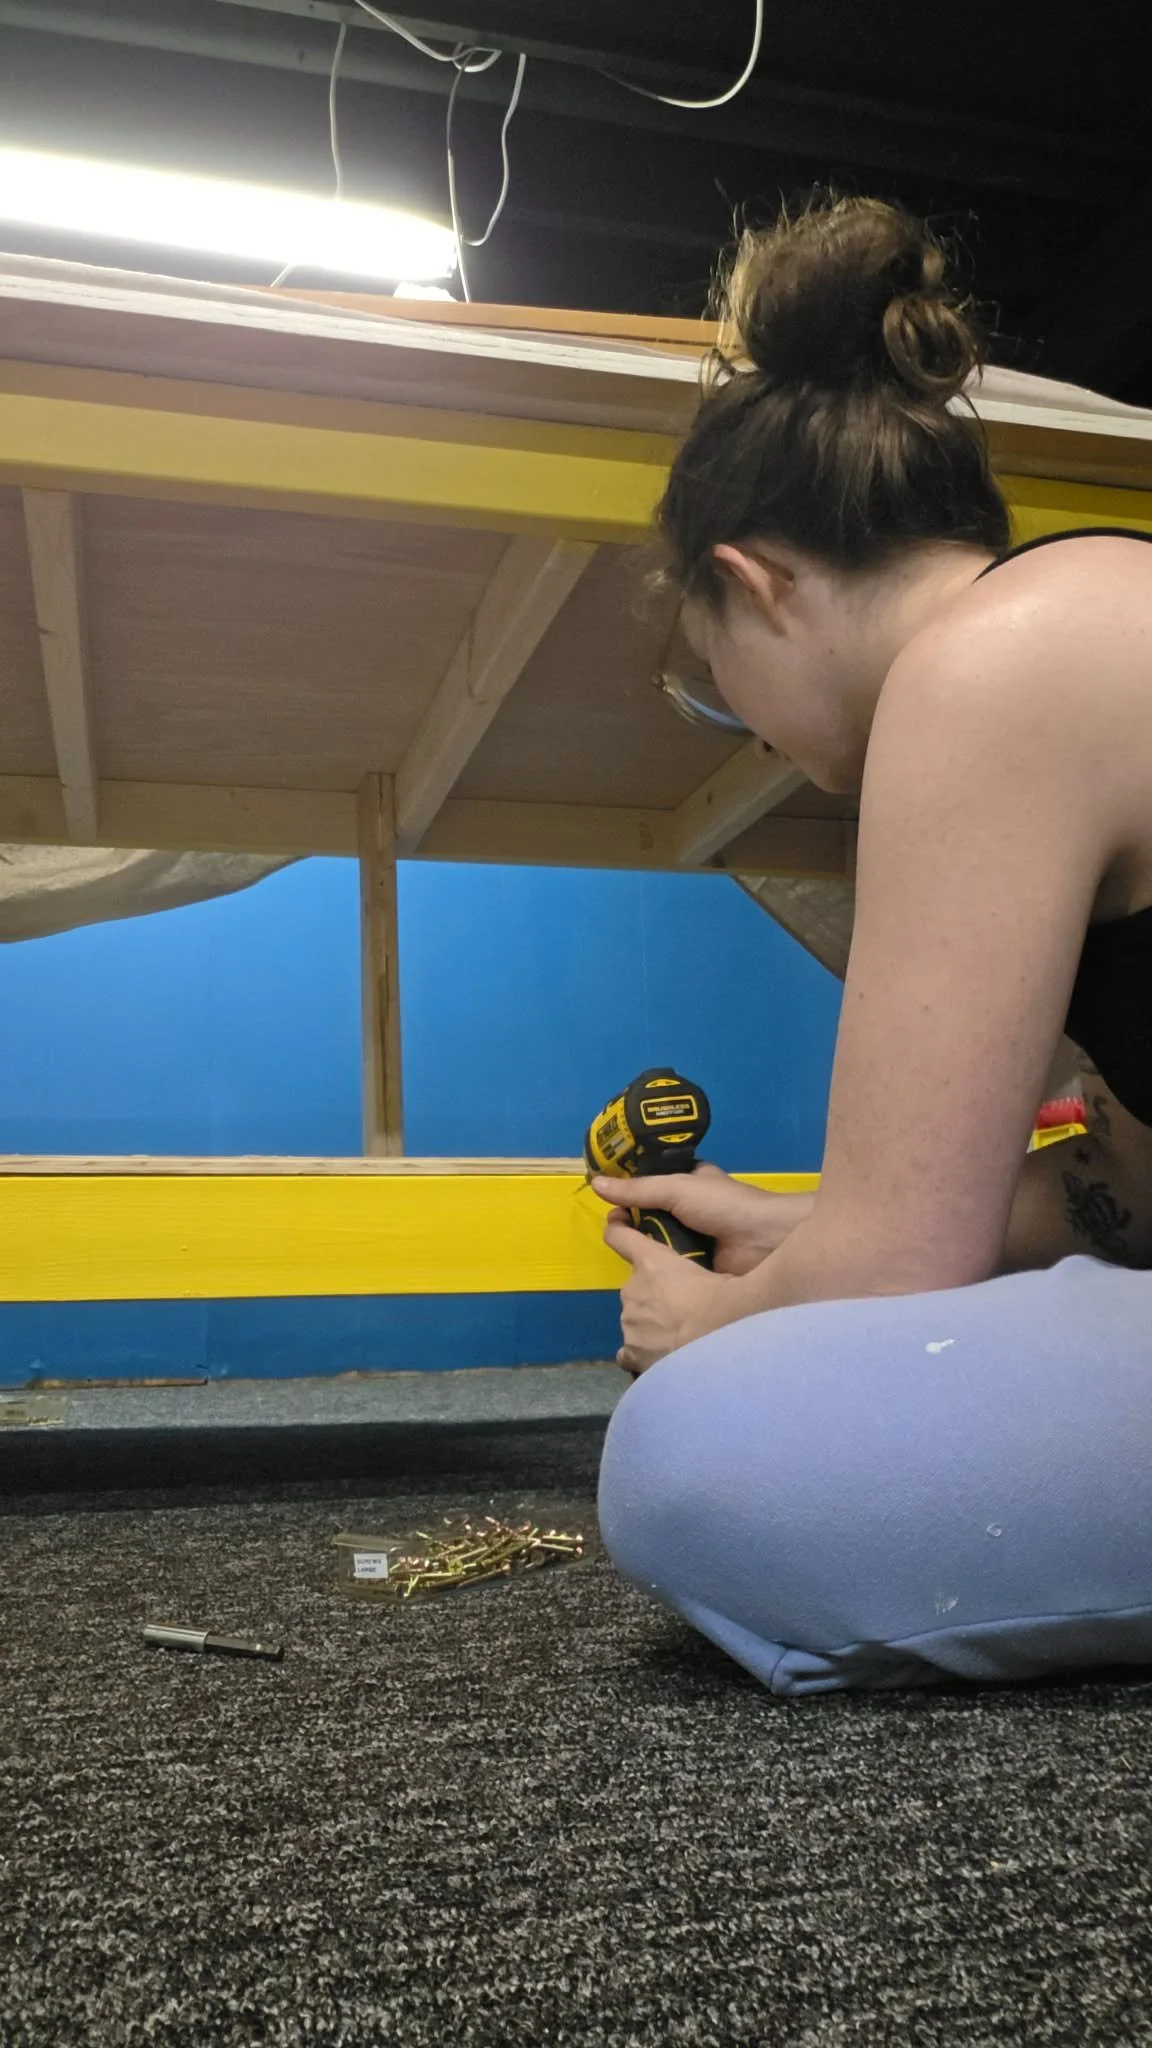
Drill pilot holes and screw together.
Cut 3 2×4’s at 39”. Put inside the rectangle, and screw together.
Cut the 4 Leg posts (4×4’s) at: 34” (Or however tall you want the table to be)
Arrange them facing upside-down on the inside corners of the rectangle.
Drill pilot holes and screw.
Cut 2 2×4 at: 39” and 1 2×4’s at: 66”
Measure 9.5 inches down from the bottom of the leg posts.
Arrange the 2×4’s in a U shape, screwing them to the sides and back of the table. (I left the front open to allow my legs to sit underneath when in a chair.)
Flip the table right side up
Cut the Table top to shape, and lay on top. (6 feet by 4 feet)
Space it so the frame is 4” away from all the edges.
Drill counter-sink holes, and screw into the leg posts, and the center sections of the frame. Wherever you think it needs.
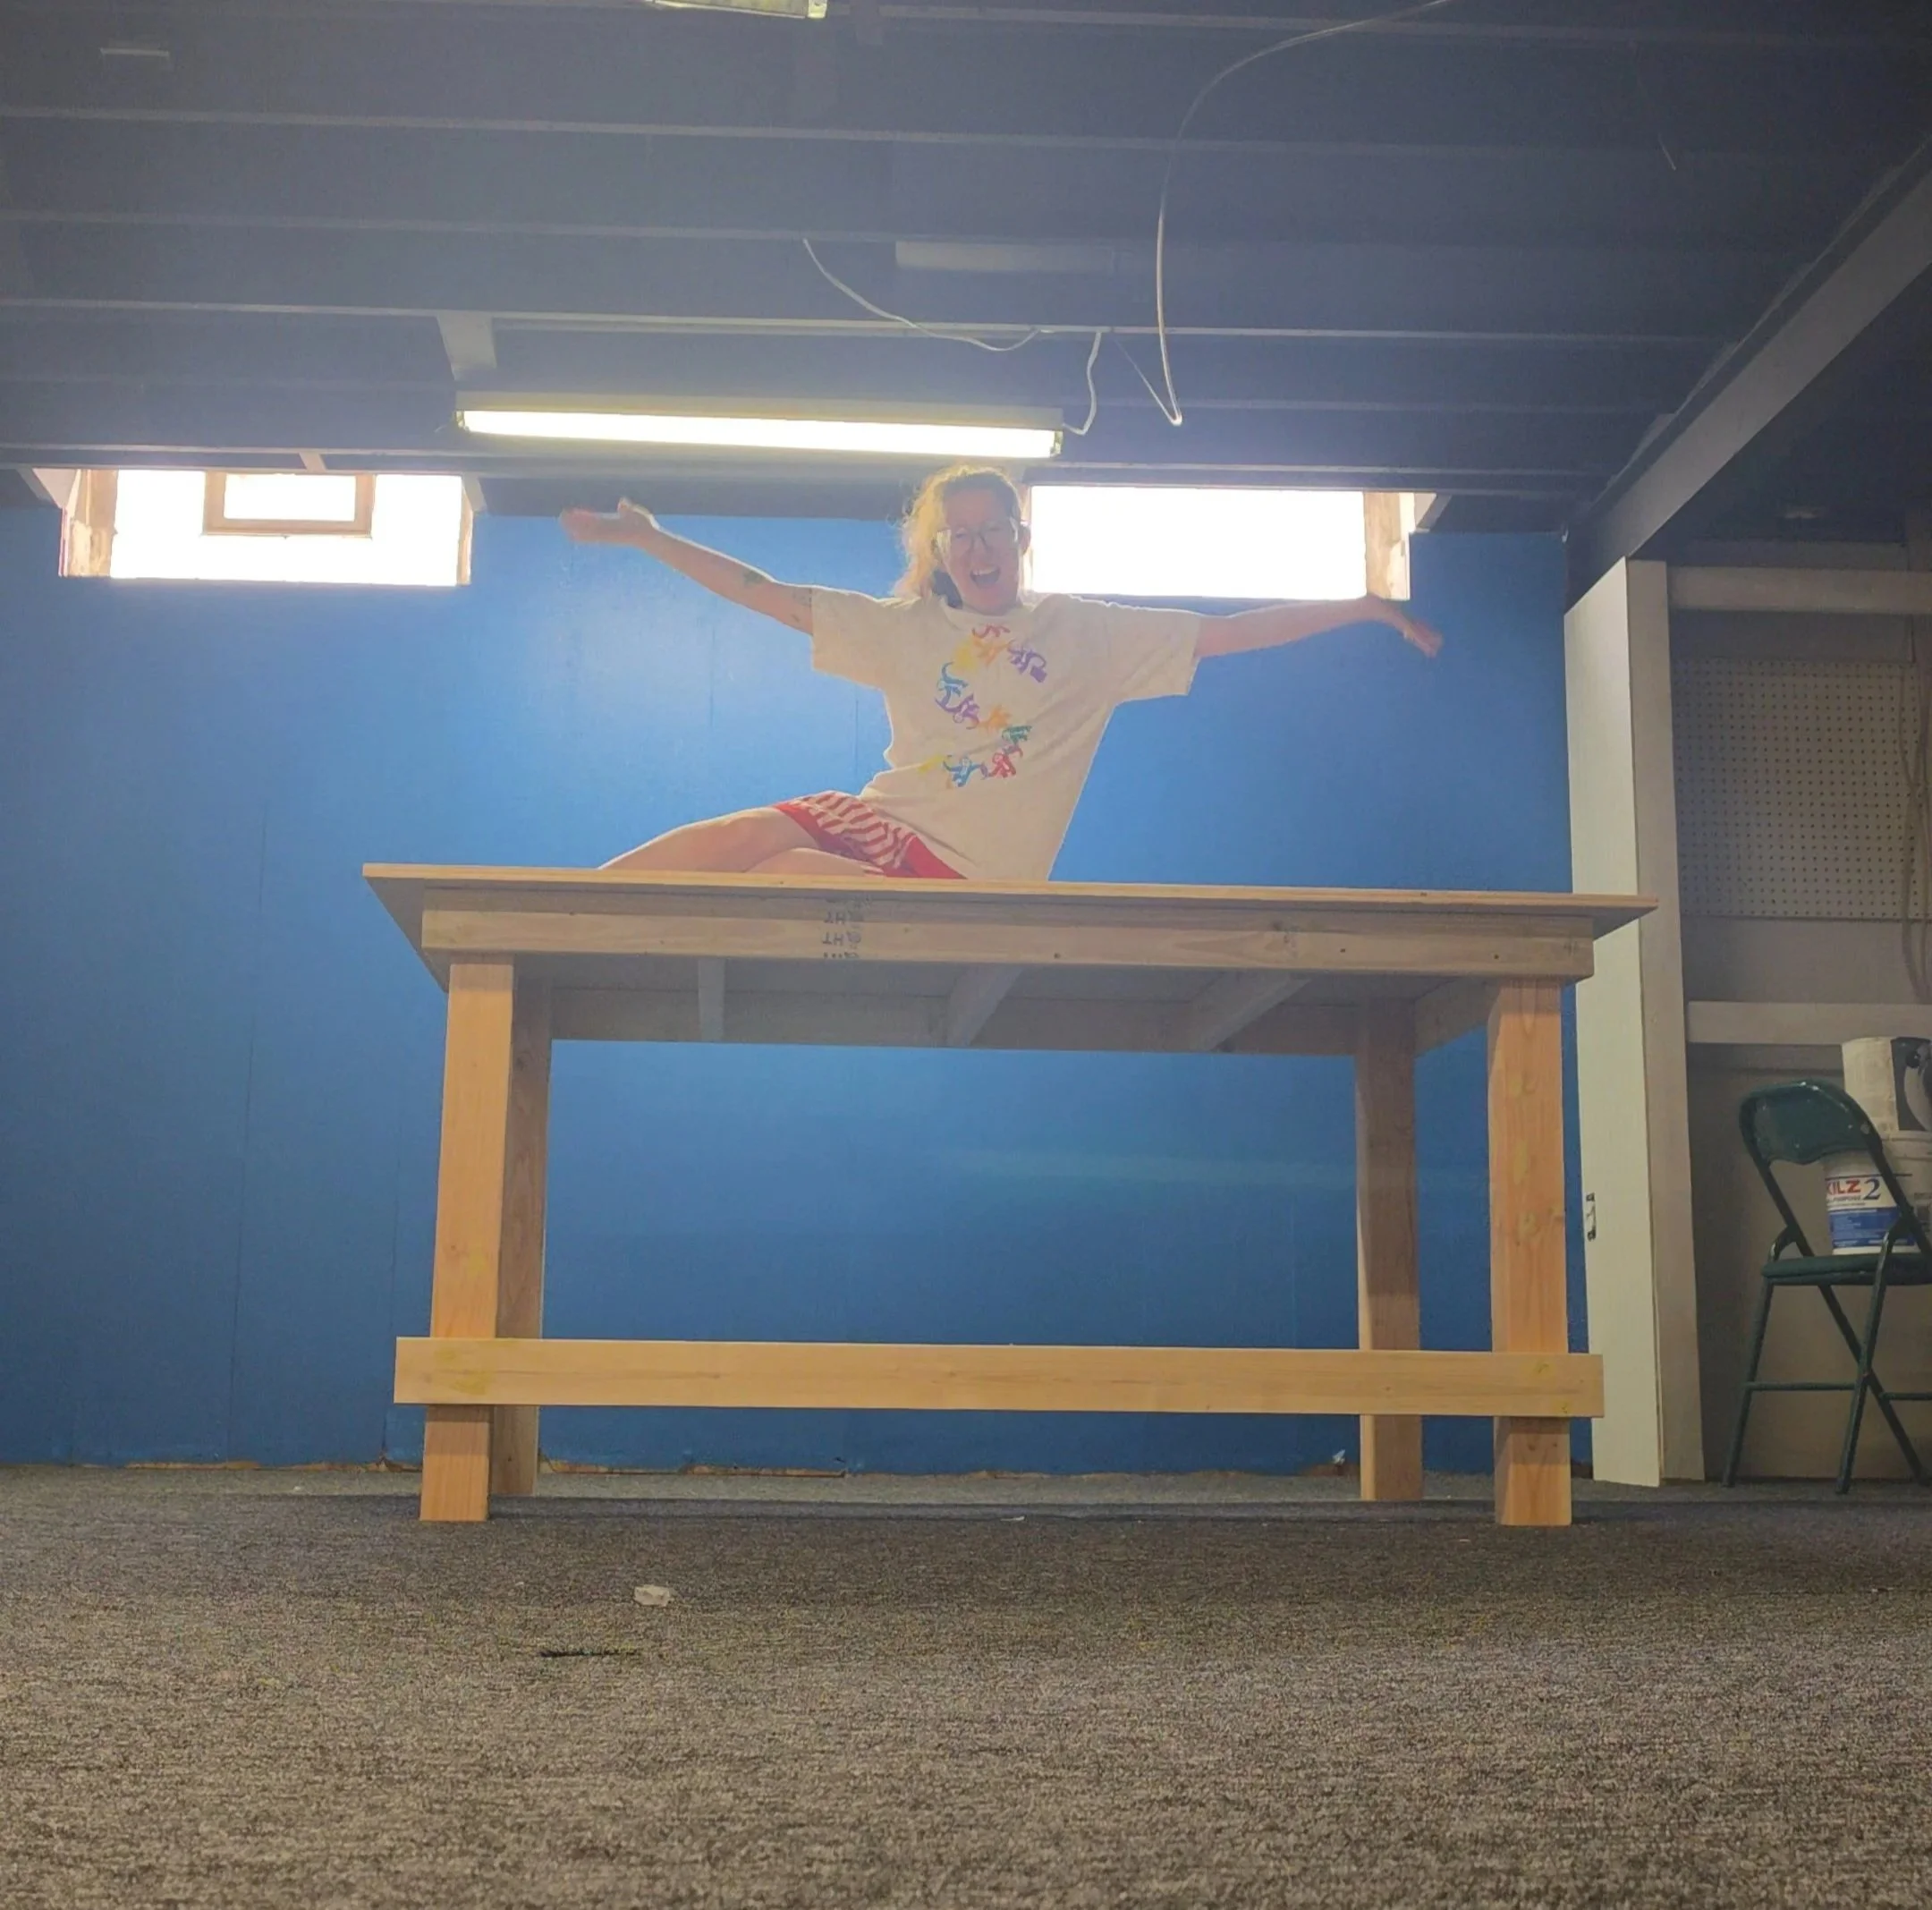
Image: Next step: add the shelf!
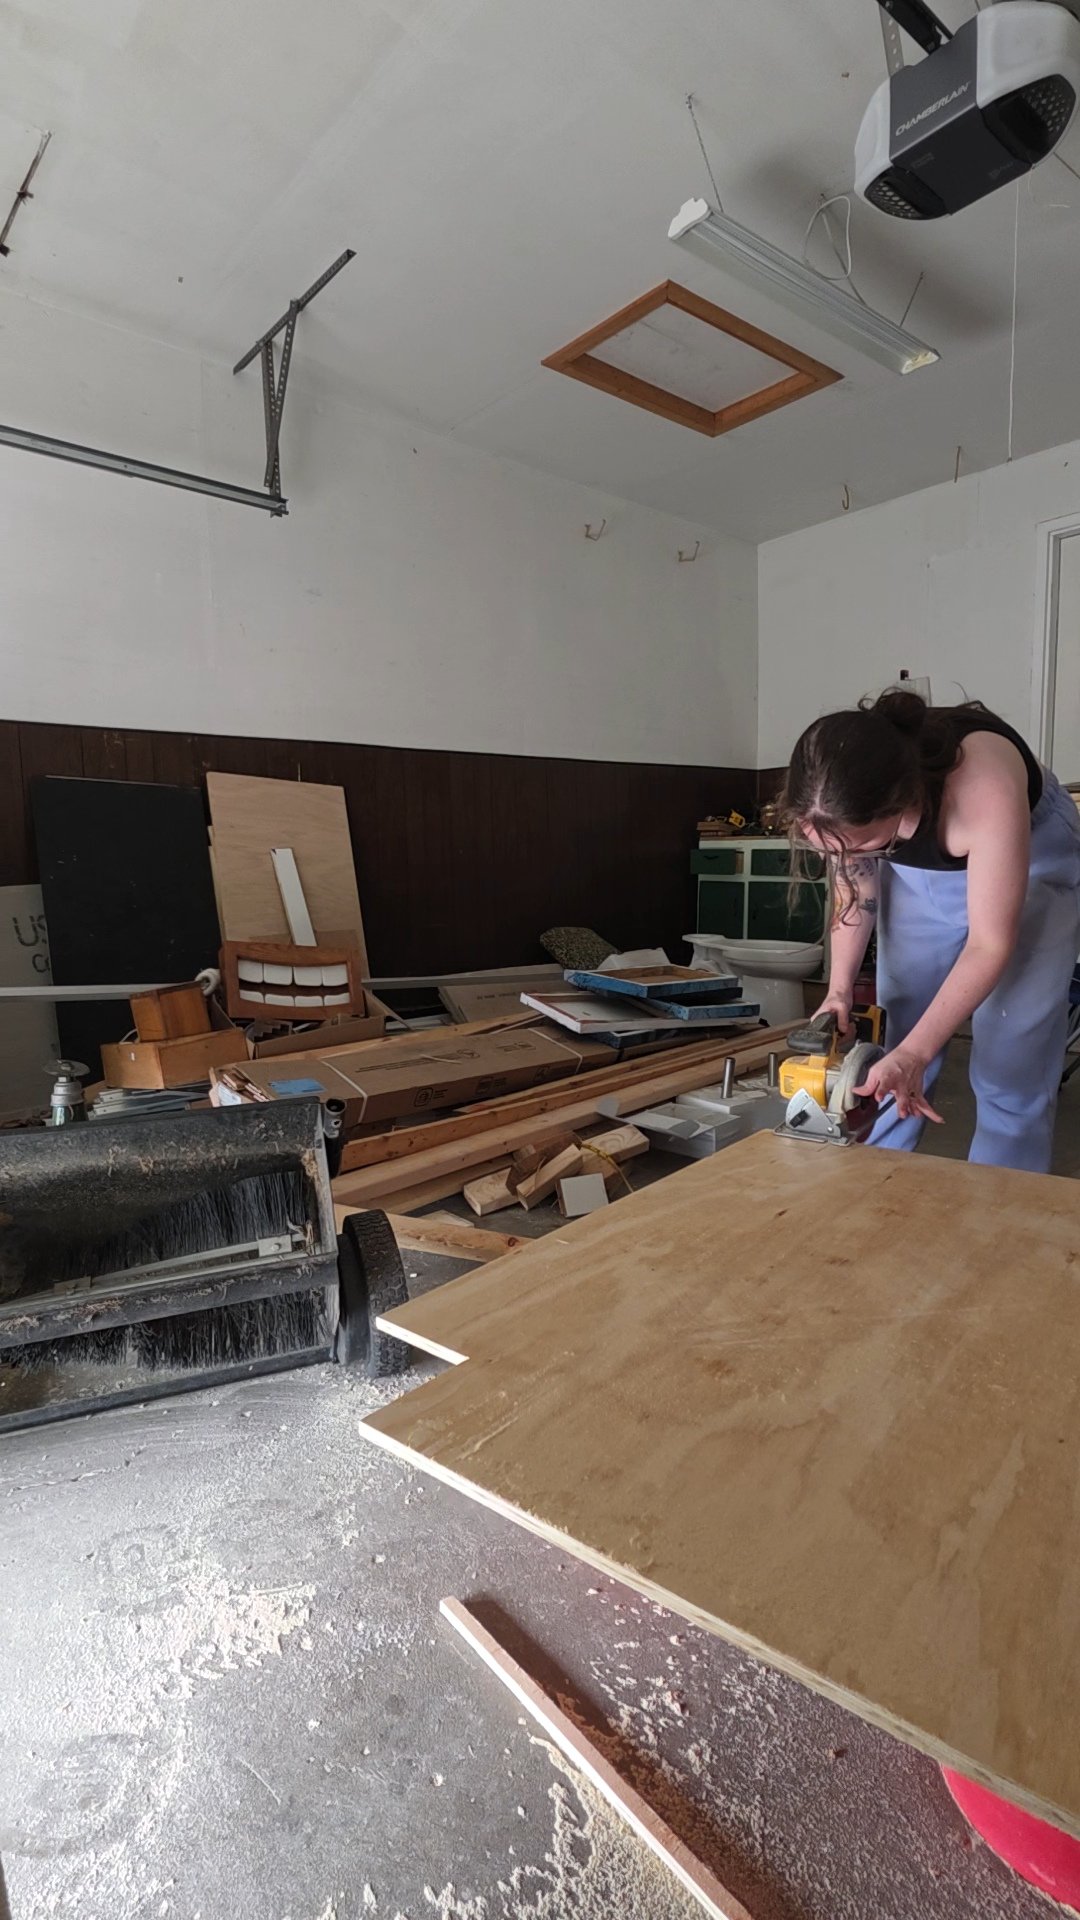
To add the shelf
Cut the plywood to: 40.5”x32” with two 5” squares cut out of the 2 corners.
Cut some 2×4’s at: 39” for the long side, 34” for the short side, and 24.5” for the verticle support.
This part was a little iffy, but I screwed the plywood to the bottom frame, and added the 2×4’s underneath and vertically for support.
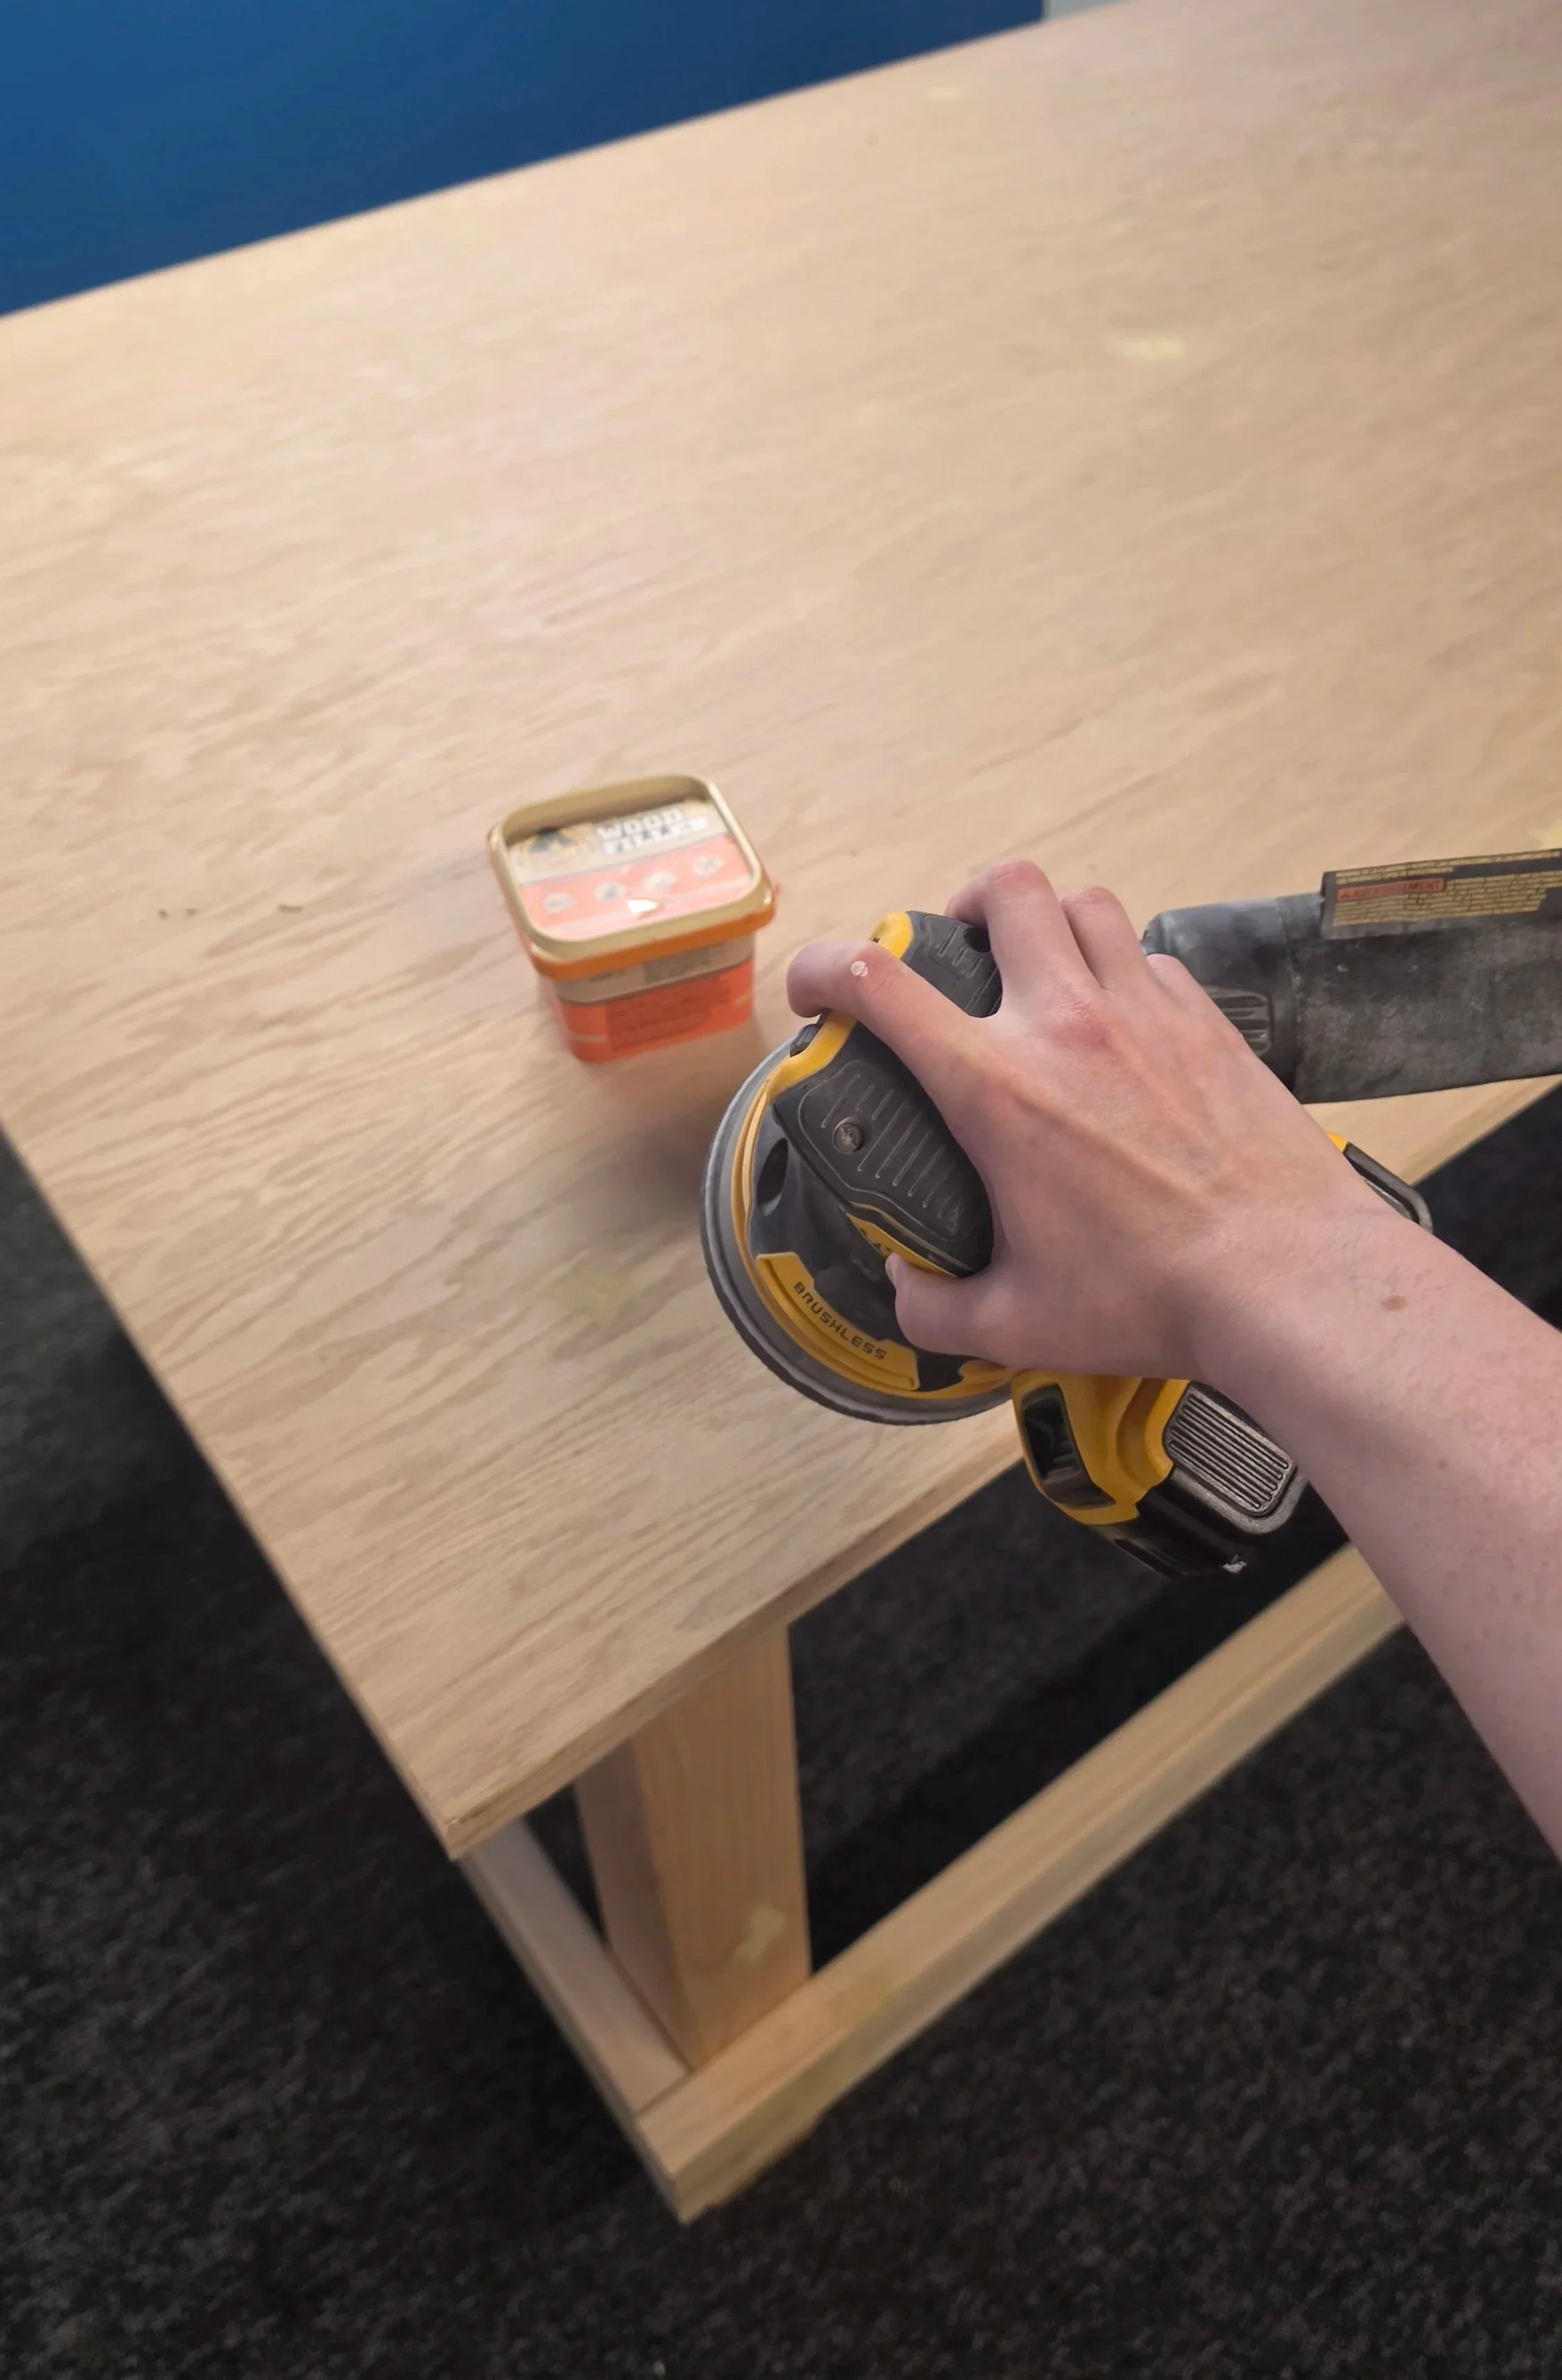
Fill the screw holes with wood filler for a uniform surface. (~8$)
Sand the wood filler, and any rough parts.
I believe I used 200-300 grit, on an orbital sander.
(Tip: use a vaccuum or shop-vac while you sand to reduce dust)
Wear a mask, it gets dusty.
We used a router to make the top edge of the table rounded. Then sanded everything overall.
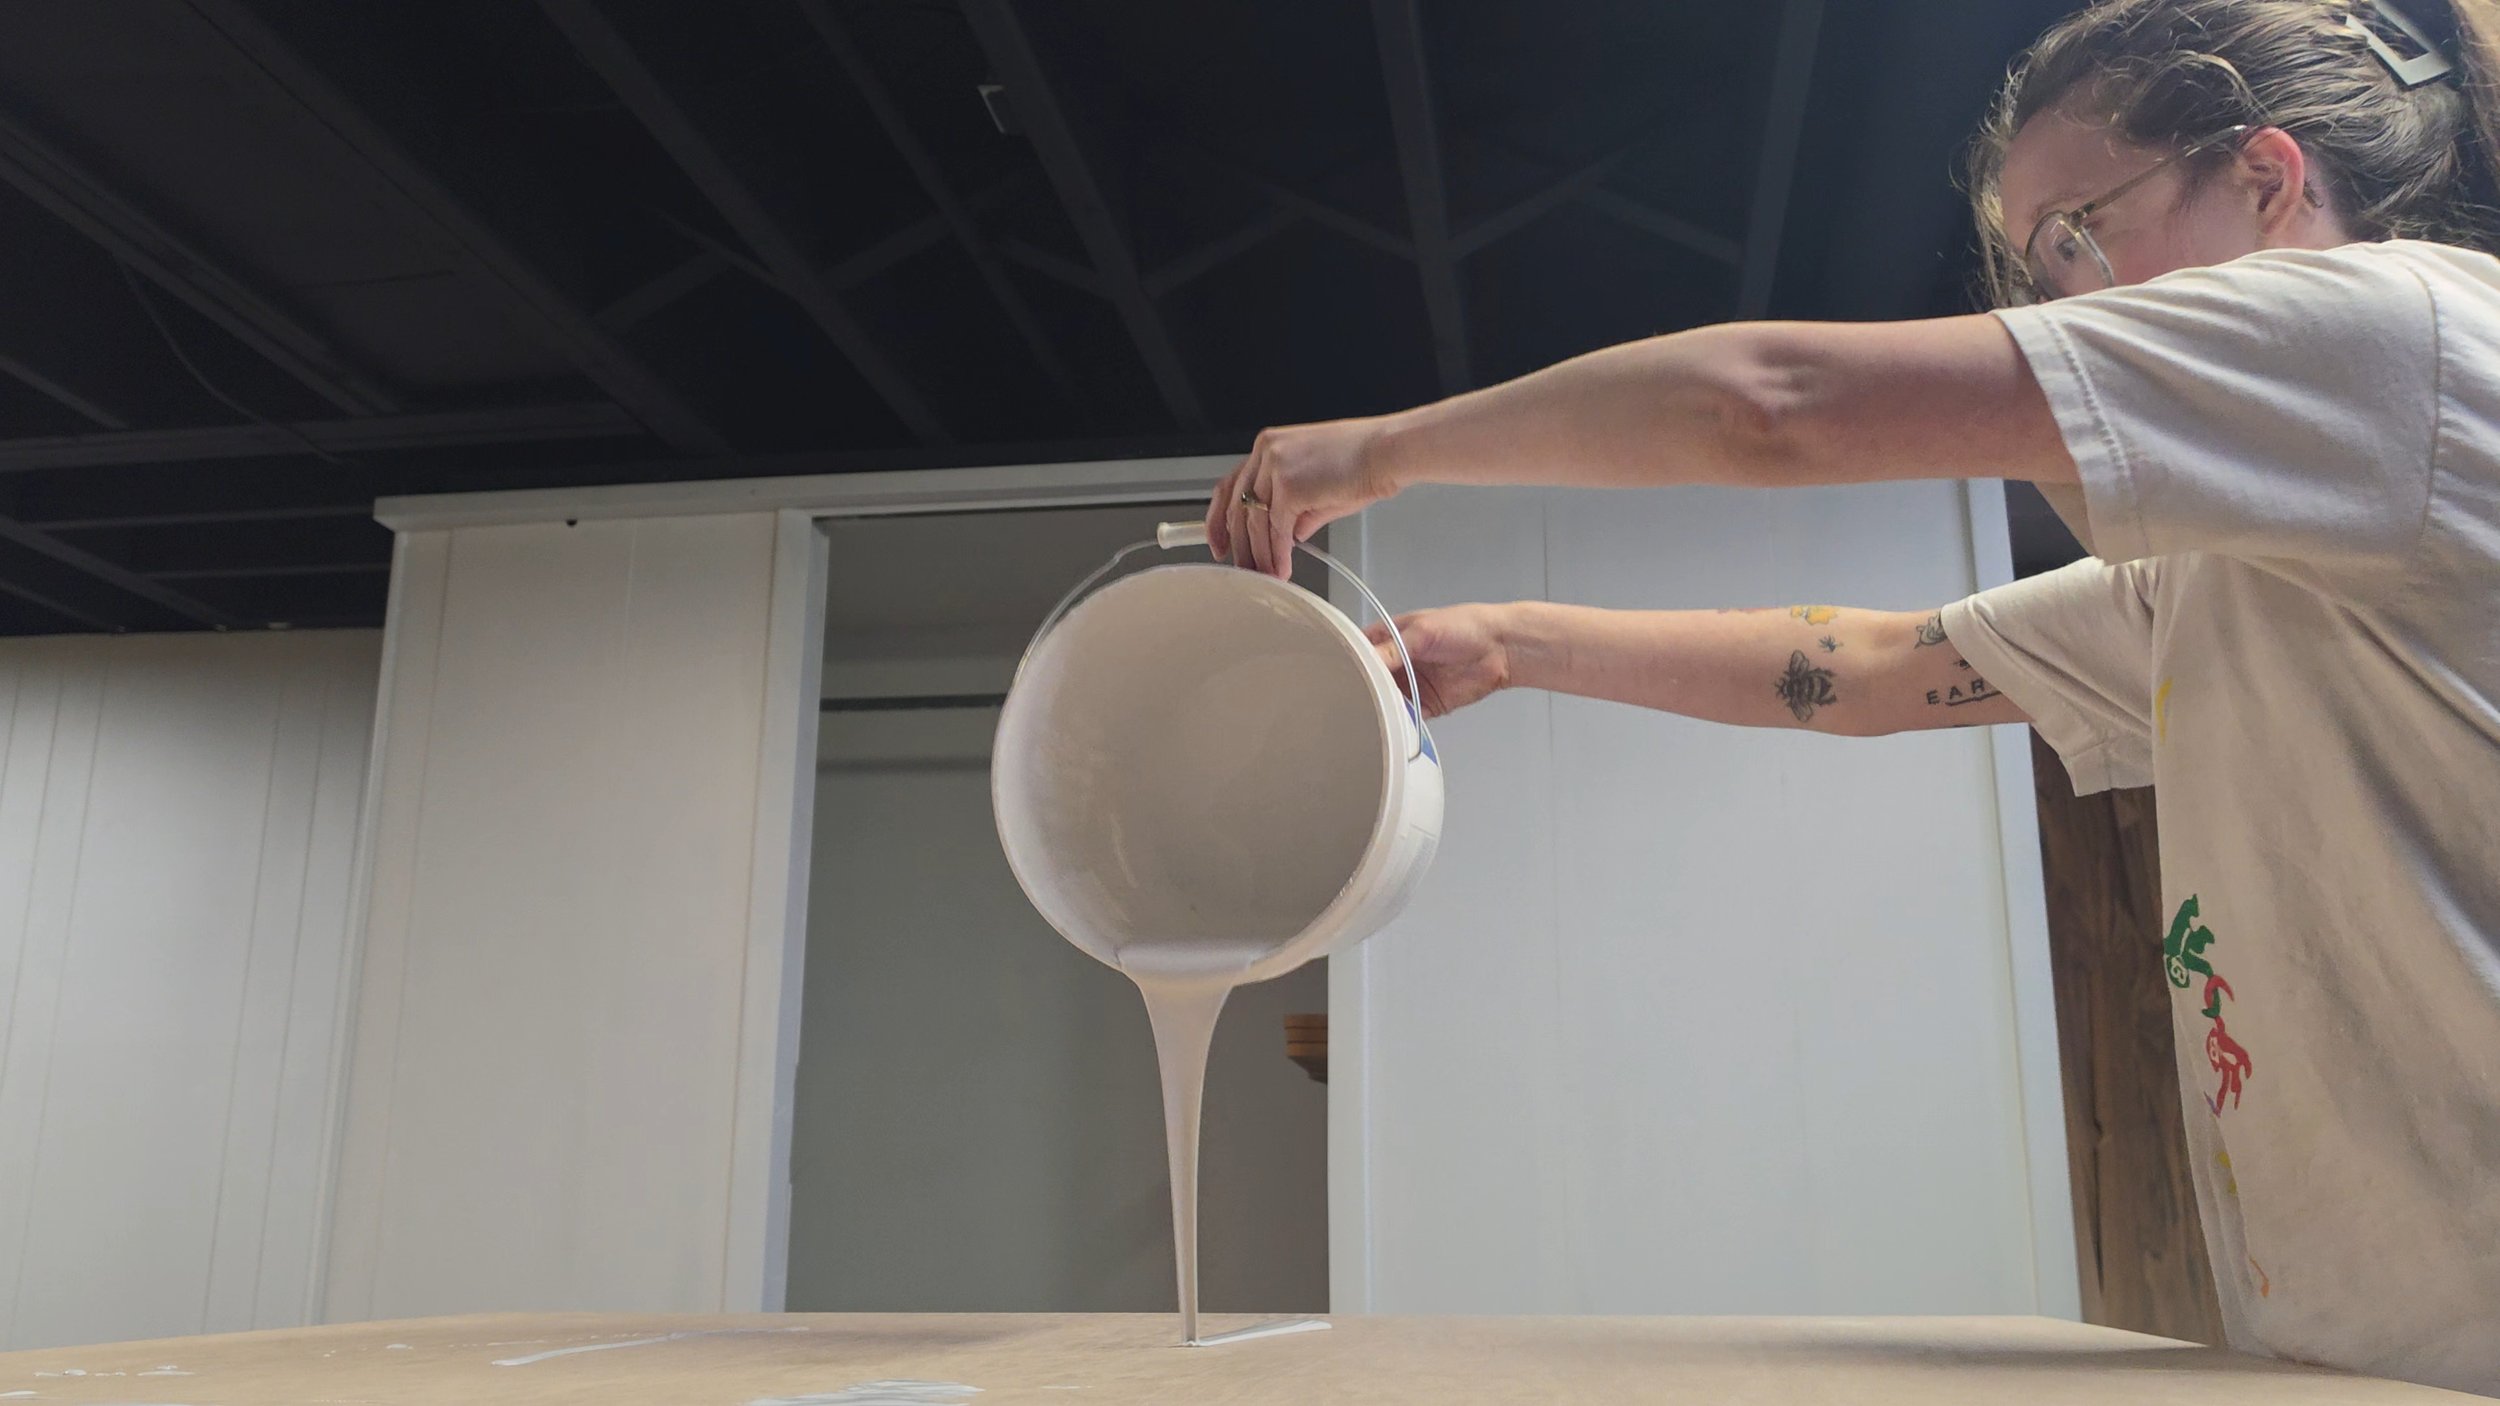
Prime the wood. (Or stain if desired)
I used a combination of foam roller and paintbrush.
Apply another coat if needed.
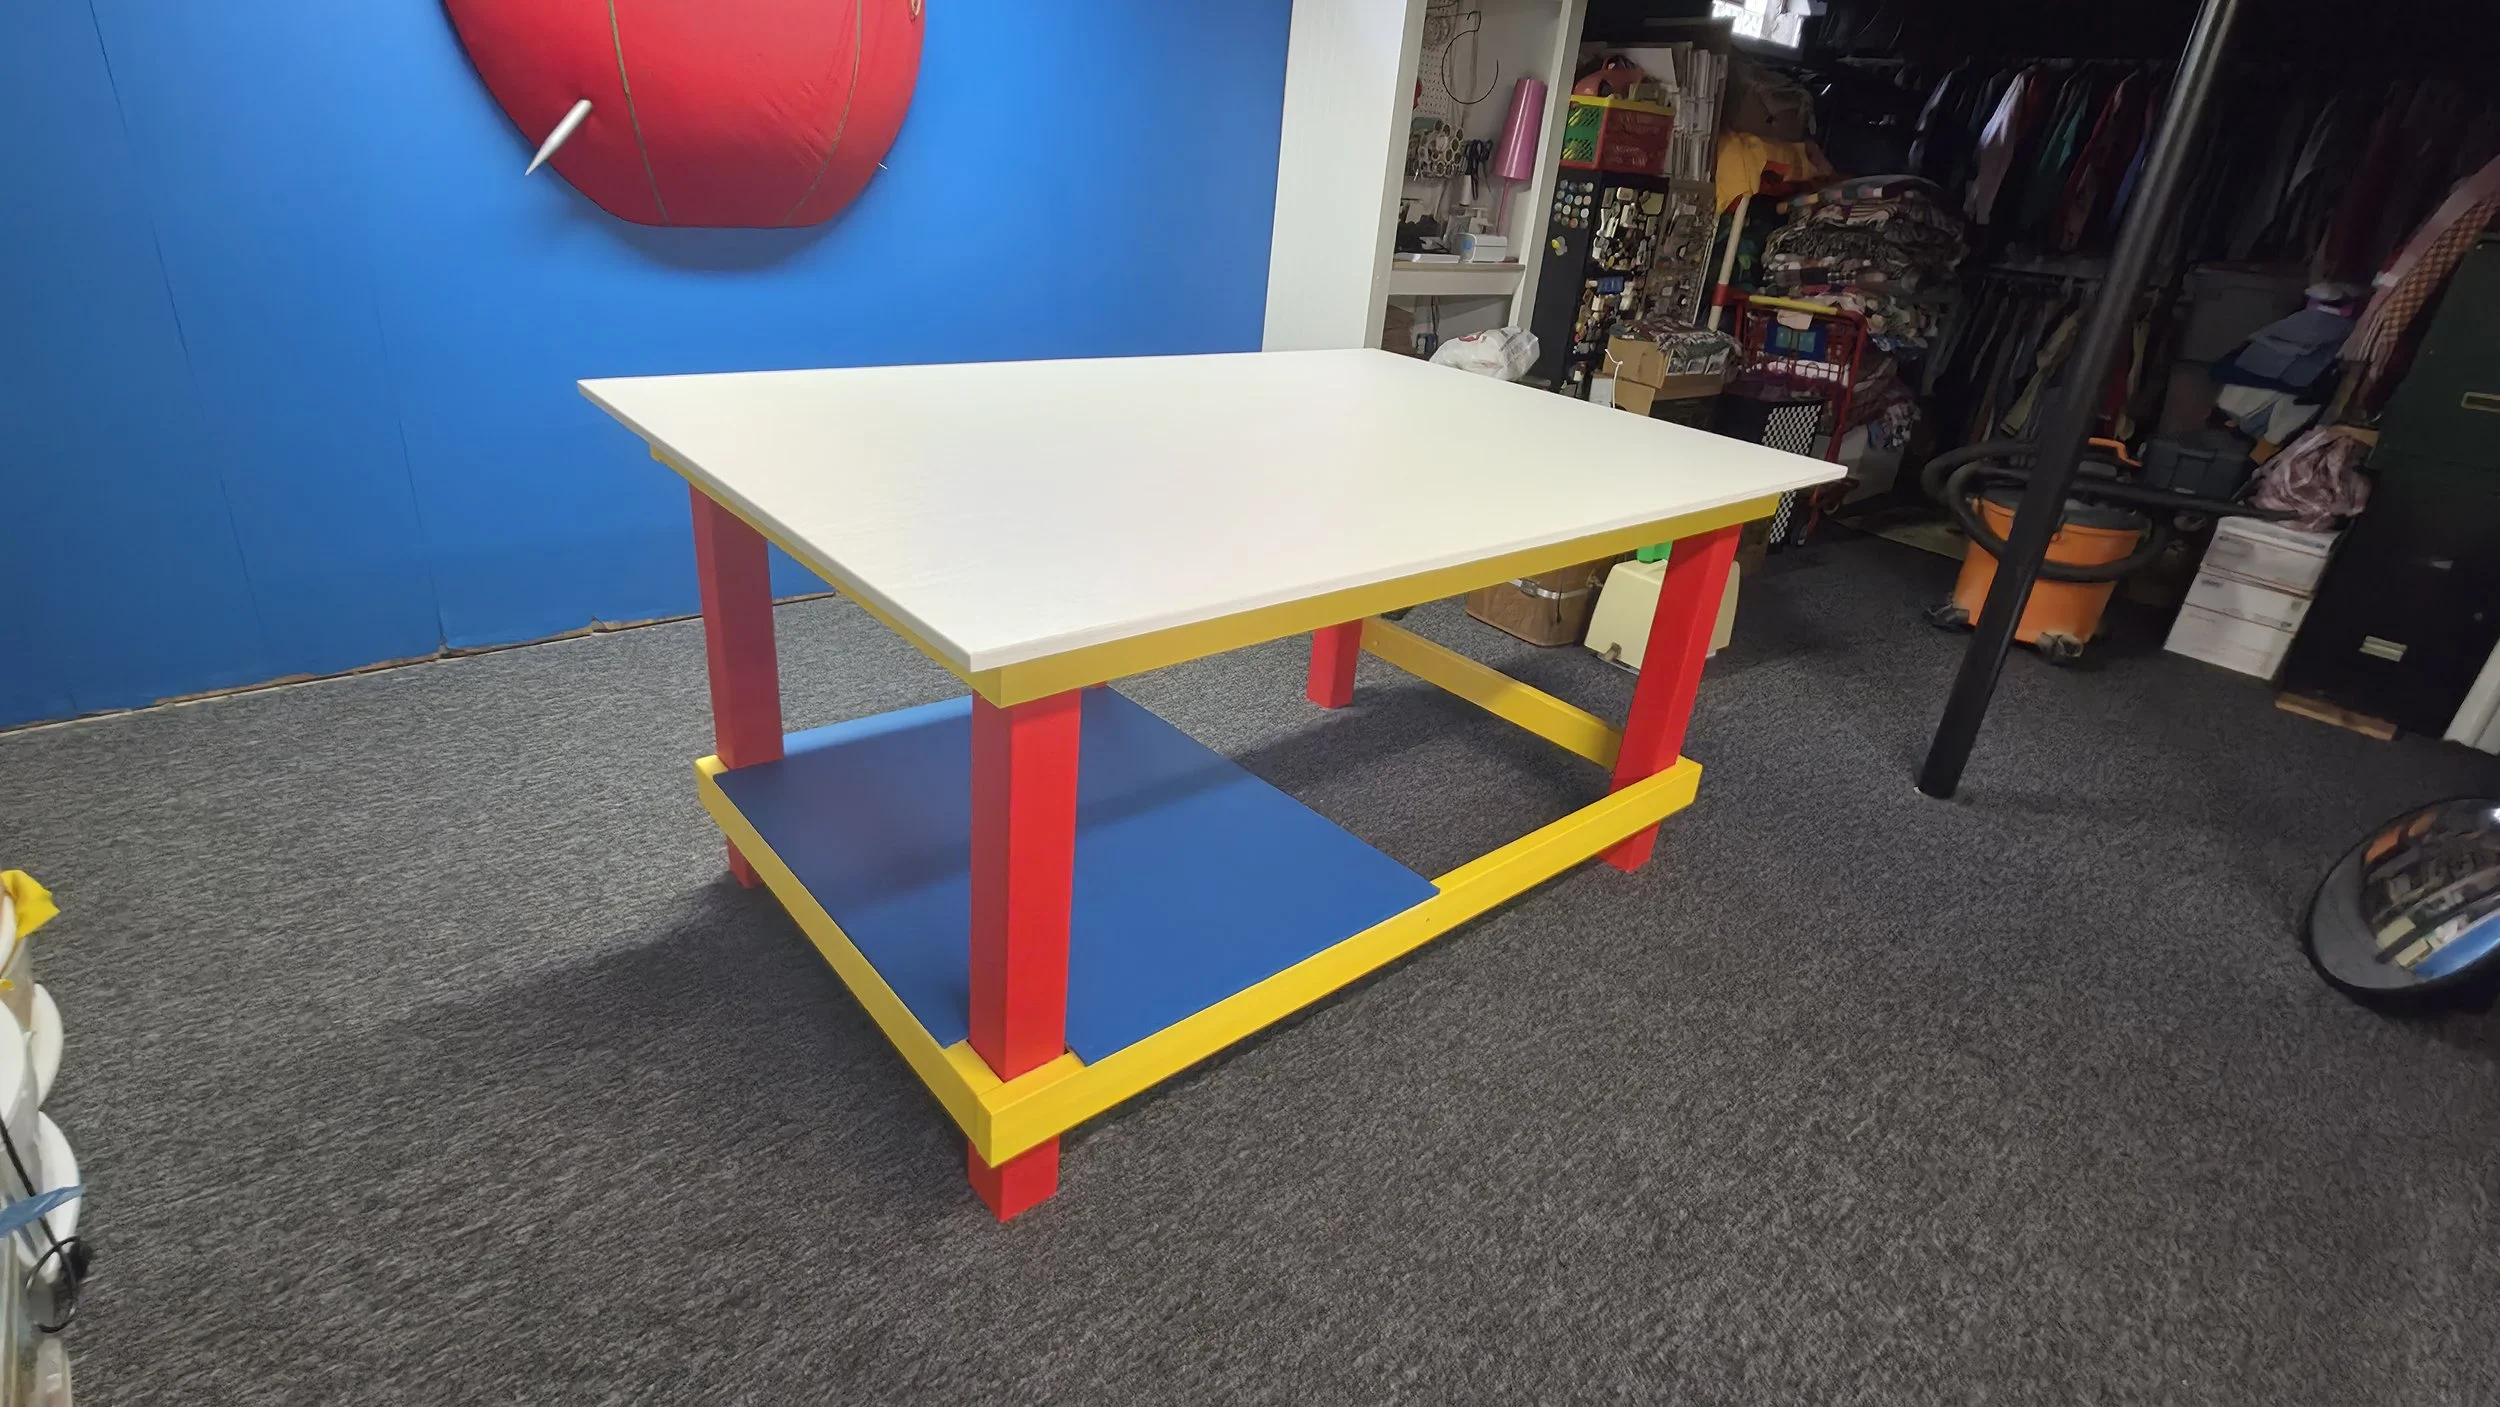
Paint as desired. I recommend glossier sheens for anything that will have high traffic, like the table top. The leg posts and frame can be a matter sheen if desired, it’s just harder to clean.
Allow to dry for a couple days, or heavy items may stick to the paint.
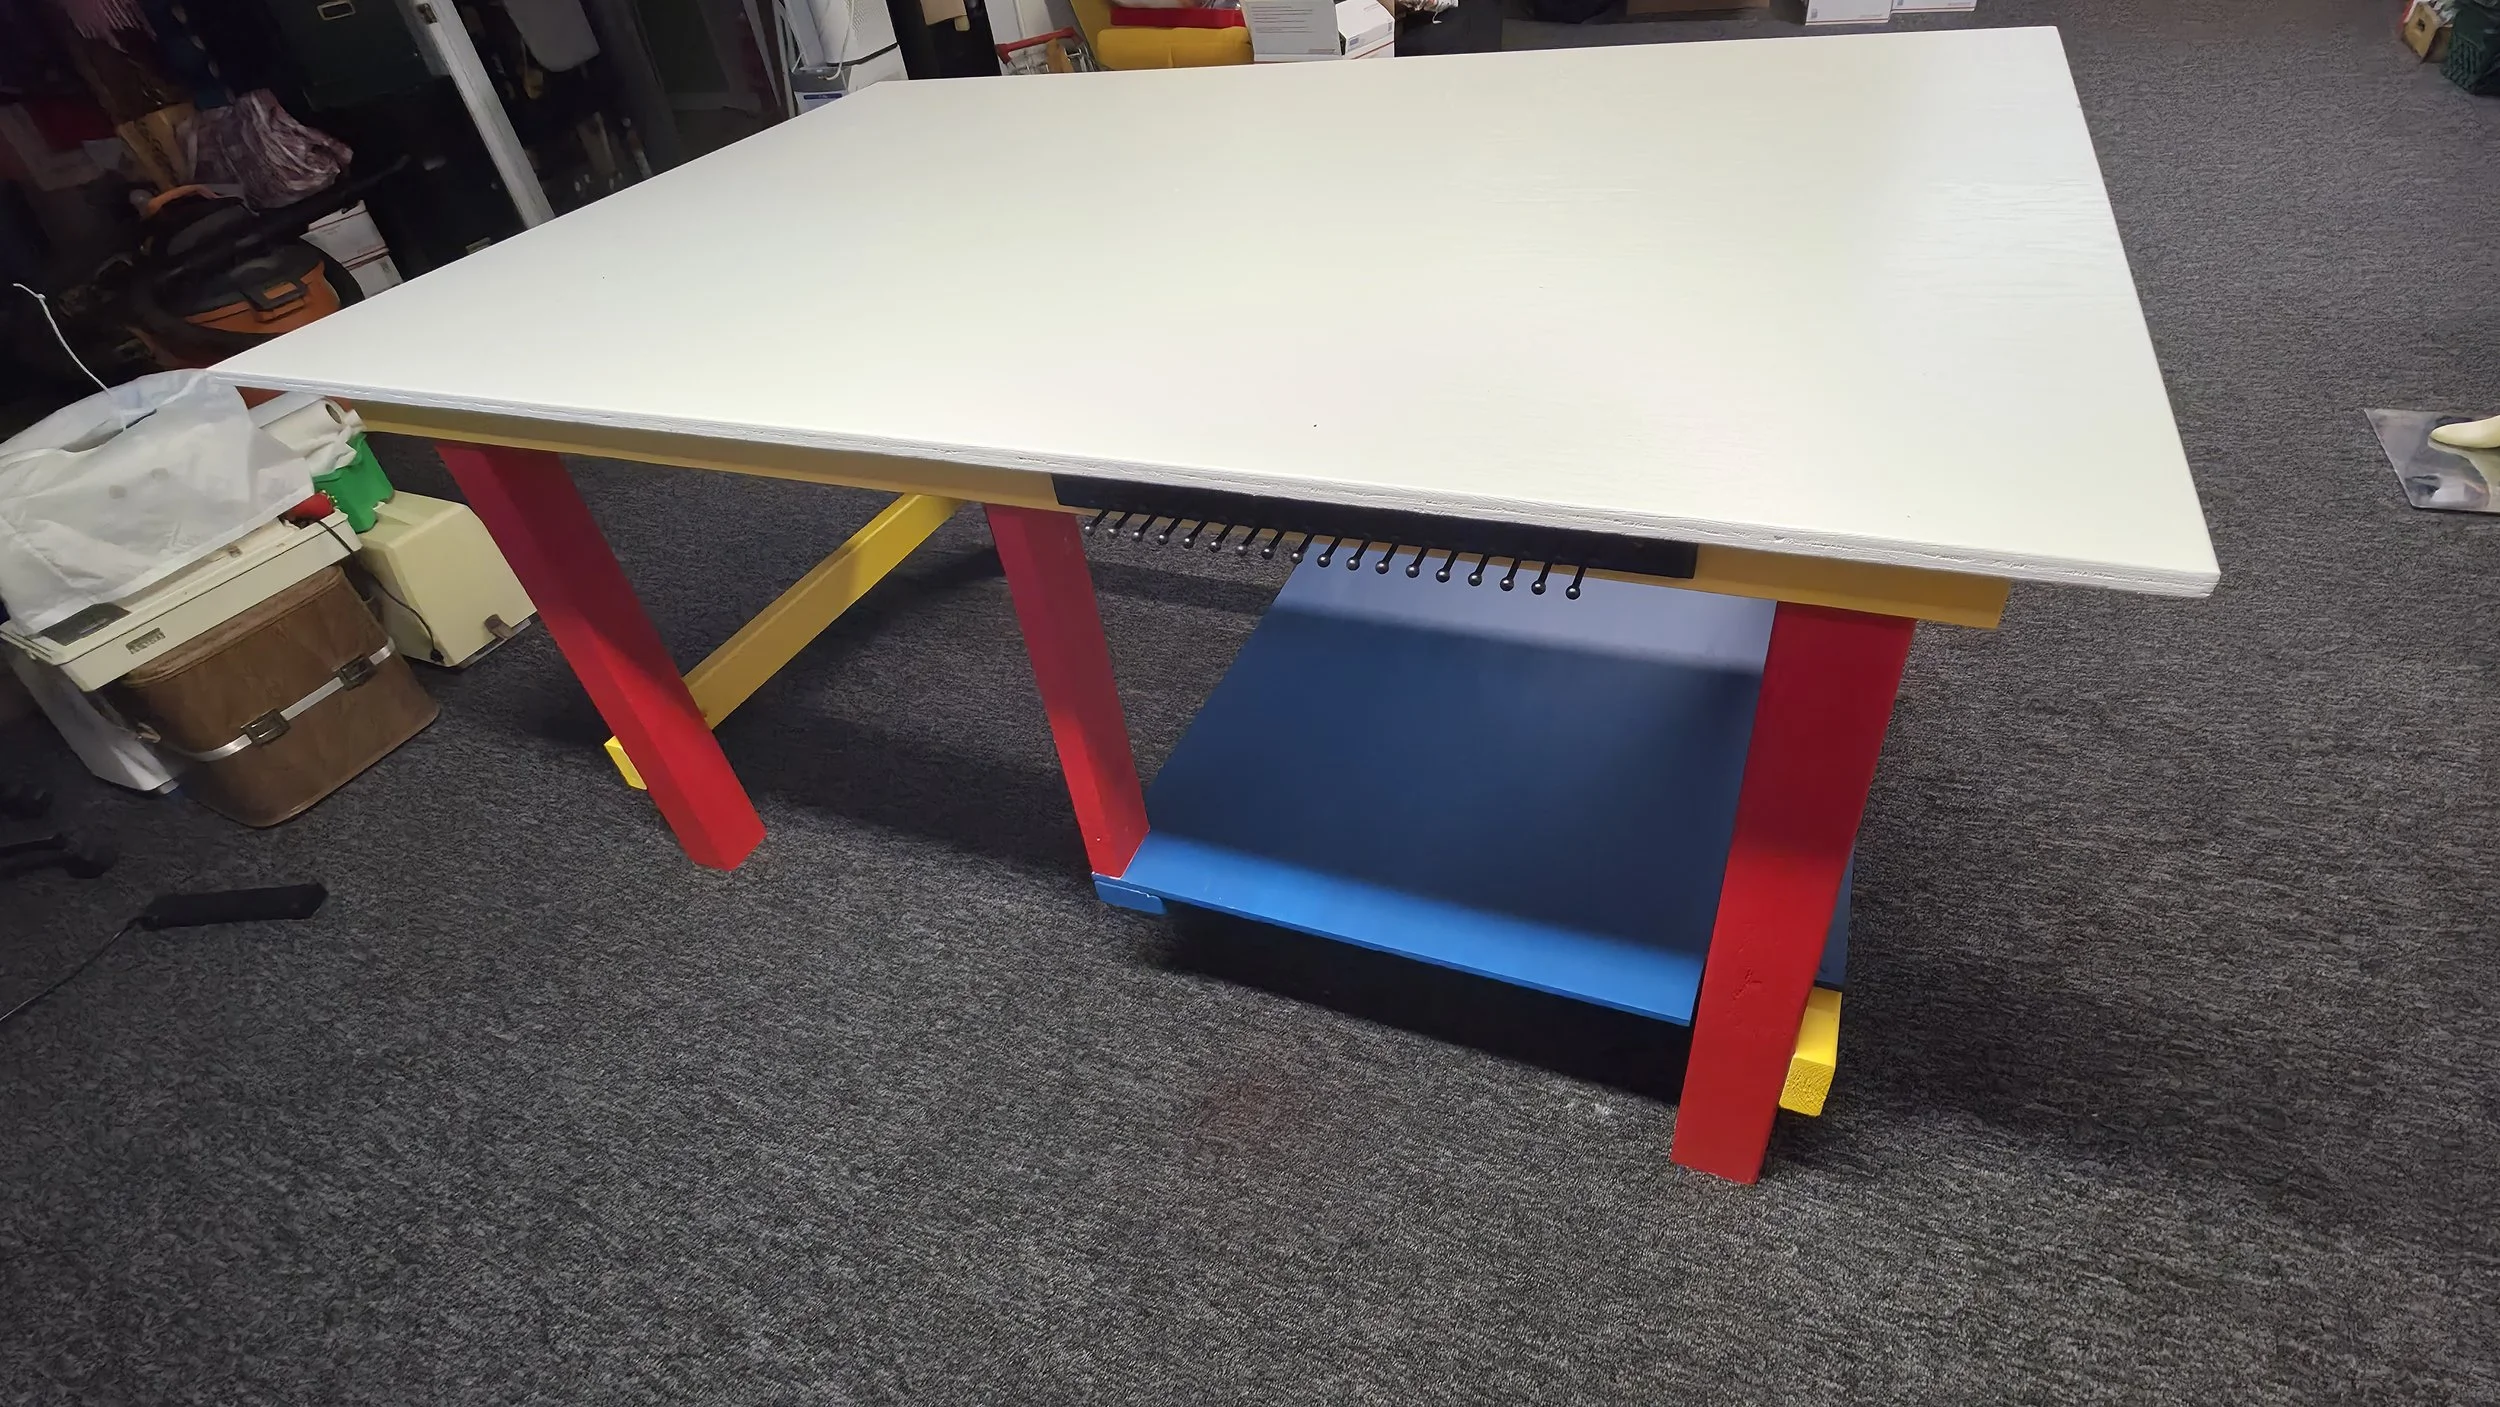
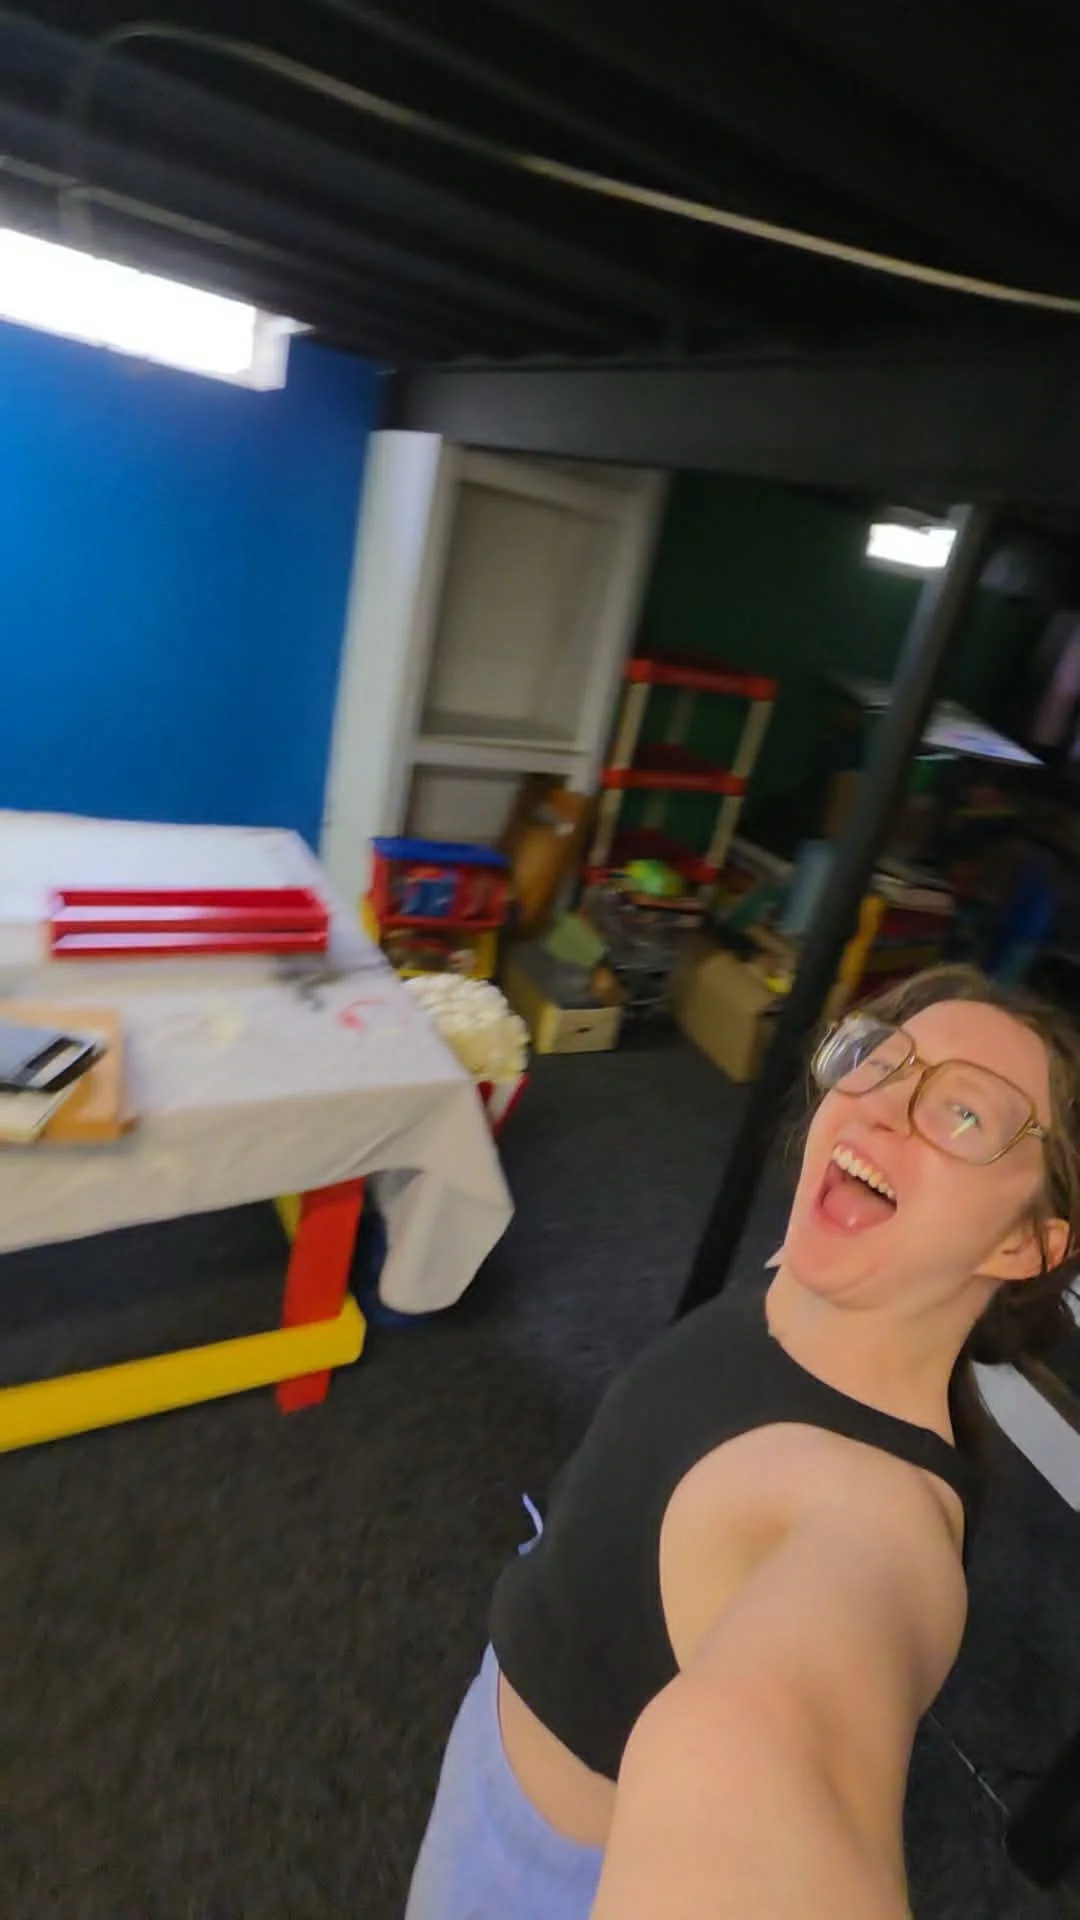
You’re all finished! I added some neat hooks and accessories to hold my tools on the front. Do whatever helps you!
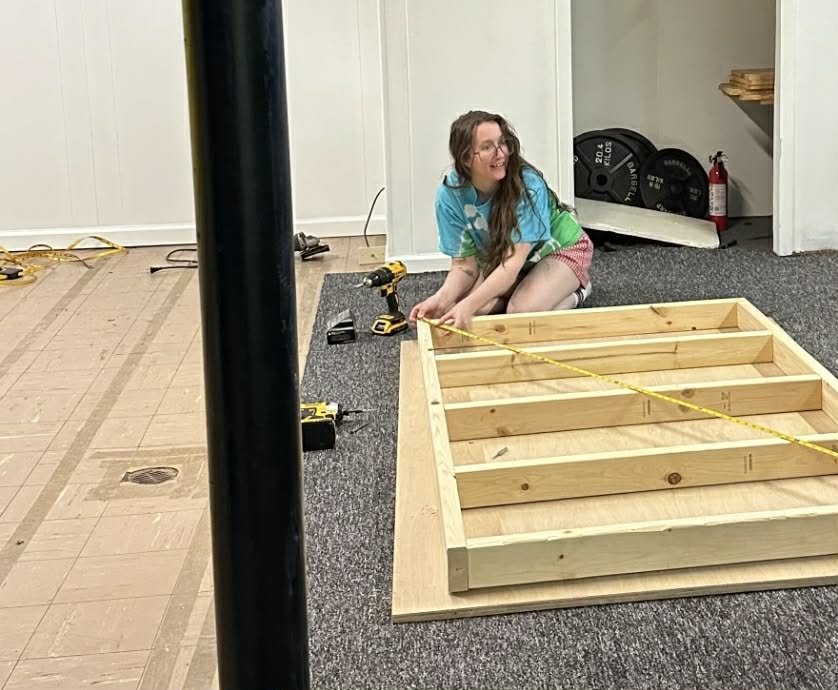
Wall Shelf
We were in the home stretch!
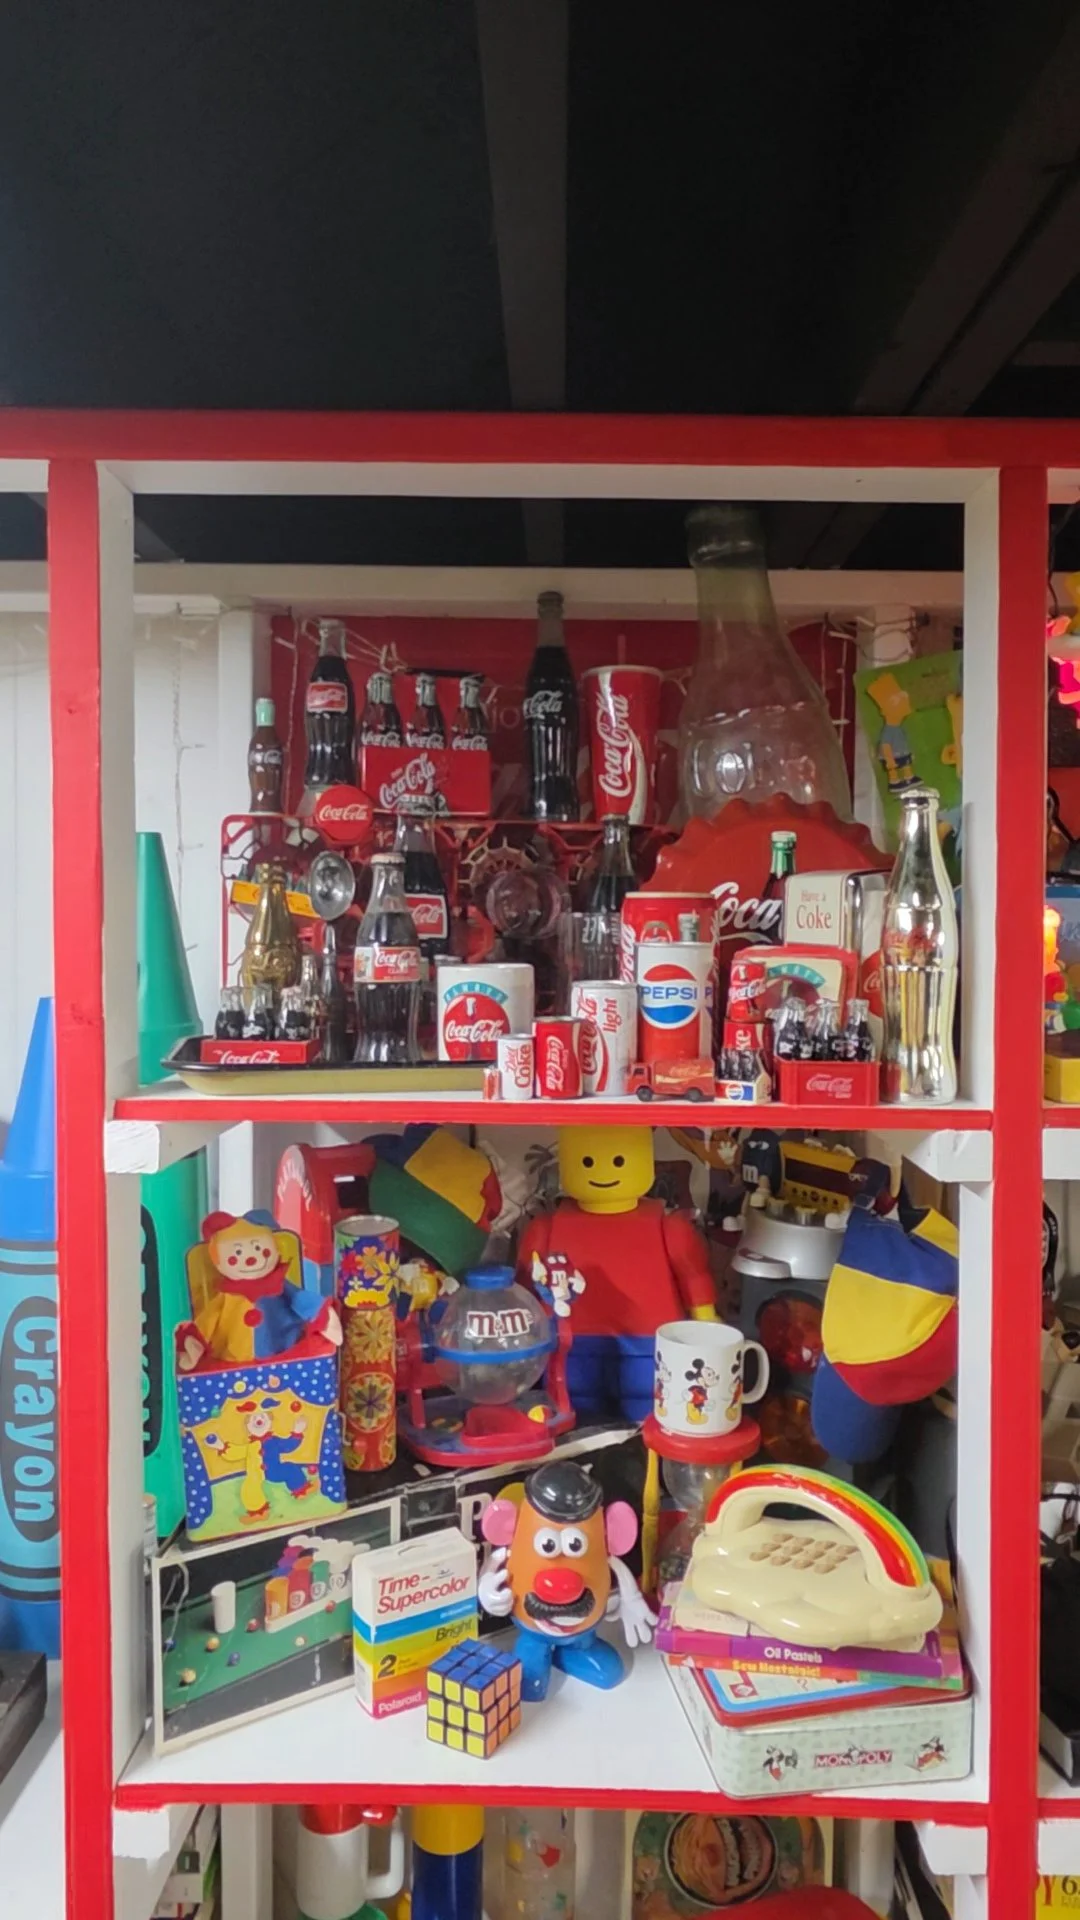
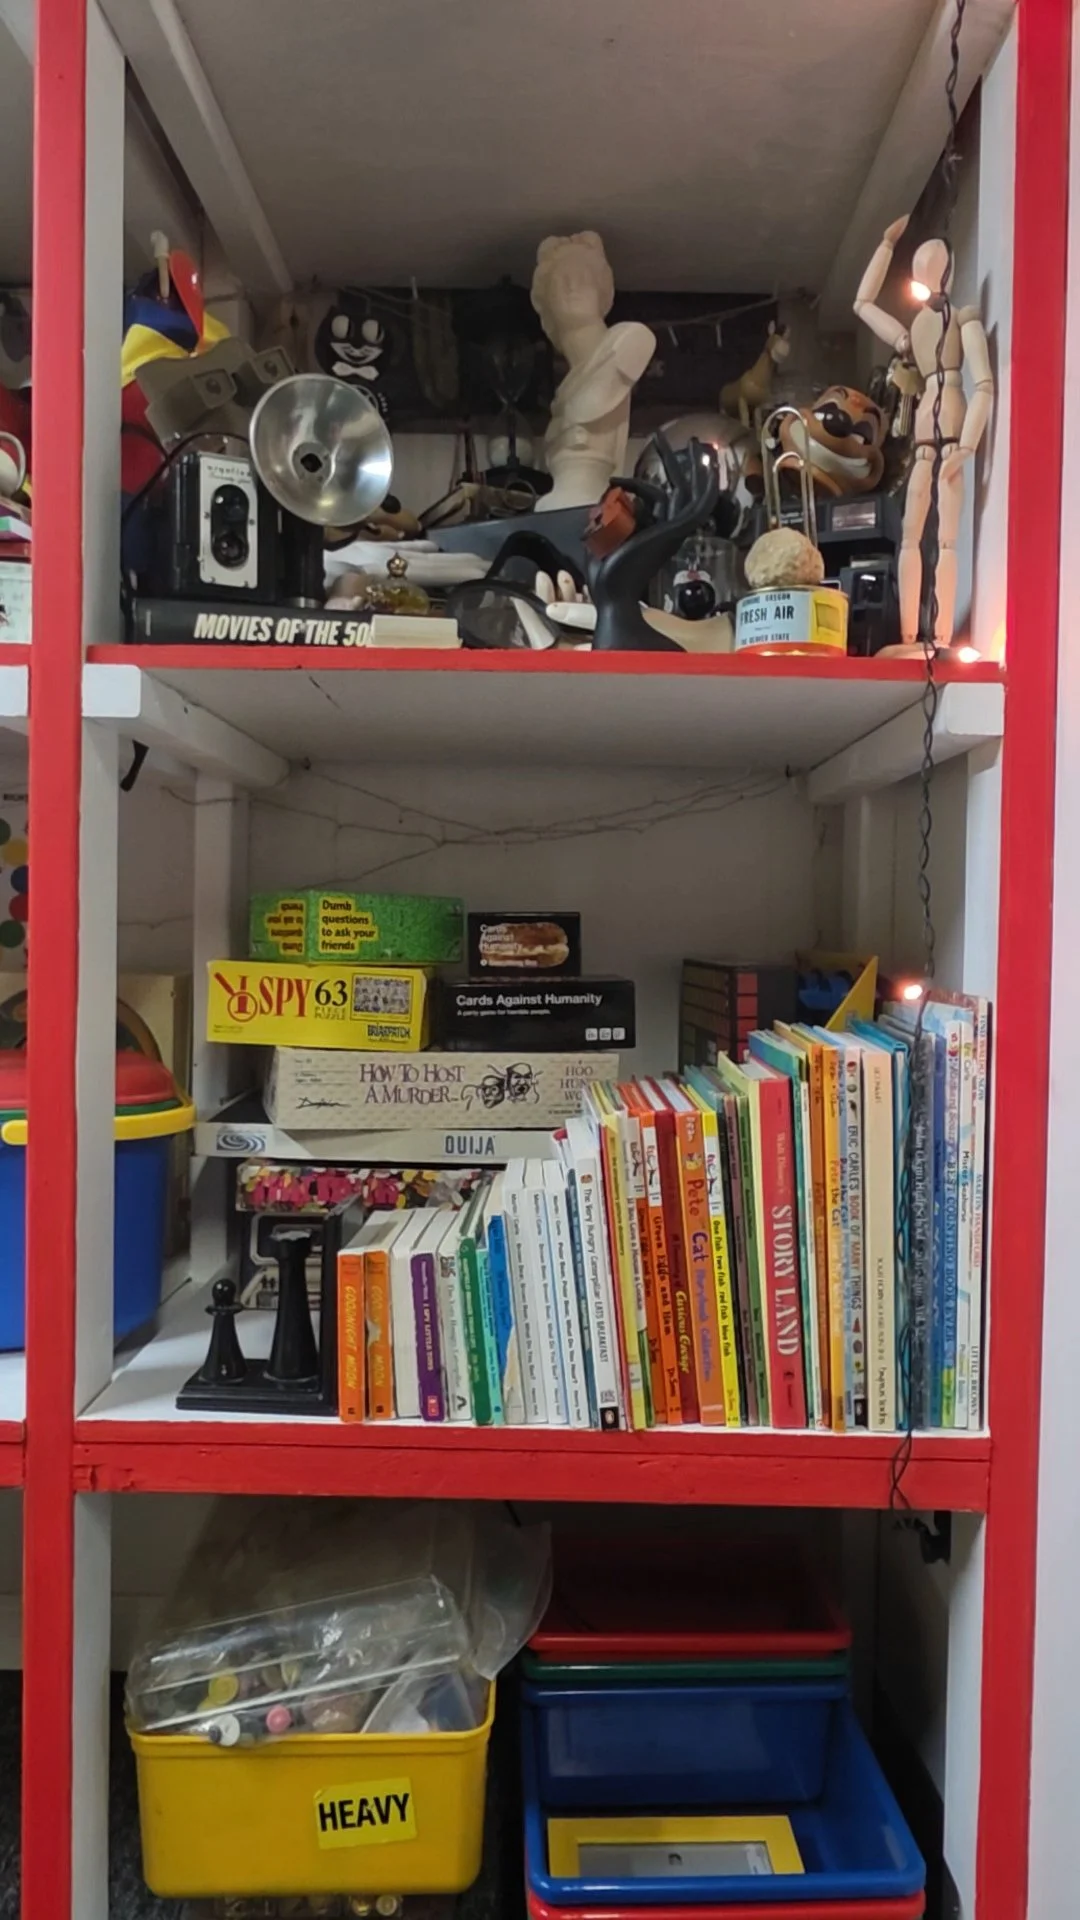
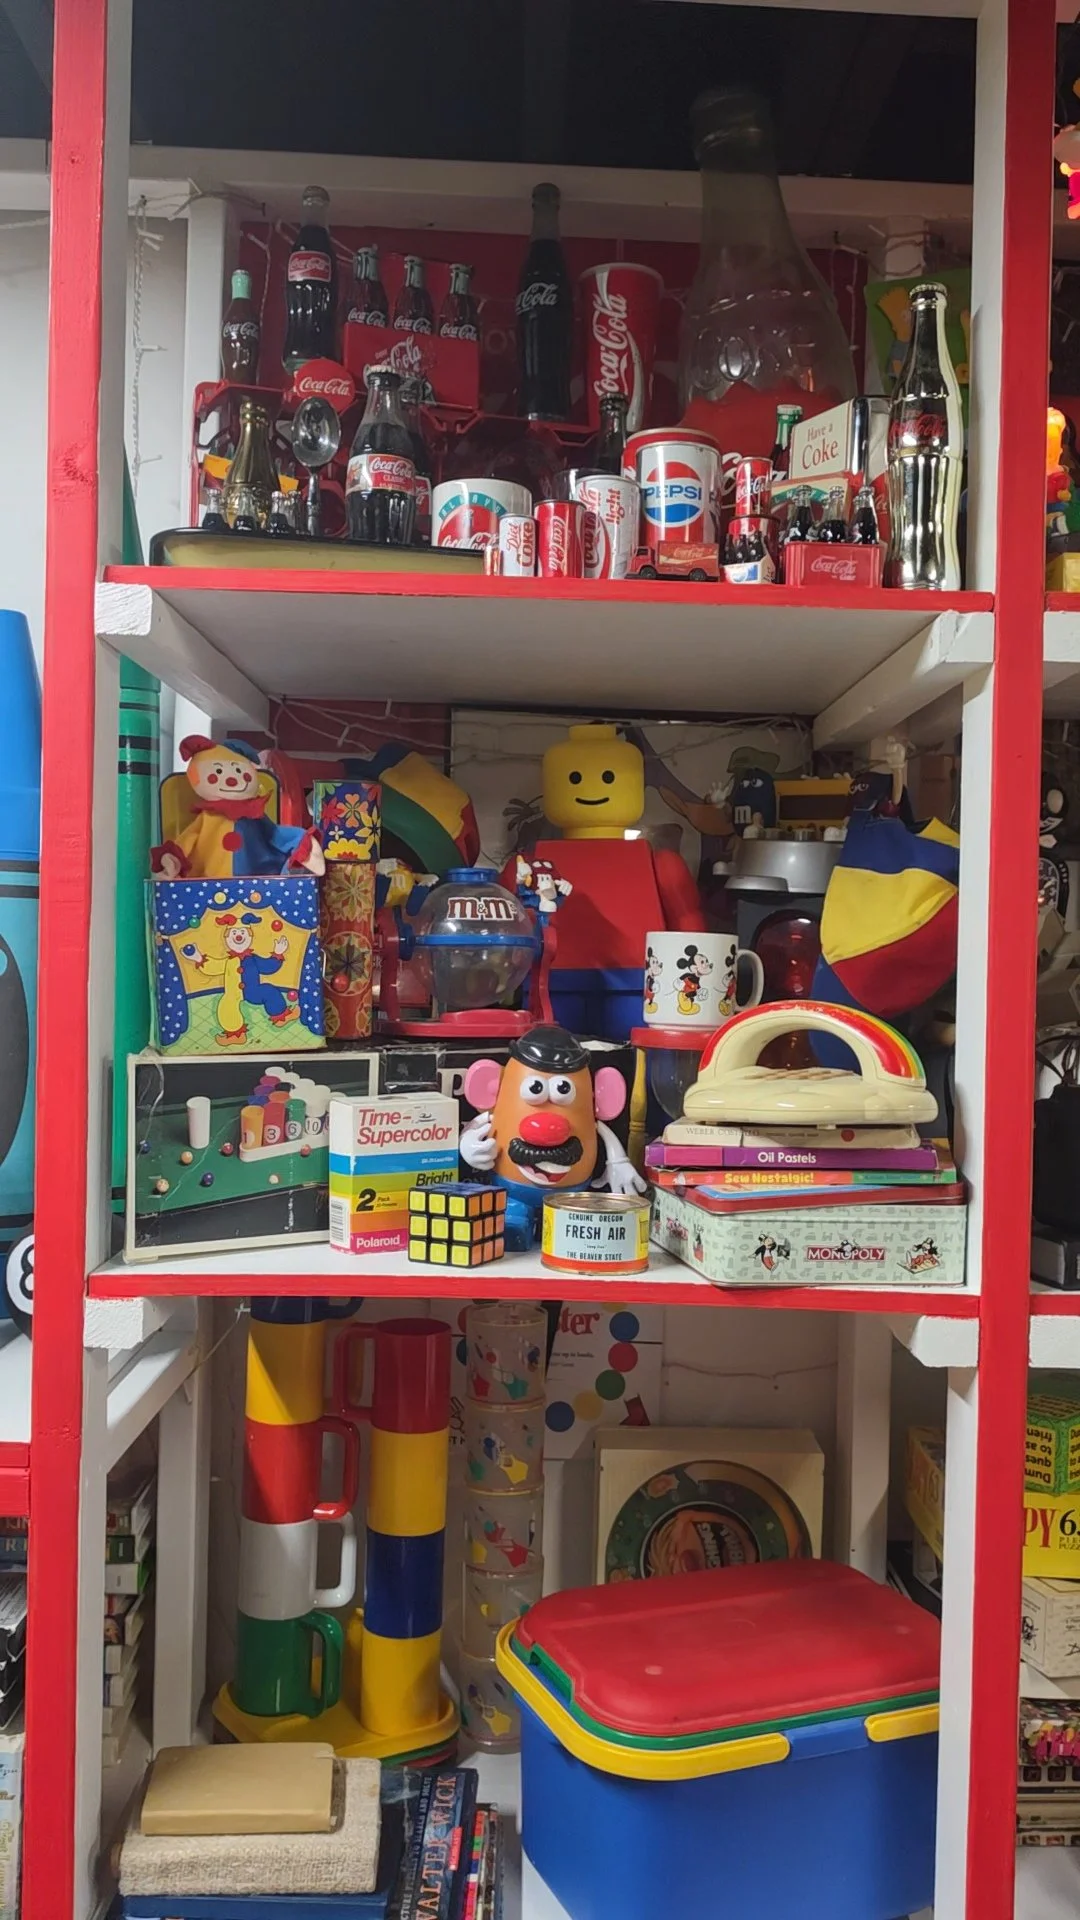
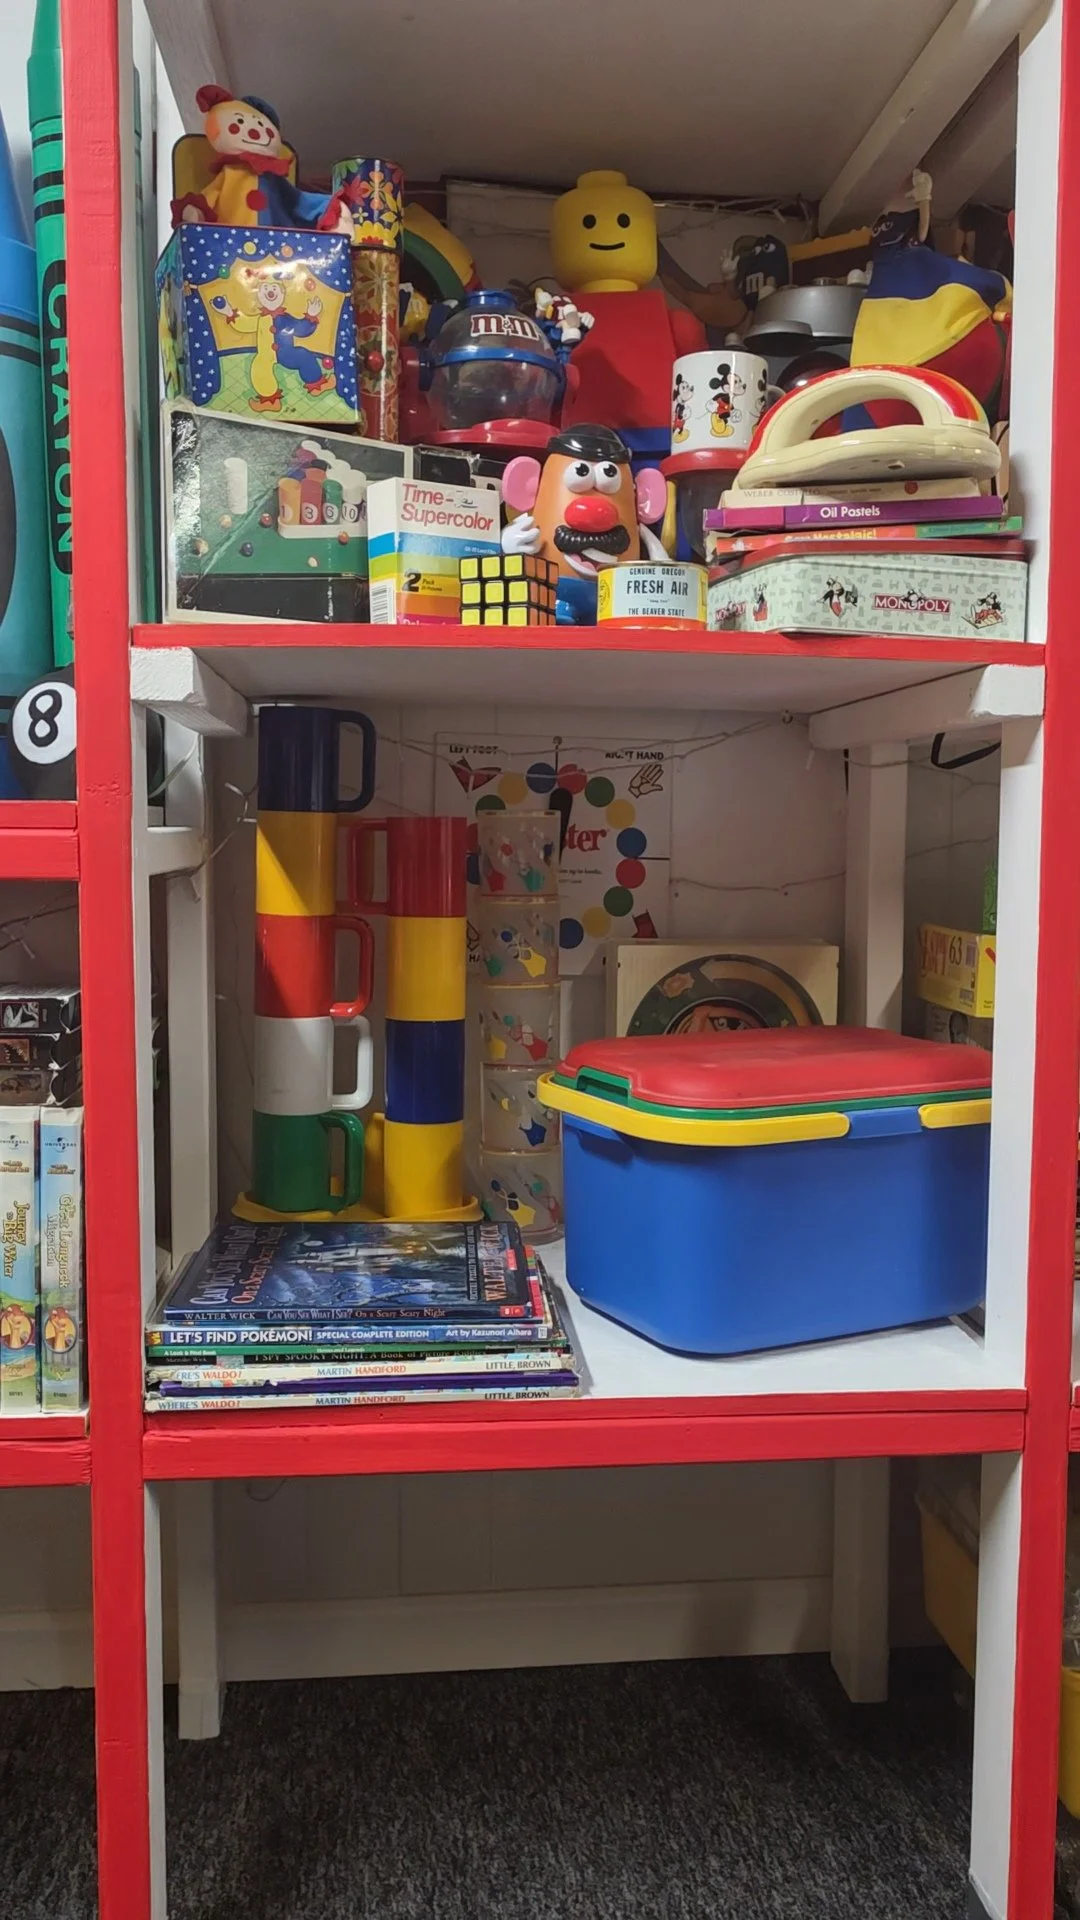
I dreamed of a beautiful wall to display all of my silly stuff in one spot.
Cost: ~300$ in materials.
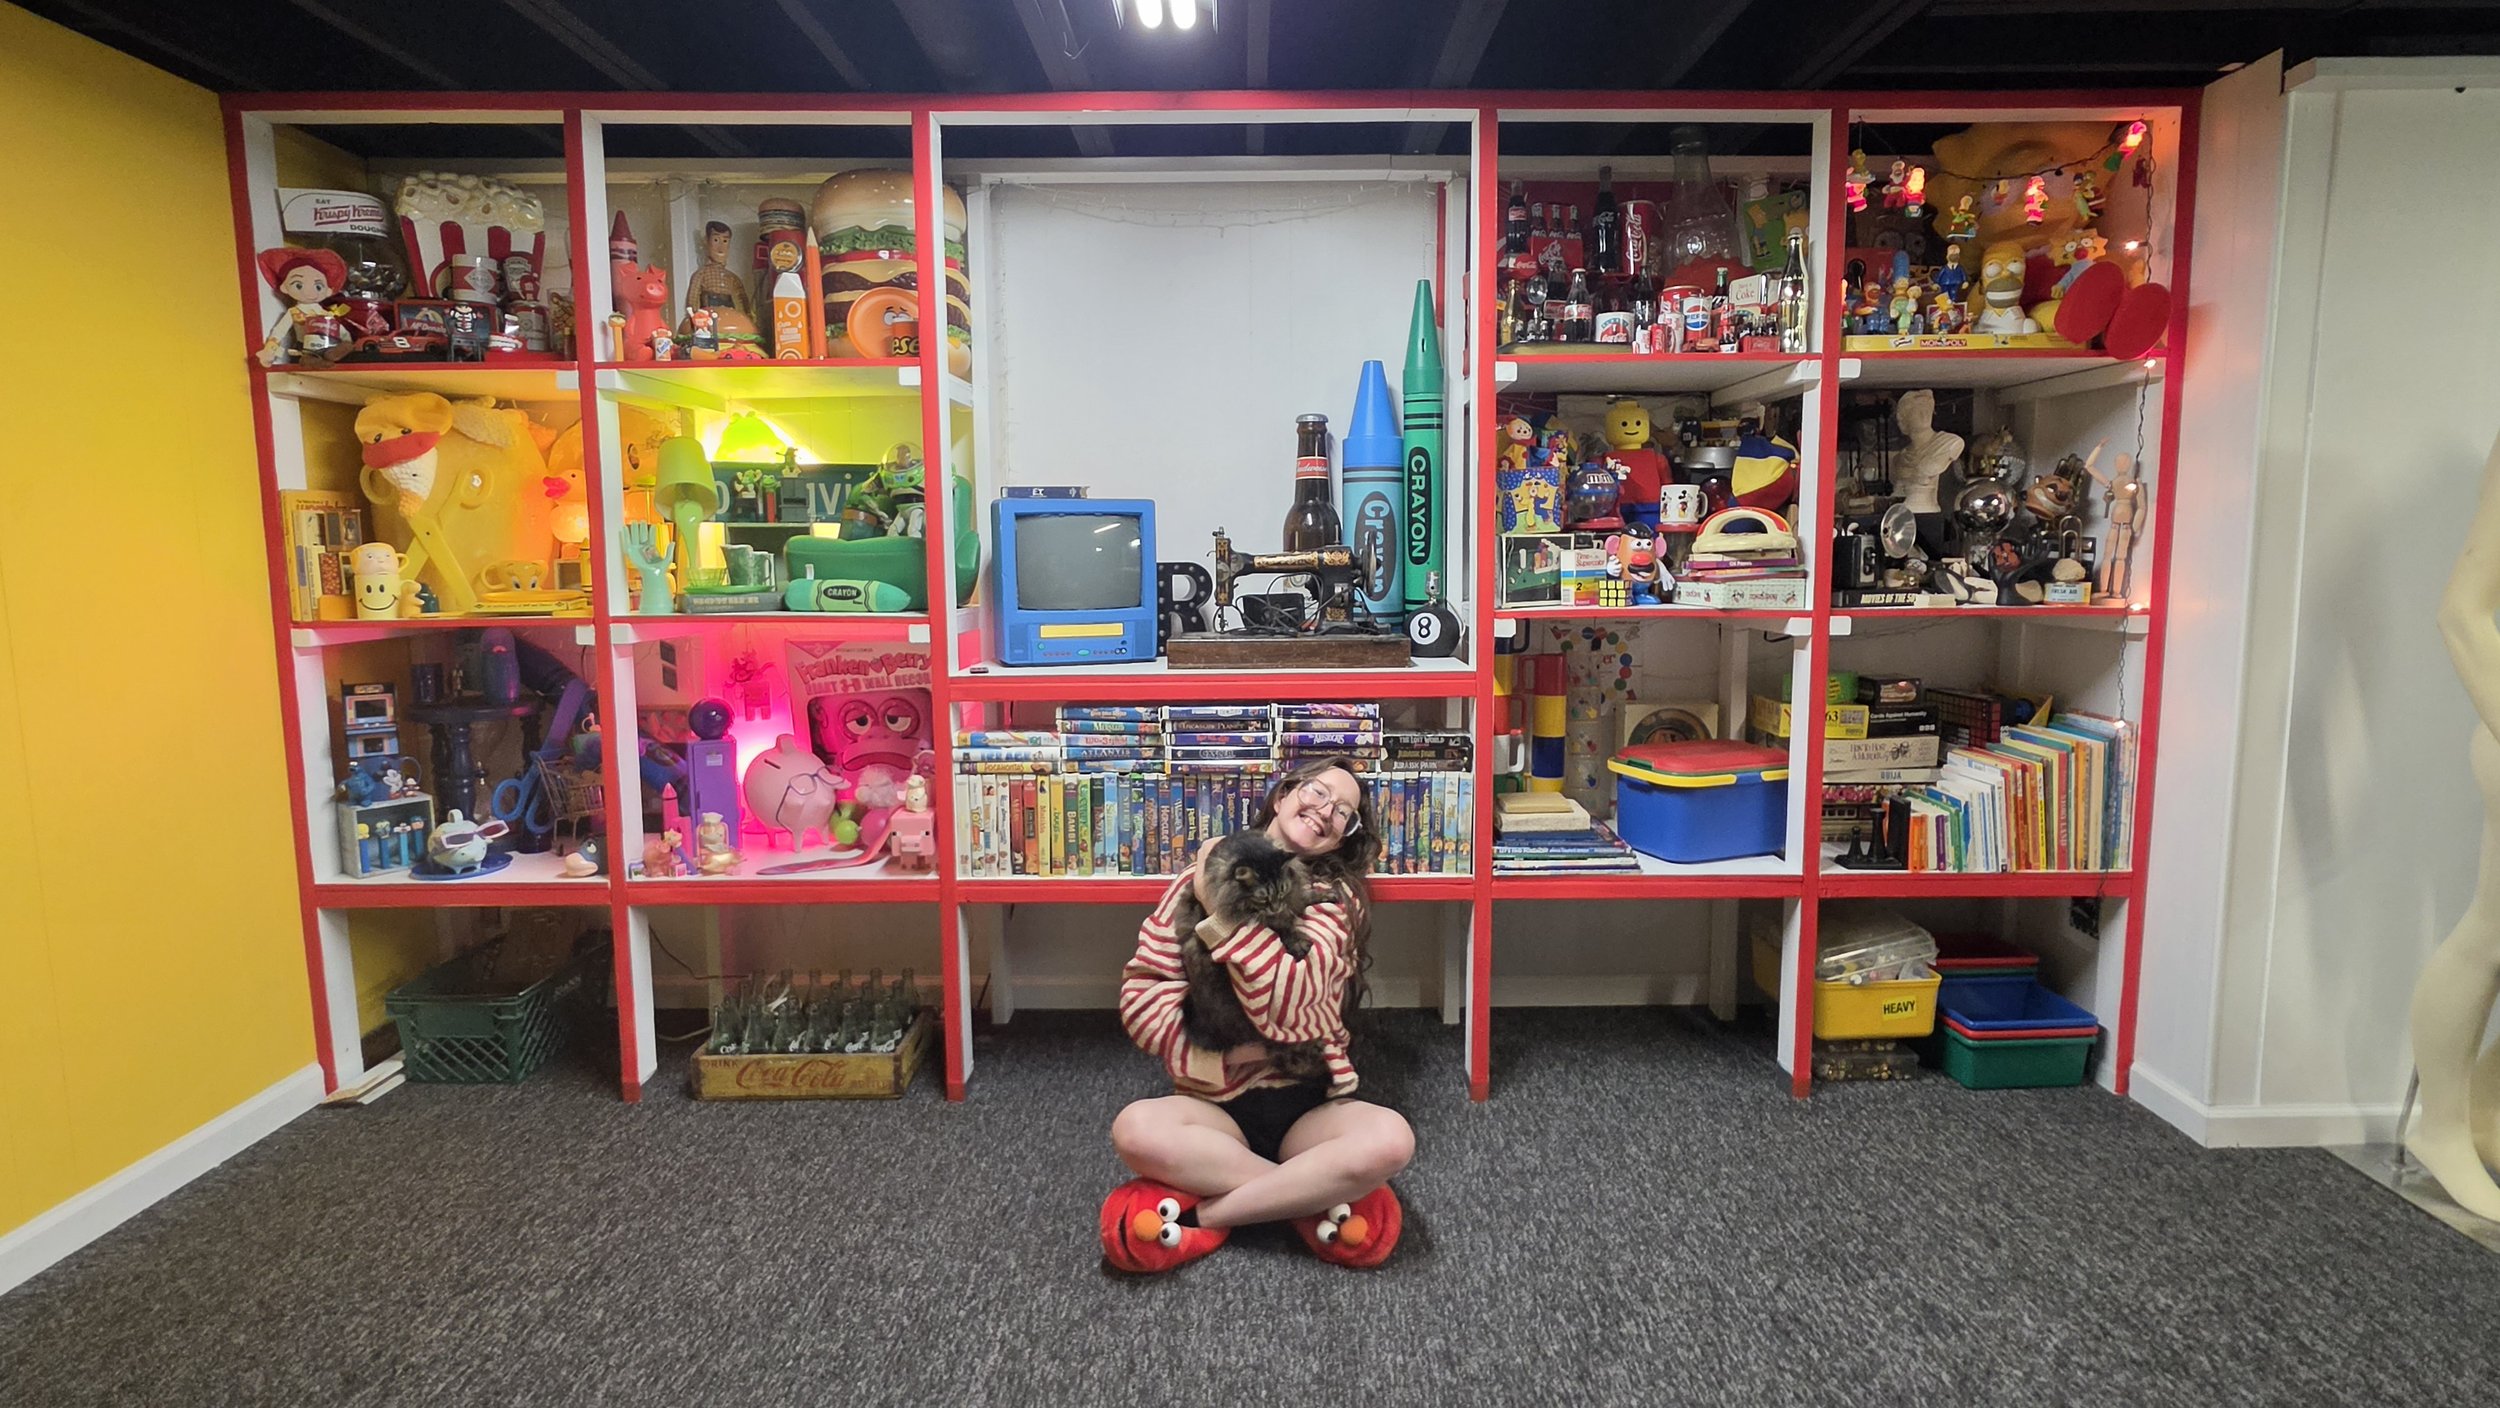
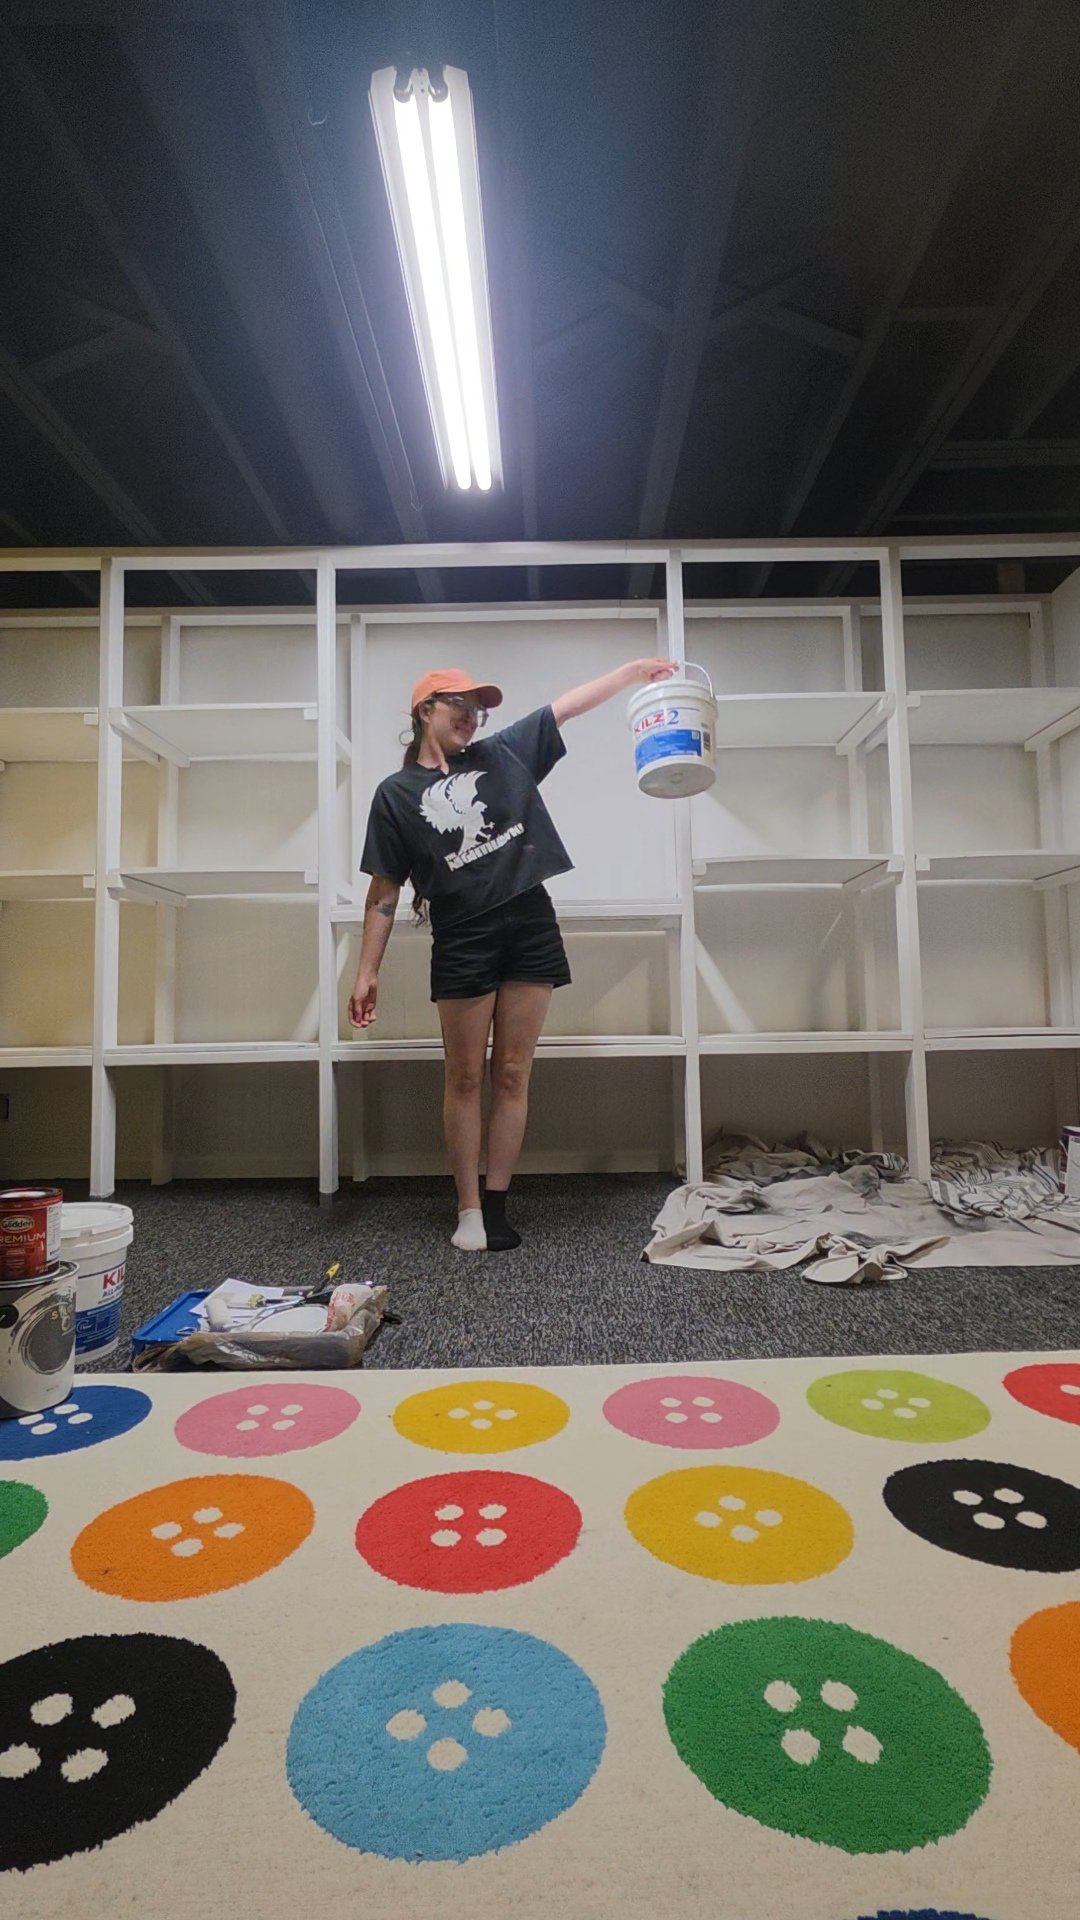
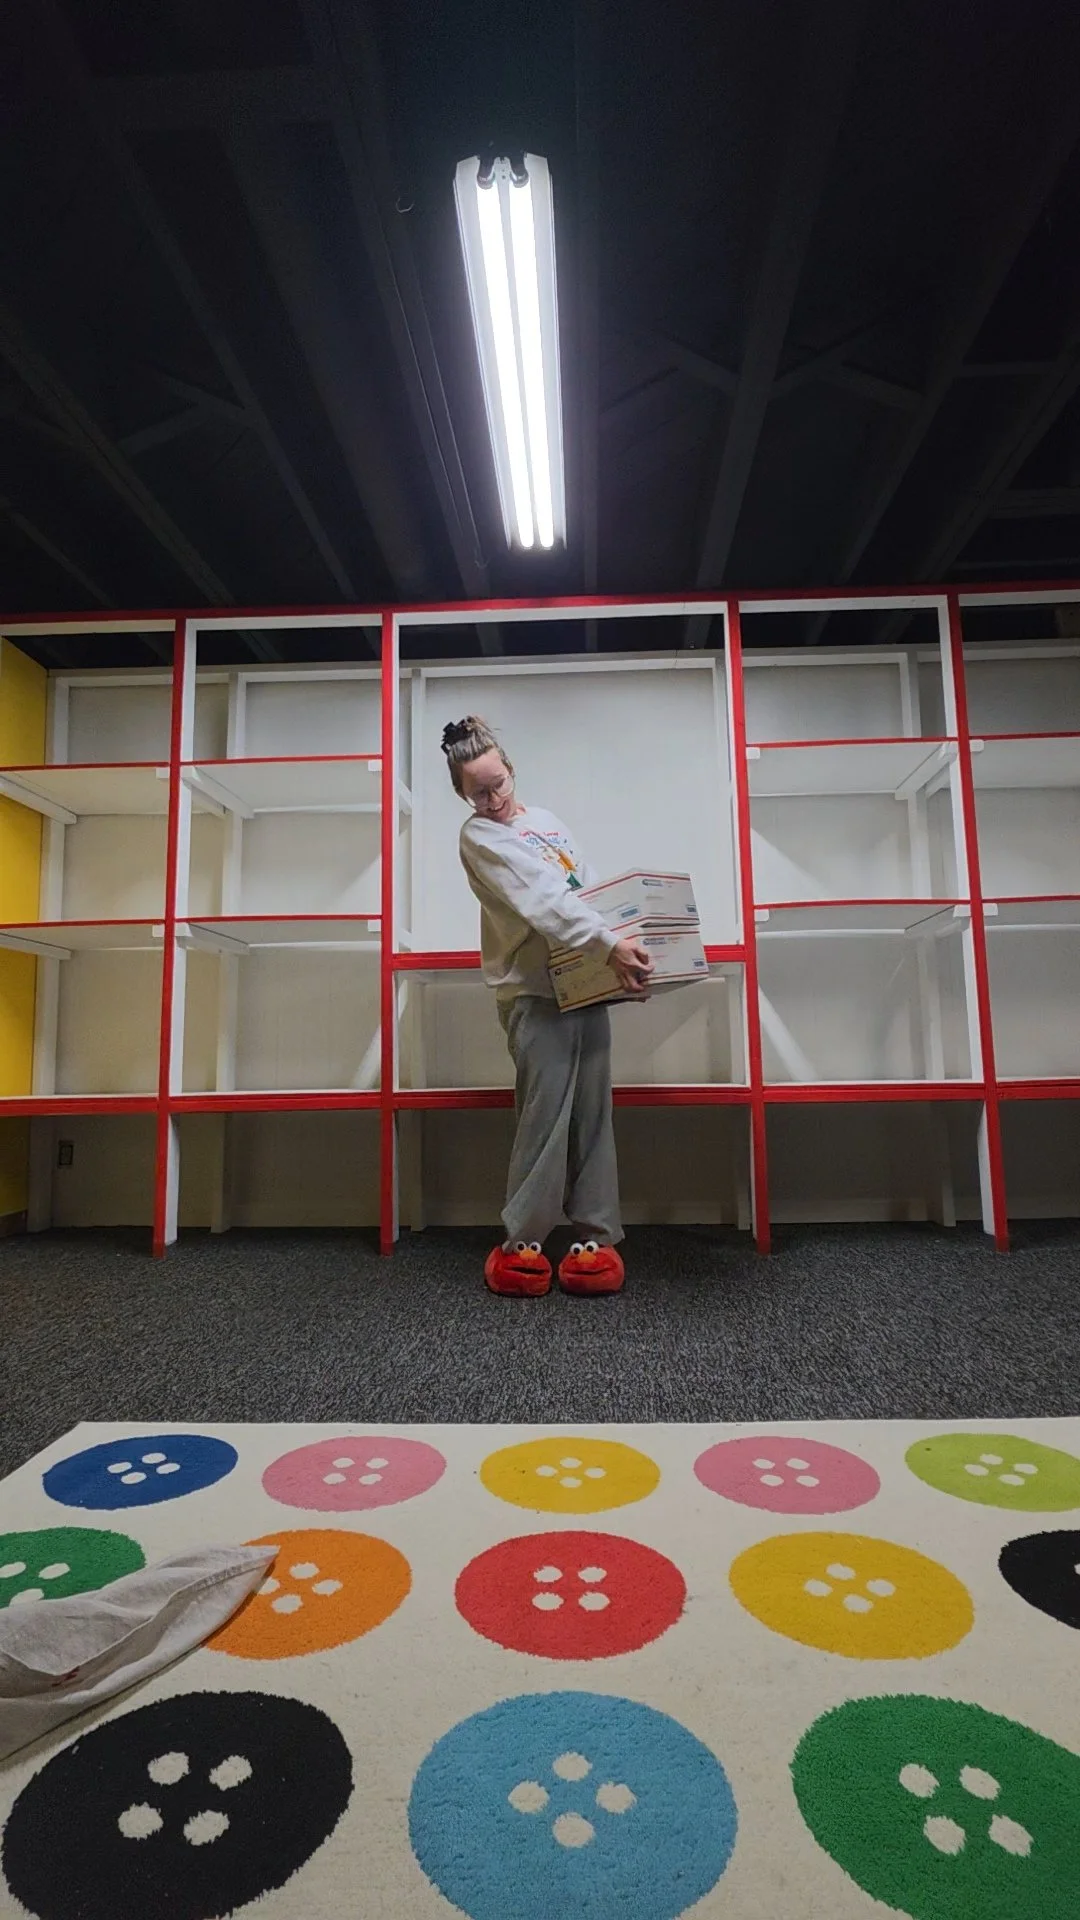
Image: Brittany and Bambi posing in front of the finished shelf.
Don’t be mistaken. We had a rough plan at the start, but it was certainly a “figure-it-out” project.
I wont go into too much step-by-step, because the logistics are entirely dependent on your space, and explaining the process would make me go crazy :)
If you have a sedan, I recommend measuring how long your car is from the inside trunk to the front, with the seats layed down, I could fit 10 feet long sections in my Impala. But we had to take 3 trips alone to bring wood back to the house.
Here is a simple sketch of the final design, to help understand the shape.
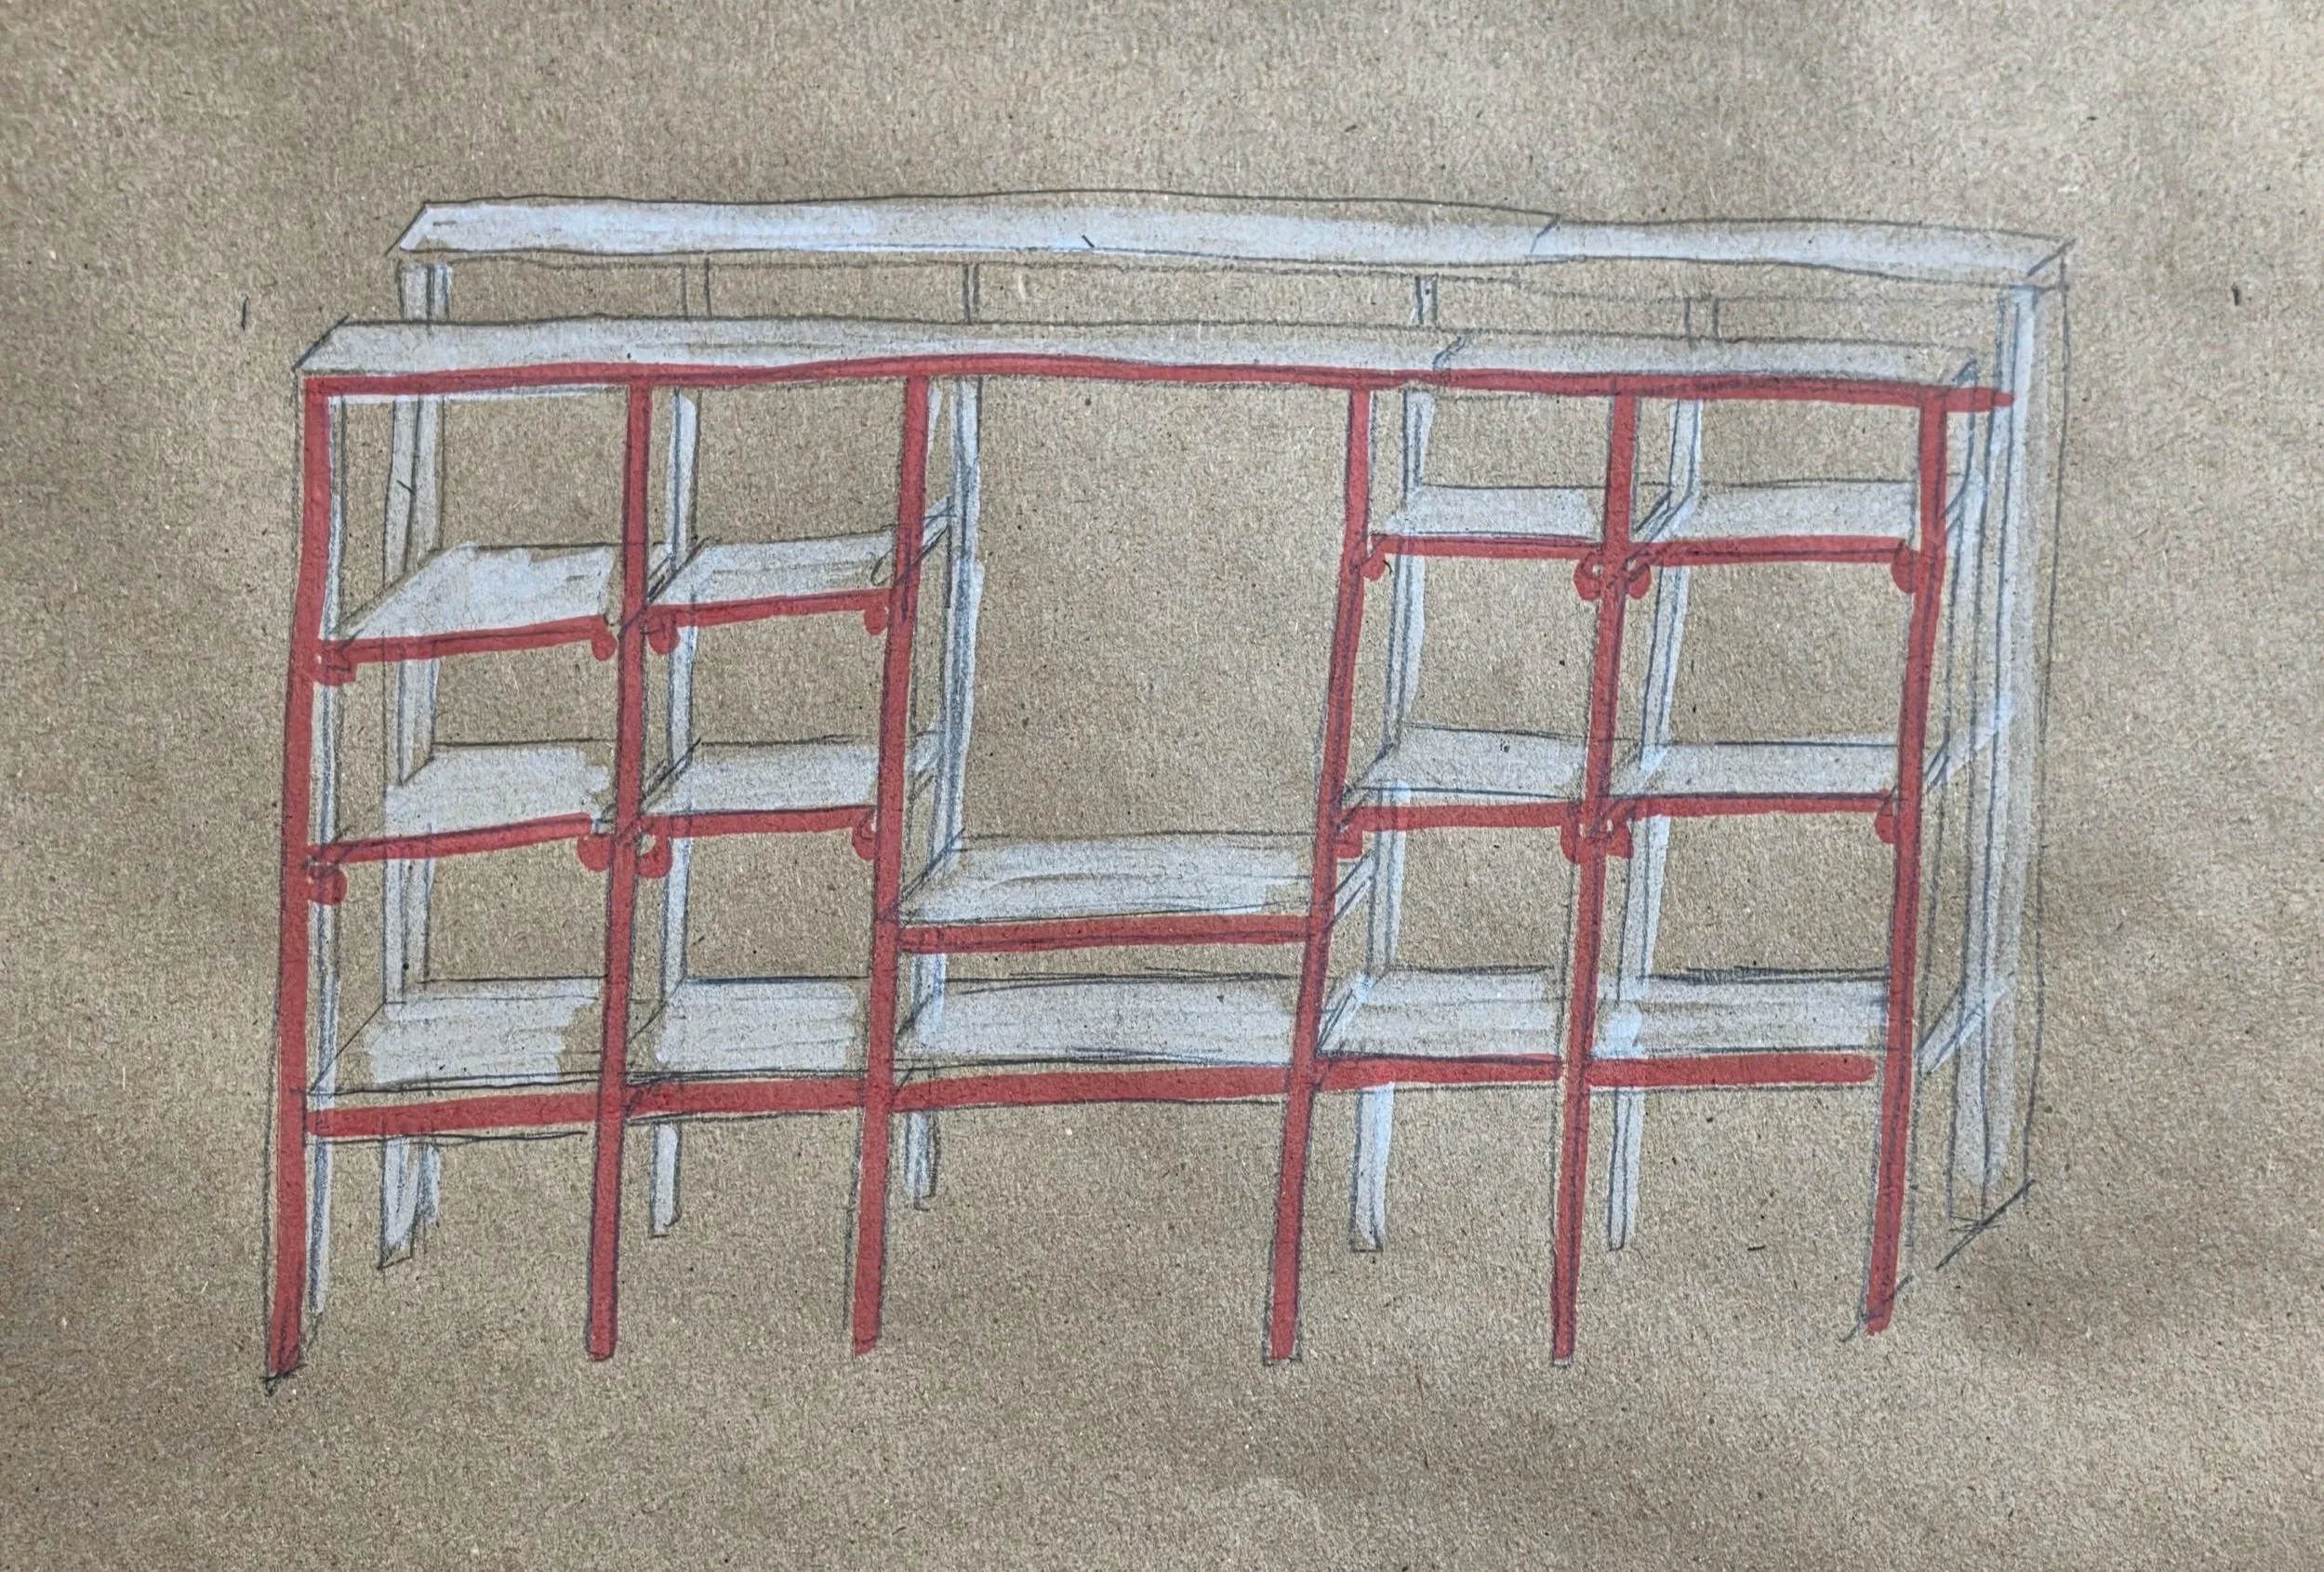
Image: Rough sketch of wall shelf
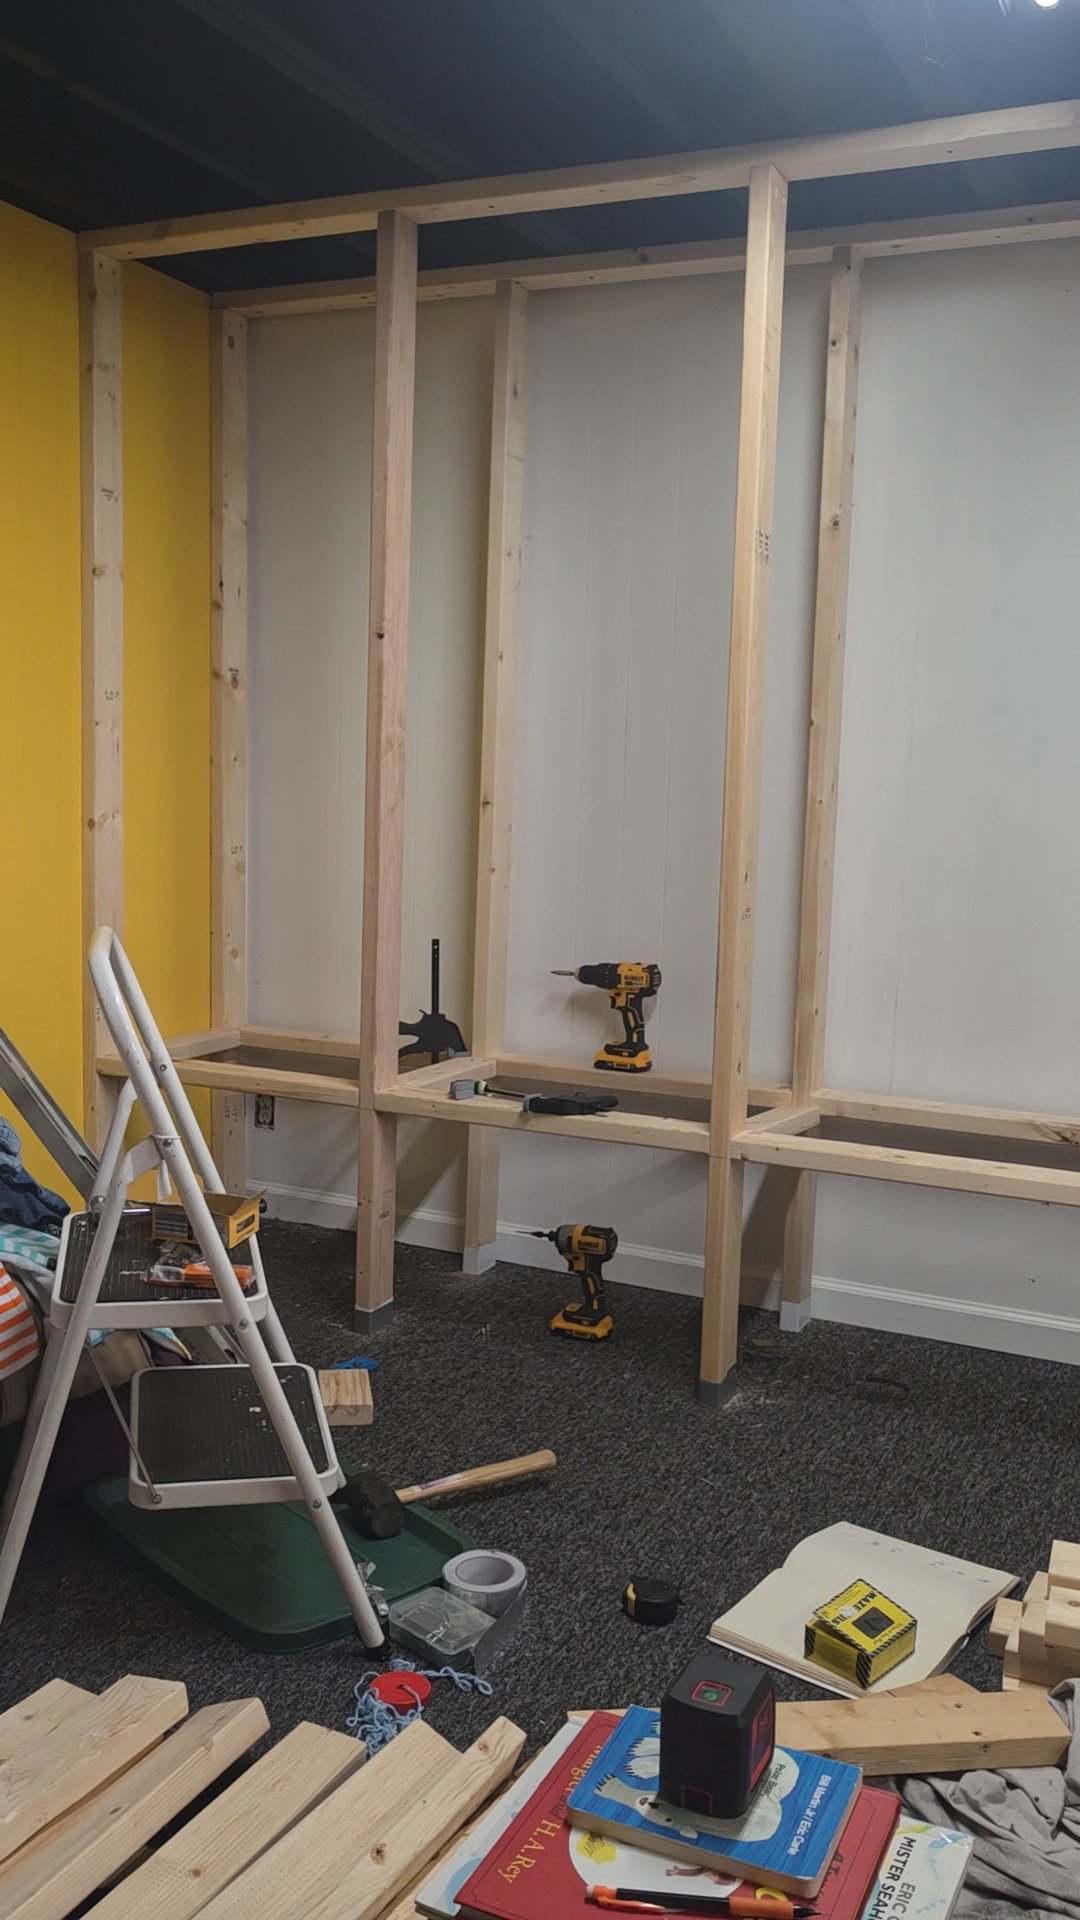
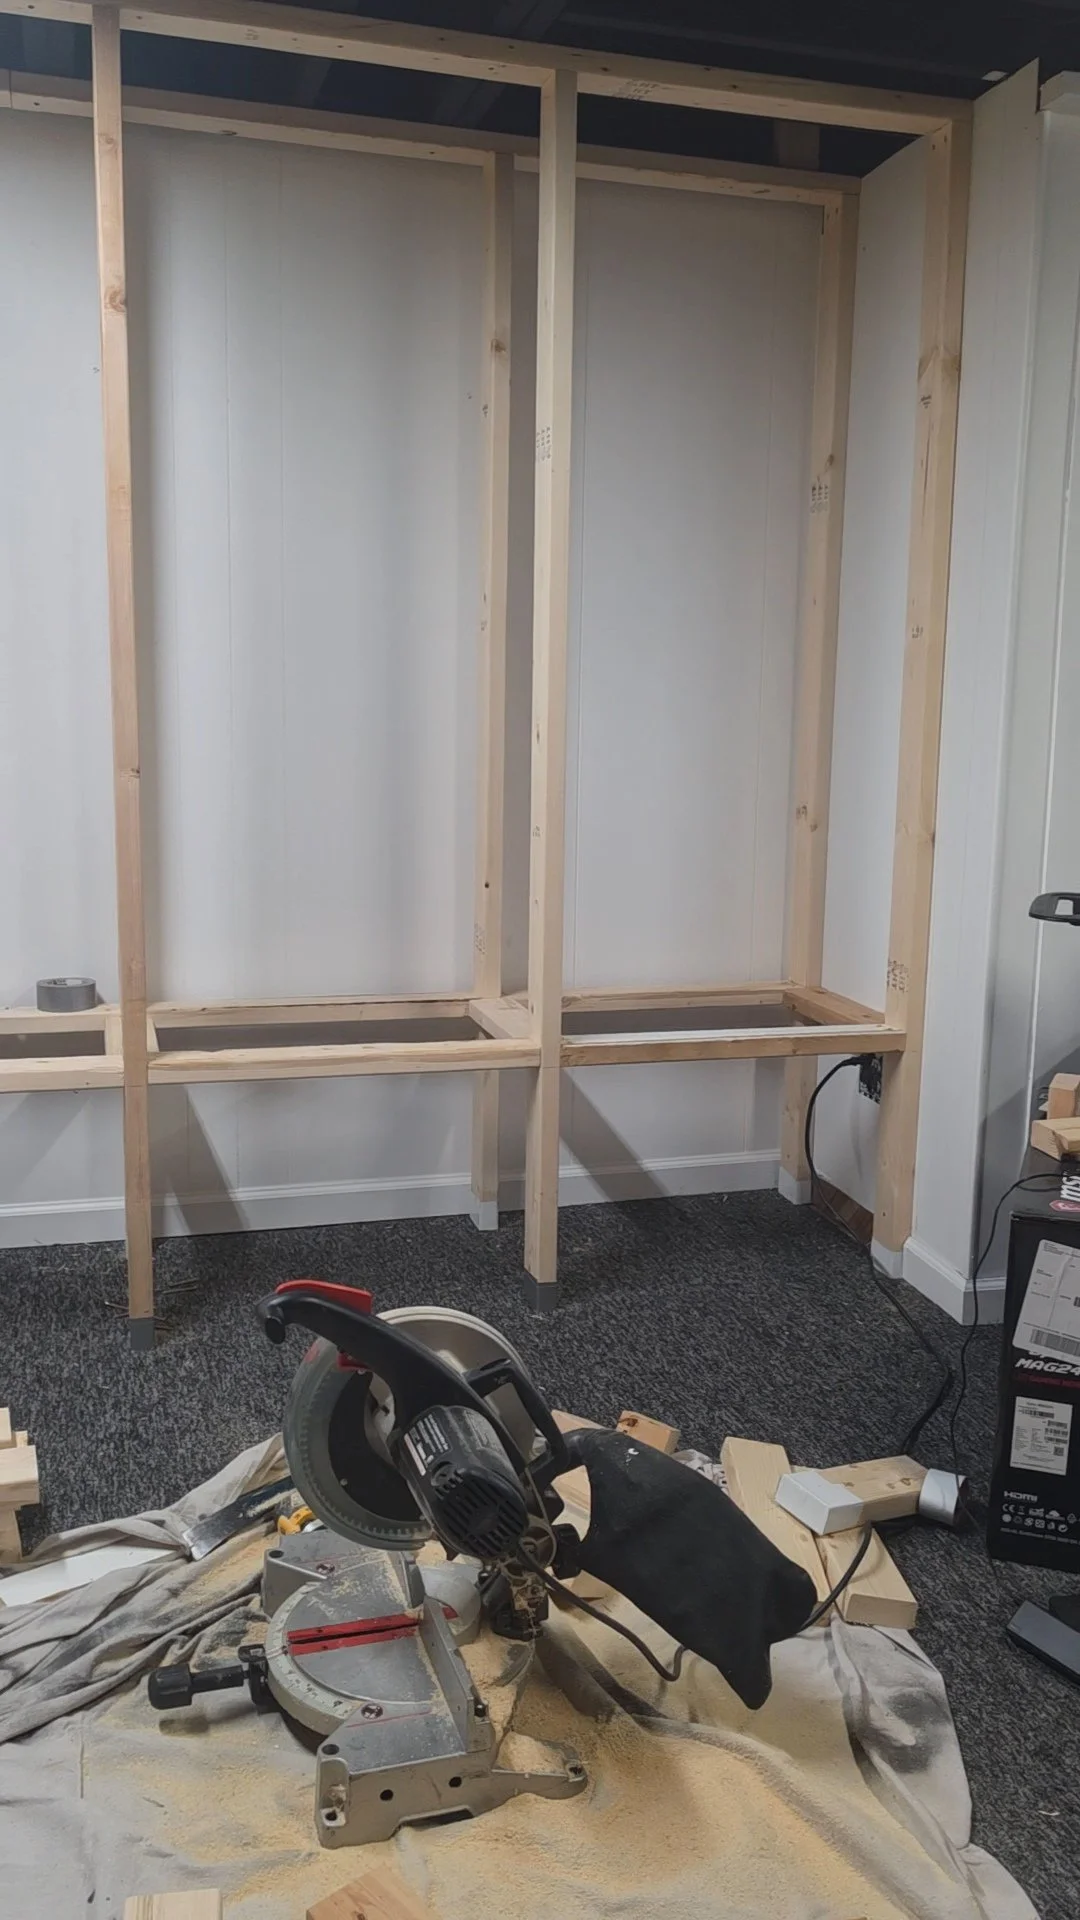
Wooden Frame
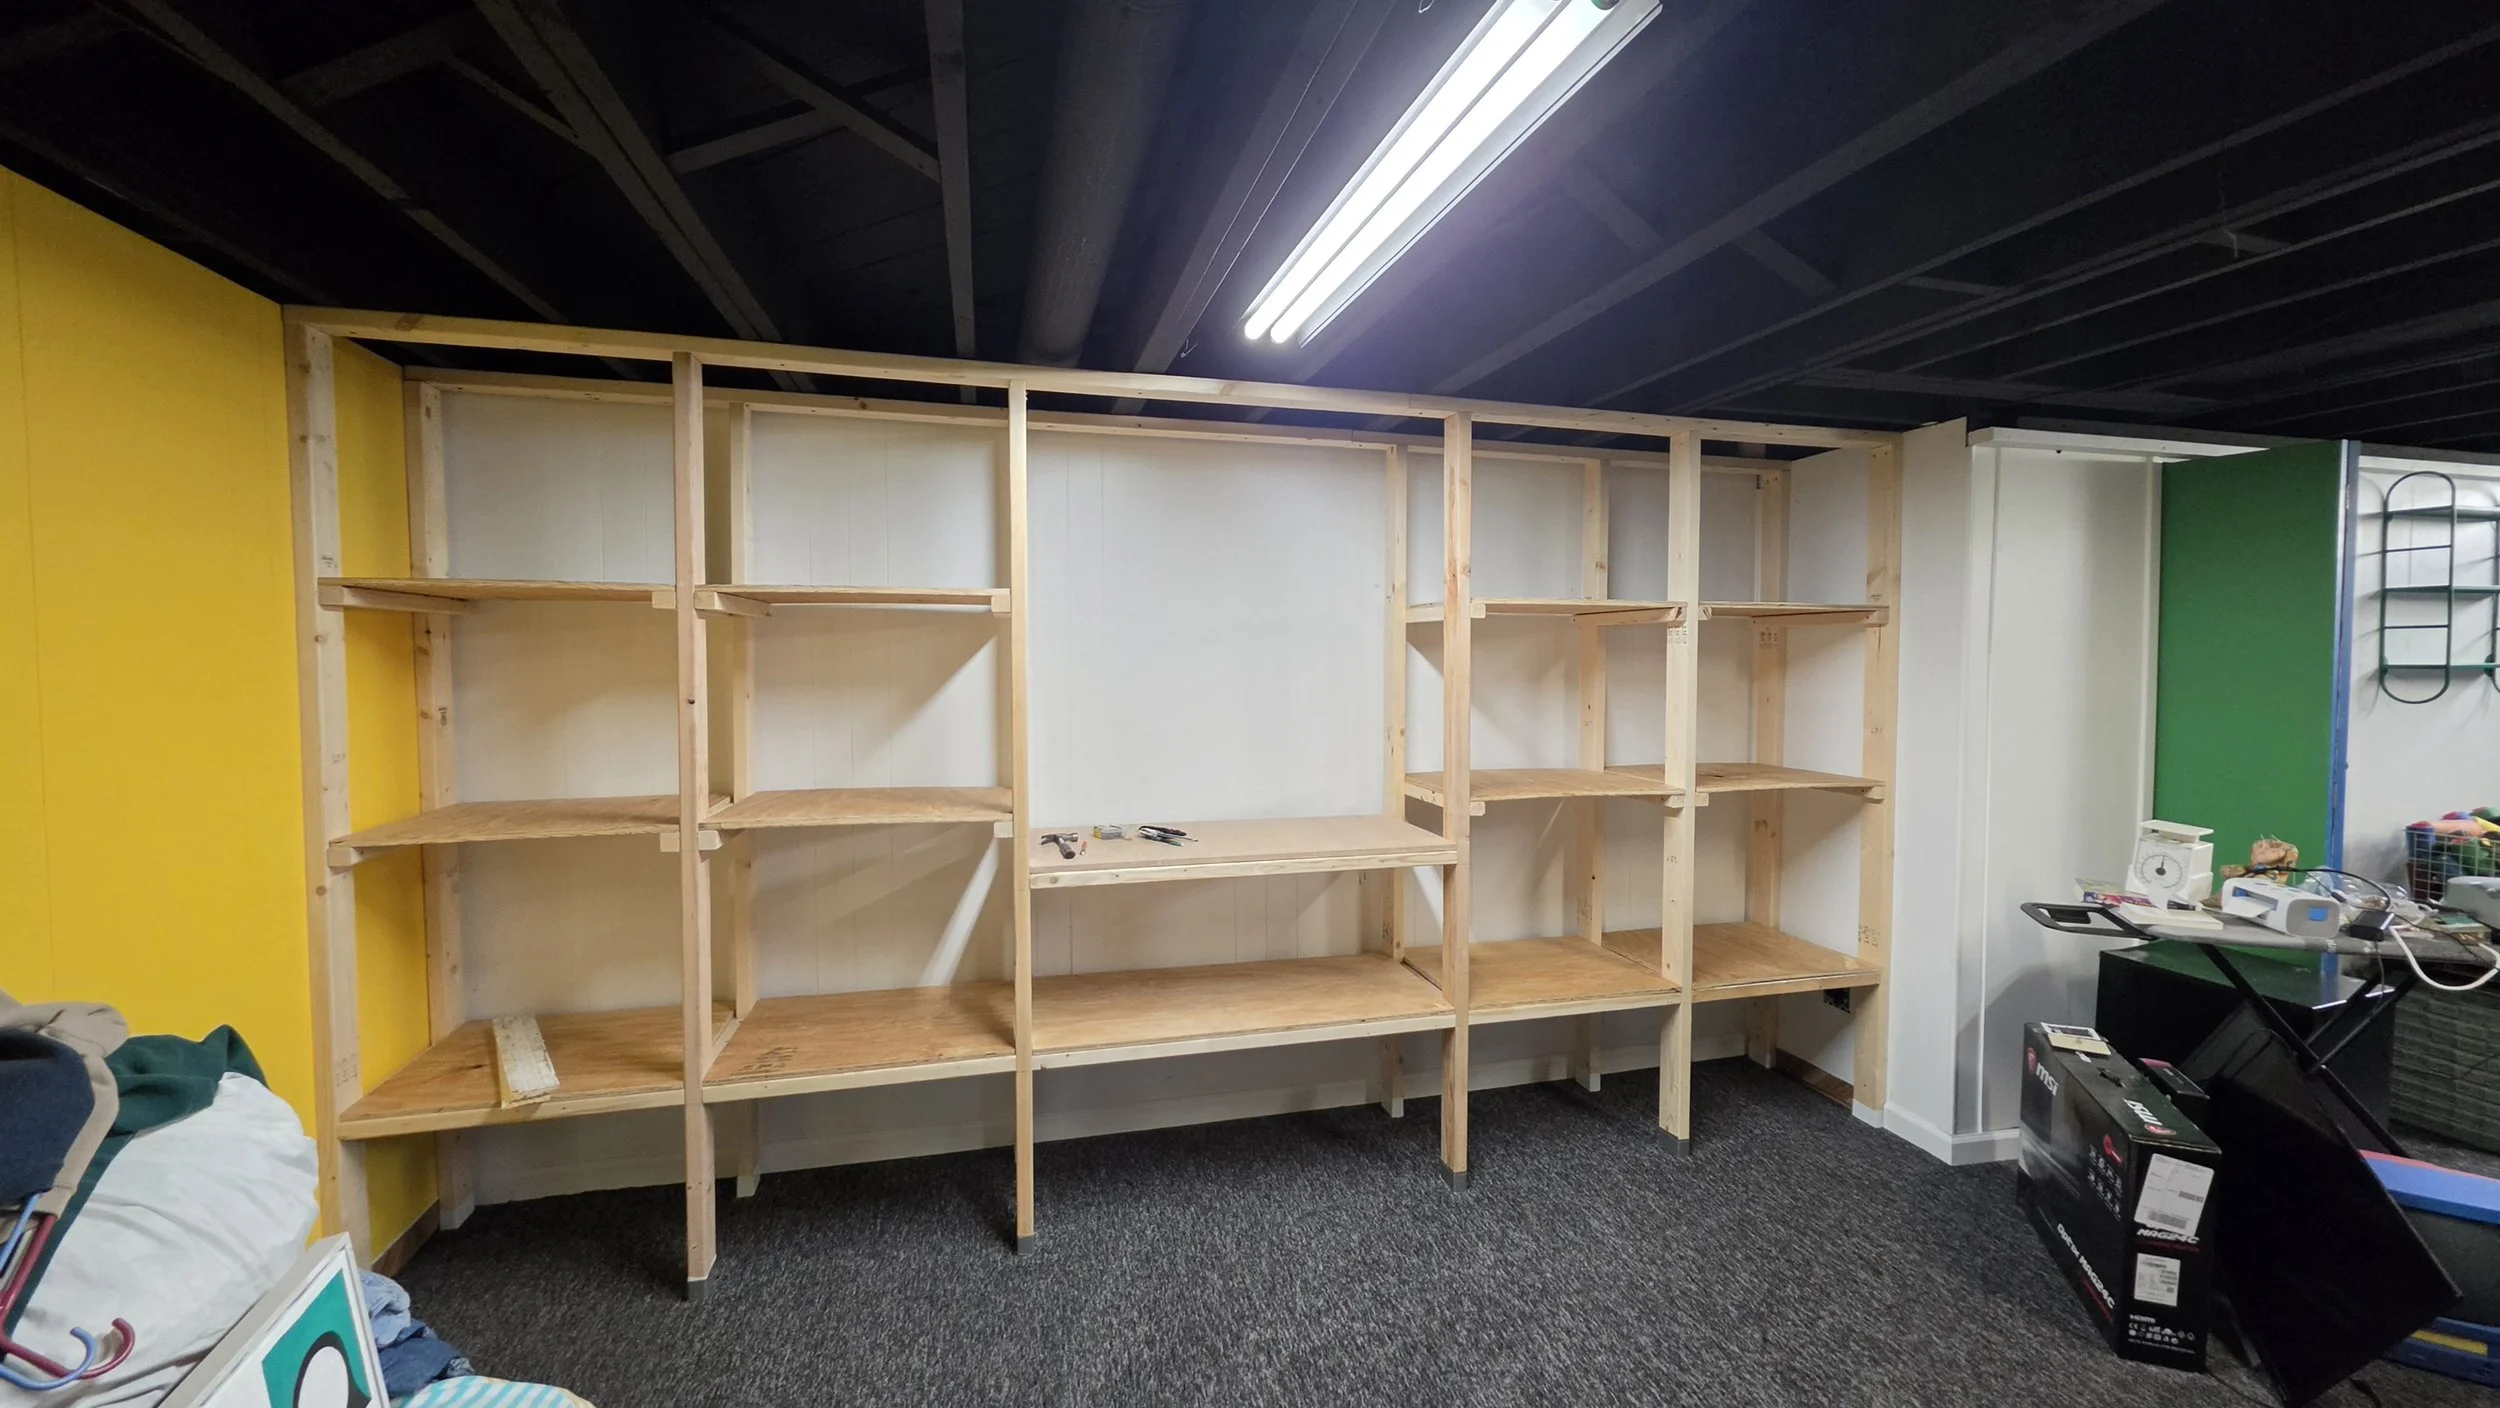
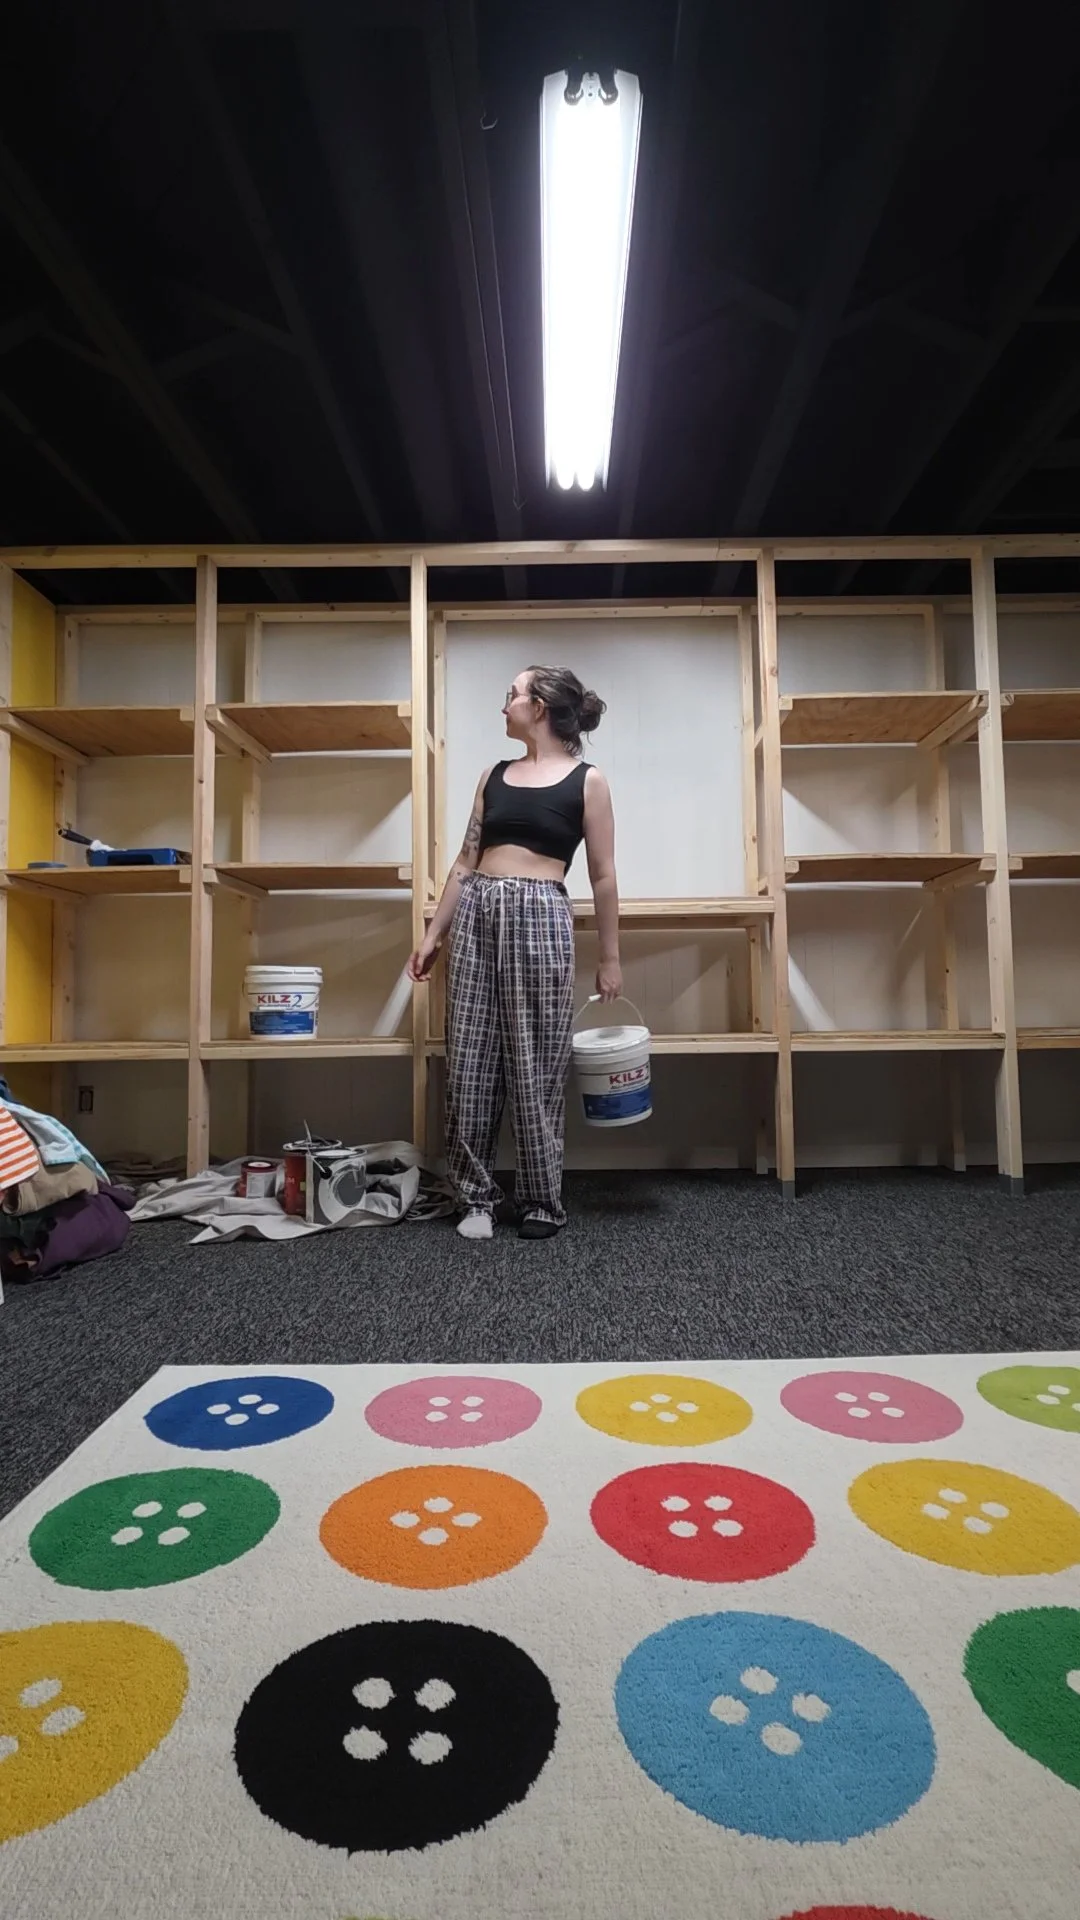
Image: Wall shelf before painting
Materials and Tools:
Screwdrivers, with countersink drill bits. Wood screws 2 ½ inches long, and 2” long.
Hammer and 2’ Nails
Rubber Mallet
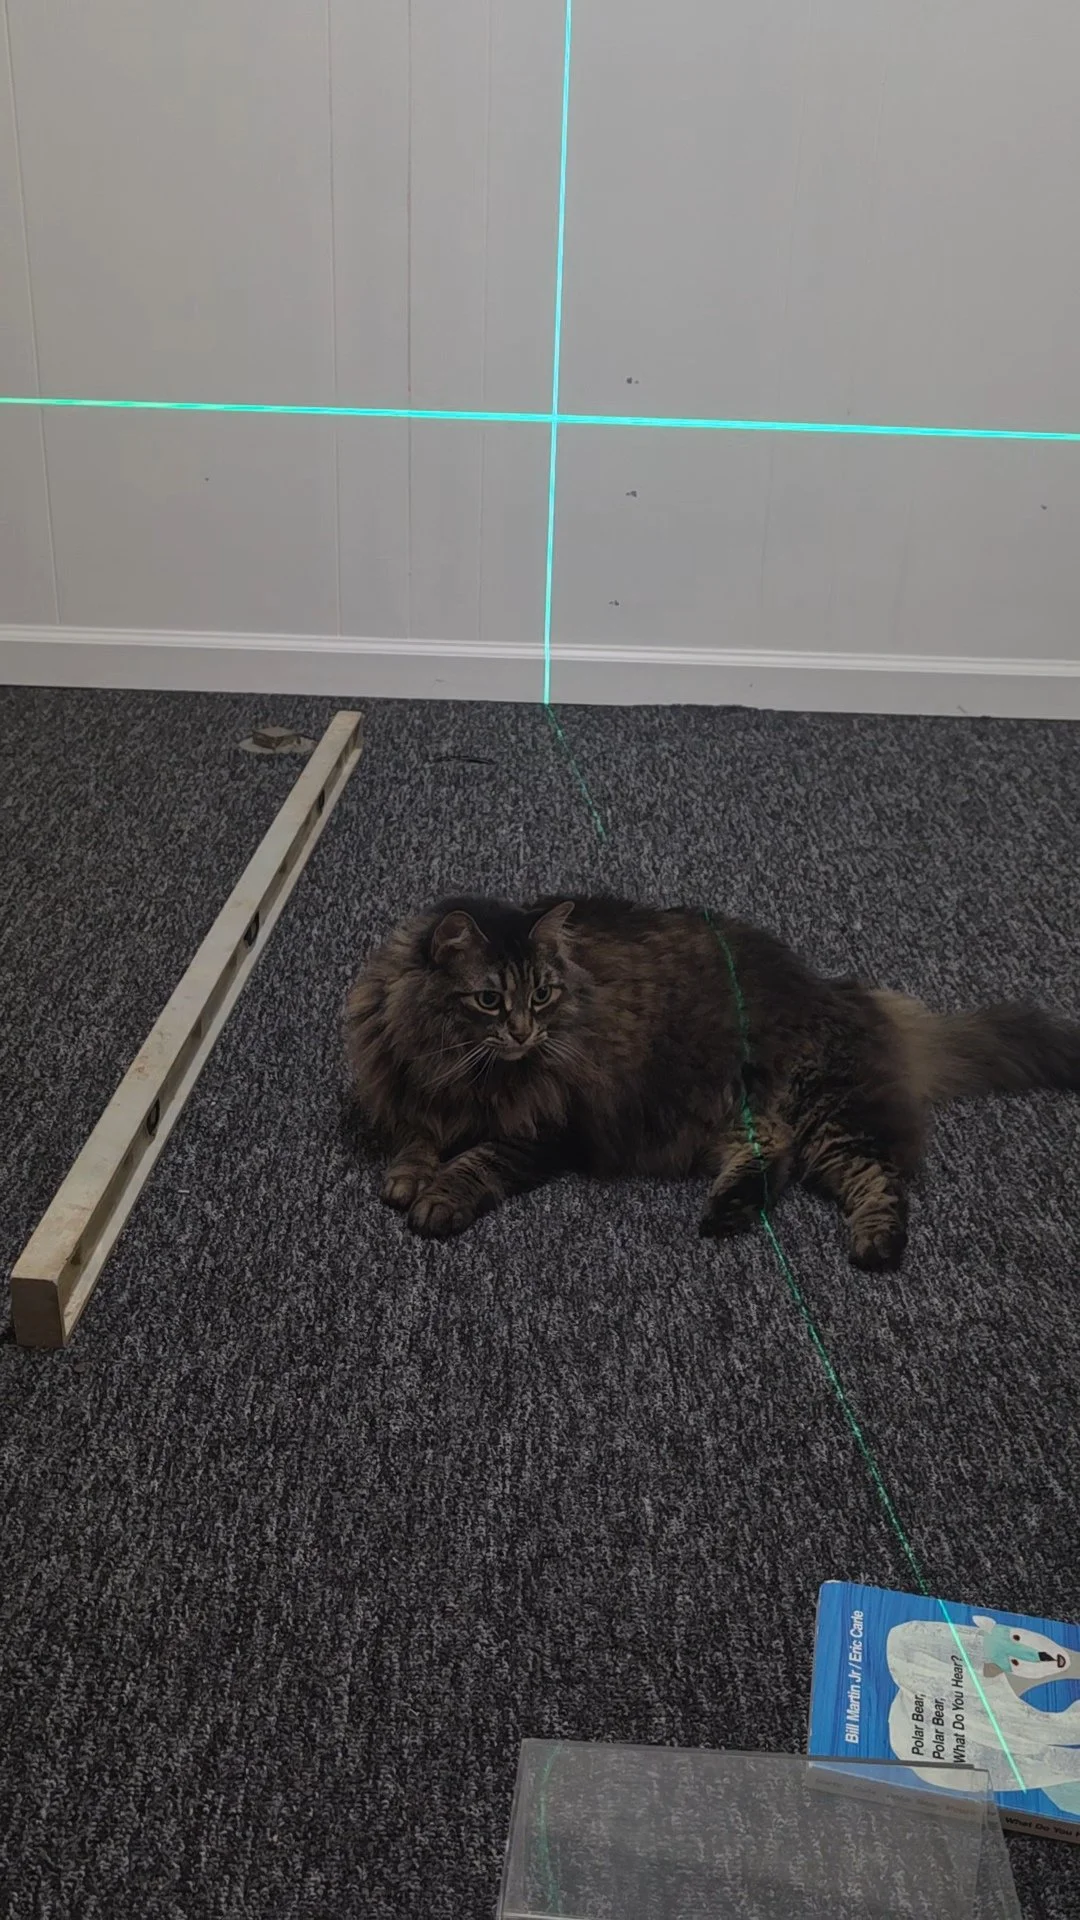
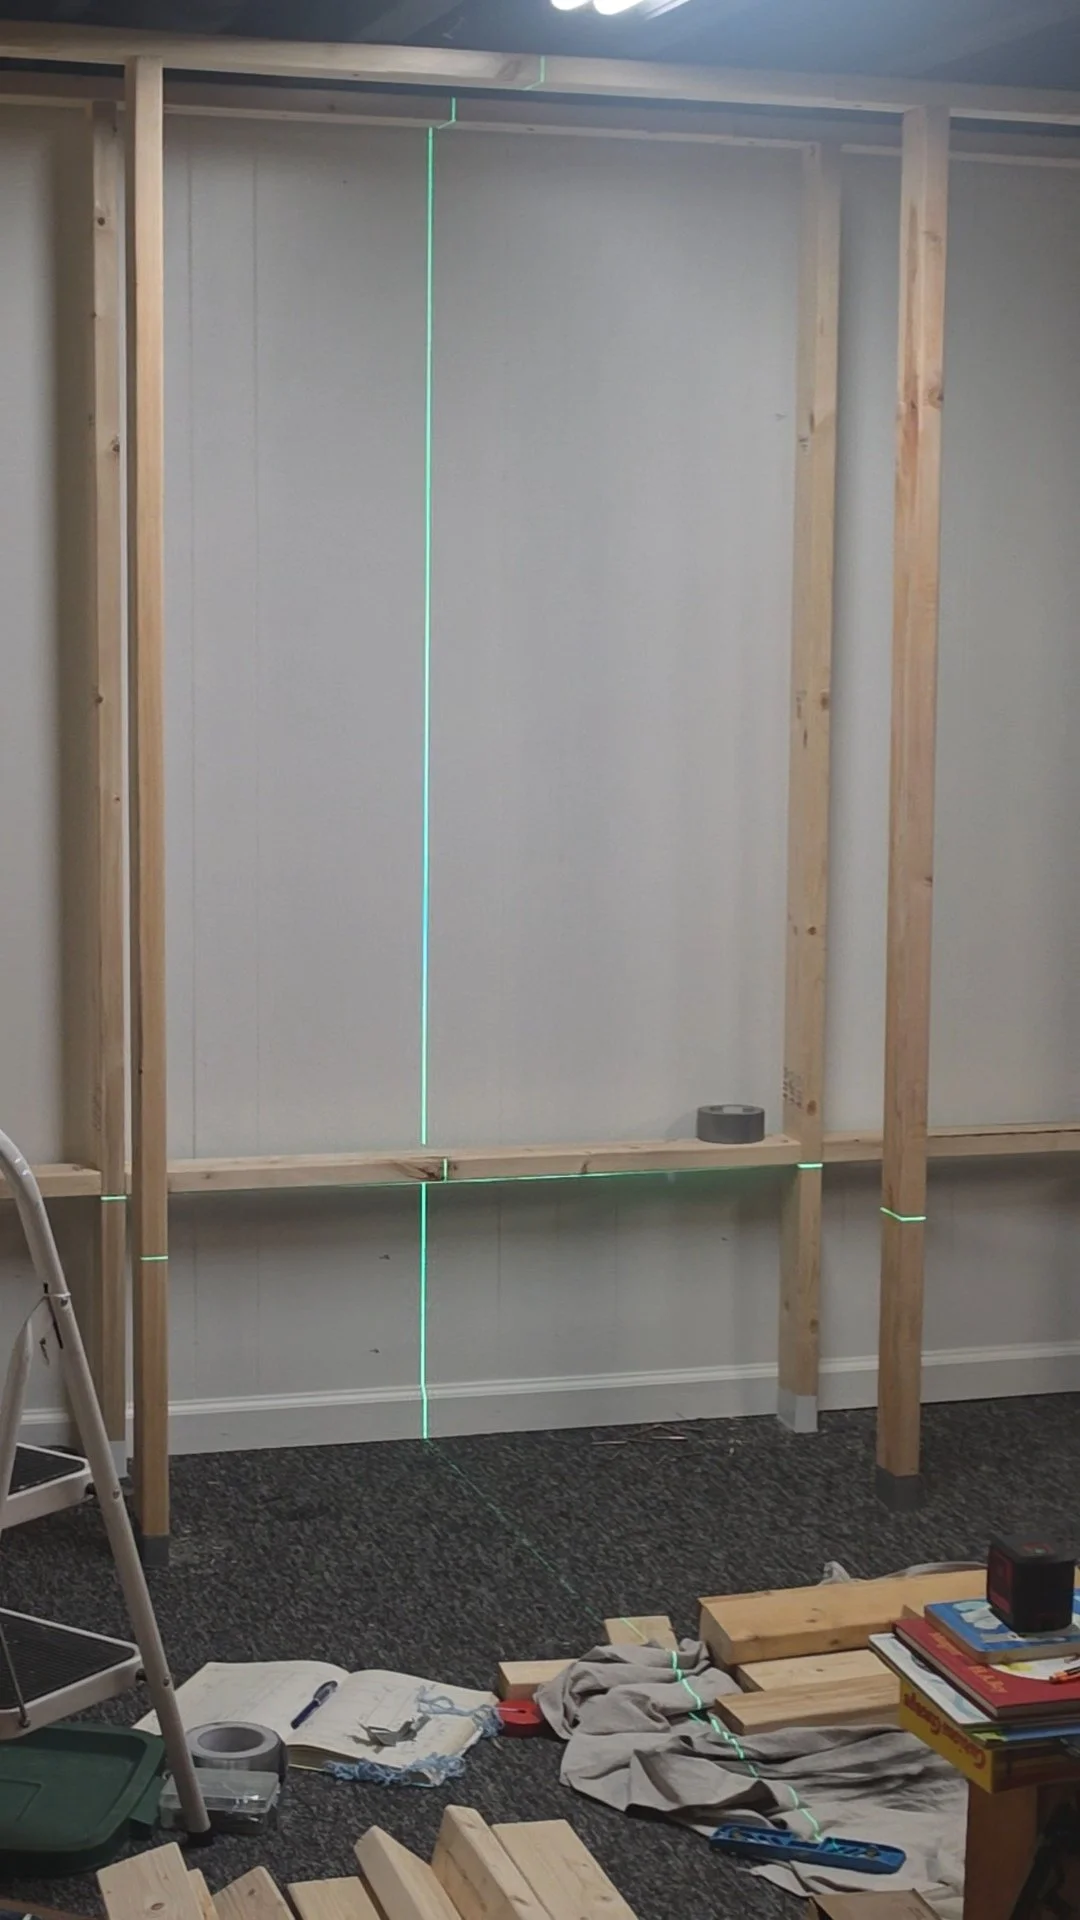
Laser Level and Regular Level
Speed Square
Measuring Tape
Circular Saw/Table Saw
Straight Edge/ Metal Ruler/ Guideline
Clamps (at least 2)
Duct tape (optional)
Pencil
Primer and Paint/ Paint Brushes and 4” Rollers
Helpful Tips:
-The laser level was a life saver, because our basement floor was slanted.
-Some stores will cut wood for you. We bought 2 large plywood sheets for the smaller shelves, and had them cut them in half to fit in the car.
-Keep in mind where electrical wires are in the wall, dont screw over them!
-Be prepared to take several trips to the store. We went a record of 3 times in one day.
-Star drive screws are your best friend. They are less likely to strip versus philips or flat.